strawberries

Berry Trifle by Amy Cantu

Print Friendly and PDF

It's summer! Finally! I'm basking in the warmth of the sun. I'm in love with all the brightly colored produce at the farmer's market. The berries are local, sweet-as-candy, and a deep, ripe red. The blueberries pop in my mouth, surrendering their sweet juices. The raspberries are vibrantly tart and sweet. It's the perfect time to have a barbecue (or at least a supper out on the patio,) to celebrate the season! I need a simple dessert that tastes like the height of summer, and this red, white, and blue-hued Berry Trifle is just that. Fresh vibrant berries, clouds of whipped mascarpone cream, and squidgy pieces of cake come together in 15 minutes to create this dreamy Berry Trifle: An impressive, layered masterpiece that tastes as good as it looks. 

Notes: The only special equipment needed is a trifle dish (or a large glass bowl), so that the beautiful layers can be seen. Purchased pound cake or angel food cake make this a no-bake dessert, but Polenta Cake with Olive Oil and Lemon is perfect for this berry trifle and makes it extra-special. It's easy to make - just stir together the ingredients and bake. The Polenta Cake is extra moist from the olive oil and holds up well in the trifle layers thanks to it's sturdy texture from the polenta.


Time: 15 minutes
Servings: 8-10

3/4 pound raspberries
3/4 pound strawberries, tops removed and sliced
3/4 pound blueberries
1/4 cup granulated sugar, divided use
1/4 cup fresh orange juice, divided use
One recipe Polenta Cake with Olive Oil and Lemon or 9" loaf purchased pound cake, cut into 1-inch cubes
1/2 cup confectioners' sugar (powdered sugar)
1 teaspoon vanilla extract
1 pound (16 ounces) mascarpone cheese, at room temperature
Grated zest of 1 lemon
2 cups heavy cream
2 tablespoons seedless raspberry jam or currant jelly

Combine strawberries, 2 tablespoons sugar, and 2 tablespoons orange juice in a bowl. In a separate bowl, combine raspberries with remaining 2 tablespoons sugar and 2 tablespoons orange juice. Set bowls aside.

Using an electric mixer, whip together confectioners' sugar, vanilla extract, mascarpone cheese, and lemon zest at medium speed until well combined. Add heavy cream and continue to mix at high speed until the mixture is fluffy like whipped cream.

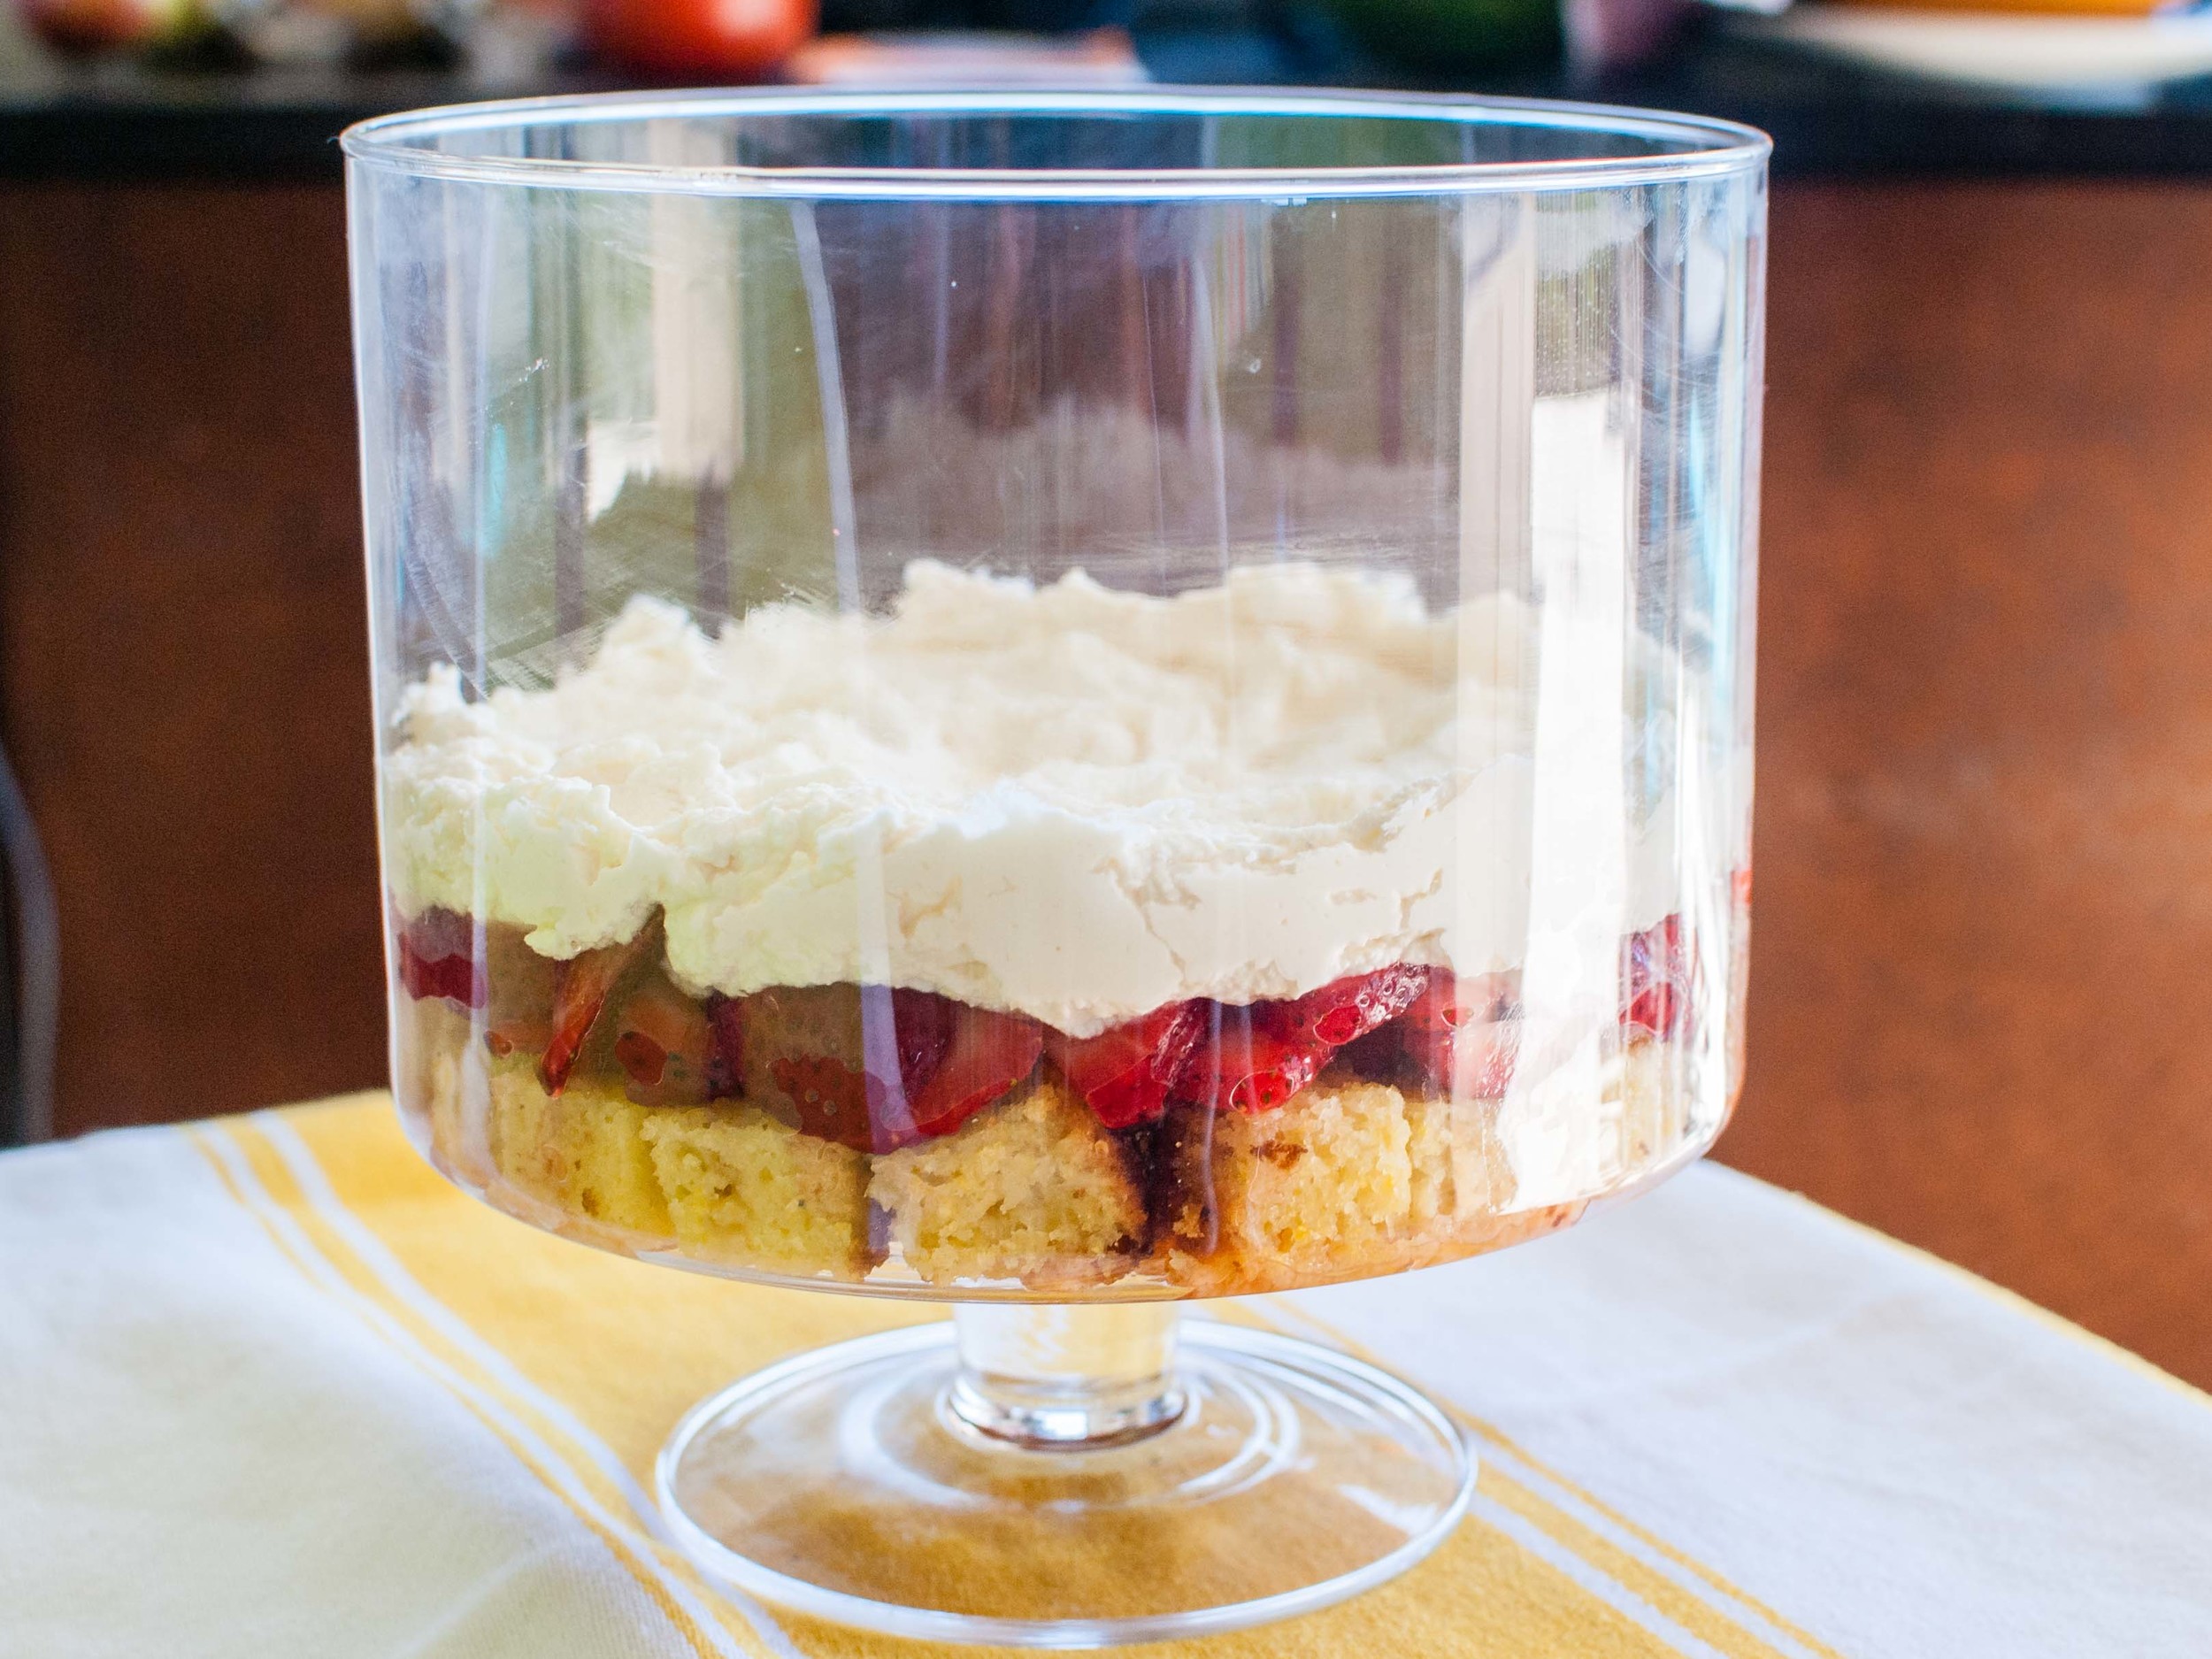
To assemble the trifle: Arrange 1/3 of the cake cubes into a 13-cup trifle dish (or a large glass bowl). Next, pour in the strawberries and spread to make an even layer. Spread 1/2 of the whipped mascarpone cream over the strawberries in an even layer. Arrange half of the remaining cake cubes evenly over the cream layer. Top the cake with all the raspberries to create another even layer. Spread the remaining whipped mascarpone cream over the raspberries. Add the remaining cake cubes evenly over the cream. For the final layer, distribute the blueberries evenly over the top.

Melt the jam in a small dish in the microwave or in a small saucepan over low heat. Using a pastry brush, anoint the blueberries with the melted jam to give them a sweet, glossy glaze. 

Cover and refrigerate for at least 1 hour before serving.

Strawberry Rhubarb Crisp Bars by Cynthia Raub

Print Friendly and PDF

These Strawberry Rhubarb Crisp bars are the whole package: delicious, uncomplicated and healthy! (Or at least healthy enough to pass for breakfast, which we were all too happy to eat!) The crisp oat layer on the bottom comes together in the baking dish without dirtying another bowl. The bright rhubarb and sweet strawberry are diced finely and scattered over the crust, which is then finished with some reserved oats as a golden crumble topping. The result is a thick, chewy bar oozing with lightly sweet and tangy fruit, that promises to be an all-occasion go-to recipe.

Notes: These Strawberry Rhubarb Crisp Bars can be dressed up with a scoop of vanilla ice cream or a dollop of whipped cream to create a dessert no one in their right mind would ever turn down. They can be drizzled with a bit of yogurt and masquerade as breakfast (so good!) or brunch. As-is, these bars are delicious and sturdy enough to cart to a summer BBQ, picnic, or bake sale. It's the go-anywhere, anytime, for anyone bar! I have made several iterations of this recipe, swapping out the fruit, and it’s always a tasty treat. 


Yield: 9 large bars
Time: 55 minutes

1 cup rolled oats
3/4 cup plus up to 2 tablespoons extra all-purpose flour
1/2 cup light brown sugar
Heaping 1/4 teaspoon kosher salt
6 tablespoons unsalted butter, melted
1 teaspoon cornstarch (optional, but helps firm up the filling)
1 tablespoon lemon juice
1 tablespoon granulated sugar, divided
1 cup small-diced rhubarb (from about 1 1/2 medium stalks)
1 cup small-diced strawberries

Heat oven to 375 degrees F. (For easy removal, line bottom and two sides of 8-by-8-inch square baking pan with parchment paper.)

Place oats, 3/4 cup flour, brown sugar and salt in bottom of baking pan and mix. Pour melted butter over, and stir until clumps form. If the clumps feel soft or look overly damp, add the remaining 2 tablespoons flour. Set aside 1/2 cup of the crumble mixture. Press the rest of the crumb mixture evenly in the bottom of the pan.

Spread half the fruit over the crust. Sprinkle it evenly with cornstarch, then lemon juice, and 1/2 tablespoon of granulated sugar. Spread remaining fruit over this, and top with second 1/2 tablespoon sugar. Scatter reserved crumbs over fruit and bake bars for 30 to 40 minutes (firmer fruits will take longer), until fruit is bubbly and crisp portion is golden.

Let cool in pan. For a crisper crust, serve cold straight from the fridge.

Recipe adapted from Smitten Kitchen

Lemon-Berry Muffins by Amy Cantu

Print Friendly and PDF
Lemon-Berry Muffins


Total time: 30 minutes
Servings: 12

2 cups all-purpose flour, spooned and leveled
2 teaspoons baking powder
1/2 teaspoon kosher salt
Zest from 1 lemon
2/3 cup granulated sugar
1/2 cup (1 stick) unsalted butter, melted and cooled
1/2 cup whole milk
2 large eggs
1 1/2 cups mixed berries (blueberries, strawberries, blackberries, etc.)
2 tablespoons turbinado sugar, optional

Preheat oven to 375° F. Line 12 muffin cups with paper liners or coat with nonstick cooking spray. 

In a large bowl, whisk together the flour, baking powder, lemon zest and salt.

In a medium bowl, whisk together the granulated sugar, butter, milk, and eggs. Add to the flour mixture and stir until just combined (a few flecks of flour is OK). Fold in the berries (do not overmix).

Spoon the batter into the prepared muffin cups and sprinkle with turbinado sugar, if using.
Bake until a toothpick inserted in the center of a muffin comes out clean, 20 to 25 minutes. Let cool in the pan for 5 minutes. Transfer to a wire rack to cool completely or serve warm.

Chocolate-Covered Strawberries by Amy Cantu

Print Friendly and PDF
chocolate dipped strawberries

Chocolate-Covered Strawberries are a romantic classic. Also, my 4-year-old loves holding the strawberry by its tiny leaves, and dangling it in front of his mouth before attempting to shove in the entire thing. Dainty, I know. Dressing them up in white chocolate drizzles, nuts, or sprinkles are fun, but there’s something appealing about the simplicity of a perfect, red strawberry coated lovingly with nothing but glossy, crisp chocolate. Cynthia and I enjoyed them, just as much as the kids did - they’re a classic for a reason.

Adapted from The Kitchn.

Notes: Chocolate strawberries are easy to make, but it helps to be precise in each step. The strawberries need to be really dry, or the chocolate coating won’t adhere properly. If you don’t have a double boiler to melt the chocolate, just use a heat safe bowl (like a metal or Pyrex mixing bowl) set over a saucepan of water. Don’t try to melt the chocolate with direct heat because the chocolate will scorch. The directions in this recipe encourages the chocolate to temper, and the addition of coconut oil gives it a glossier sheen and a crisp bite. (The Kitchn has additional information on tempering chocolate without a thermometer.) Don’t let the tempering process intimidate you. Even if the chocolate isn’t tempered correctly, the chocolate dipped strawberries will still be delicious, and I promise no one will complain!


Time: 20 minutes (plus 30 minutes to cool)
Yield: 1 pound chocolate-covered strawberries

1 pint-basket (1 pound) fresh strawberries
1 ⅓ cups (8 ounces) plus ⅔ cup (4 ounces) good quality dark chocolate, chopped
1 teaspoon coconut oil (optional)

Double-boiler or heatproof bowl and saucepan
Heatproof spatula
Parchment, wax paper, or Silpat
Baking sheet

Rinse the strawberries under cool running water and gently pat dry. The strawberries need to be completely dry before dipping, so spread them out and let them air-dry if necessary.

Fill the bottom of the double-boiler or saucepan with an inch or two of water and bring the water to a simmer over medium-high heat. Transfer 1 ⅓ cup chocolate into the top of the double-boiler or the heatproof bowl and set this over the simmering water. Let the chocolate melt, stirring occasionally, until no more lumps remain. Remove the bowl with the chocolate from heat. Stir in the remaining ⅔ cup chocolate, until all the chocolate has melted. Let slightly cool for 2 minutes. Stir in the coconut oil, if using.

Set the bowl of melted chocolate in front of you on a towel. Line a baking sheet with parchment.

Grasp the strawberry by the top leaves and dip it into the chocolate. Turn or swirl the strawberry as needed to completely coat it in chocolate. Lift the strawberry out and shake gently to remove excess chocolate. Carefully lay the dipped strawberry on its side on the baking sheet. Repeat with dipping the remaining strawberries.

Let the strawberries sit until the chocolate coating is set and dry to the touch. You can put the baking sheet in the fridge to speed this along. Dipped strawberries can be kept for a few hours at room temperature. They can also be refrigerated for a few days, though they don't look as pretty.