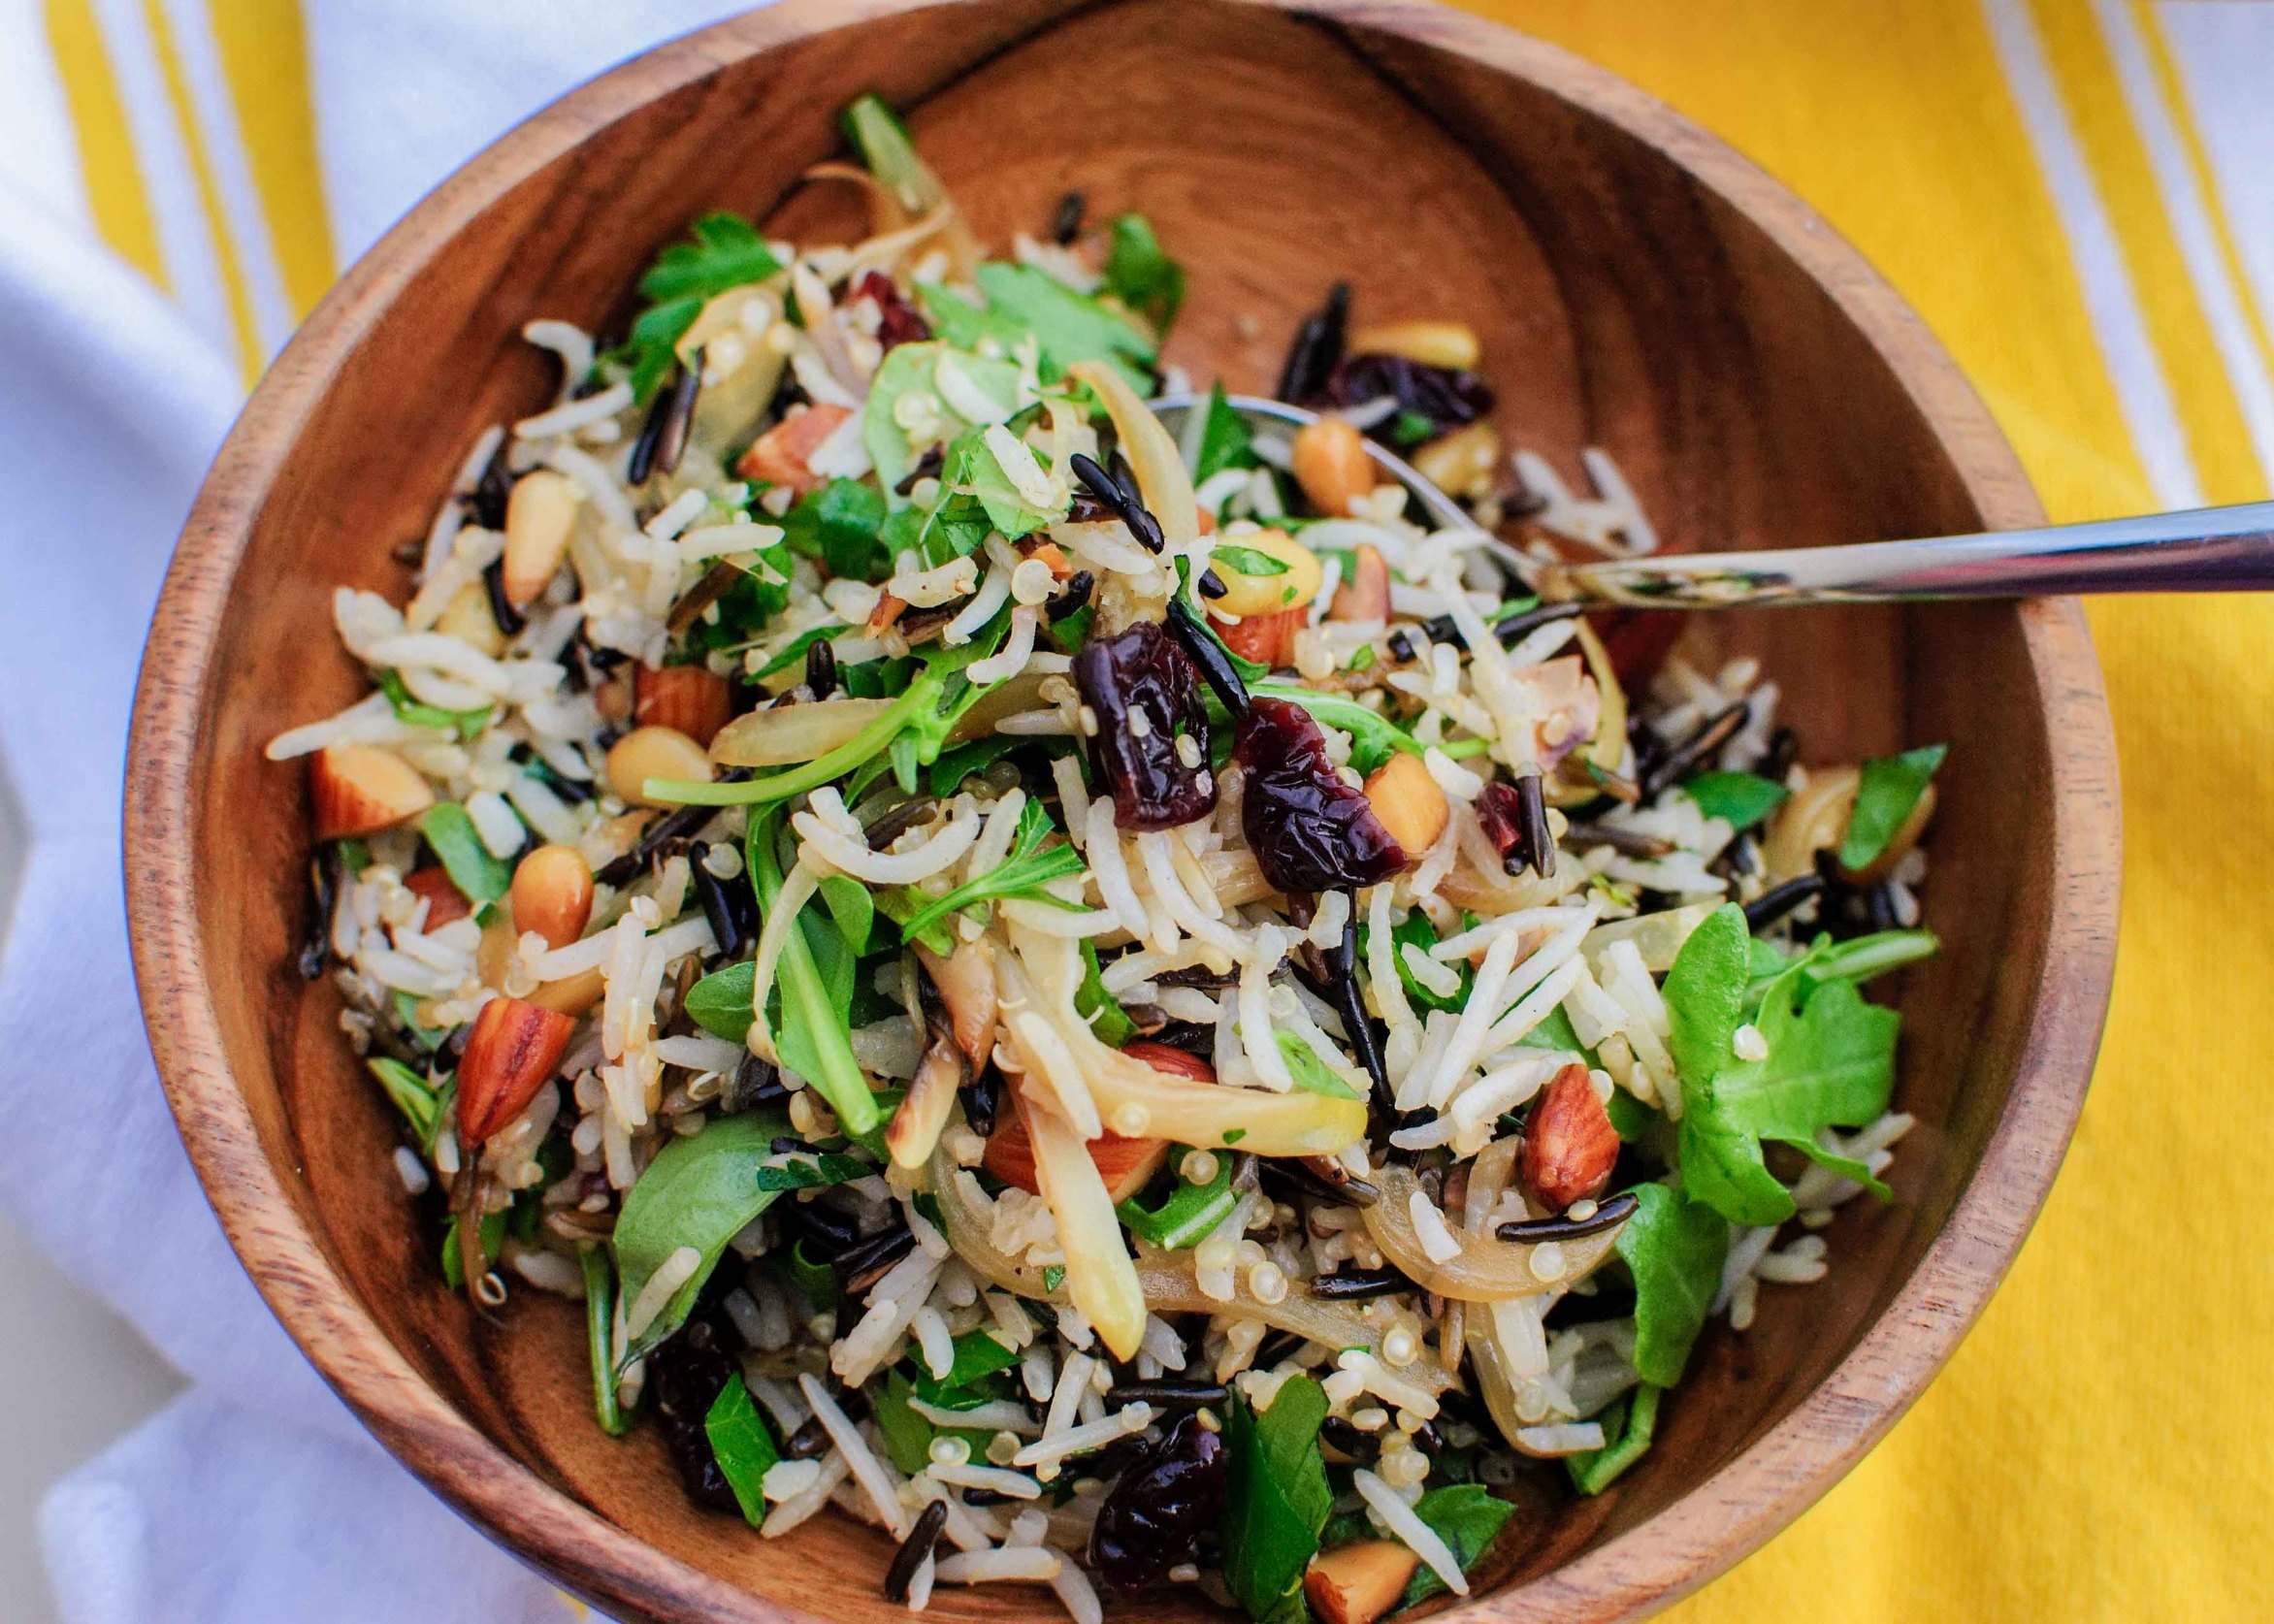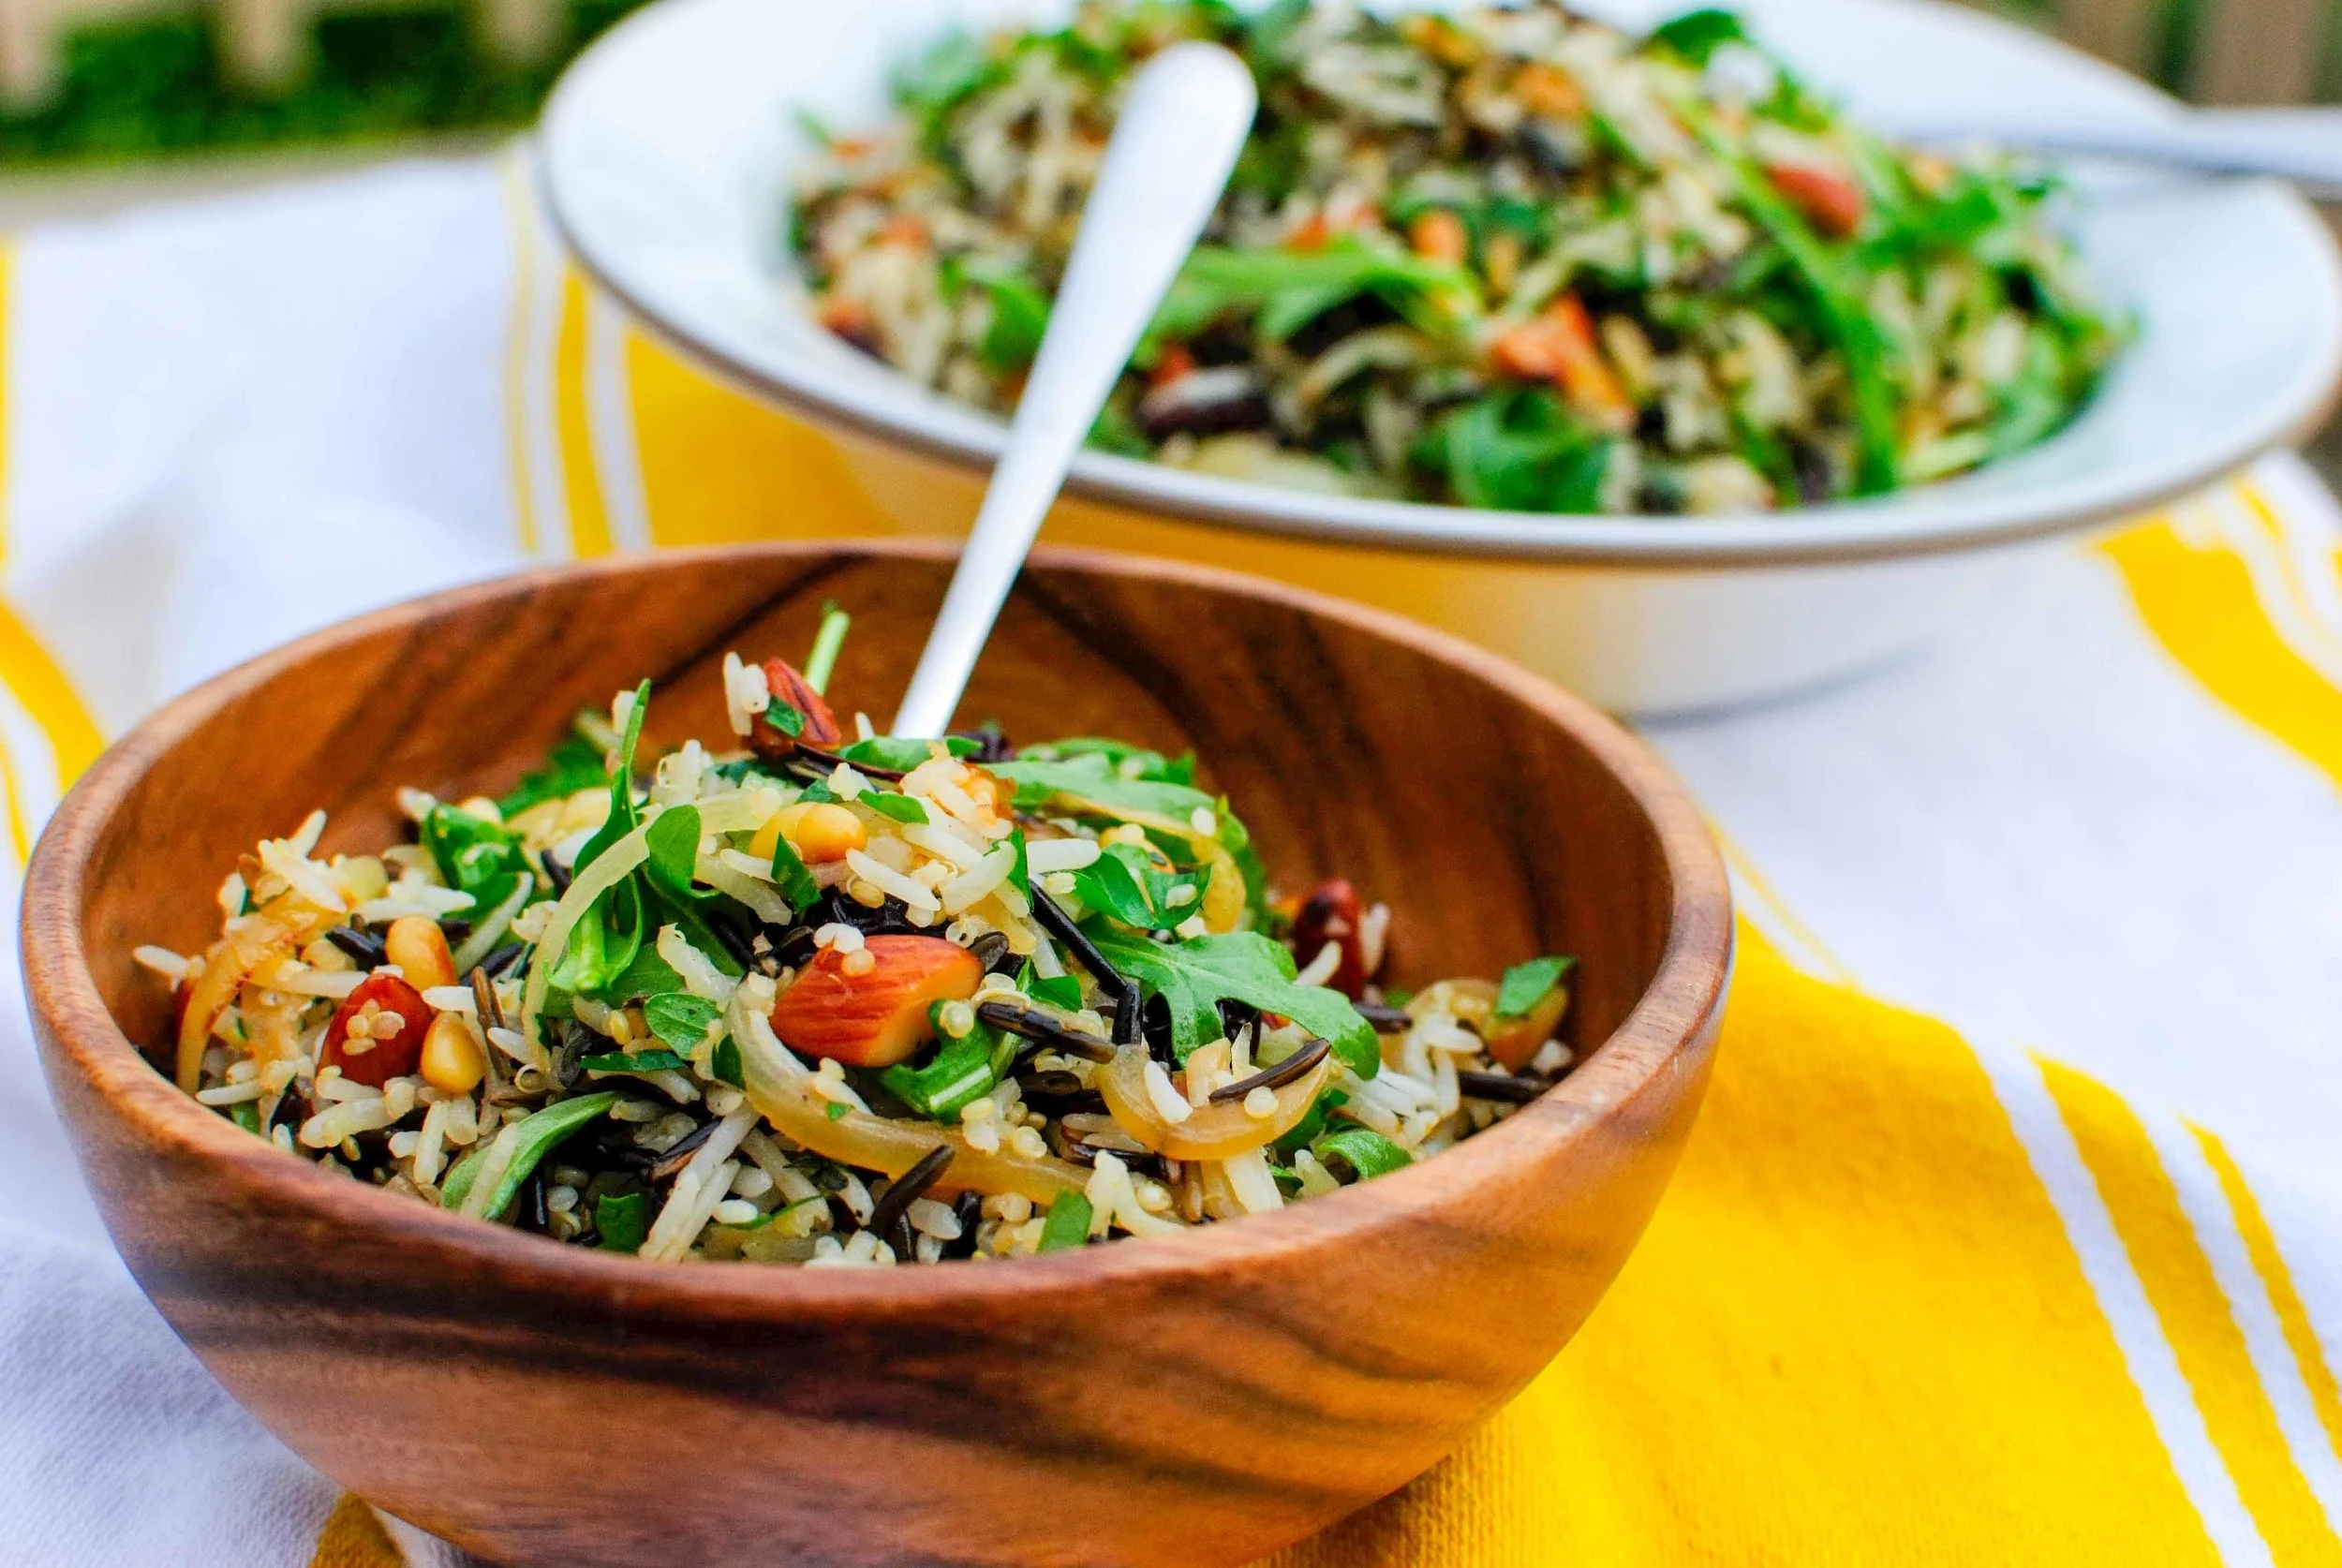

September is the month of birthdays in my family–there are at least four. As evidenced here, here, here, and here, I have a very soft and tender spot for cake. And so, more than anything this month, I've been craving foods that I could feel good about eating. I'm talking nutritionally dense foods that are also filling and easy to source, as the bountiful summer produce disappears from the market. A beautiful, colorful Autumn Harvest Buddha Bowl filled with hearty quinoa, bright orange butternut squash, earthy roasted mushrooms, deep green wilted spinach, and protein-rich tofu make me feel good about the meal, while the richly satisfying peanut sauce keeps me eating to the very last bite. I told my 5-year-old that it was "peanut butter sauce", which made him grin from ear to ear and eagerly eat the entire buddha bowl. (Because who doesn't love peanut butter?)
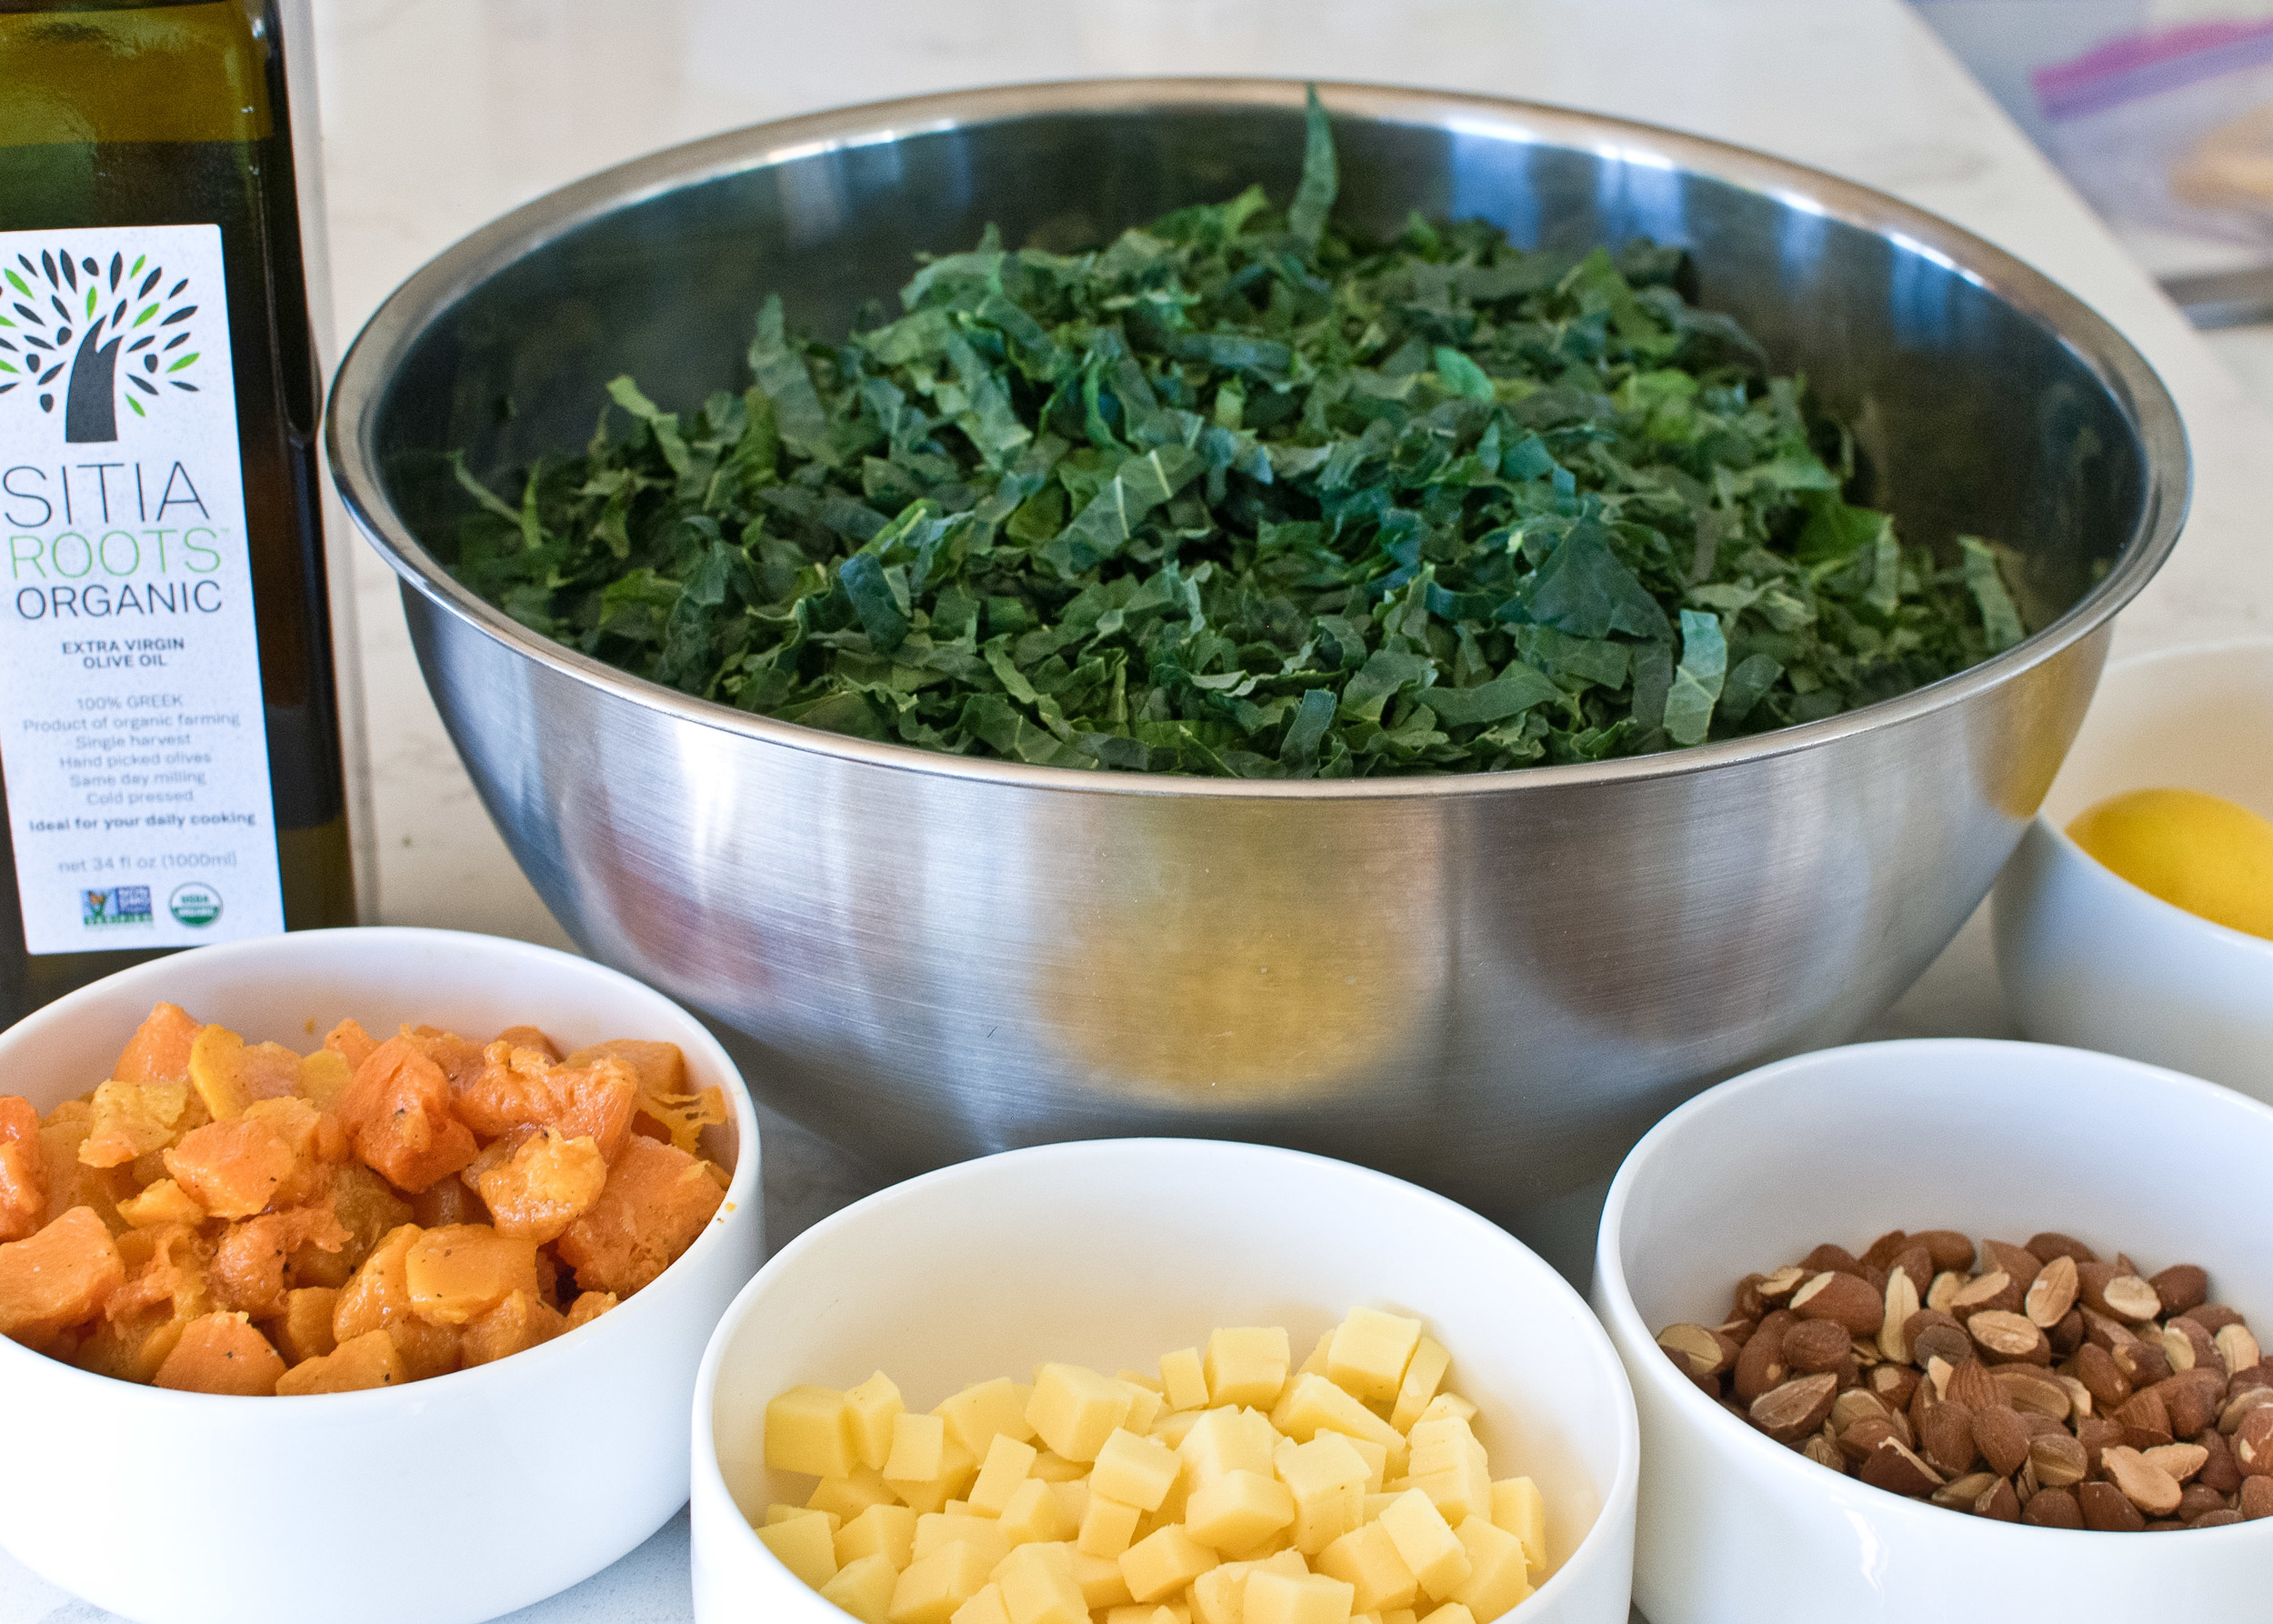
Notes: Buddha Bowls are highly customizable. The quinoa can be replaced with quick-cooking farro, barley, or brown rice. The roasted vegetables could be pumpkin, carrots, sweet potatoes, and/or kale. The tofu could be chickpeas, beans, or lentils. If you're feeling more like having a Dalai Lama bowl, shredded or chopped rotisserie chicken would be a great substitute for the tofu. The optional fish sauce will also deepen the flavor or the peanut sauce.
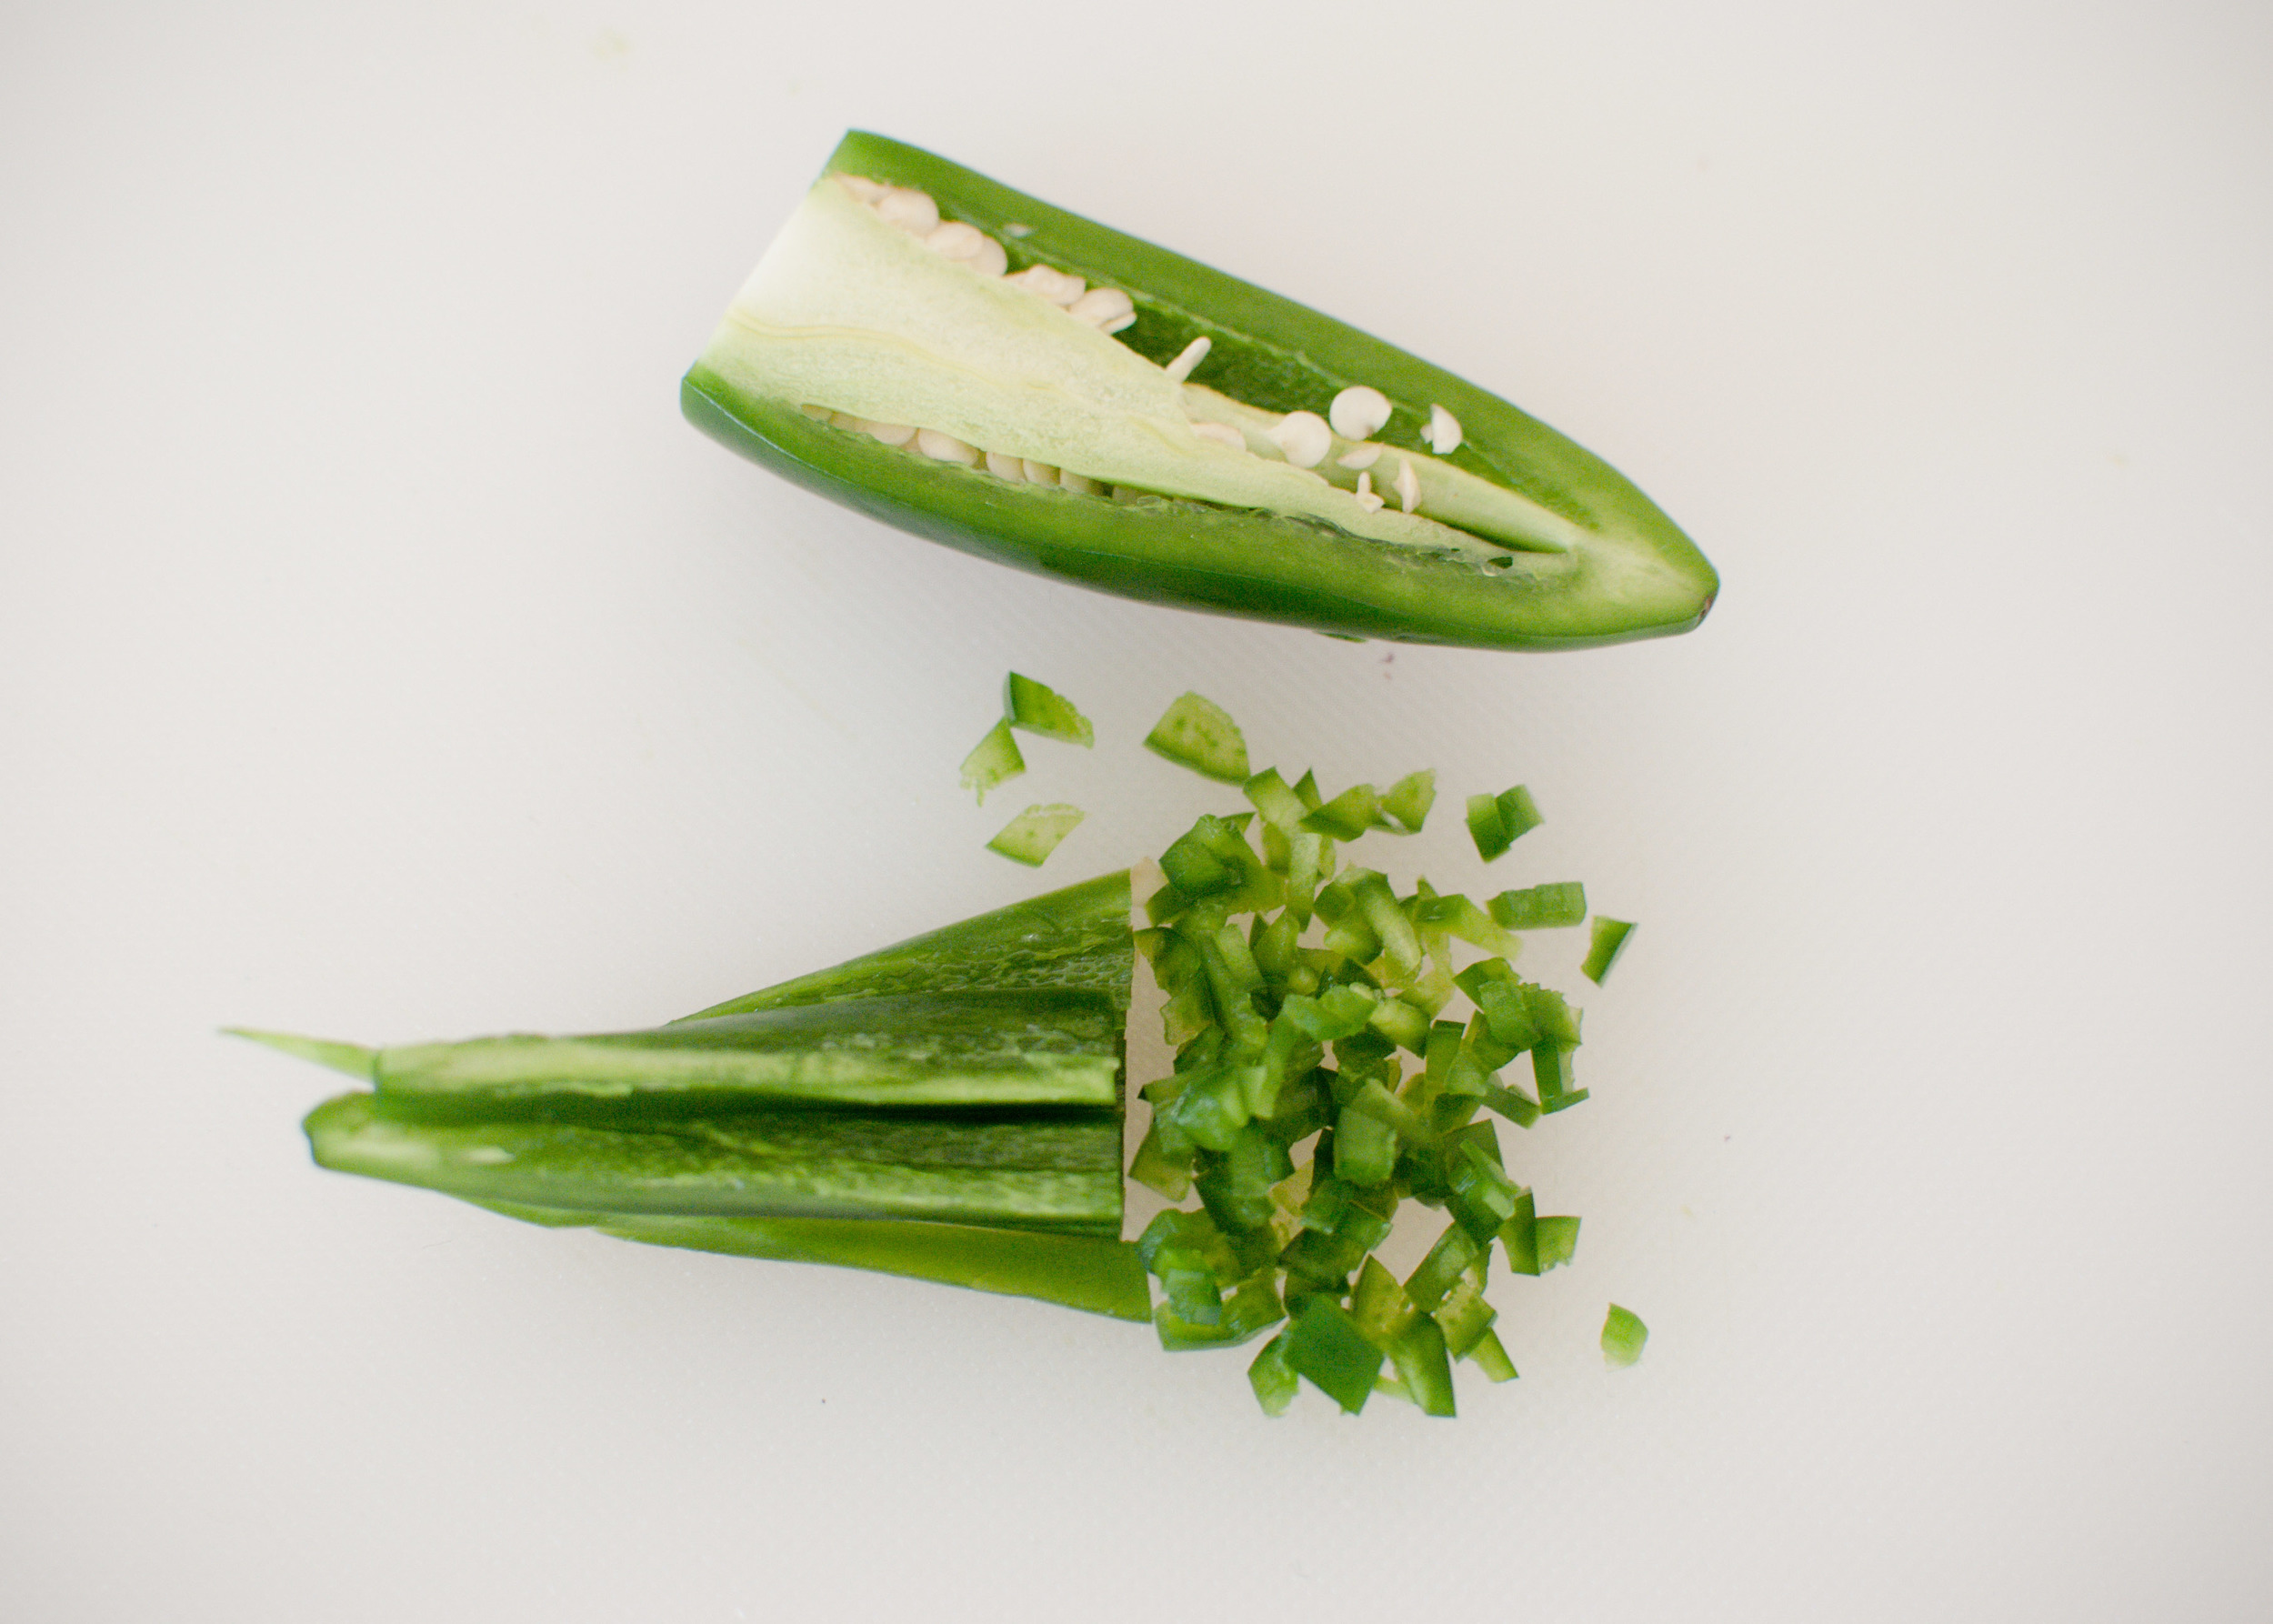
The chiles in the peanut sauce are there for flavor and can easily be modified for your heat preferences. Smaller red or green Thai chiles provide the most heat, especially if you leave the ribs and seeds intact. Jalapeños with the seeds and ribs removed will be super mild–I used one and no one noticed any spiciness at all.
Peanut sauce adapted from Bon Appetit.


Time: 40 minutes
Servings: 4
For the vegetables and tofu:
1 14-ounce block Firm or Extra-Firm Tofu
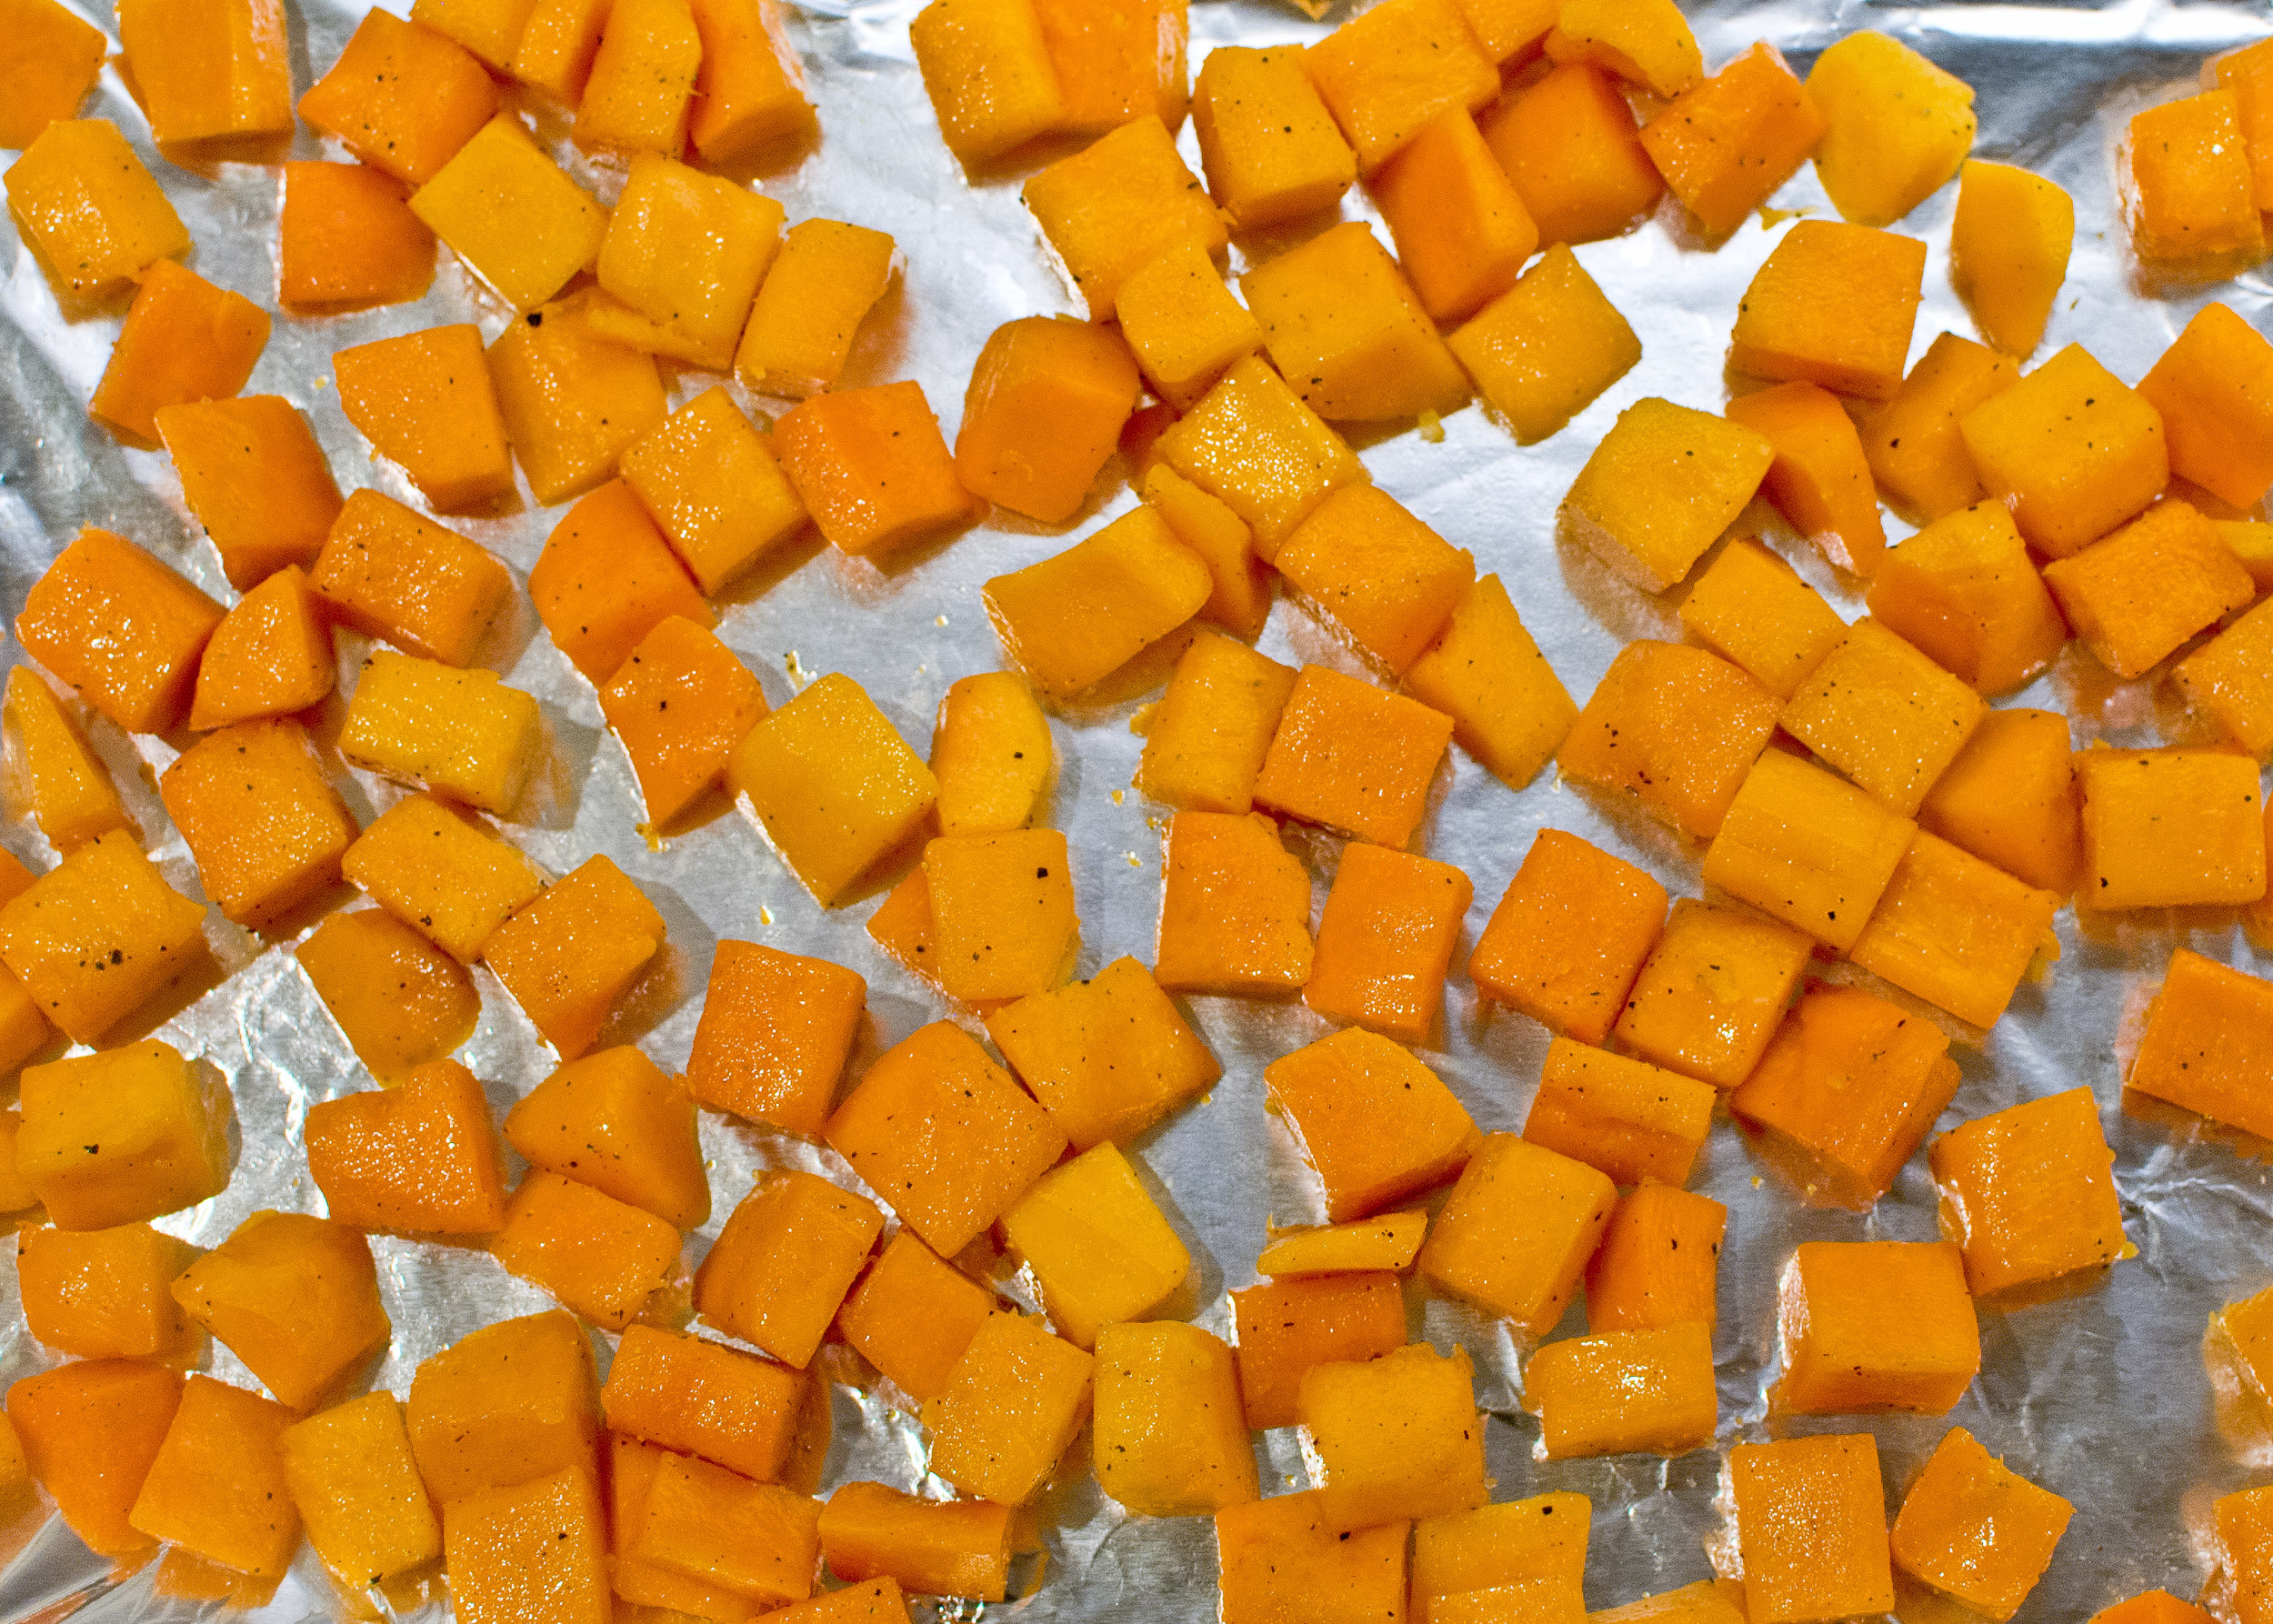
2 pounds butternut squash, peeled, seeded, and cut into 1" pieces (about 1 large butternut squash)
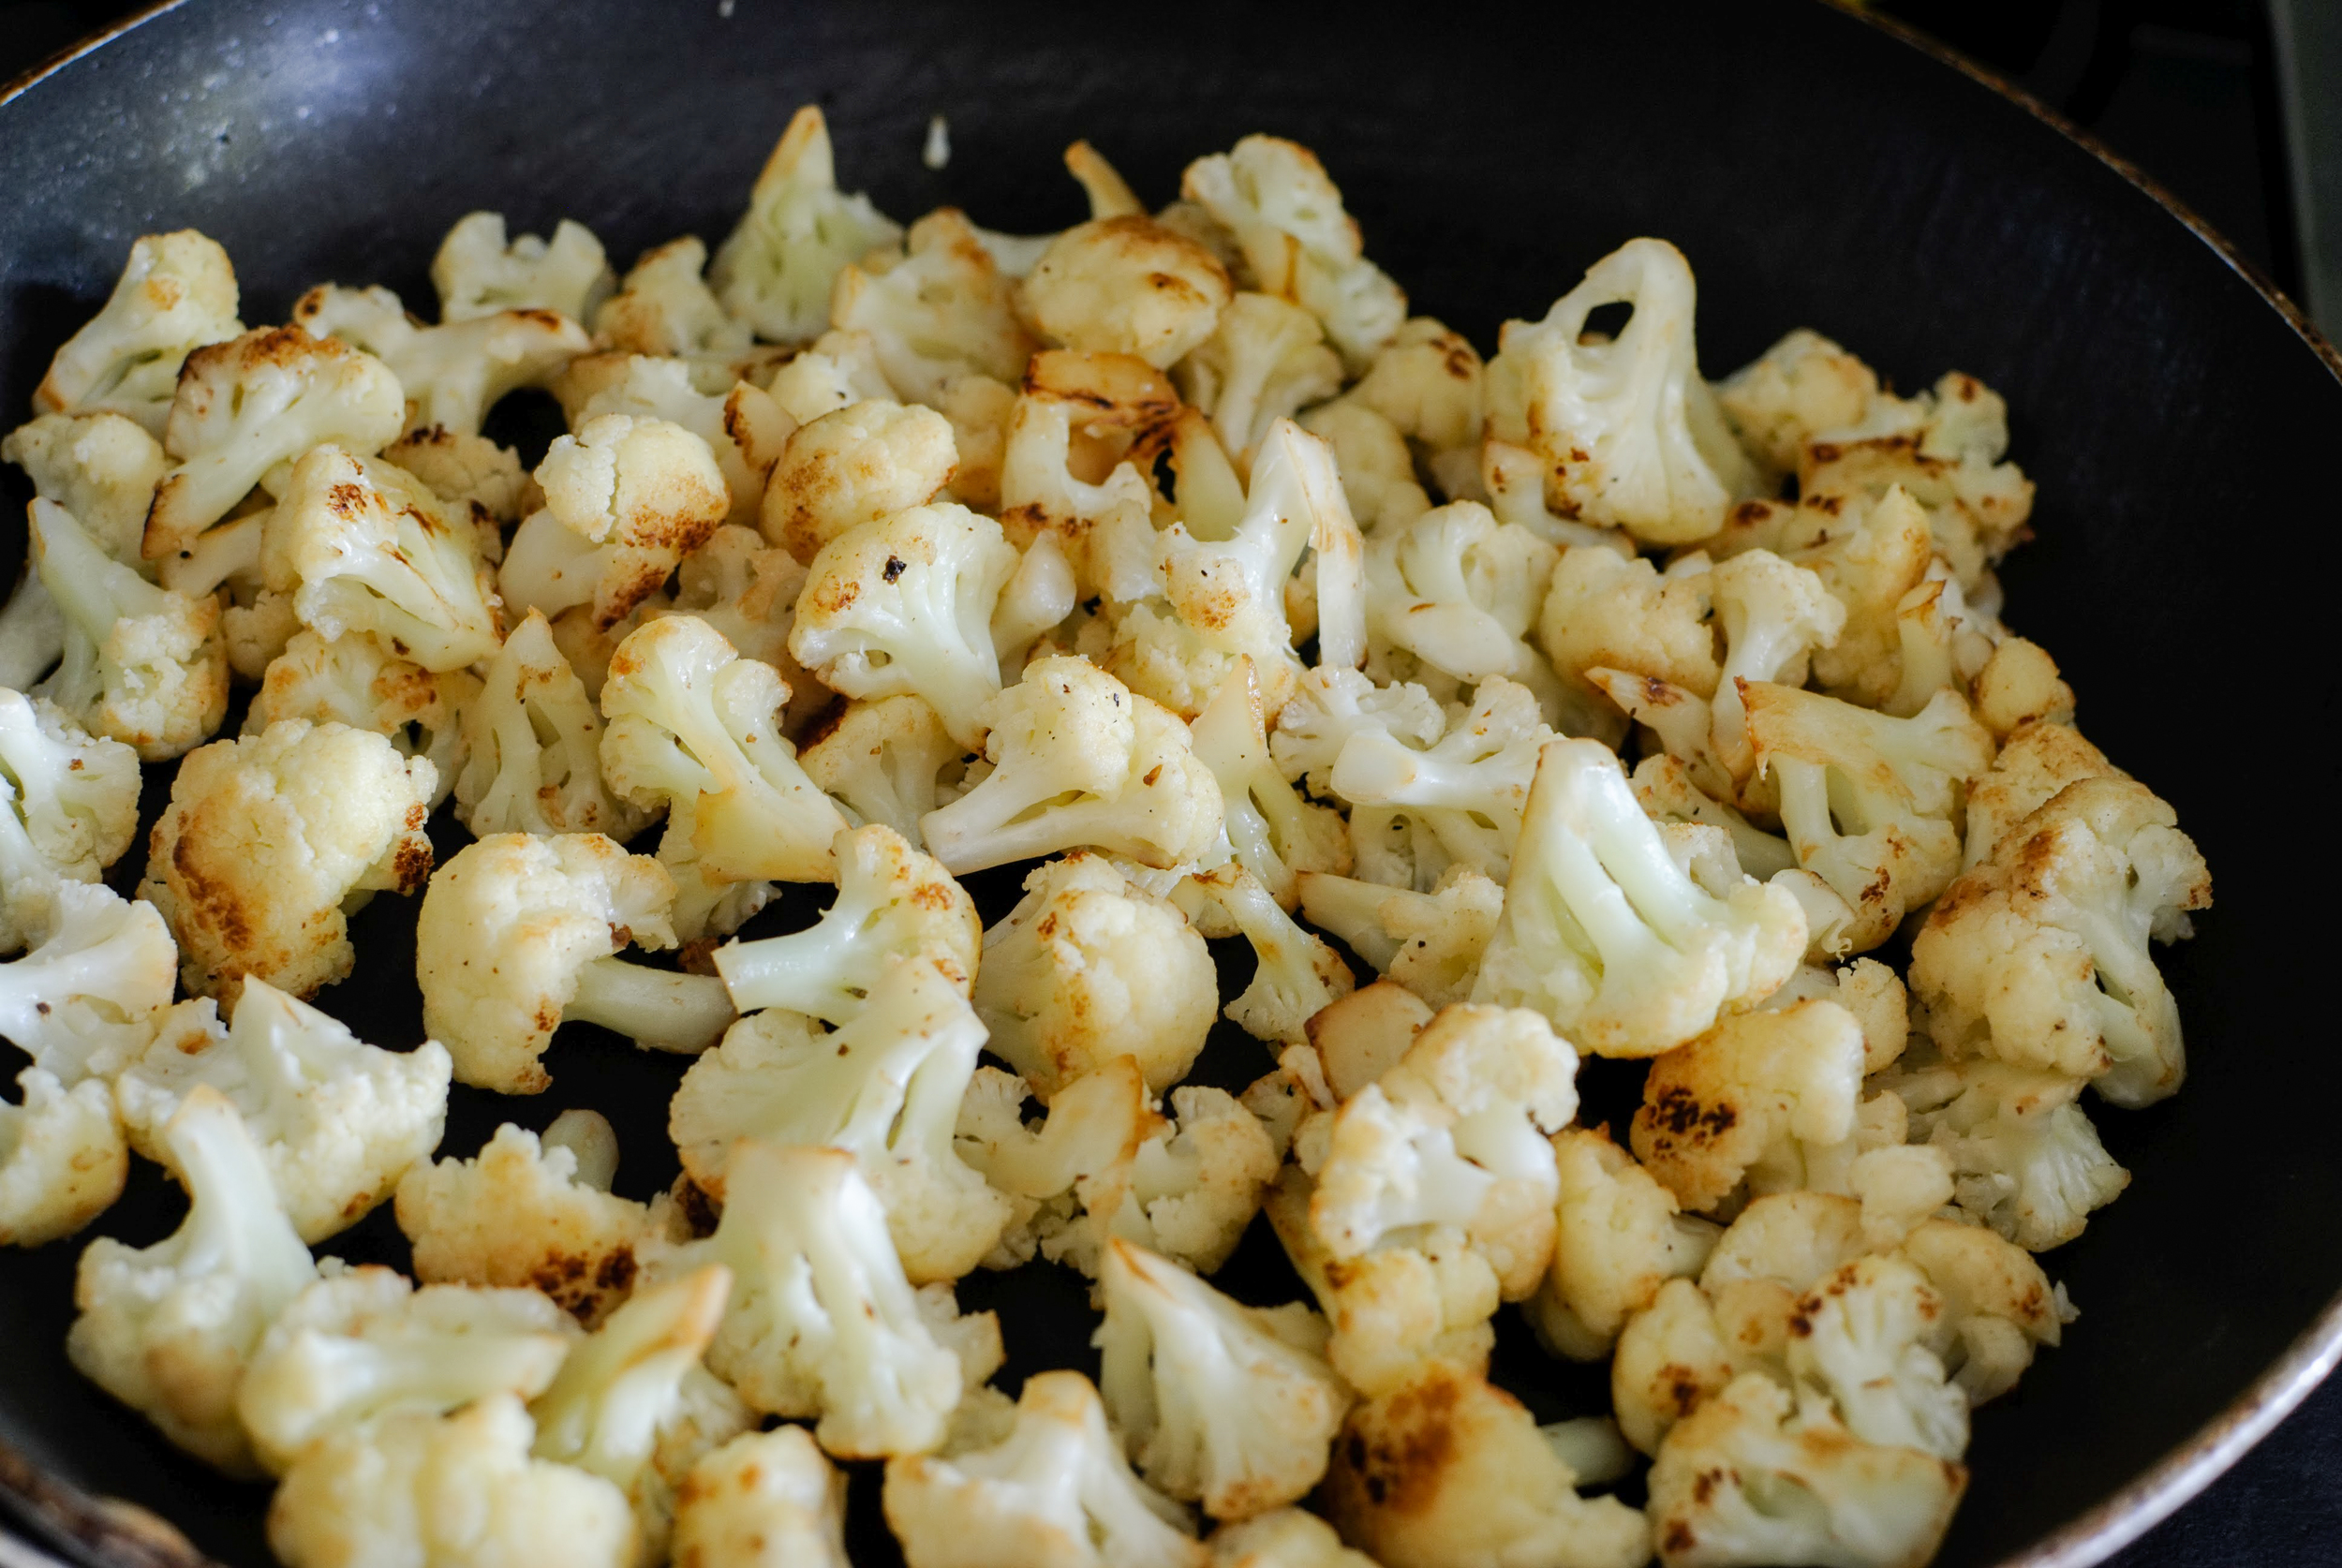
8 ounces crimini (brown) mushrooms, quartered
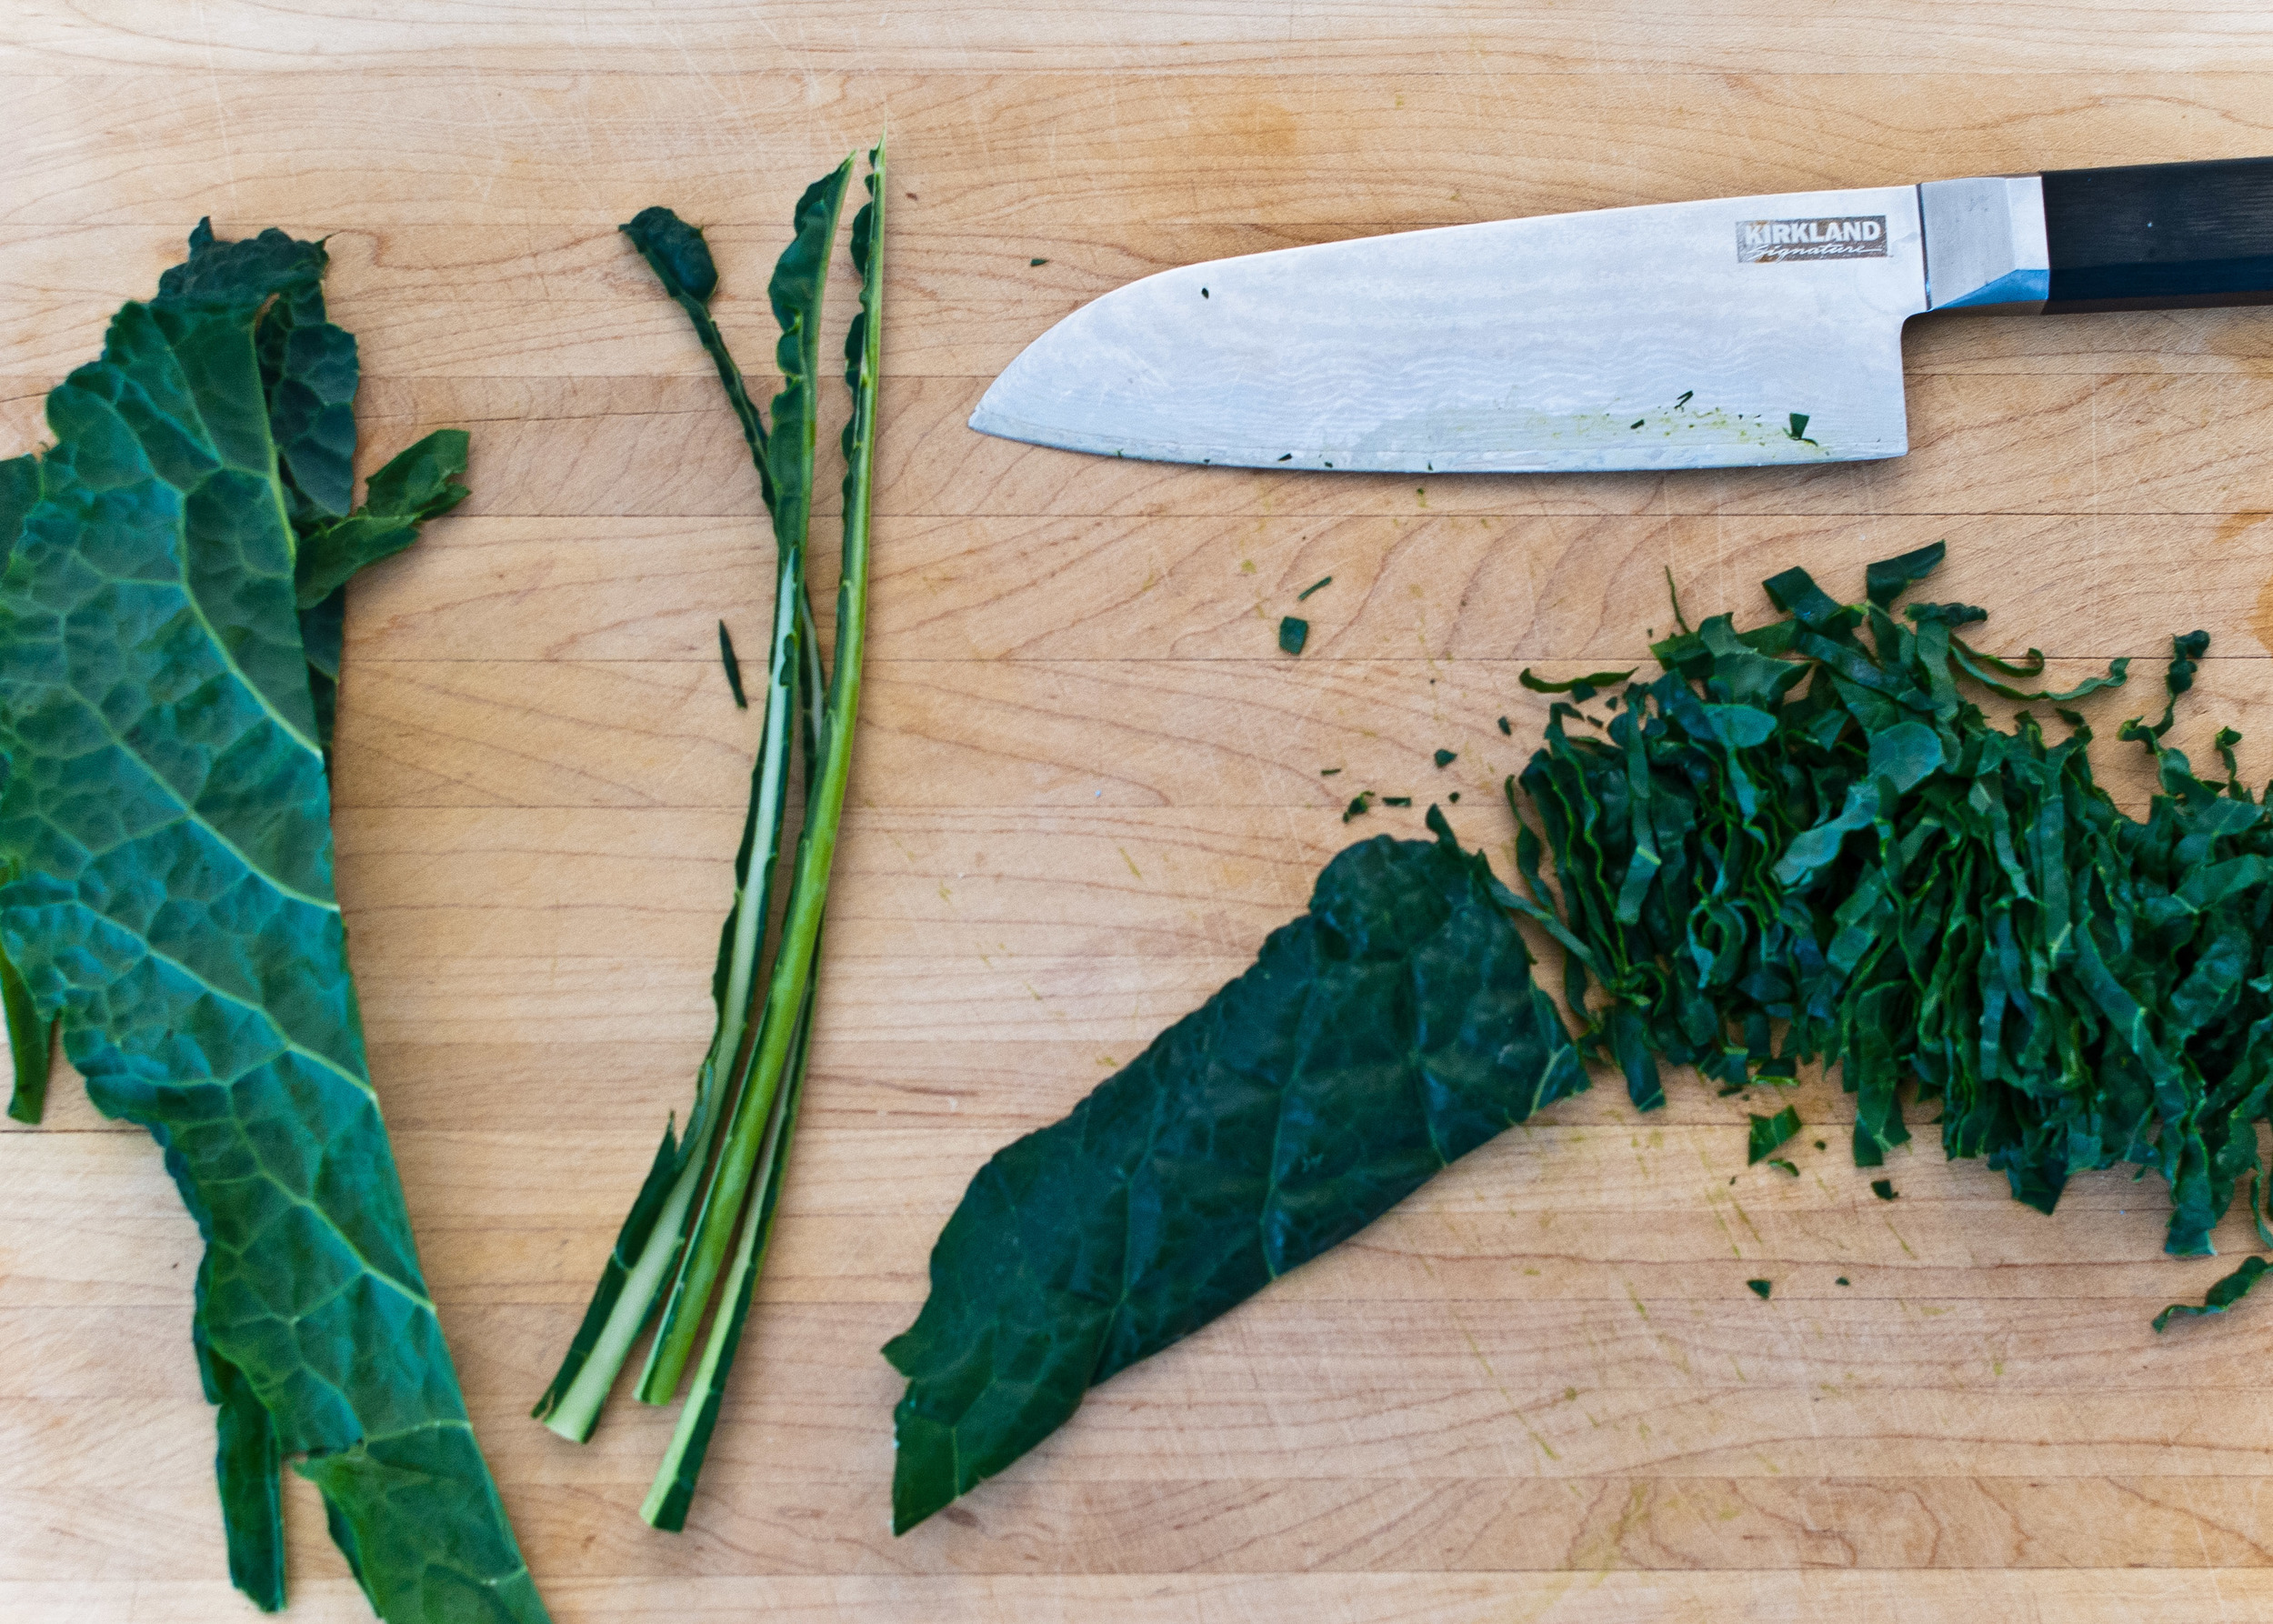
5 ounces baby spinach
3 tablespoons grape seed or olive oil, divided use
Kosher salt
Freshly ground pepper
For the quinoa:
2 cups quinoa
4 cups water
Kosher salt
1 lime, juiced
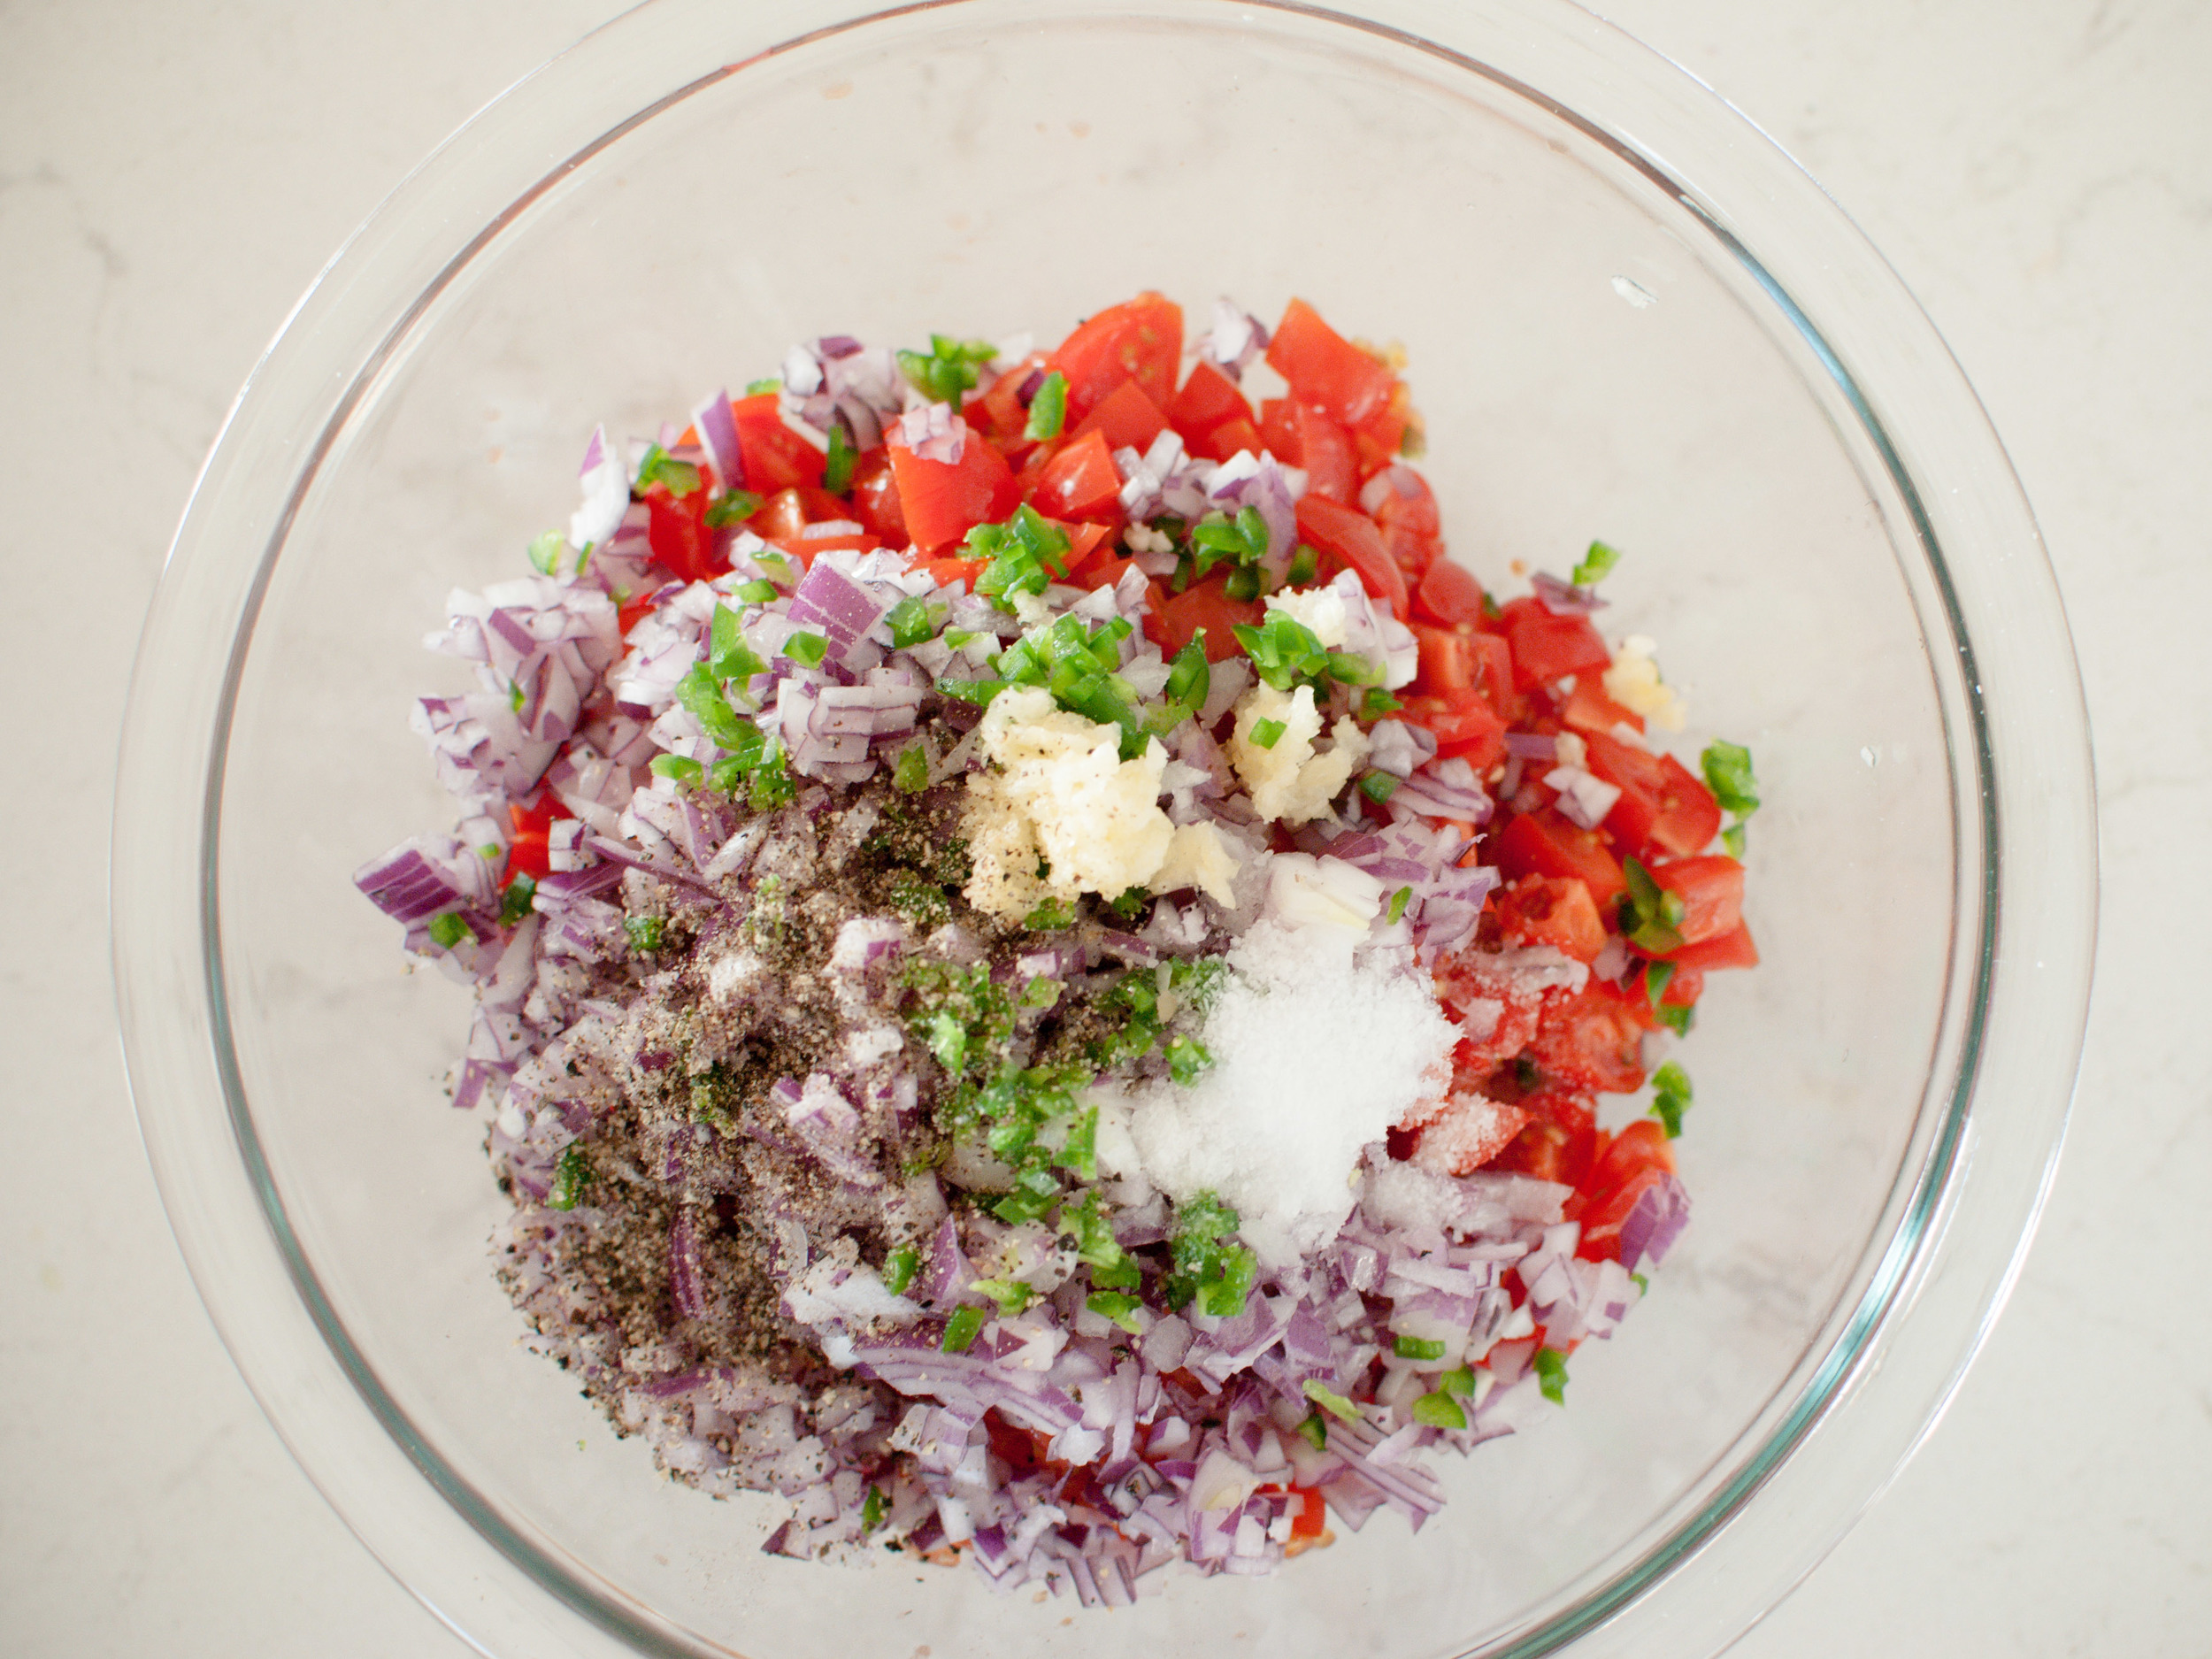
For the peanut sauce:
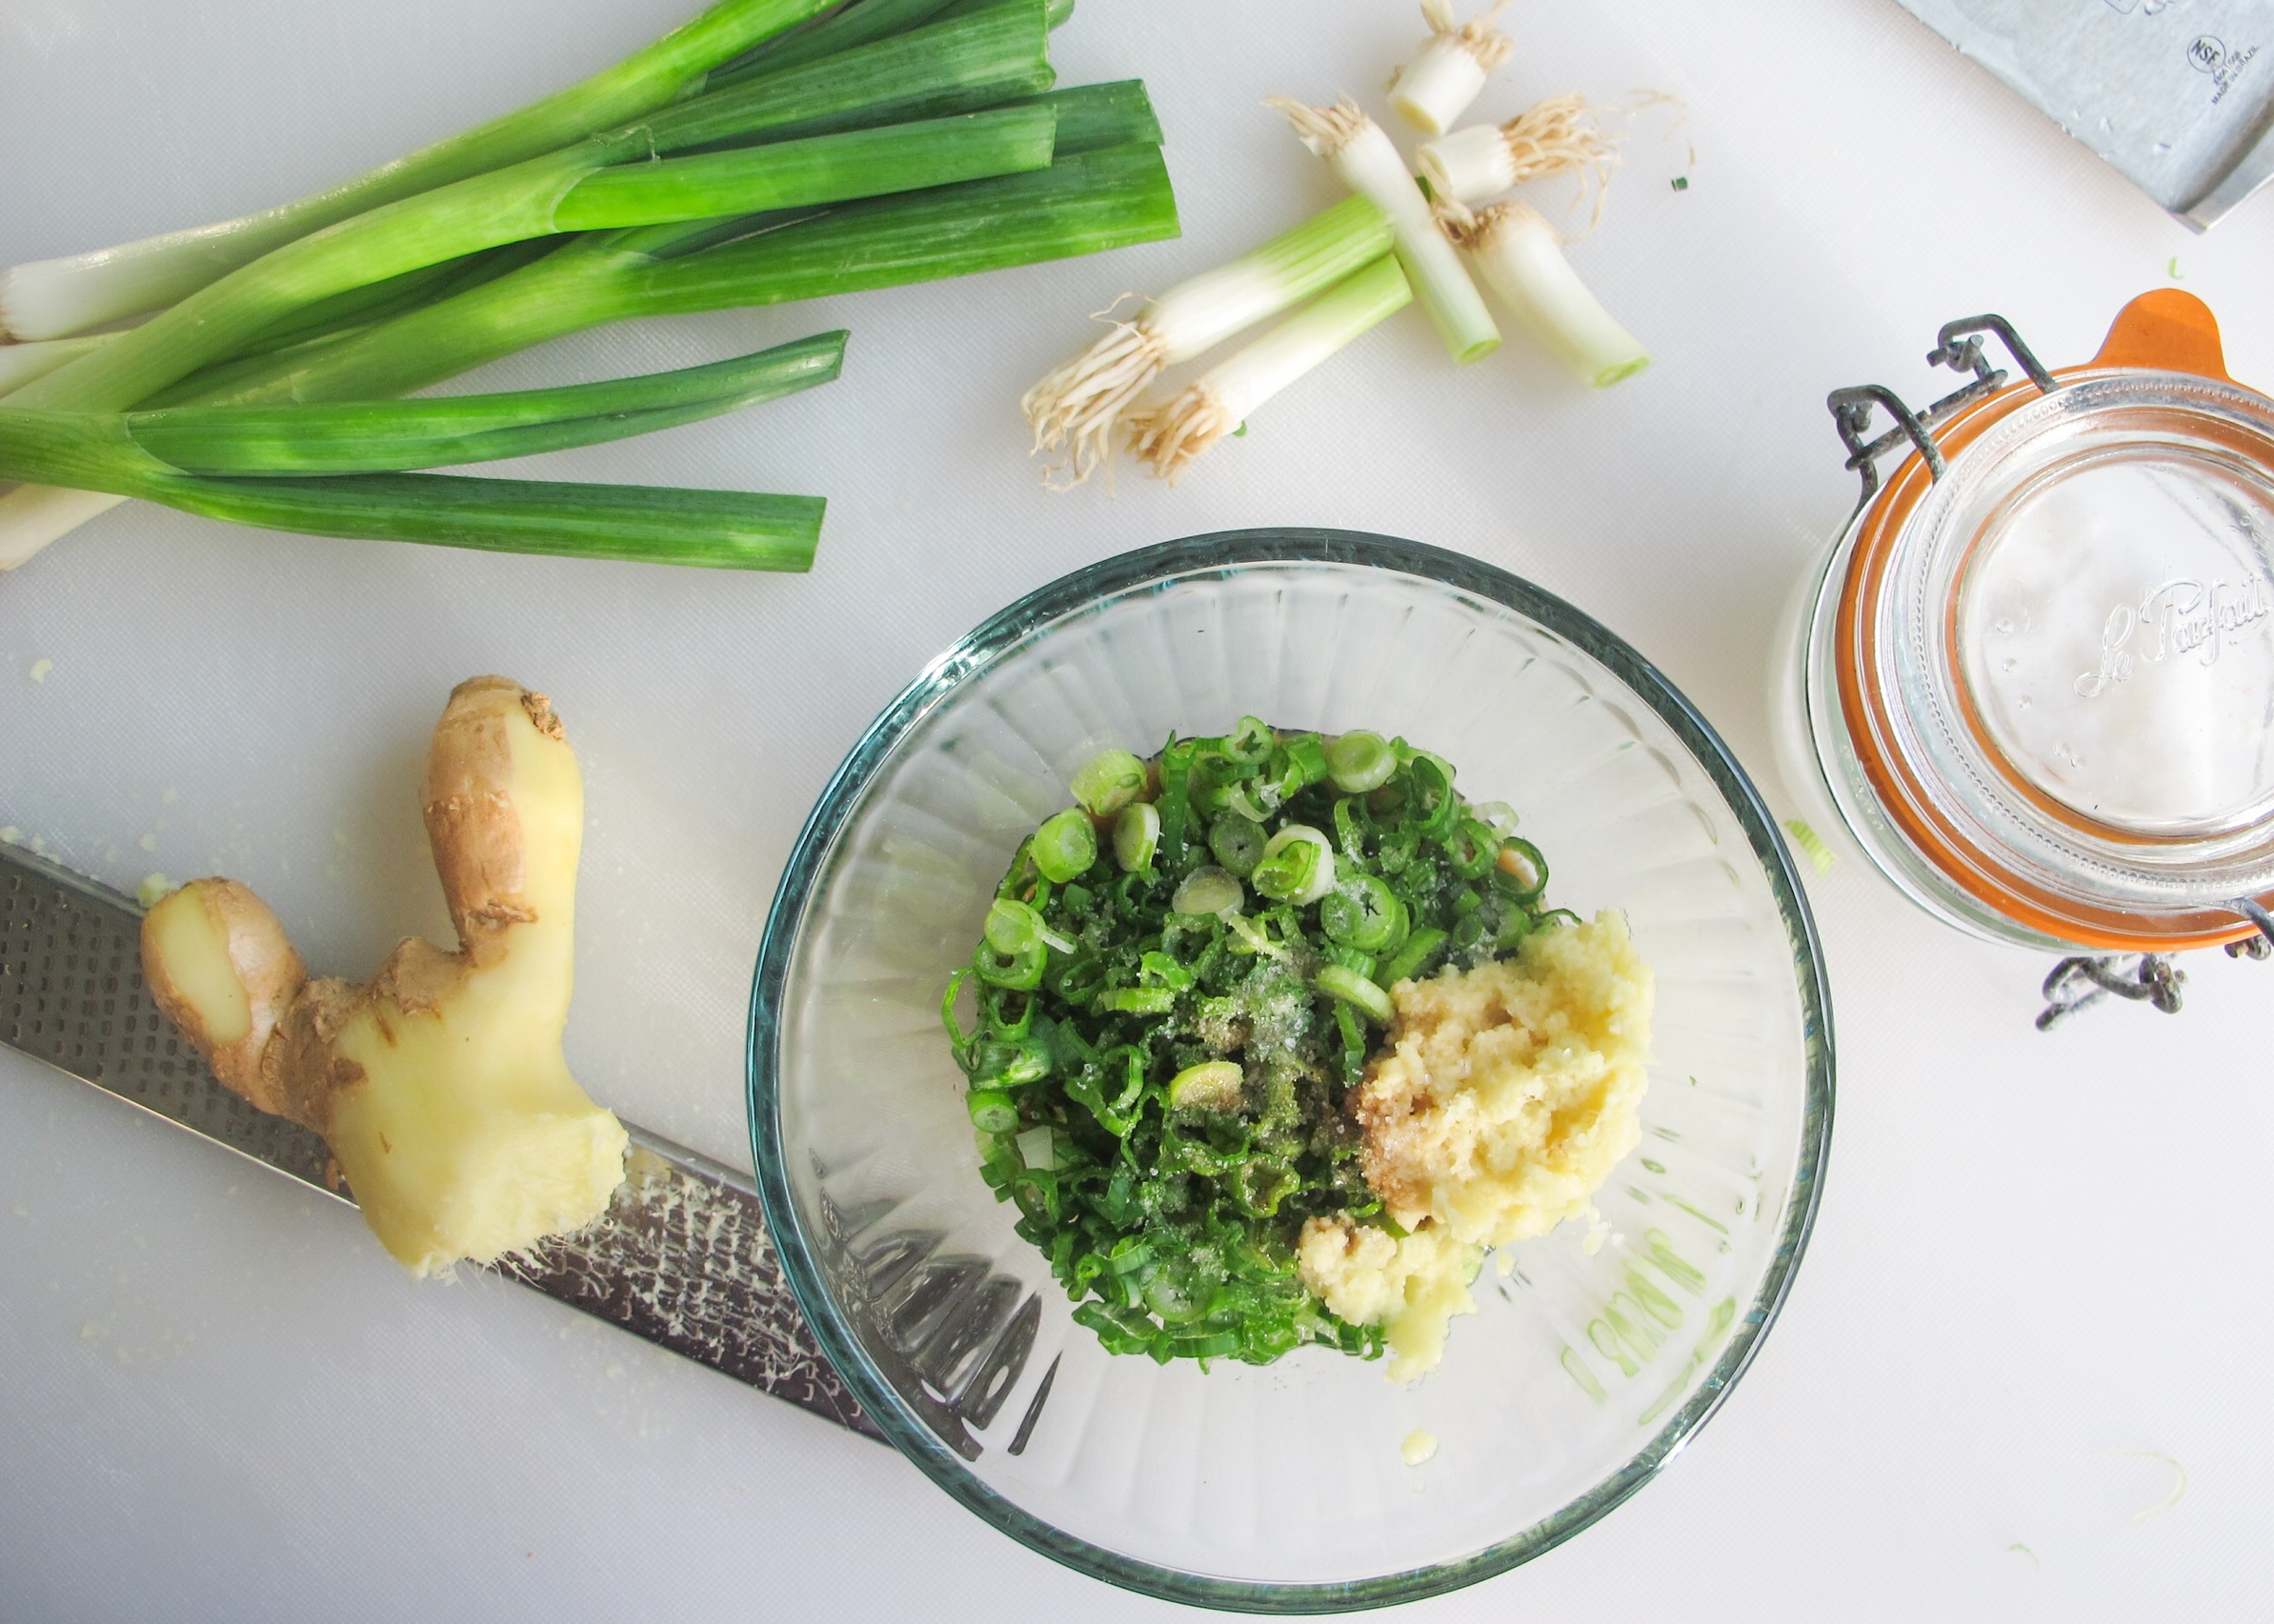
1 or 2 Jalapeño or Thai chiles, chopped (see notes above)
2 garlic cloves, grated or minced
1 cup creamy peanut butter
3/4 cup unsweetened coconut milk
2 tablespoons maple syrup
2 tablespoons soy sauce
2 teaspoons fish sauce (optional)
1/2 cup water
Kosher salt
For the garnishes:
Finely sliced green onions
Chopped cilantro
Chopped peanuts
For the vegetables and tofu: Preheat oven to 450 degrees F., with one rack in the top third of the oven and the second rack in the bottom third.
Cut tofu block in half horizontally (width-wise), and cube into roughly 1" pieces. Lay tofu in a single layer on top of a double-layer of paper towels to drain while preparing the vegetables.
Arrange butternut squash in a single layer on a rimmed baking sheet. Drizzle with 1 tablespoon oil and season with kosher salt and pepper; toss to coat squash evenly. Push the butternut squash to one side of the pan, keeping them in a single layer.
Blot the tofu cubes dry with another paper towel, pressing down on them gently to release any excess liquid. Arrange tofu next to the butternut squash. Drizzle with 2 teaspoons oil and season with kosher salt and pepper; toss gently to coat evenly. Space tofu so that they are in a single layer.
On a second rimmed baking sheet, toss quartered mushrooms with 2 teaspoons of oil, kosher salt and pepper; arrange in a single layer.
Place the butternut squash and tofu on the top oven rack and the mushrooms on the bottom rack. Roast for 25 minutes.
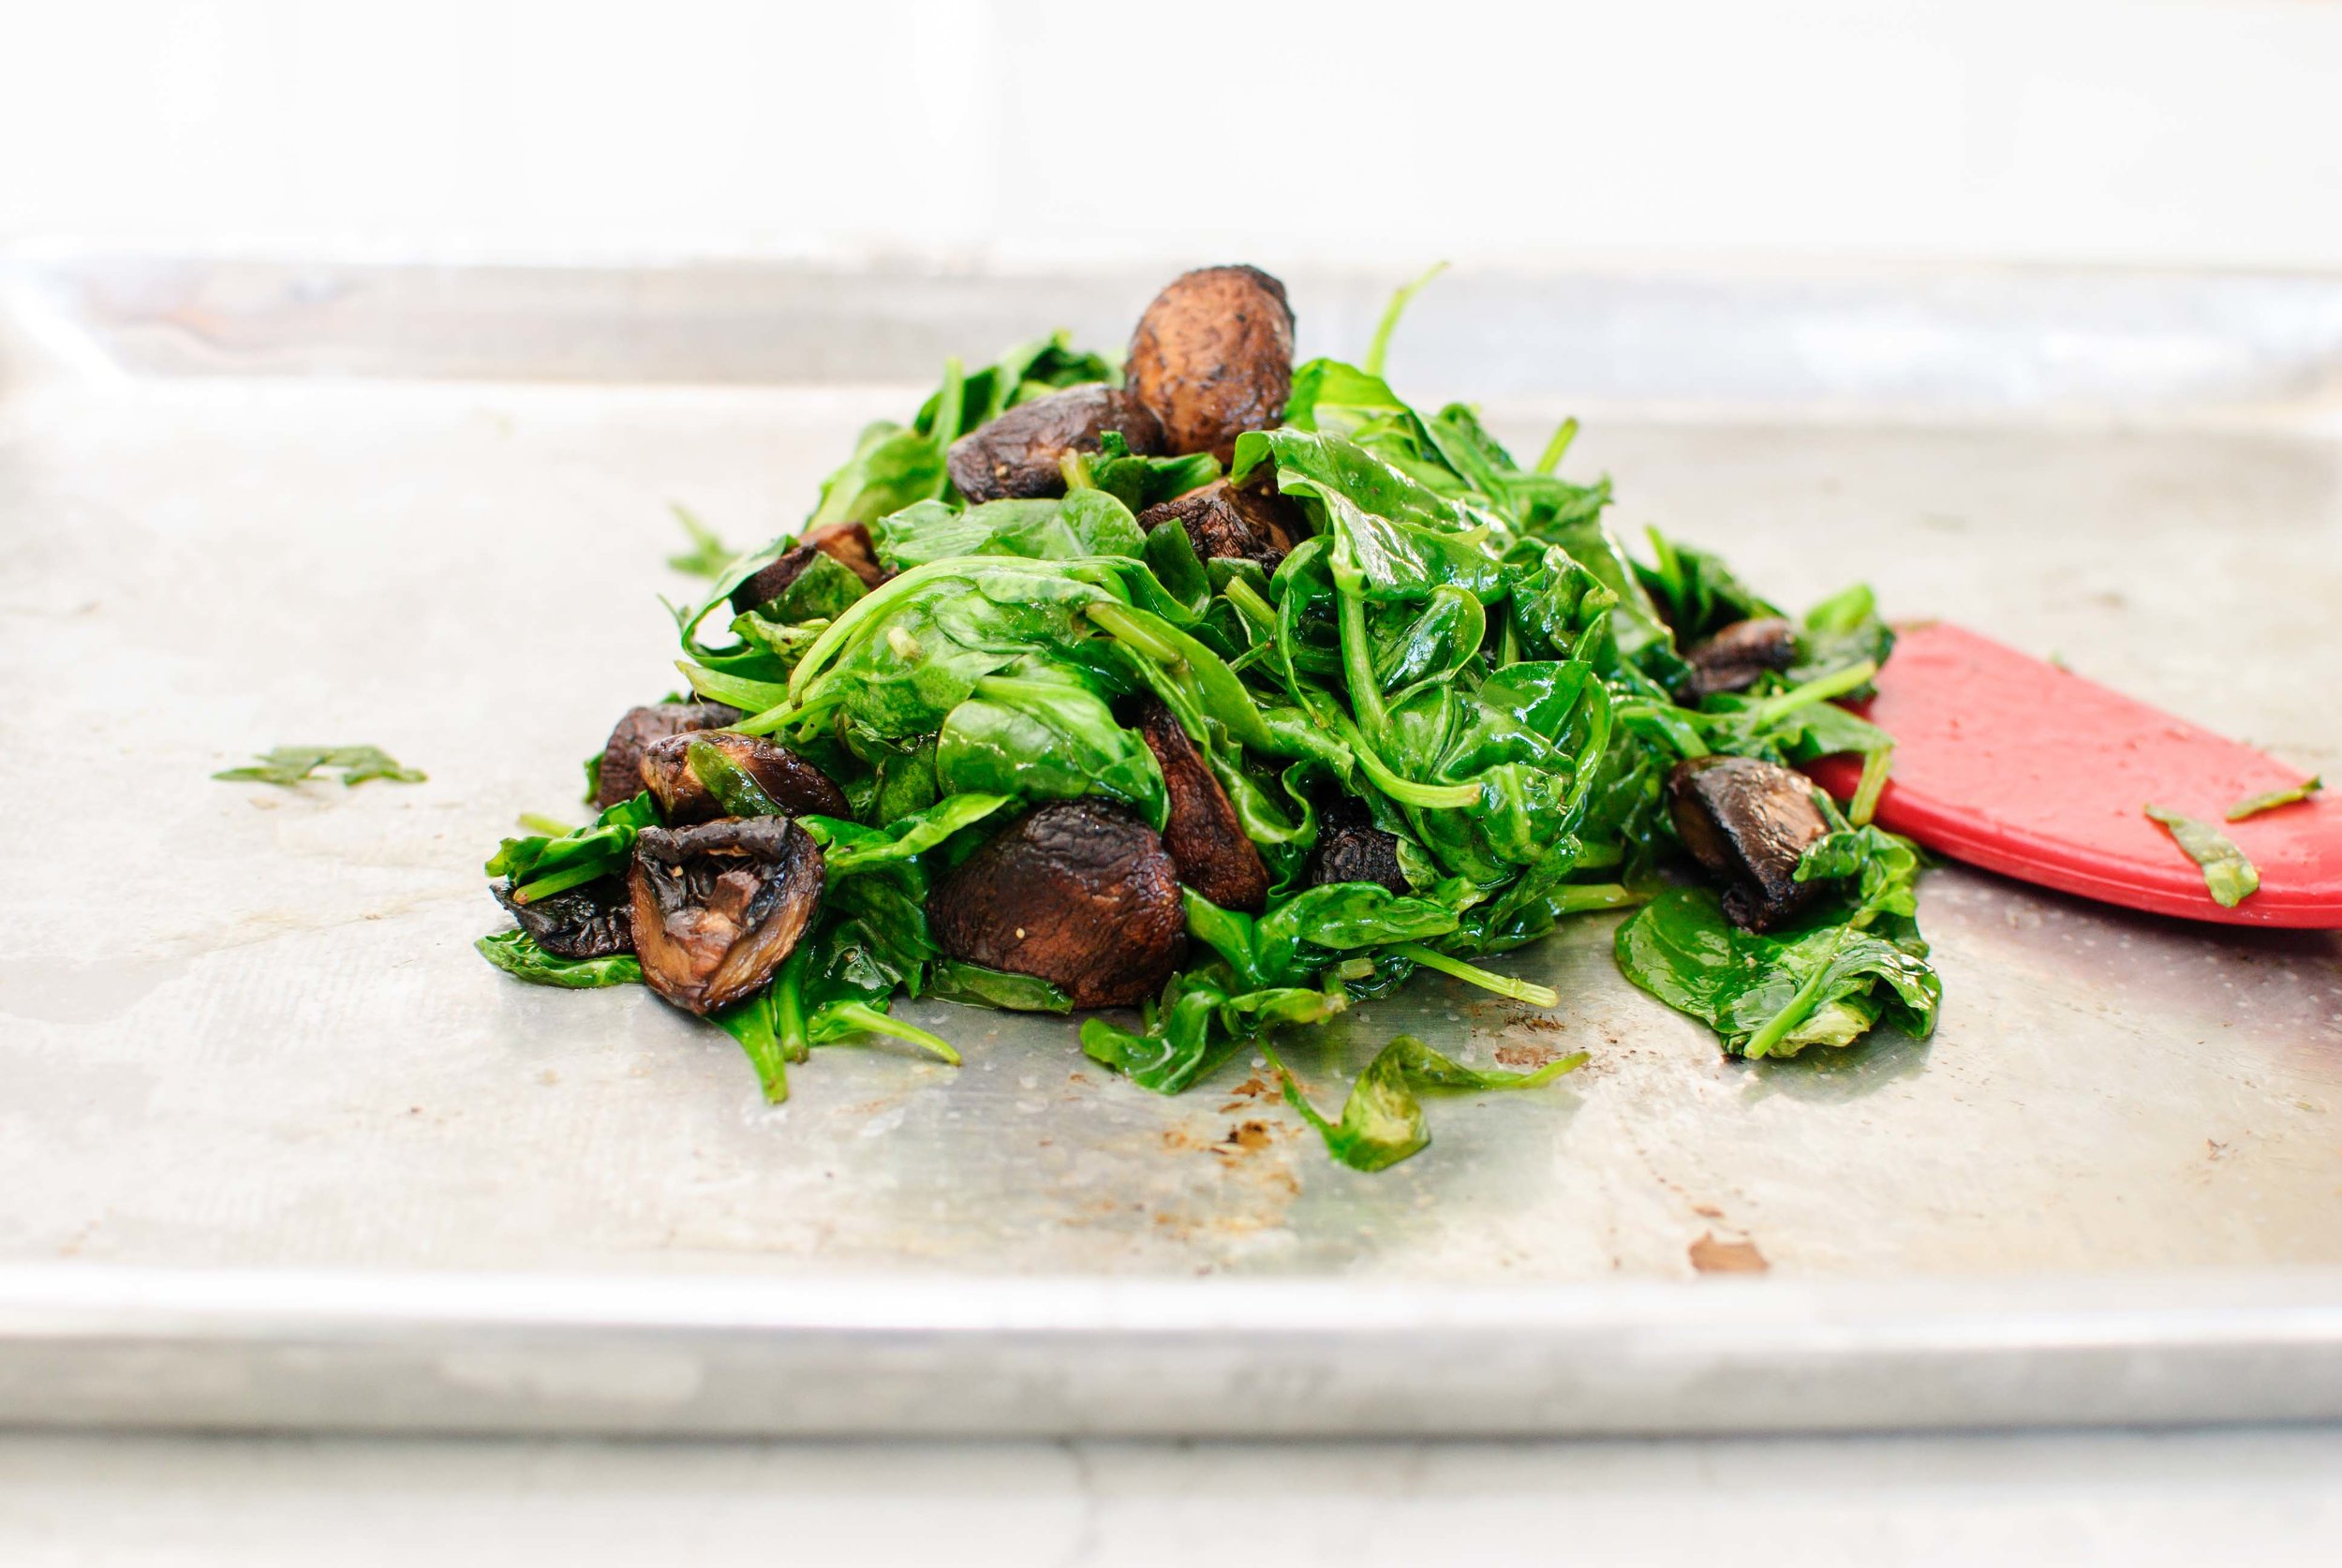
Add spinach to baking sheet with mushrooms, drizzle with 1 tablespoon of oil, kosher salt, and pepper; toss to combine. Continue to roast for 2 more minutes or until spinach is wilted. Remove both baking sheets from oven. Check the butternut squash with a fork–there should be little resistance. If squash is not done, return baking sheet to the oven for another 5 minutes.
For the quinoa: Bring 2 cups of quinoa, 4 cups of water, and a generous pinch of salt to a boil, then reduce to low, cover, and simmer for 15 minutes. Remove from heat and let sit for 5 minutes, before fluffing with a fork. Drizzle with lime juice and stir with a fork to combine.
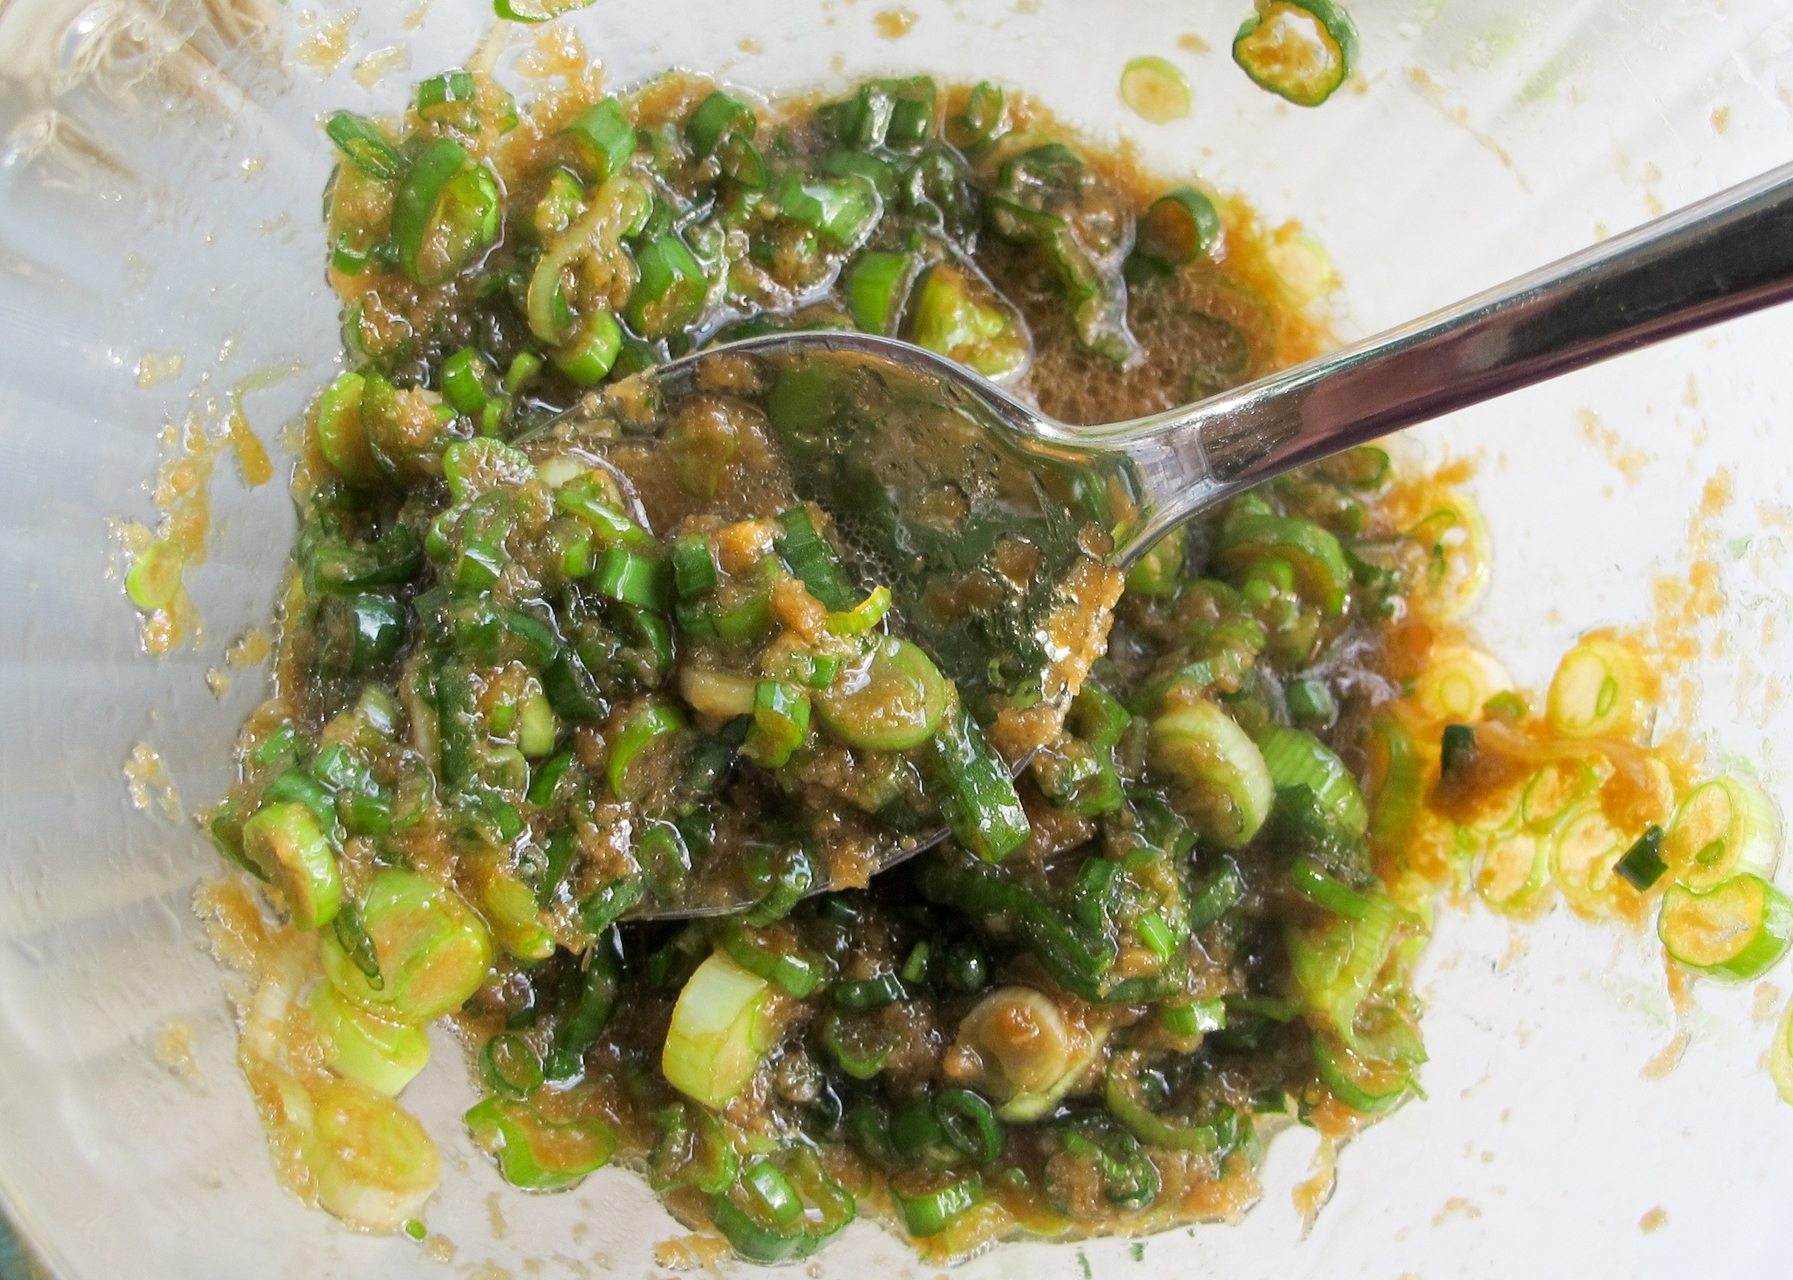
For the sauce: Pulse all the ingredients, except water and salt, together in a blender until smooth. Pour into saucepan with water and whisk together over medium-low heat until hot. Remove from heat.
To assemble: Place quinoa at the bottom of a bowl. Heap roasted vegetables over the quinoa and drizzle generously with peanut sauce. Garnish with green onions, cilantro, and chopped peanuts.