

As I emptied out yet another Costco-sized container of plain yogurt, I wondered to myself if I could maybe make this at home. It turns out that homemade yogurt is surprisingly easy to make and also really economical, if you enjoy eating yogurt as much as I do! I find it to be creamier, silkier, and smoother than most commercial yogurts, but the best part is that I get to customize just how tangy I want the yogurt to taste. In this case, I went for a mildly tangy flavor (fermented for 6-7 hours), that I could enjoy with this addictive granola without the need to add any additional sweetener; it was a match made in heaven!
Notes: I like homemade yogurt made with whole milk best, but it can also be made with 2% or non-fat milk. The less fat in the milk, the runnier it will be. (There are recipes that have tricks like adding powdered milk to non-fat milk to thicken up the yogurt - I have faith in your Googling skills to find that info if you need it.) Use any brand commercial plain yogurt (that you like the taste of) as a starter - it doesn't matter if it's whole, low fat, or non-fat yogurt. You can reserve some of your first batch of yogurt to use as a starter for the next batch. After about 5 batches, you will probably need to start again with new commercial yogurt as the starter. To continue using your starter indefinitely, there are heirloom/re-usable yogurt starters that you can purchase.
I used a cooler to incubate my yogurt, but any warm place will do. Examples include an oven with the light turned on and covering the jars with a thick towel in a sunny window.
To make Greek-style yogurt, set a double-layer of cheesecloth in a colander, and put the colander in a bowl. Pour the finished yogurt into the colander, and let strain in the refrigerator until it's the thickness you desire (2-4 hours).
The recipe below uses mason jars to ferment and store the yogurt. If you don't need the pot you are using to heat the yogurt for anything else, you could also just use that same pot to ferment the yogurt. Just put a lid on the pot after stirring in the yogurt starter, and put in a warm spot, as directed.
Read More: The Shared Brunch


Time: 20 minutes, not including time for yogurt to ferment
Yield: About 14 cups
1 gallon milk (preferably whole or 2%)
1/2 cup heavy cream (optional)
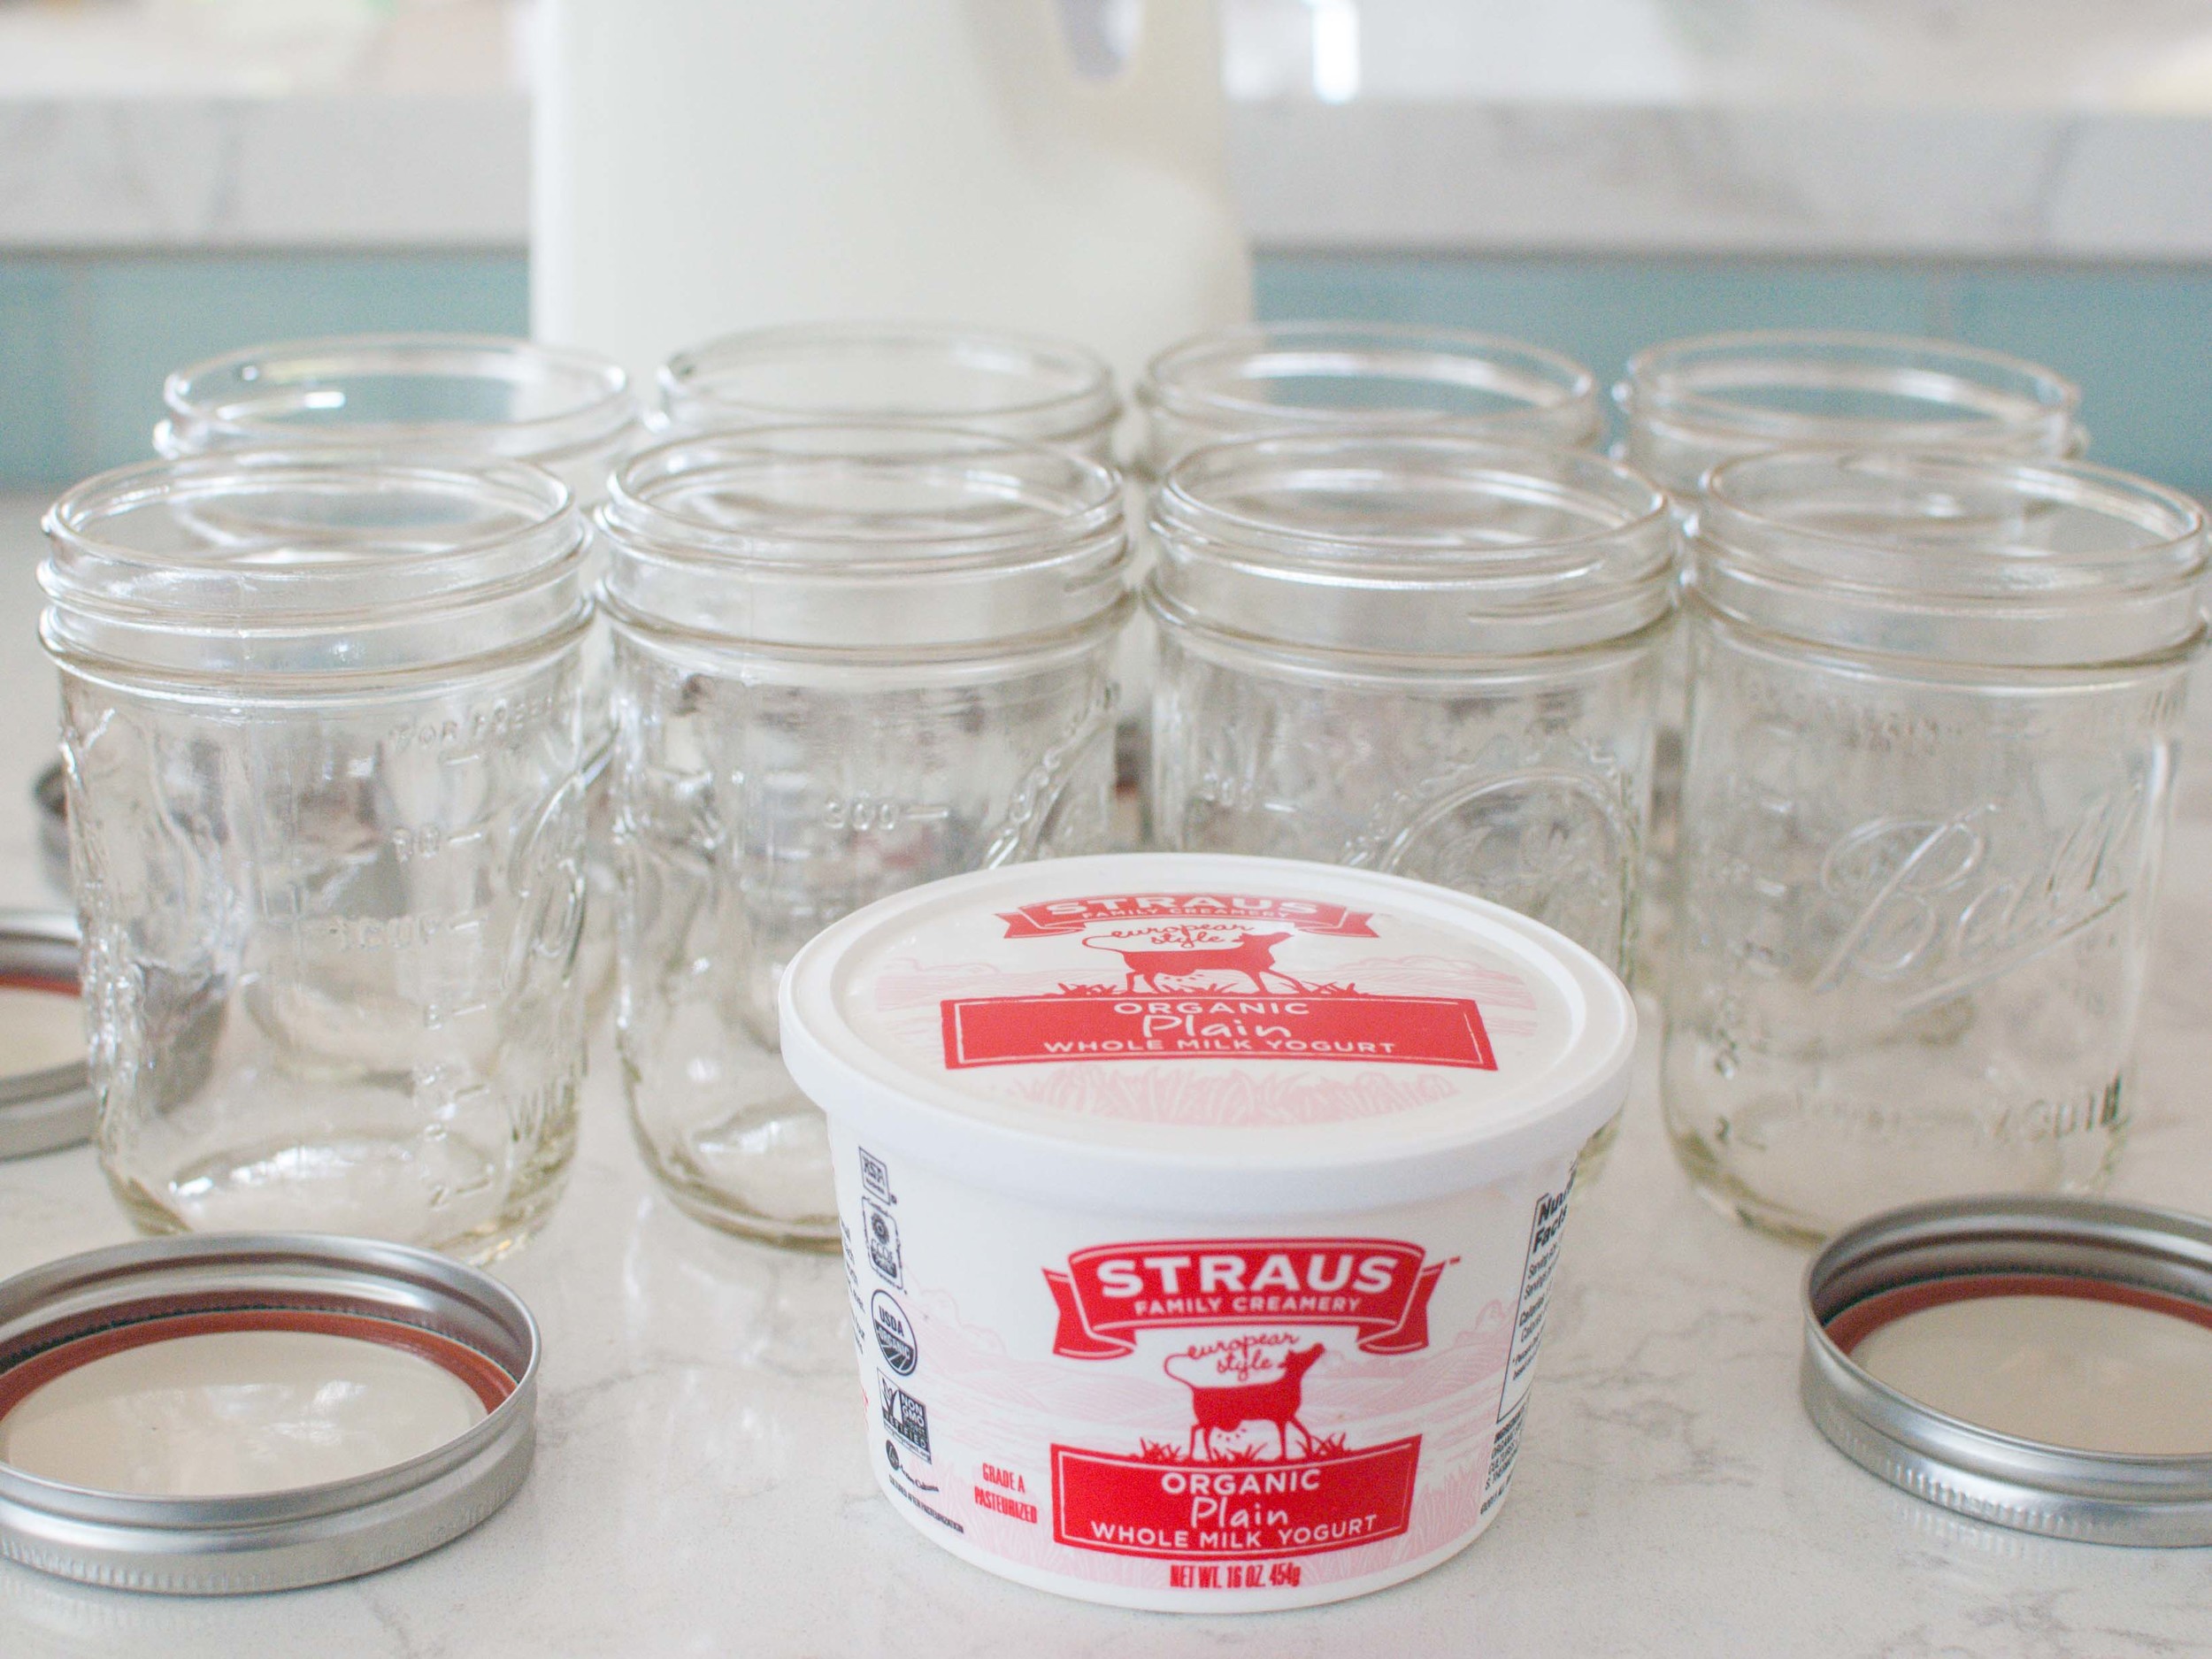
2/3 cup commercial plain yogurt with active live, cultures (I used Strauss brand.)
Sterilize four quart-size (or six pint-size) mason jars by filling them with boiling water, and let sit for 5 minutes. Then pour the water out and let the jars dry. (The jars will be very hot from the boiling water!) You can also just ferment the yogurt in the pot that you use to warm the milk.
Rinse the inside of a large pot with cold water (do not dry). Pour milk (and cream, if using) into the hot and heat over medium-high heat to 190 degrees F. You will see small bubbles/foam forming on the surface of the milk. Remove pot from heat, and let cool to about 115 degrees F. (To speed up the cooling process, set the pot in a sink filled with ice water. Stir occasionally to evenly cool the milk.) Whisk commercial plain yogurt with 1/2 cup of the cooled milk in a small bowl. Pour this mixture back into the pot and stir well.
Pour the cooled milk mixture into the sterilized jars. (You will have a little extra yogurt leftover, after you fill the jars with yogurt.) Set jars in a warm area to sit undisturbed for 6-12 hours. (I put mine in a cooler filled with about an inch of very warm tap water.) Six hours yields a mildly tart yogurt, while 12 hours will be very tart.
Chill the yogurt in the refrigerator for at least 4 hours. The yogurt will thicken as it cools.