yogurt

Polenta Cake with Olive Oil and Lemon by Amy Cantu

Print Friendly and PDF

I had this lemony, moist, squidgy, lightly gritty polenta cake stuck in my head. I knew just how I wanted it to look, taste, and feel in my mouth, but I was having trouble actually baking it. This one took three tries, but the results were totally worth it. I tried it as a loaf cake first, but the middle kept sinking, and the top was unattractively mottled dark brown. The Polenta Cake might seem plain Jane and suspiciously like cornbread, but I promise that its humble looks are deceiving. The olive oil and yogurt keep this Polenta Cake moist and just a bit dense, the lemon lends a bright citrusy flavor, and the polenta adds texture and earthiness. I love it on its own as a snack cake, (I'm determined to make "snack cake" a cake genre,) drizzled with a lemon glaze, in a trifle, or as it is here - topped with billows of lightly sweetened whipped cream and ripe summer fruit. The genius of Polenta Cake with Olive Oil and Lemon is in its simplicity.

Notes: Polenta Cake with Olive Oil and Lemon is perfect for making a Berry Trifle because it's sturdy and textured enough to hold together under the many layers, but also moist and delicious all on its own. If you're not feeding a crowd, the cake can just as easily be sliced into squares and topped with whipped cream (or ice cream!) and any in-season fruit. In the winter, it would be lovely with poached pears or an apple-cinnamon compote - YUM!


Active time: 5 minutes, Inactive time: 35 minutes
Yield: One 9 x 9" cake

1 cup flour
1/2 cup polenta
2 teaspoons baking powder
1/2 teaspoon kosher salt
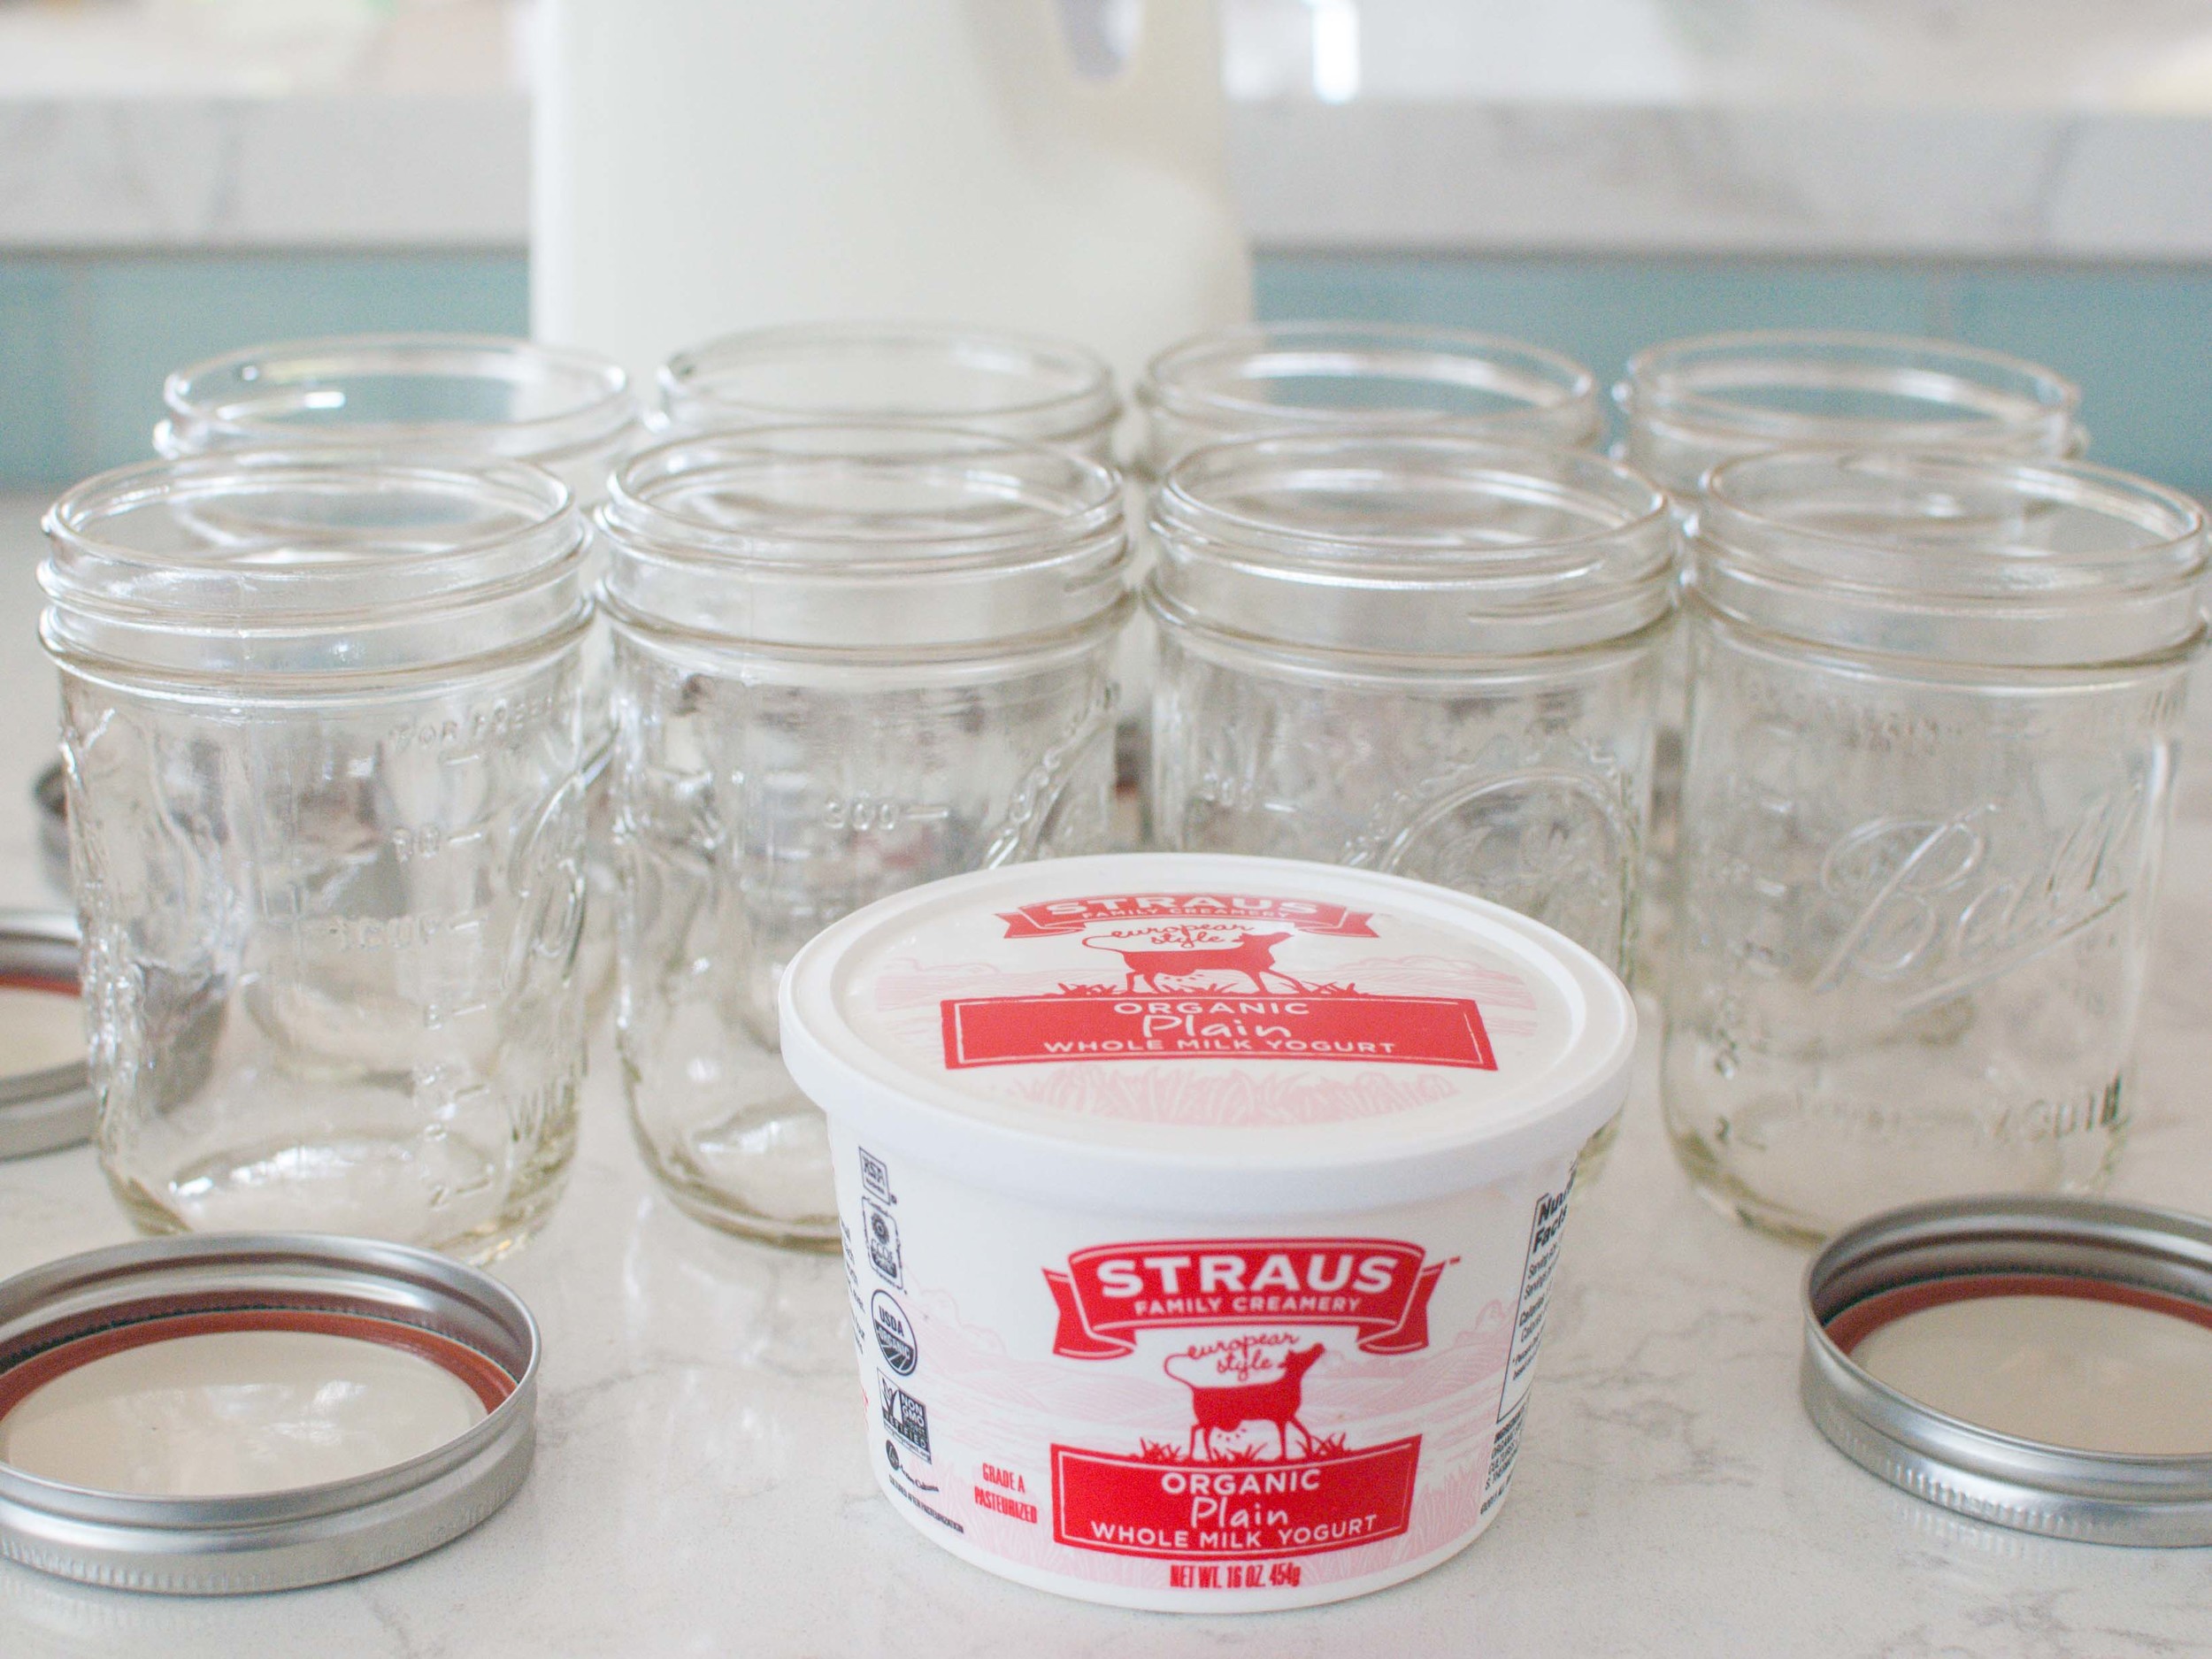
1 cup plain whole-milk yogurt
1 cup granulated sugar
3 eggs
2 teaspoons grated lemon zest
1/2 teaspoon vanilla extract
1/2 cup olive oil, plus extra to grease the cake pa

Preheat oven to 350 degrees F. Grease a 9 x 9" metal cake pan with cooking spray or olive oil. Line the bottom and two sides with parchment paper, and grease the parchment paper again. Set aside.

Whisk together flour, polenta, baking powder, and salt in a medium bowl.

In a separate large bowl, whisk together yogurt, sugar, eggs, lemon zest, vanilla, and olive oil. Slowly whisk the dry ingredients into the wet ingredients, until just mixed together with no dry spots.

Pour cake batter into the prepared pan and bake for 30-35 minutes, or until a toothpick poked into the center of the cake comes out clean. Let cool completely before slicing. Cut into squares and serve with whipped cream and berries or use to make Berry Trifle.

Recipe inspired by Ina Garten's Lemon Yogurt Cake.

Purple Rain Smoothie by Christine Pedlar

Print Friendly and PDF

Smoothies are a quick easy way to make sure you get your fruits and veggies in and can be as varied as your imagination, tastes, and nutritional aspirations. Need some extra protein or Omega-3's? Smoothies can do the trick. I like them any time I'm feeling too lazy to make a salad, 'cause let's face it, dealing with a bunch of veggies can sometimes feel like a chore. They're also great pre or post workout, when you want something to go, or crave something simple, satisfying but not heavy.

You've probably heard, Prince went to the Afterworld this week. This makes me sad. But maybe you didn't know, Prince dug smoothies. So it's only fitting I have something in my repertoire honoring him. When I'm craving something sweet and decadent, this is it. Chocolate covered berries in a glass that will have you partying like it's 1999, or at the very least, Paisley Park in 2010. And the Greek yogurt packs a lot of protein, you know, in case you have to go do the splits on top of a Grand Piano or something. Or maybe just recover from a run or spin class like the rest of us mortals.

Notes: I find some Greek yogurts to be a bit chalky for my taste (ahem, Fage), so you might want to experiment with what you like and is available in your area. If I'm feeling flush, Strauss' Organic Nonfat Plain Yogurt is my favorite, but Trader Joe's Greek Style Nonfat Plain Yogurt is the best choice I've found for a decent price.

If you want to make this recipe vegan like Prince, simply swap out the Greek yogurt for cultured coconut milk or soy yogurt.

Raw cacao powder can be found at natural food stores or online. My 88 year-old grandfather turned me on to putting it in smoothies. He buys it on Amazon 'cause he's fly like that, but I get it might be hard to find or on the spendy side. So it's totally cool with me if you want to use good old fashioned cocoa powder instead. You can also substitute the almond milk with any other kind of milk you enjoy.


Time: 10 minutes
Servings: Two 16 ounce glasses

Place ingredients in a blender going down this list in order, first to last. The layering order makes a difference. 

1 cup unsweetened vanilla (or regular) almond milk
1 teaspoon vanilla extract
2 tablespoons raw cacao powder
½ to 1 tablespoon honey
5 ounces baby spinach
1 cup Greek yogurt
2 cups frozen berries (take your pick – blueberries or cherries are my favorites) 
1 frozen banana
Optional: 2 tablespoons hemp hearts or chia seeds if you're looking for some Omega-3's. Add into the blender after yogurt. 

Blend well. Party!

Homemade Yogurt by Amy Cantu

Print Friendly and PDF

As I emptied out yet another Costco-sized container of plain yogurt, I wondered to myself if I could maybe make this at home. It turns out that homemade yogurt is surprisingly easy to make and also really economical, if you enjoy eating yogurt as much as I do! I find it to be creamier, silkier, and smoother than most commercial yogurts, but the best part is that I get to customize just how tangy I want the yogurt to taste. In this case, I went for a mildly tangy flavor (fermented for 6-7 hours), that I could enjoy with this addictive granola without the need to add any additional sweetener; it was a match made in heaven!

Notes: I like homemade yogurt made with whole milk best, but it can also be made with 2% or non-fat milk. The less fat in the milk, the runnier it will be. (There are recipes that have tricks like adding powdered milk to non-fat milk to thicken up the yogurt - I have faith in your Googling skills to find that info if you need it.) Use any brand commercial plain yogurt (that you like the taste of) as a starter - it doesn't matter if it's whole, low fat, or non-fat yogurt. You can reserve some of your first batch of yogurt to use as a starter for the next batch. After about 5 batches, you will probably need to start again with new commercial yogurt as the starter. To continue using your starter indefinitely, there are heirloom/re-usable yogurt starters that you can purchase.

I used a cooler to incubate my yogurt, but any warm place will do. Examples include an oven with the light turned on and covering the jars with a thick towel in a sunny window.

To make Greek-style yogurt, set a double-layer of cheesecloth in a colander, and put the colander in a bowl. Pour the finished yogurt into the colander, and let strain in the refrigerator until it's the thickness you desire (2-4 hours).

The recipe below uses mason jars to ferment and store the yogurt. If you don't need the pot you are using to heat the yogurt for anything else, you could also just use that same pot to ferment the yogurt. Just put a lid on the pot after stirring in the yogurt starter, and put in a warm spot, as directed.


Read More: The Shared Brunch


Time: 20 minutes, not including time for yogurt to ferment
Yield: About 14 cups

1 gallon milk (preferably whole or 2%)
1/2 cup heavy cream (optional)
2/3 cup commercial plain yogurt with active live, cultures (I used Strauss brand.)

Sterilize four quart-size (or six pint-size) mason jars by filling them with boiling water, and let sit for 5 minutes. Then pour the water out and let the jars dry. (The jars will be very hot from the boiling water!) You can also just ferment the yogurt in the pot that you use to warm the milk.

Rinse the inside of a large pot with cold water (do not dry). Pour milk (and cream, if using) into the hot and heat over medium-high heat to 190 degrees F. You will see small bubbles/foam forming on the surface of the milk. Remove pot from heat, and let cool to about 115 degrees F. (To speed up the cooling process, set the pot in a sink filled with ice water. Stir occasionally to evenly cool the milk.) Whisk commercial plain yogurt with 1/2 cup of the cooled milk in a small bowl. Pour this mixture back into the pot and stir well.

Pour the cooled milk mixture into the sterilized jars. (You will have a little extra yogurt leftover, after you fill the jars with yogurt.) Set jars in a warm area to sit undisturbed for 6-12 hours. (I put mine in a cooler filled with about an inch of very warm tap water.) Six hours yields a mildly tart yogurt, while 12 hours will be very tart.

Chill the yogurt in the refrigerator for at least 4 hours. The yogurt will thicken as it cools.