
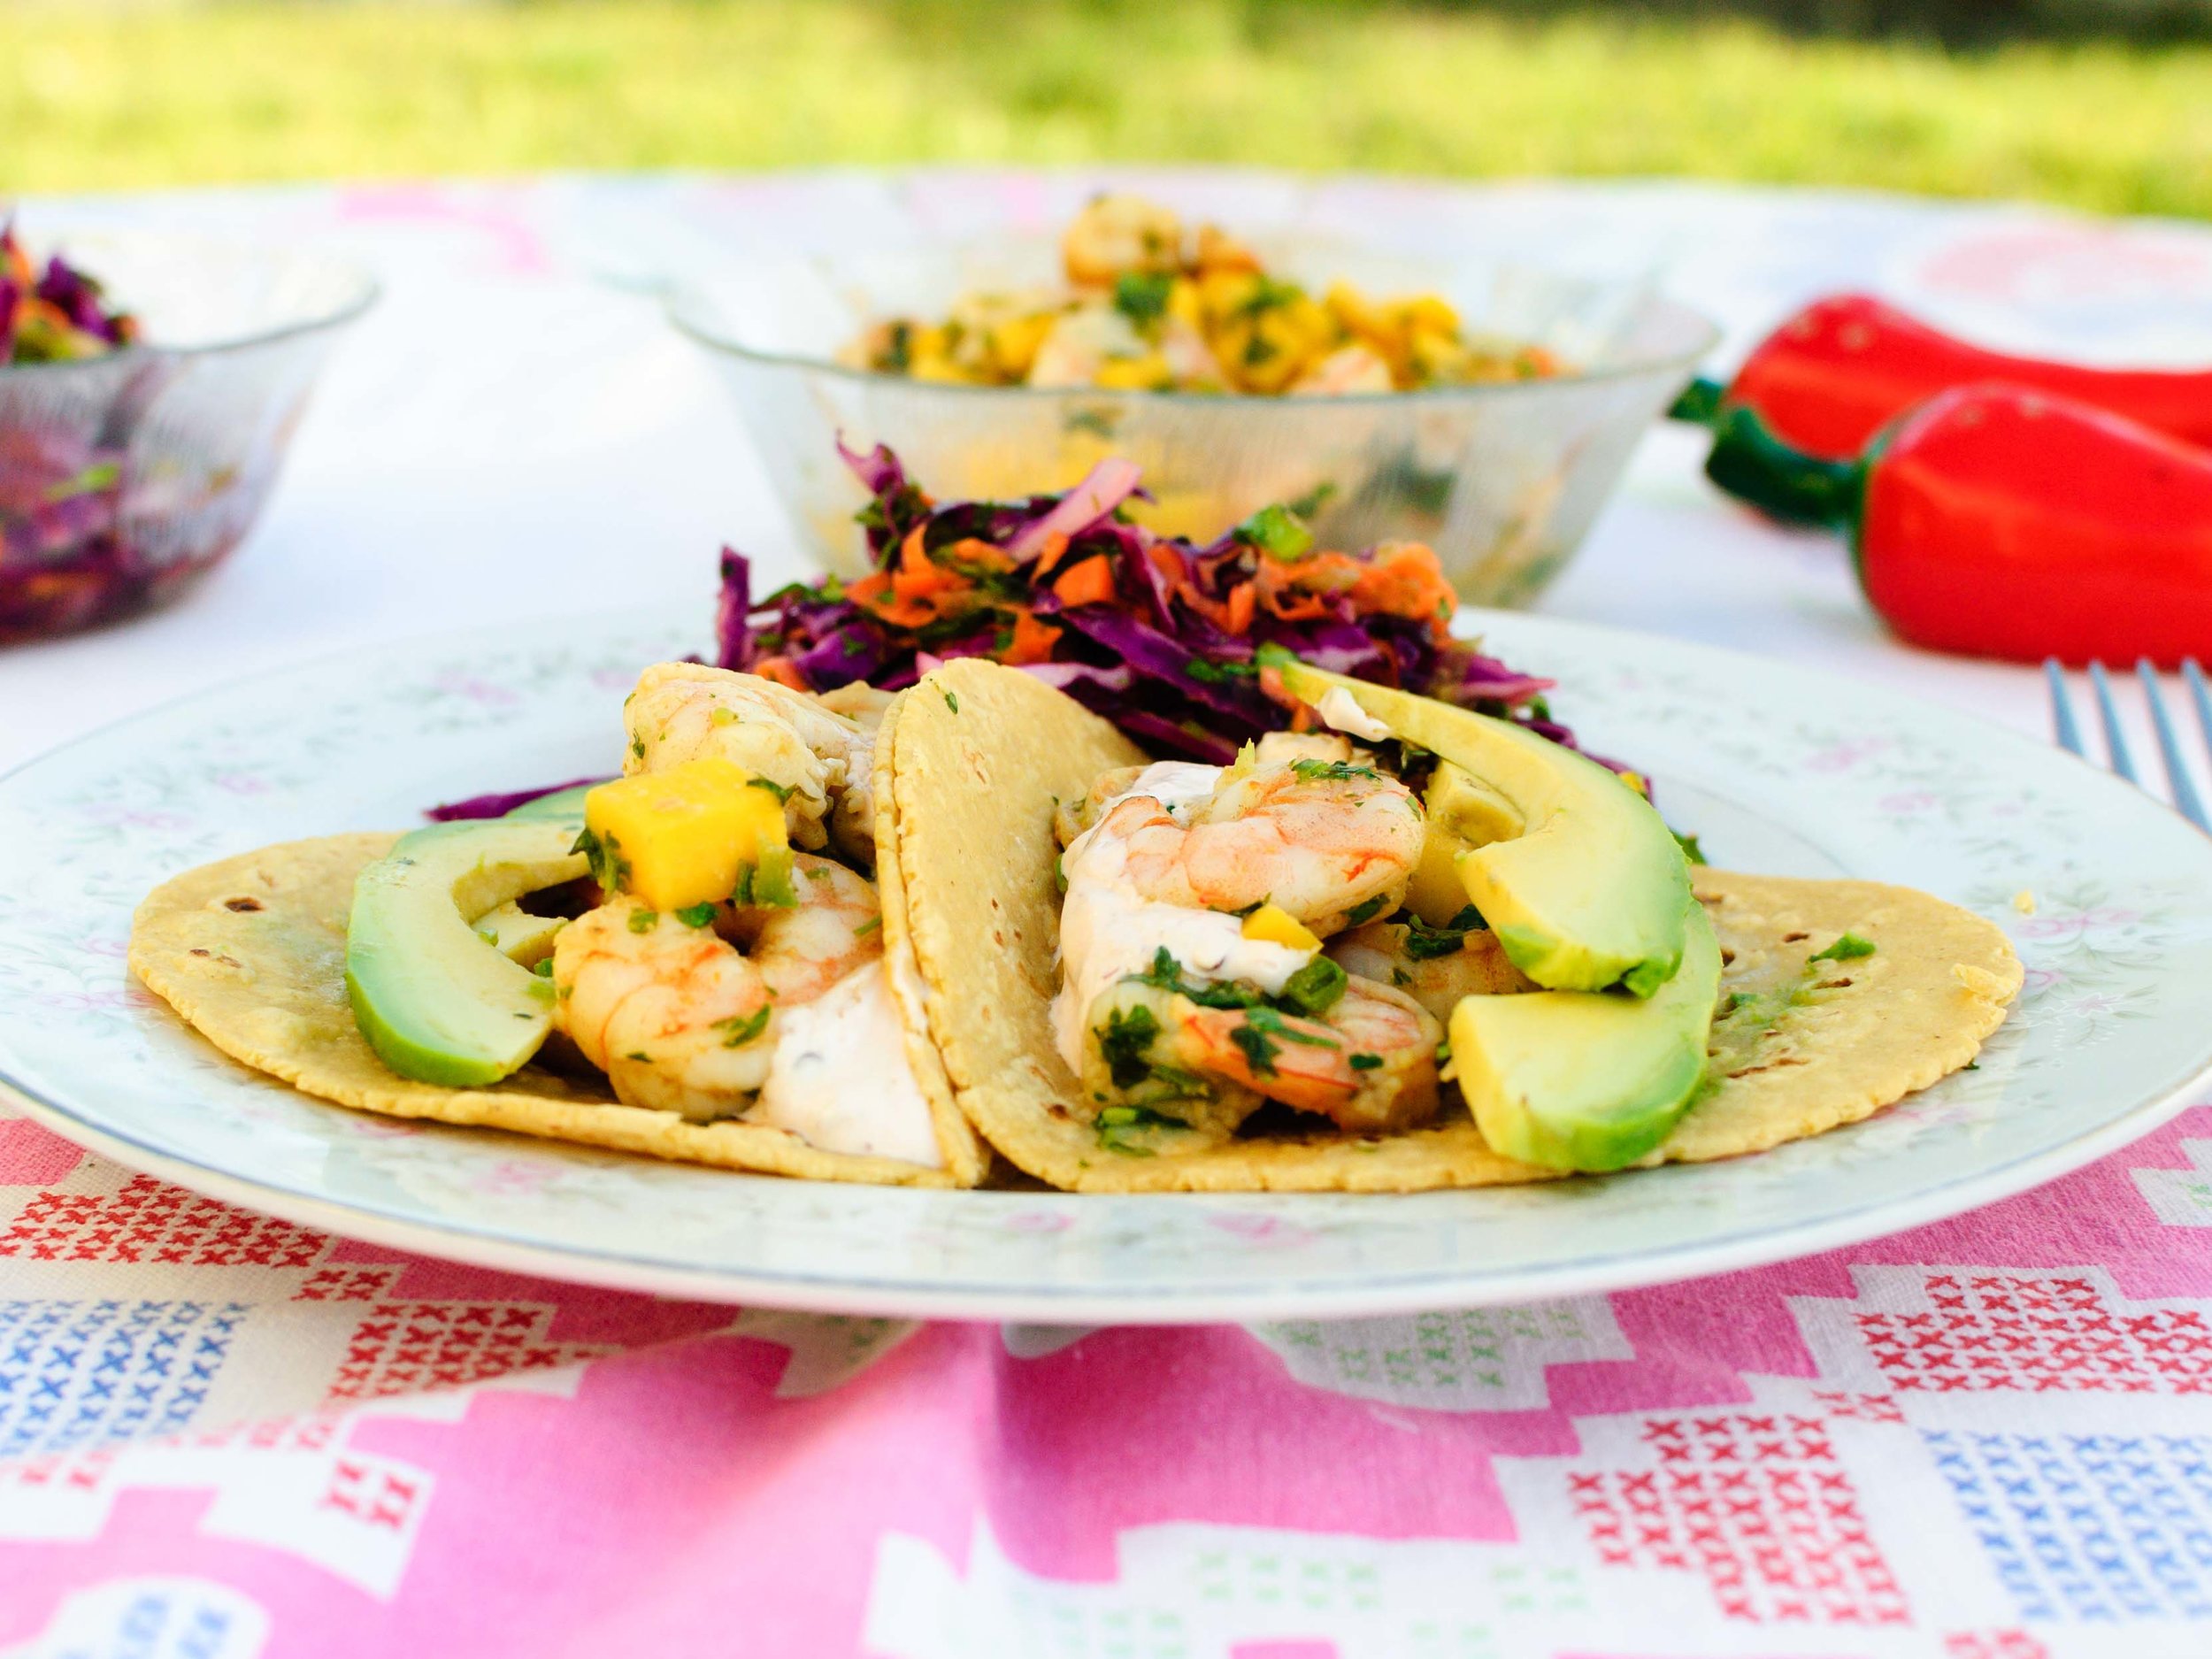
Sometimes, I close my eyes and try to imagine that I'm stretched out in the sand somewhere warm and tropical with waves lapping at my feet. This is when I'm usually painfully interrupted by, "MOM! Mommmmmm!" and my reverie comes to an abrupt halt. So, I shove a giant bite of Mango-Shrimp Tacos in my mouth, squeeze my eyes closed tight, and suddenly for a few more seconds that vacay is a reality. (I suspect that this island dream might also be why I love coconut so much too.) Oh yeah, and those kiddos yelling for my attention? They just want a bite too. Plump, juicy shrimp tangled together with bits of sweet mango, all heaped over a warm tortilla and topped with mildly spicy and smoky chipotle sour cream and crunchy honey-lime slaw. Excuse me, I need to close my eyes again and take another bite. See you in paradise!
Notes: I heart mangos so much! I usually try to get the smaller manila or Ataulfo mangos if possible, since they are so much sweeter, but I found that even the larger (and more common) Kent mangos work well in this recipe. I removed the seeds from all the peppers to keep this dish mild enough for my kids. (I could barely detect any heat.) Feel free to leave the seeds in or swap the jalapenos for spicier serrano peppers, if you like things spicy! The honey-lime slaw is delicious heaped over the tacos or on the side as a salad. It has enough going on to be it's own side dish without the tacos too!
Read More: The Shared Shrimp Tacos
Time: 40 minutes
Servings: 4-6
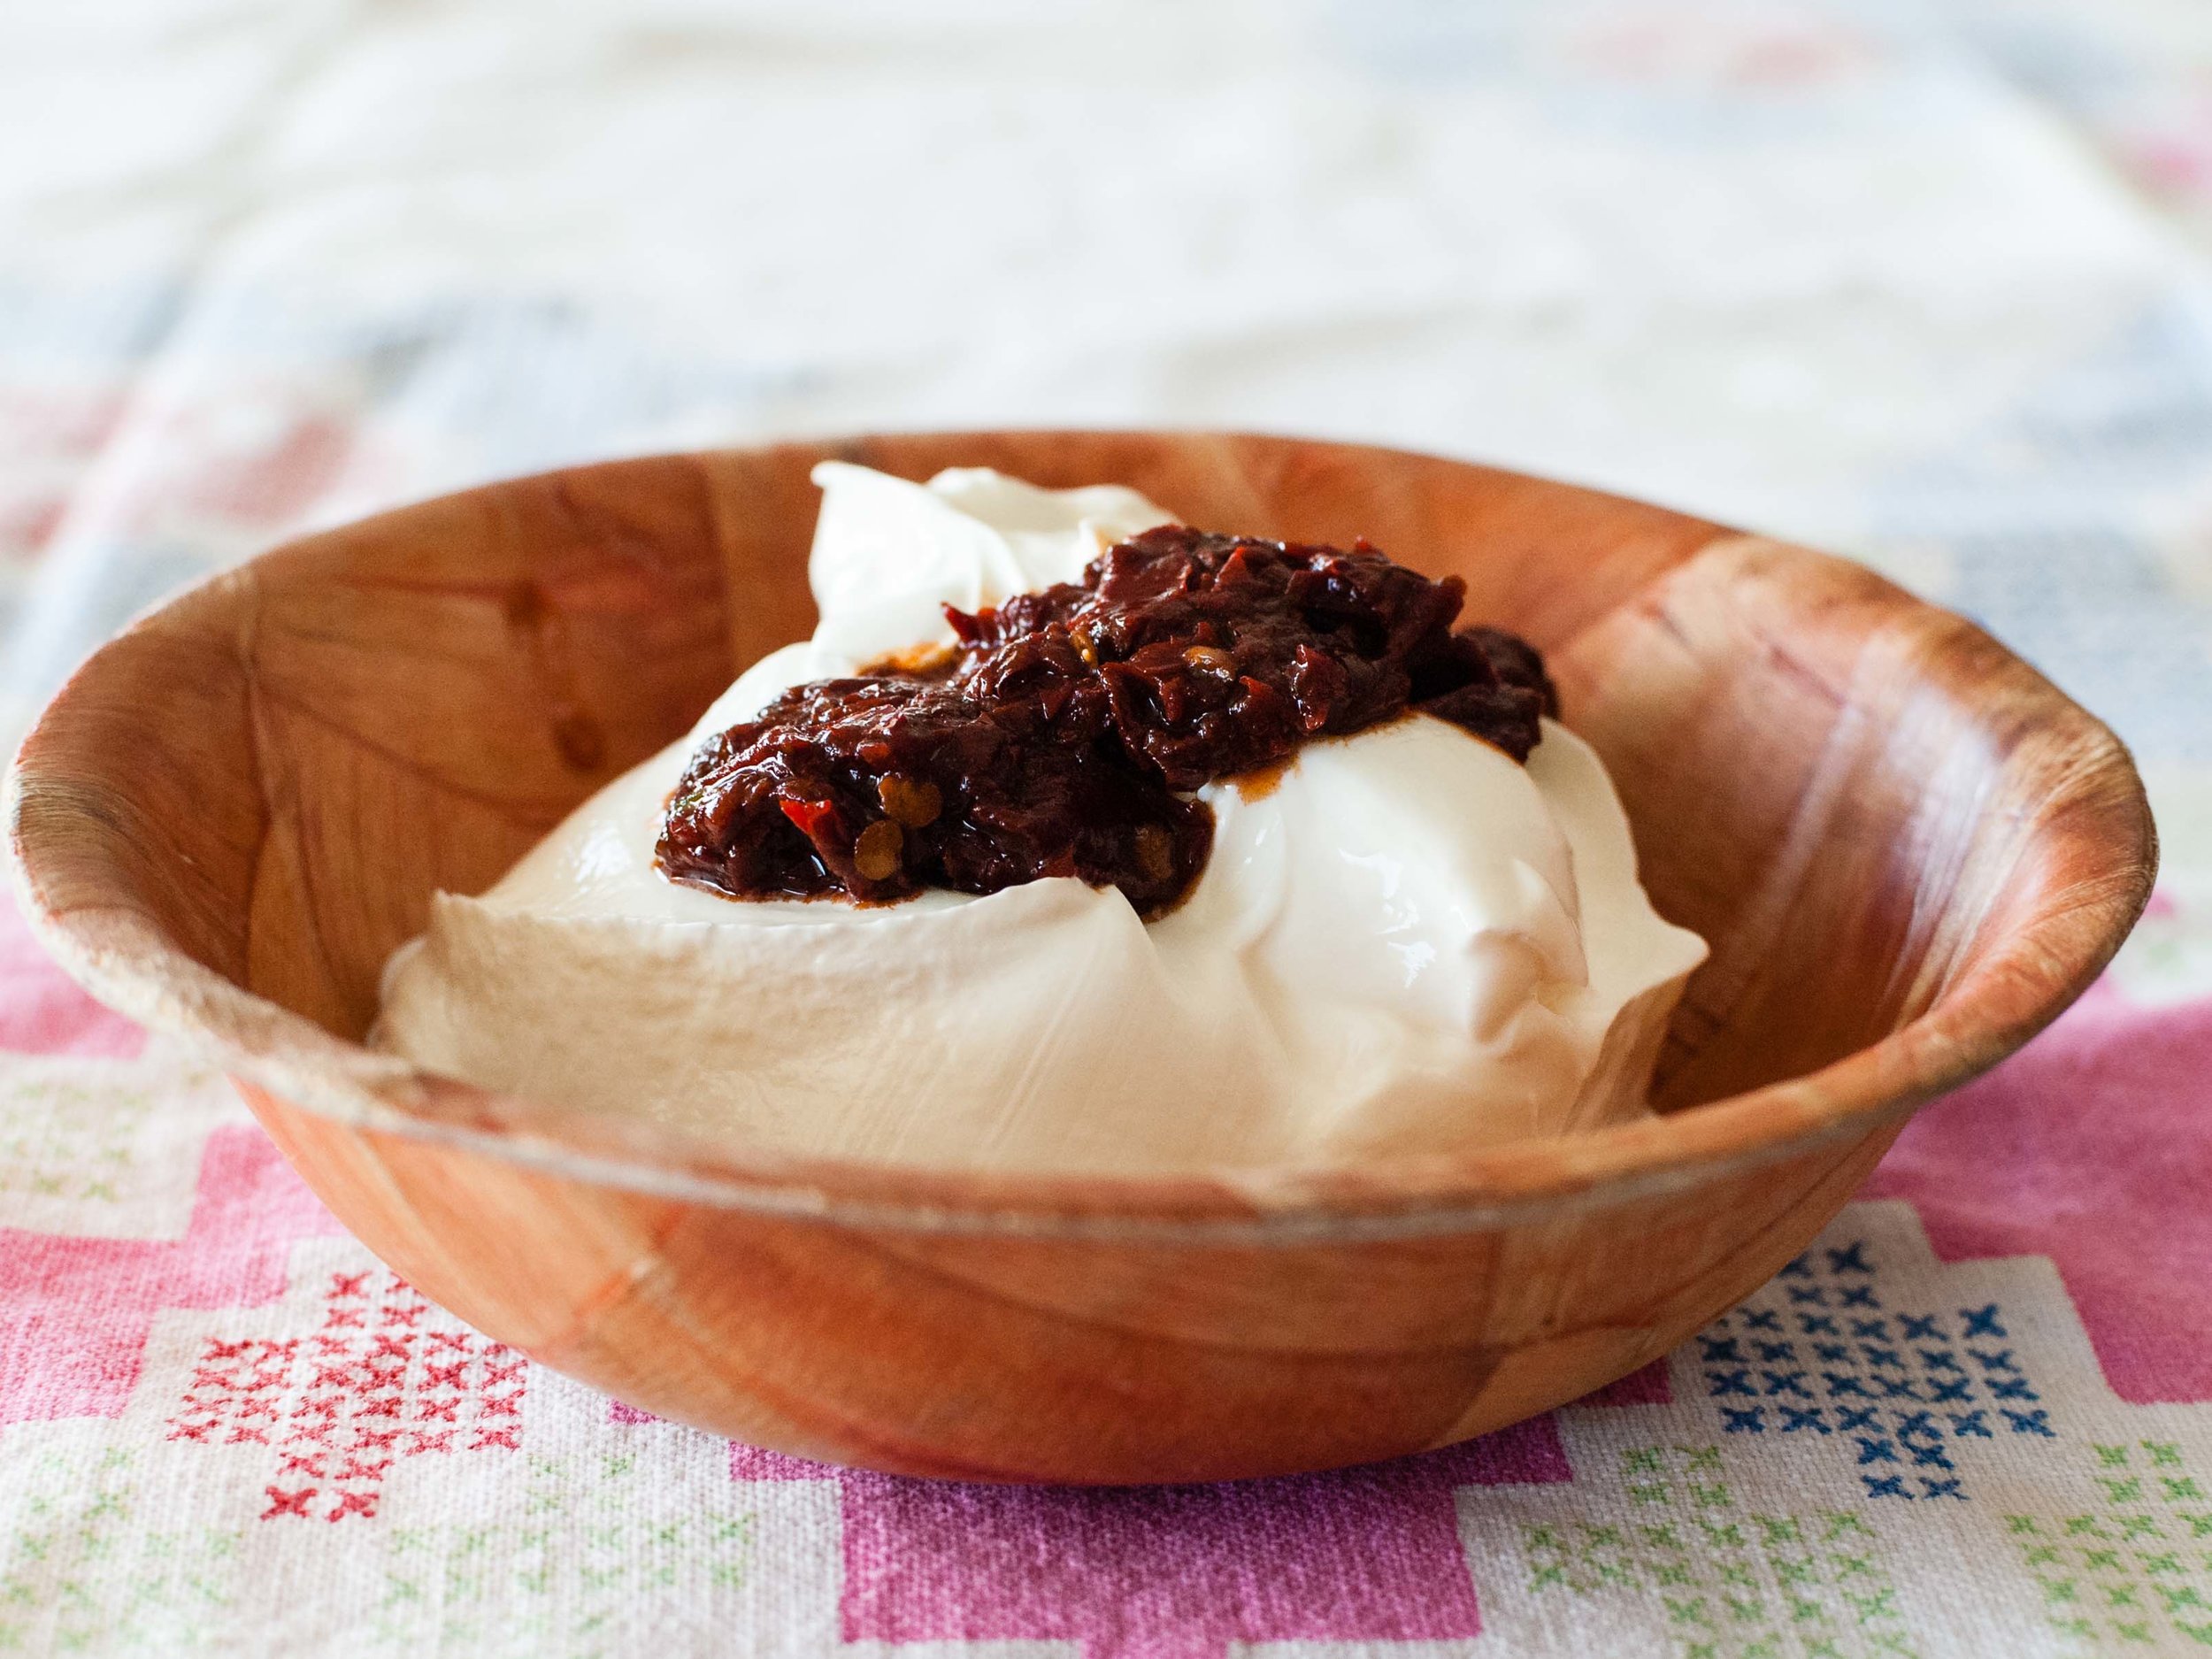
1 cup sour cream
1-2 chipotle peppers in adobe sauce
2 teaspoons ground cumin
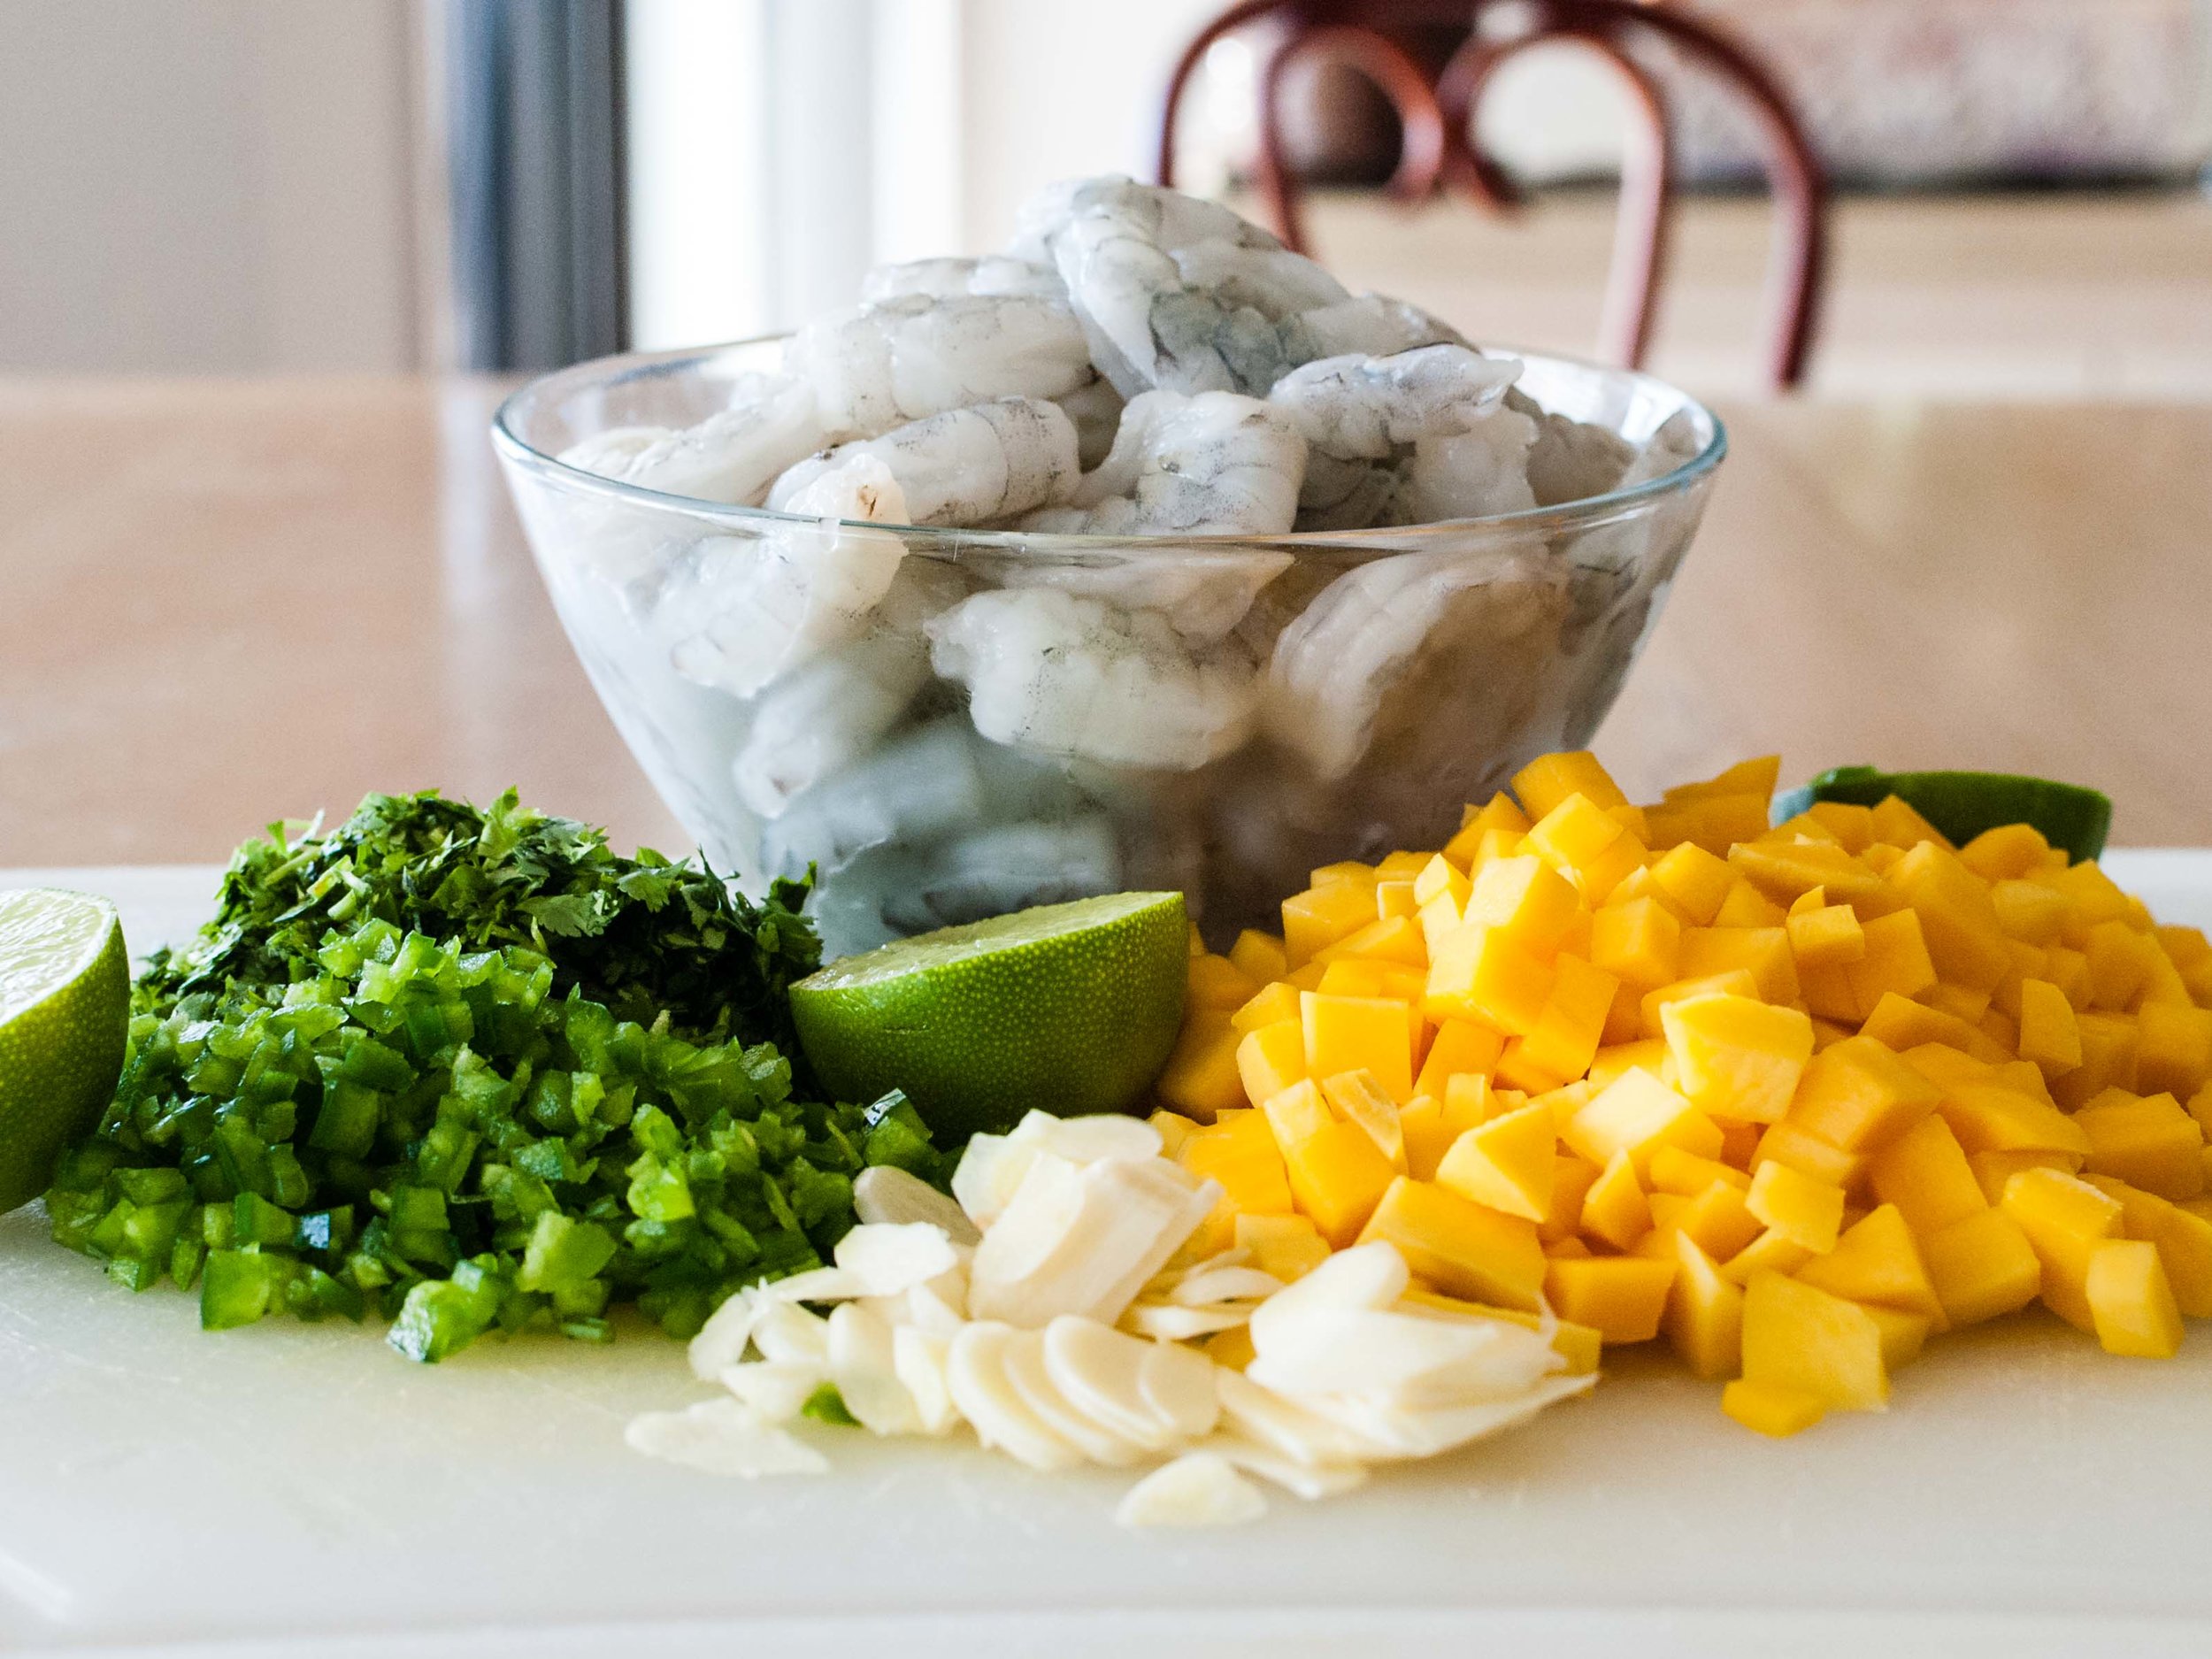
1 1/2 pounds medium shrimp, peeled and de-veined
3 garlic cloves, sliced thin
Kosher salt
2 mangos, small-diced
1 large jalapeno, seeded and minced
1/4 cup cilantro, minced
2 limes, juiced
Sliced avocados
Corn tortillas
Honey-Lime Slaw (recipe below)
Mince 1 or 2 chipotle peppers, removing the seeds if you don't want it spicy. Stir peppers into the sour cream and set aside.
Heat a large pan over medium-high heat. Add ground cumin and stir frequently for one minute or until it smells fragrant and toasty. Add shrimp, sliced garlic, and about 1 teaspoon of kosher salt, stirring and flipping the shrimp frequently, until shrimp are mostly pink and opaque (about 4-5 minutes). Add mango, jalapeno, and cilantro to the pan and continue to cook for 1 minute or until the shrimp are just cooked through. Turn off the heat and stir in lime juice. Taste and adjust seasoning as needed.
To serve, spoon mango and shrimp over warm tortillas with a couple slices of avocado and a big dollop of chipotle sour cream. Top with Honey-Lime Slaw or serve the slaw on the side. Open up wide and devour!
Recipe adapted from Martha Rose Shulman at NYT Cooking.


Honey-Lime Slaw
2 limes, juiced (about 1/4 cup)
1-2 tablespoons honey (to taste)
1/2 cup grape seed oil (or vegetable oil)
Kosher salt
Freshly ground pepper
1/2 head red cabbage, cored and sliced thin
2 carrots, peeled and coarsely grated
1 jalapeno, seeded, and sliced thin
2 stalks green onion, thinly sliced
1/2 bunch cilantro leaves, roughly chopped (about 1/2 cup)
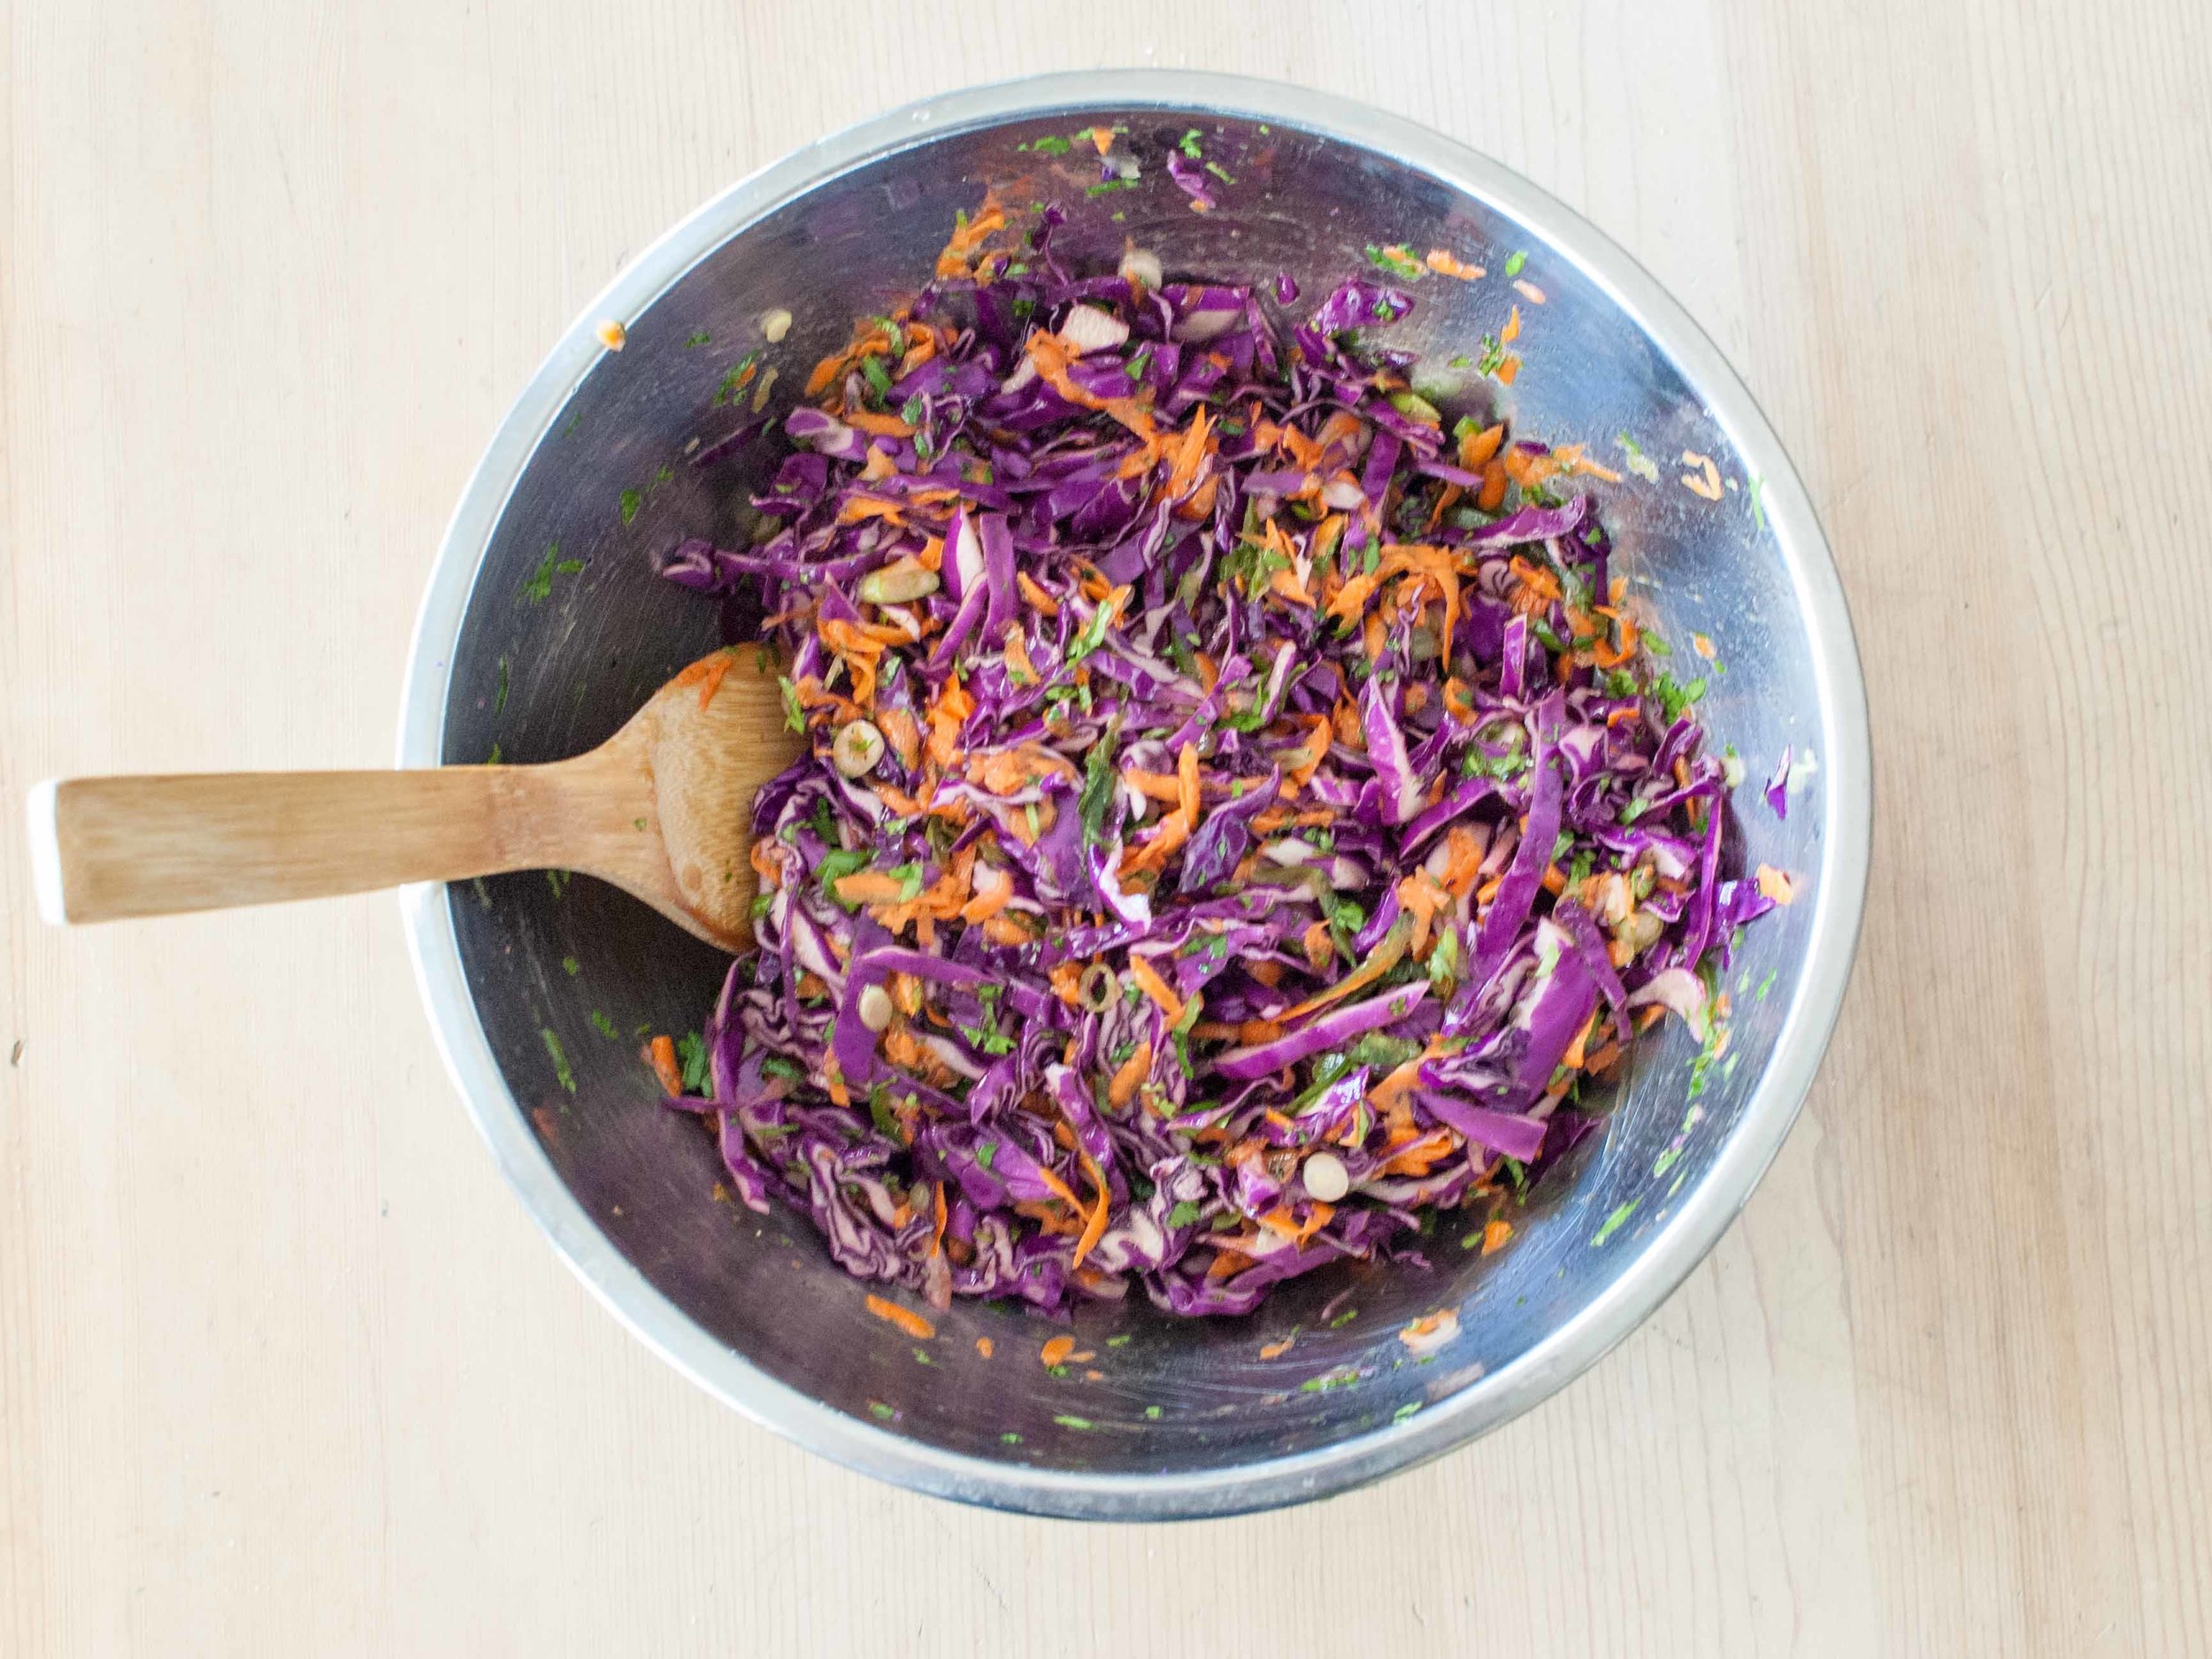
In a small bowl, whisk together lime juice, honey, oil, about 1 teaspoon kosher salt, and 1/4 teaspoon ground pepper. Set aside.
In a large bowl, combine cabbage, carrots, jalapeno, green onions, and cilantro. Drizzle dressing over the vegetables and toss well. Taste and adjust salt and pepper to taste. Serve heaped over Mango Shrimp Tacos or on the side.