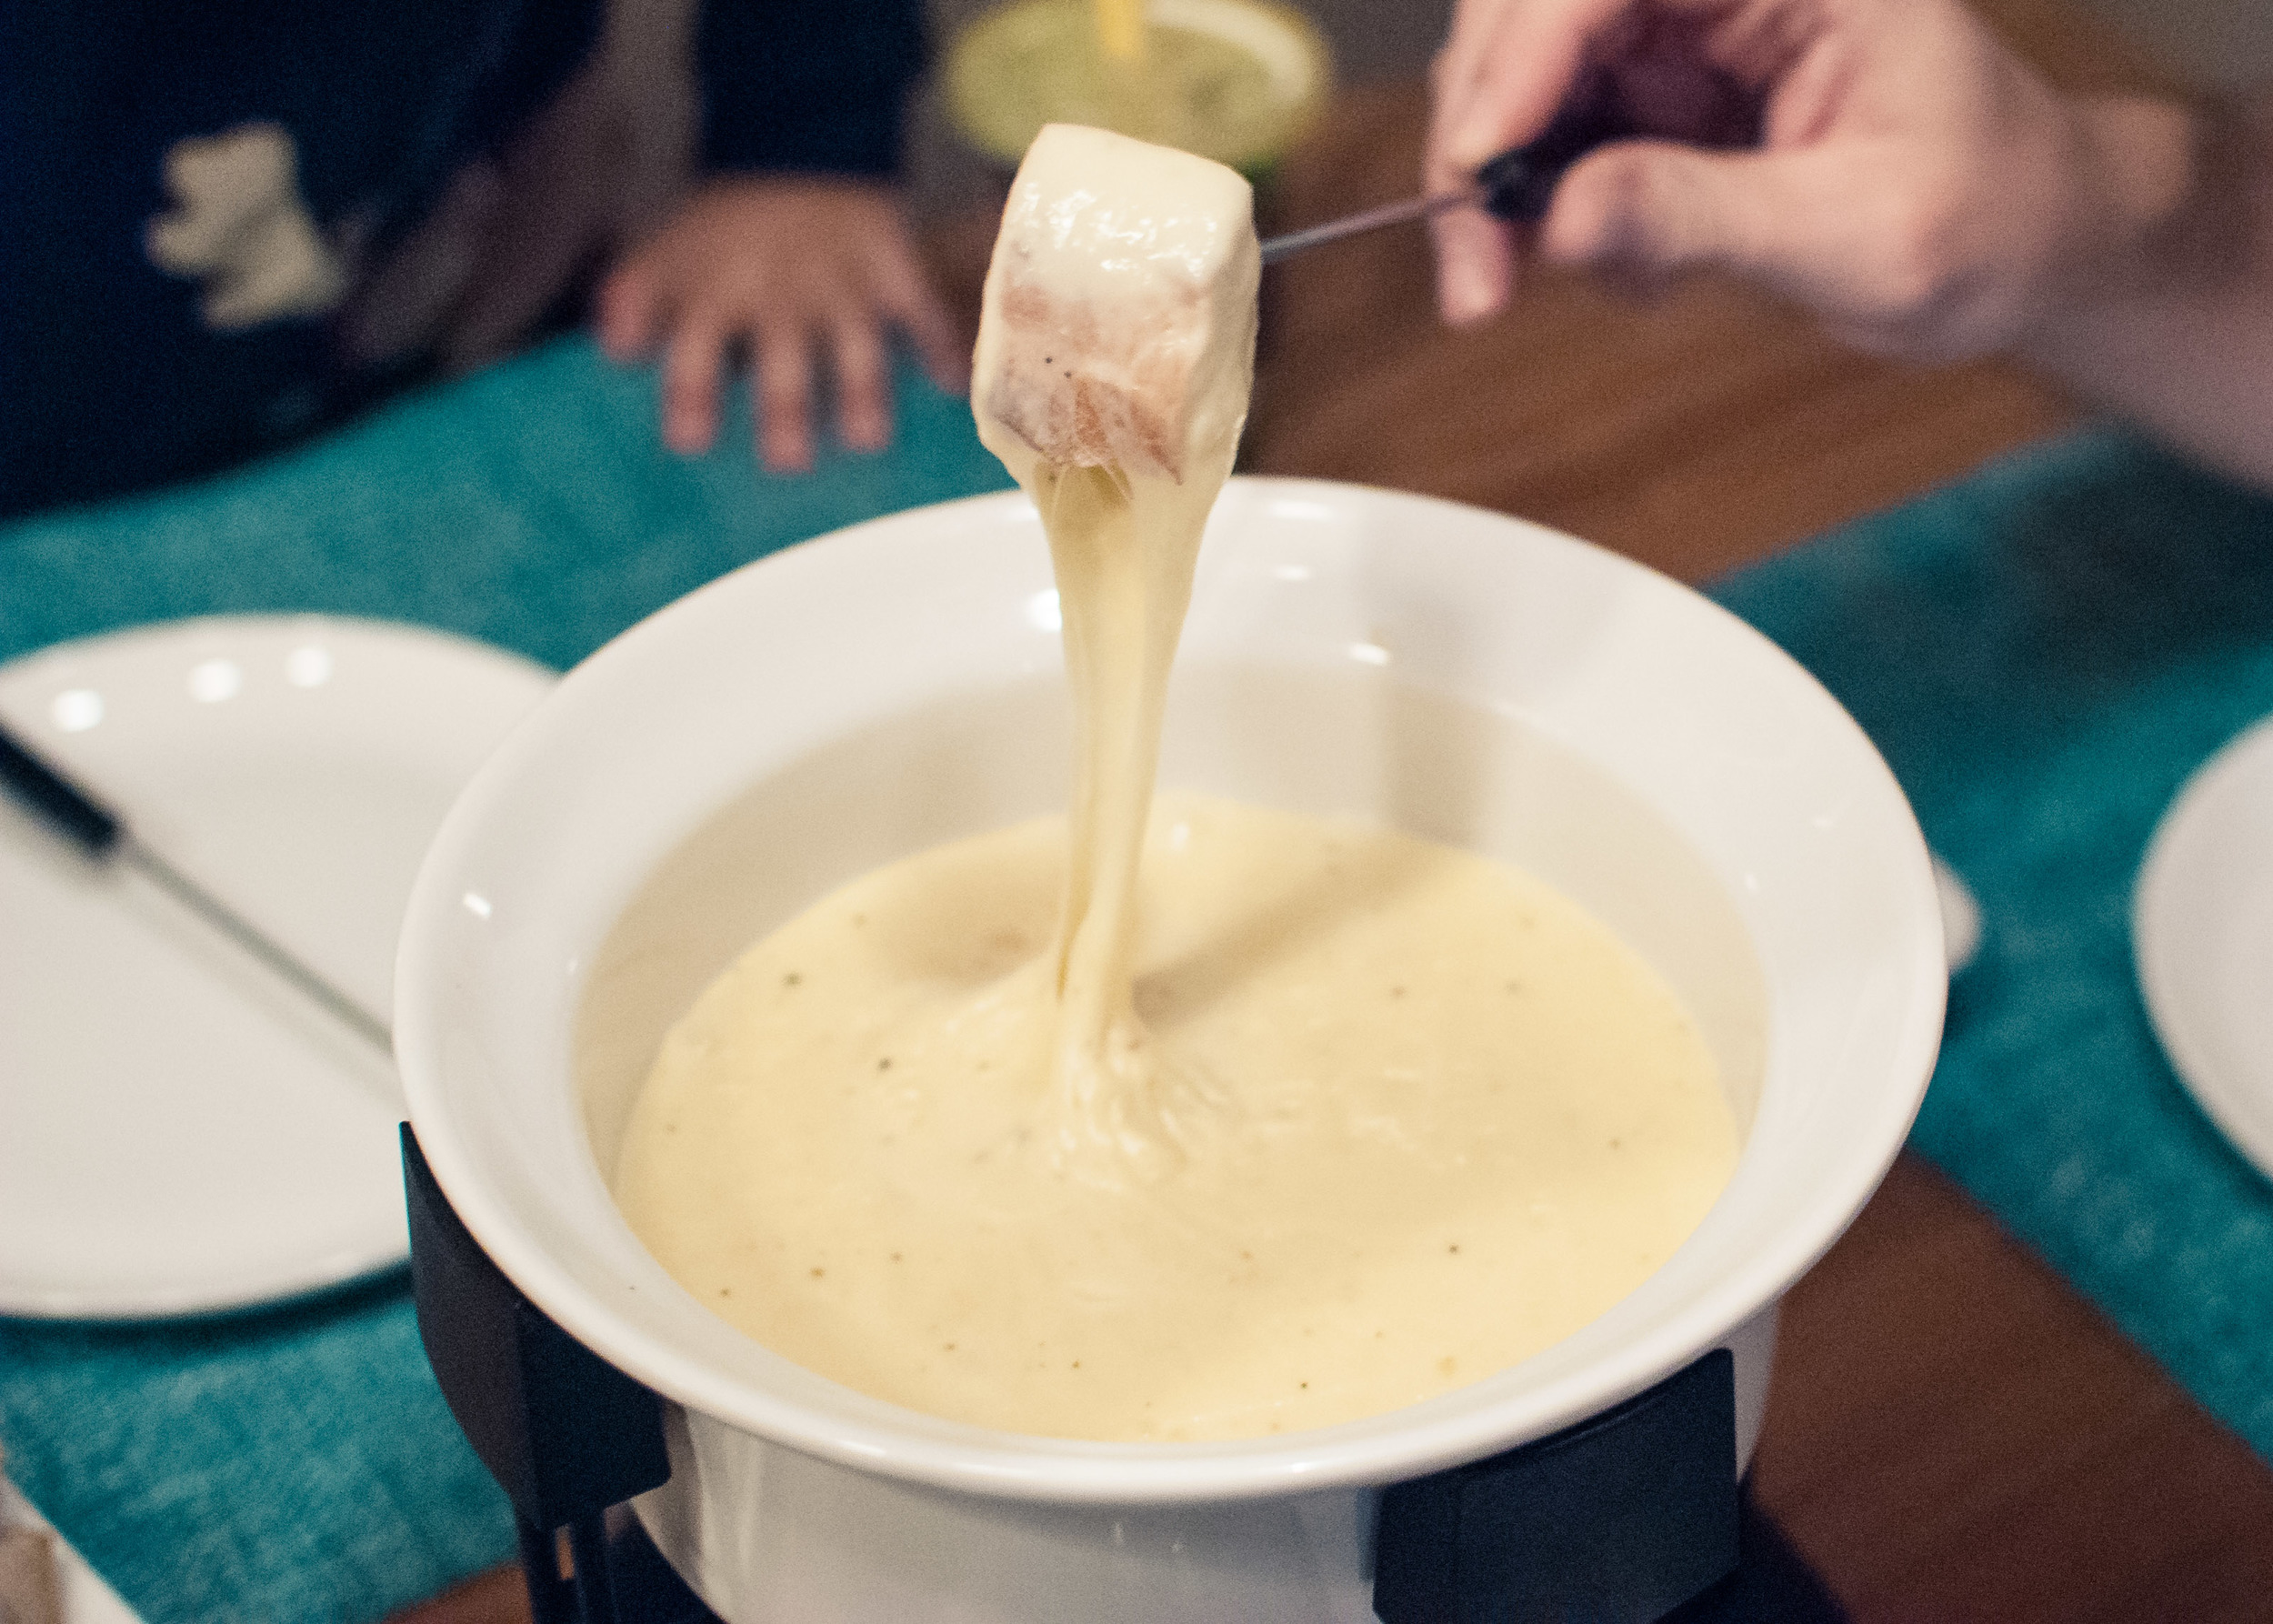

Pâte à choux, (also referred to as choux pastry,) is a basic French pastry paste made from flour, water/milk, butter and eggs. From the basic ingredients, other ingredients are added to transform the choux pastry into gougères (flavored with cheese), eclairs (sweet, rod-shaped, and filled with pastry cream), profiteroles (similar appearance to gougères but filled with pastry cream or ice cream), and even Parisian gnocchi. Choux pastry does not include a leavening (or rising) agent, such as baking powder or yeast. The piped pastry mounds puff during cooking due to the high moisture content of the soft dough, which evaporates and results in a golden pastry shell. This is a classic, easy to master, and versatile dough that can be used in a multitude of ways. I encourage you to try it and never look back! Not to be dramatic or anything . . . but your life will never be the same once you can make homemade gougères.
Notes: This recipe might seem daunting, but once you make it successfully once, (hopefully the first time,) you will feel like a rockstar. The most important thing to remember when it comes to this recipe, is to have everything prepared and measure before you begin. The steps move quickly, and there should be very little lag time between steps. You can substitute the milk for water and any kind of semi-hard and hard cheese will work, depending on your preference. I have made them with Parmesan, Gruyere, Comte, Emmental and Cheddar. In this instance, I used Dubliner, which I find multi-dimensional: nutty, sweet, sharp and salty. You can also jazz it up with herbs and other seasonings. Thyme is one of my favorite herbs for these cheesy, airy puffs.
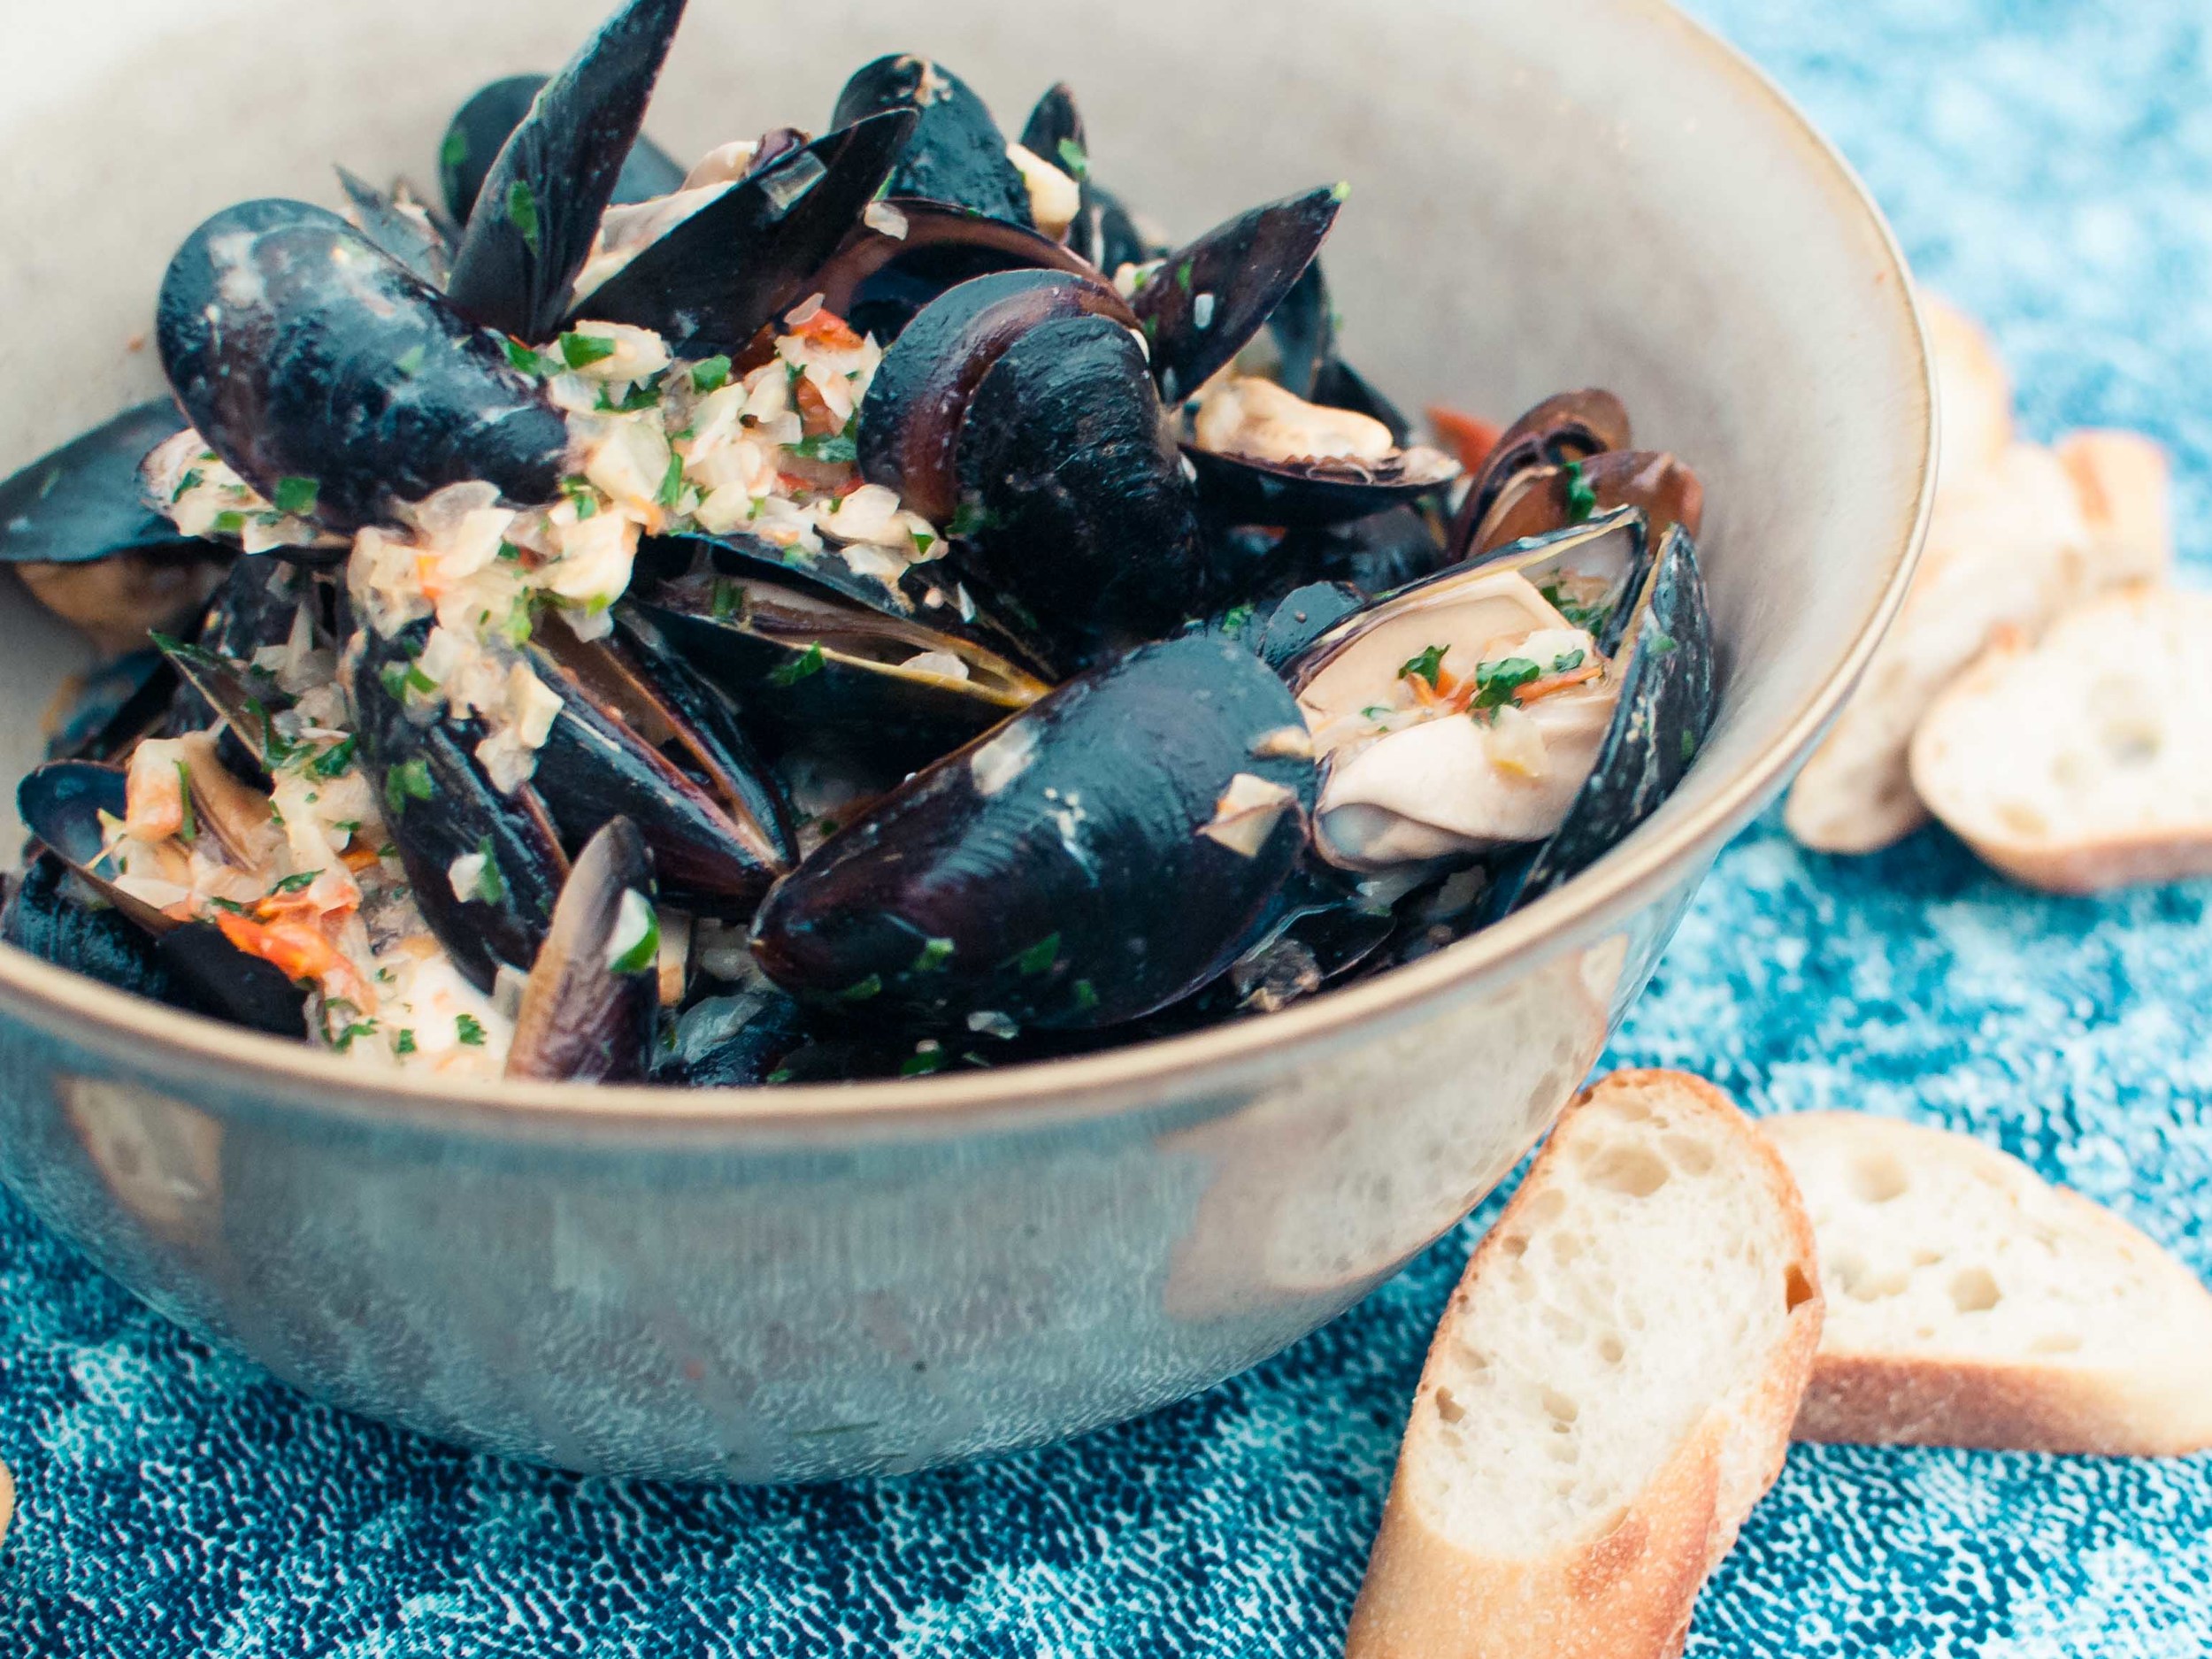
Read More: The Shared Cheese Puffs
Time: 50 minutes
Yield: ~30 puffs
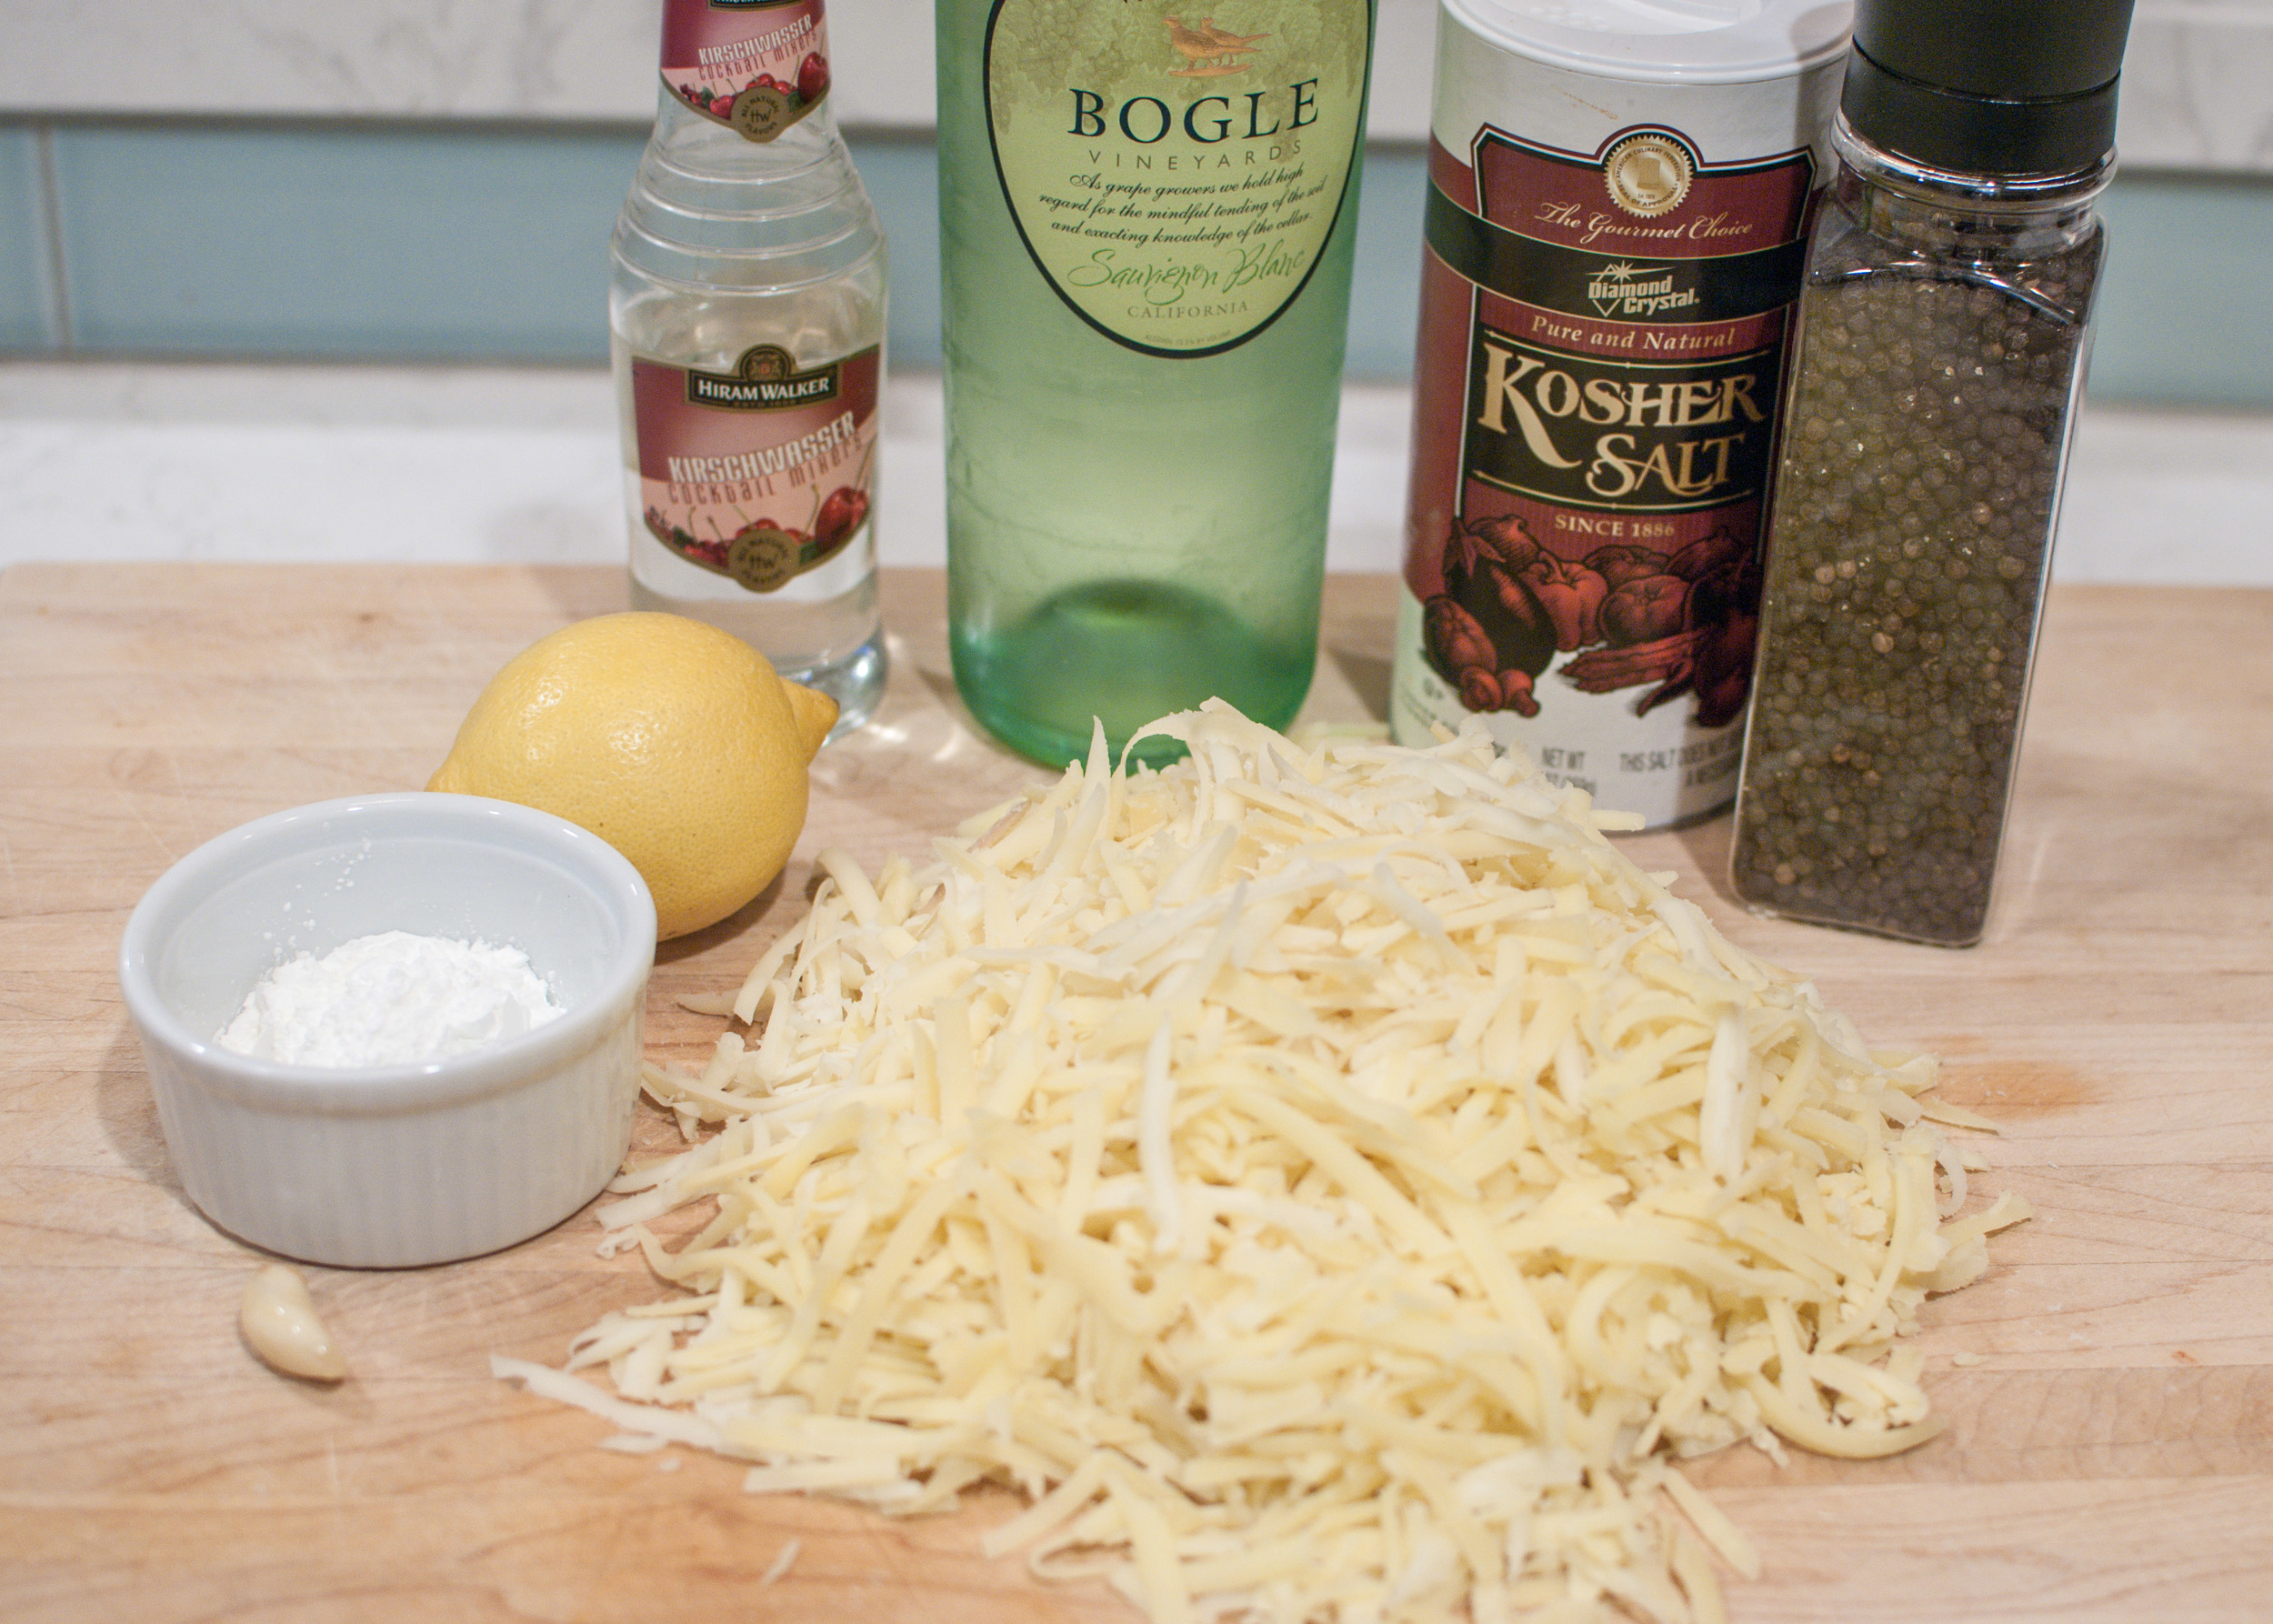
1 cup milk
1 stick unsalted butter, cut into large pieces
1/2 teaspoon kosher salt
1/4 teaspoon freshly ground black pepper
1 cup all-purpose flour
4 large eggs
1 cup grated cheese
Egg wash (1 well beaten egg, splash of milk or water)
1/4 cup finely grated cheese (for sprinkling)
1. Begin by preheating oven to 425 degrees and lining two sheet trays with parchment paper.


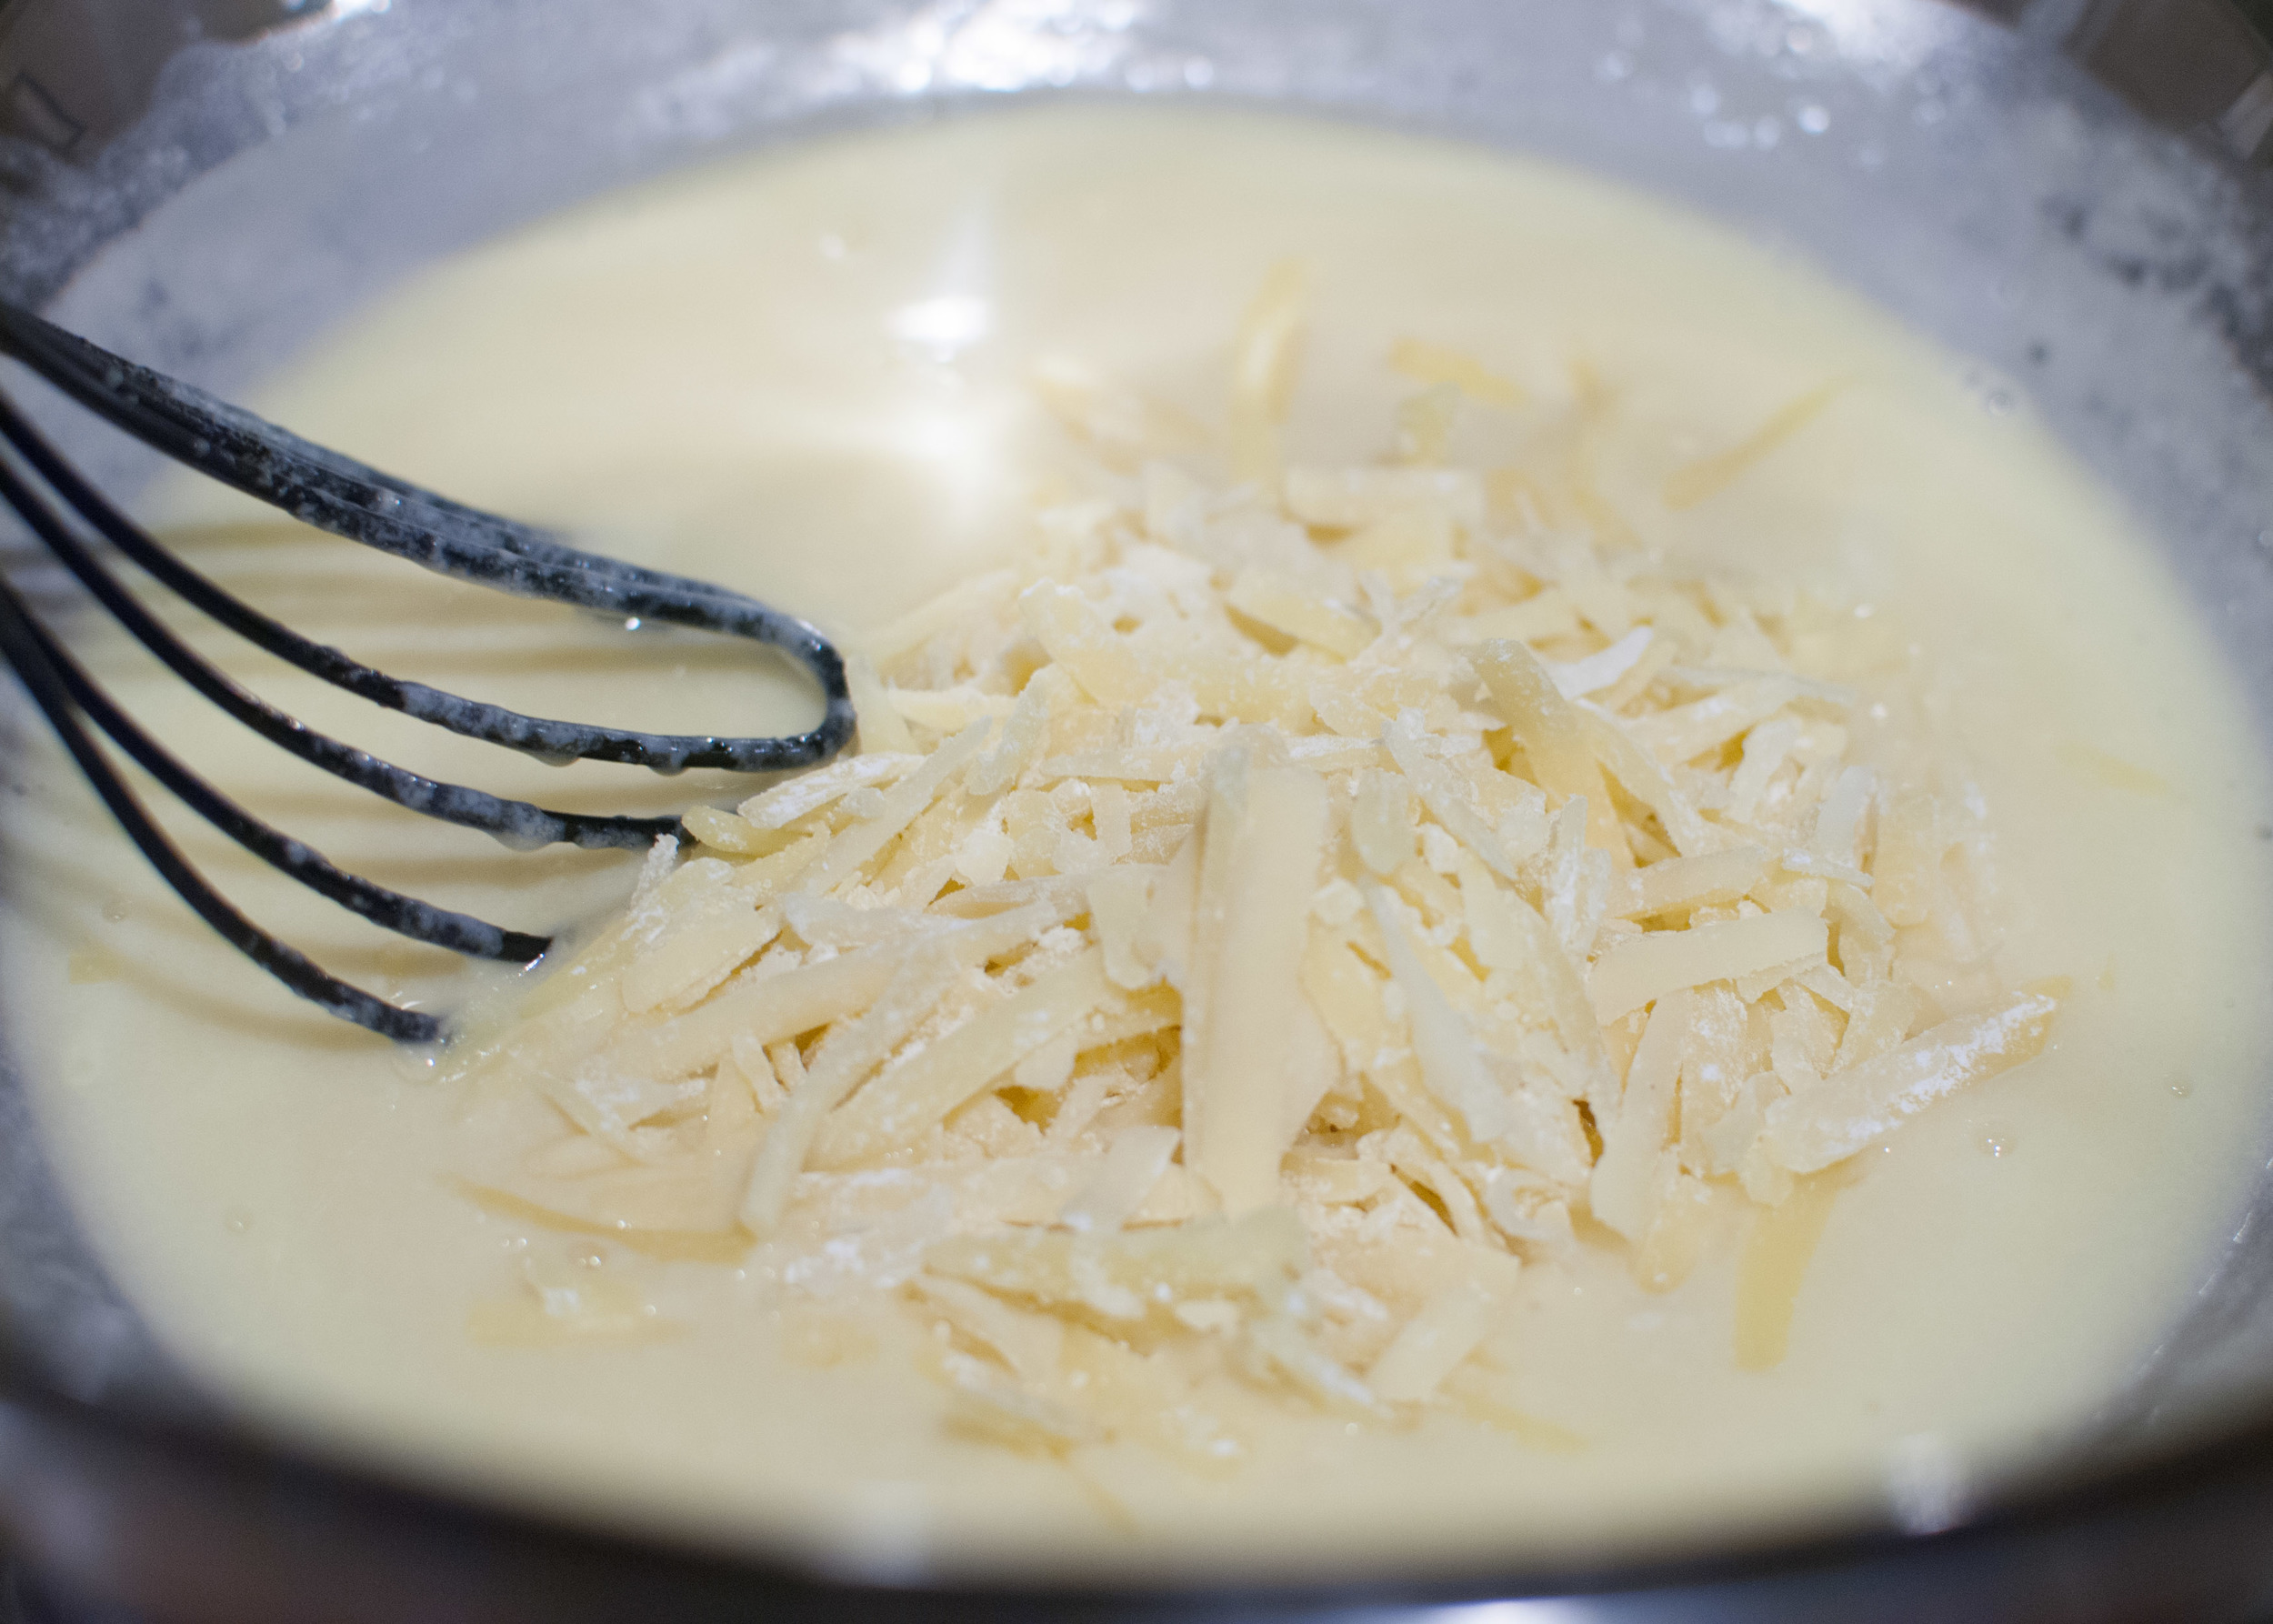
2. Meanwhile, bring milk, butter, salt and pepper to a boil of medium-high heat.
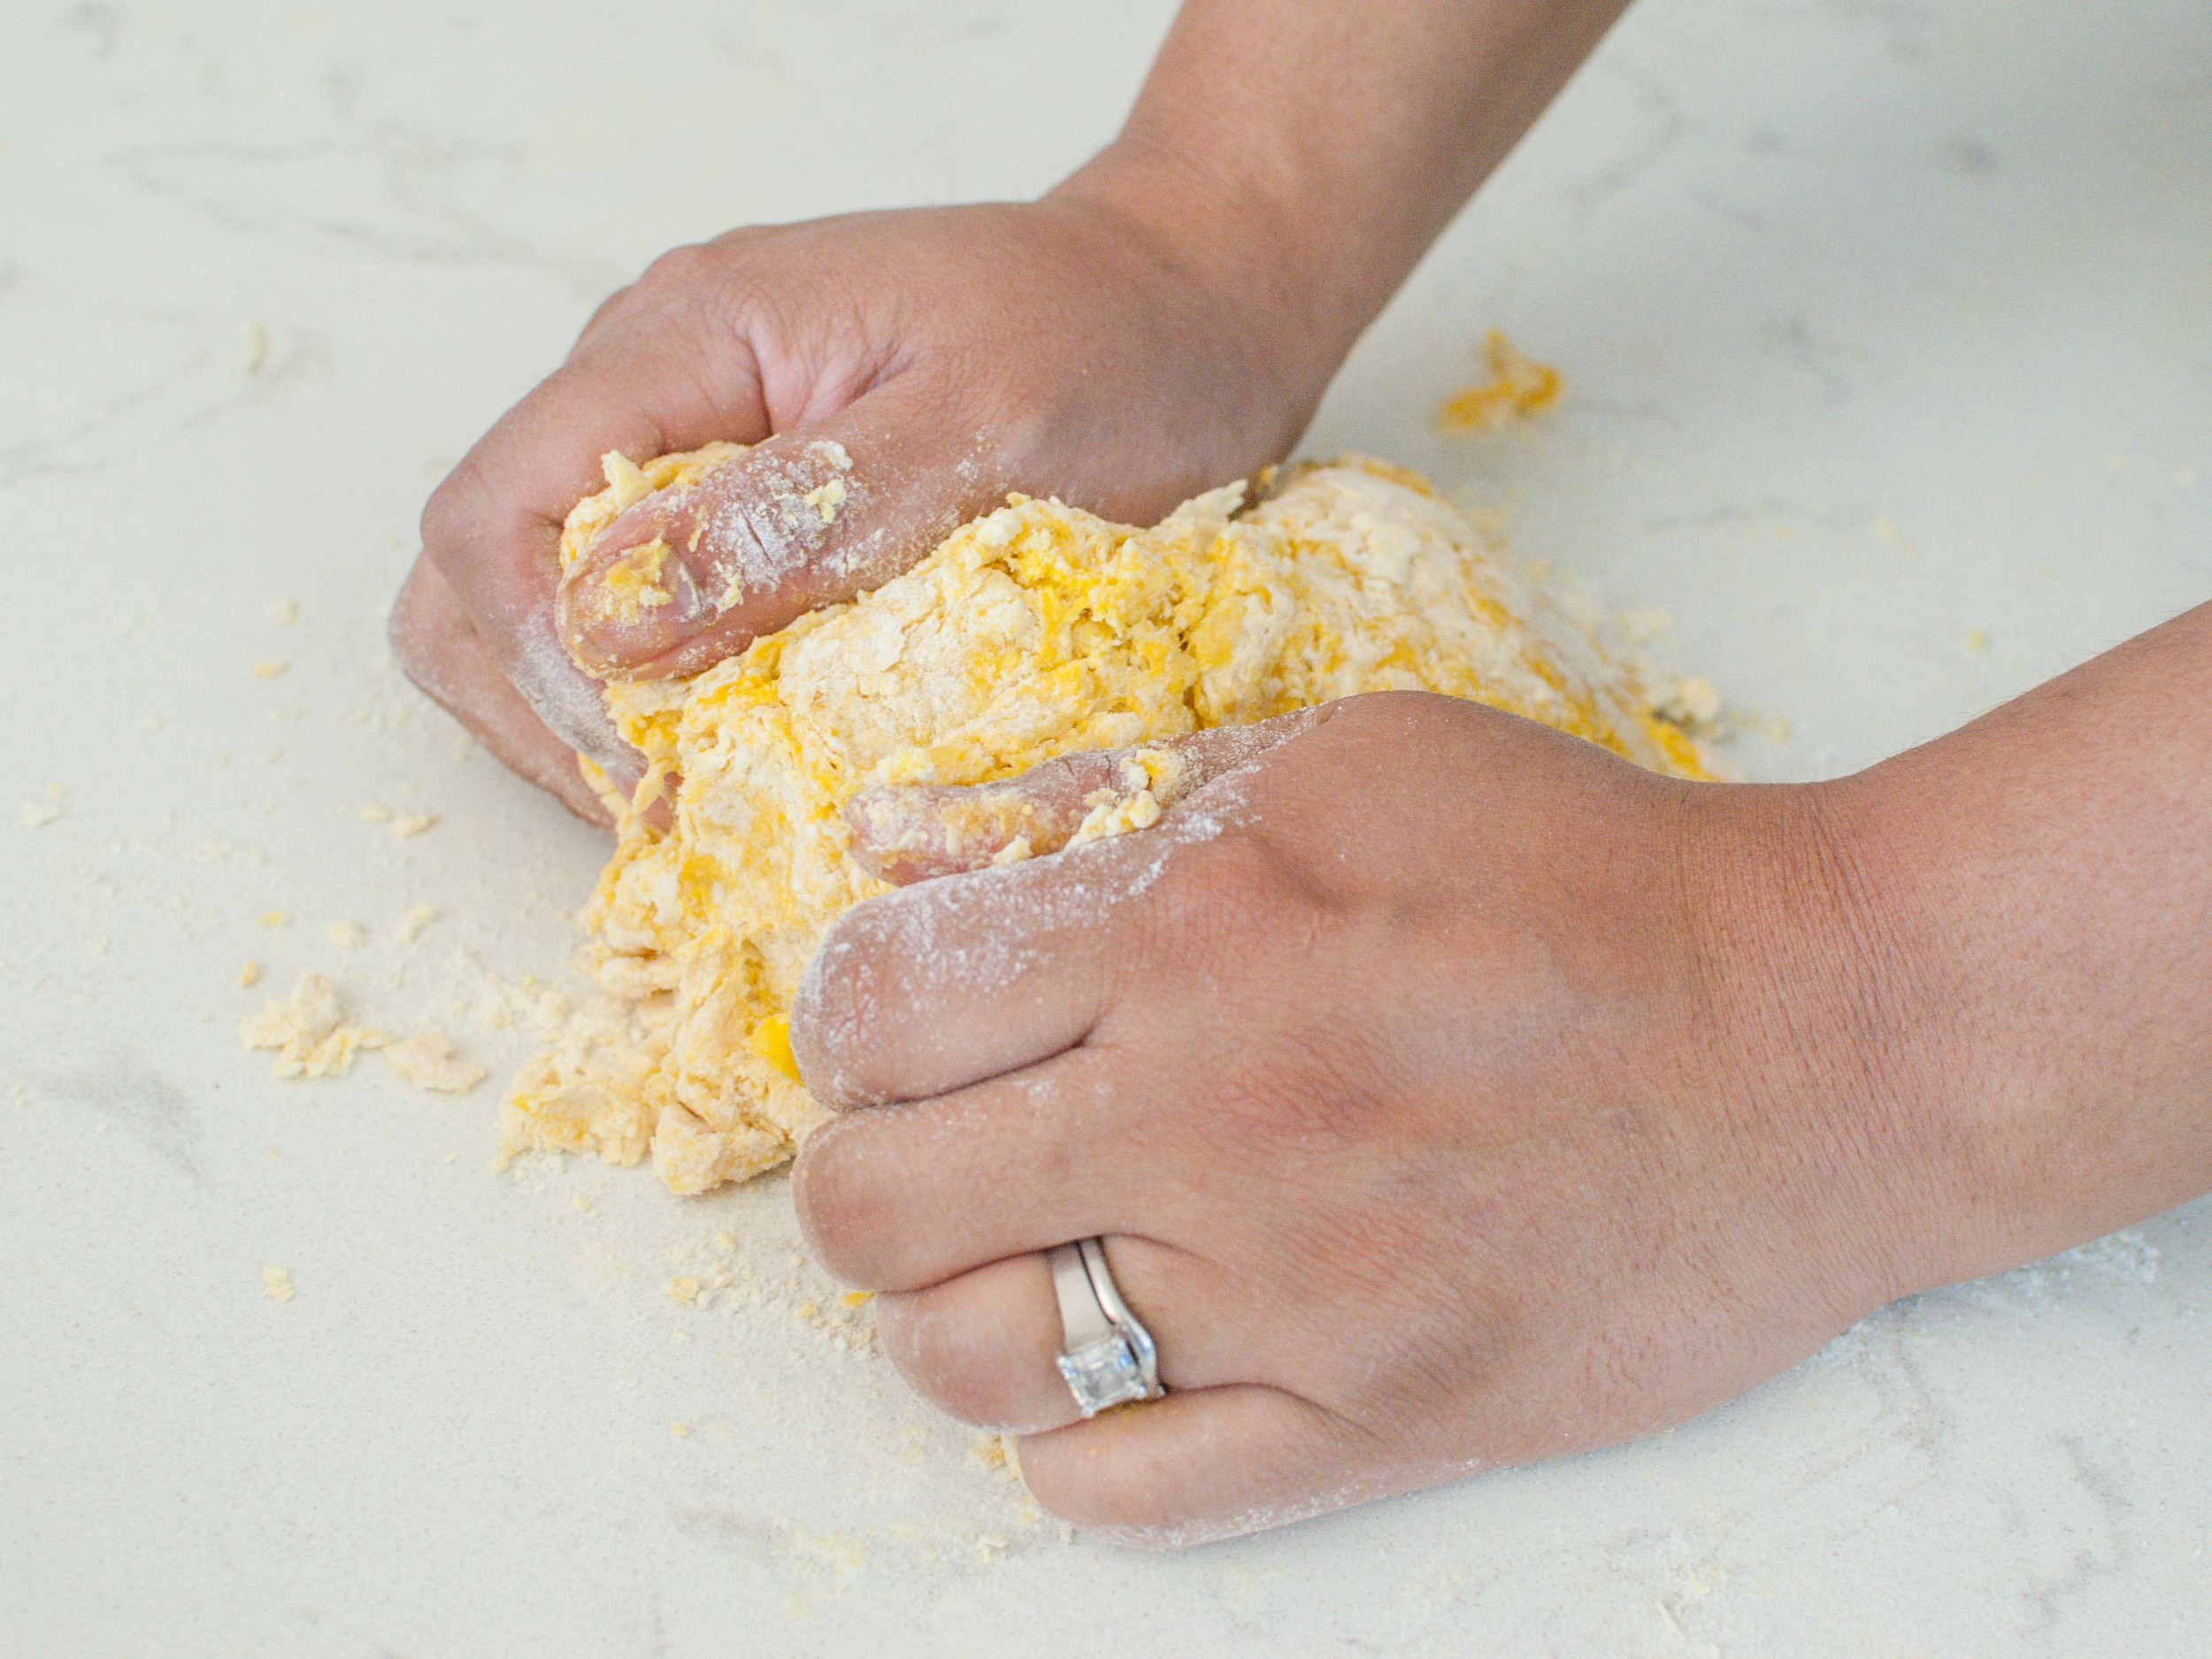
3. Once at a boil, turn heat down to medium and add flour to the pot. Stir vigorously, incorporating the flour into the milk mixture.
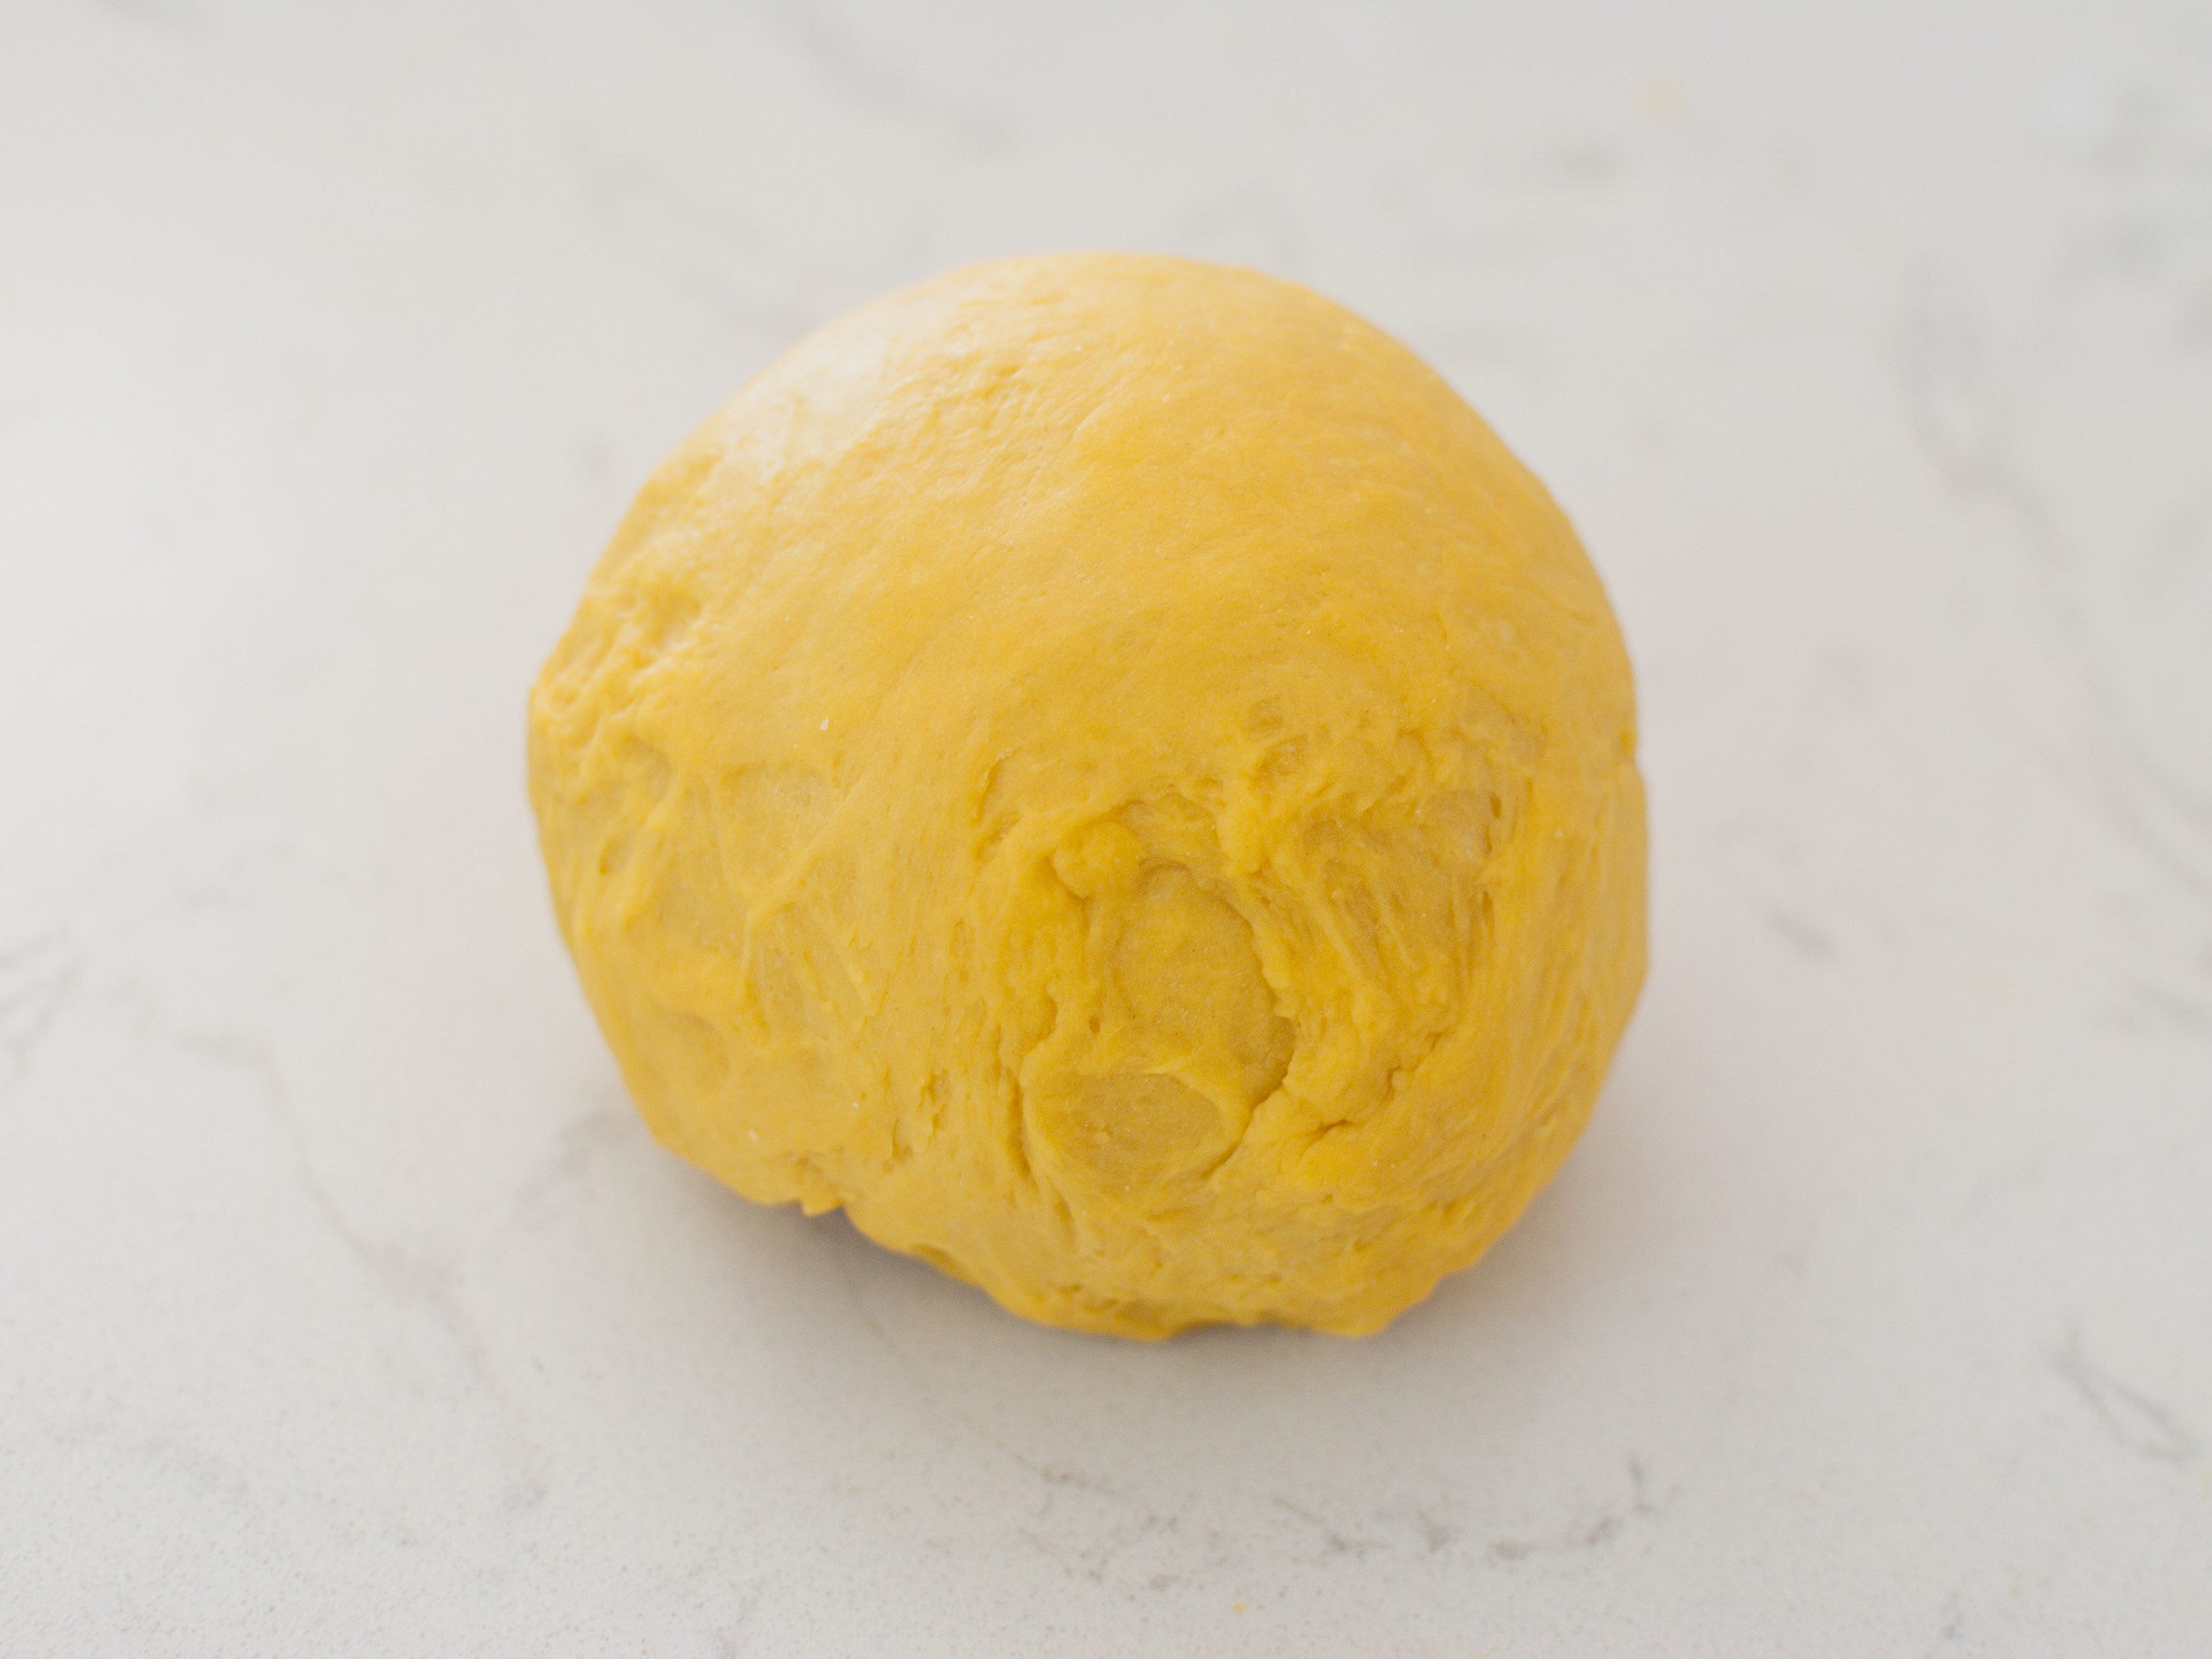
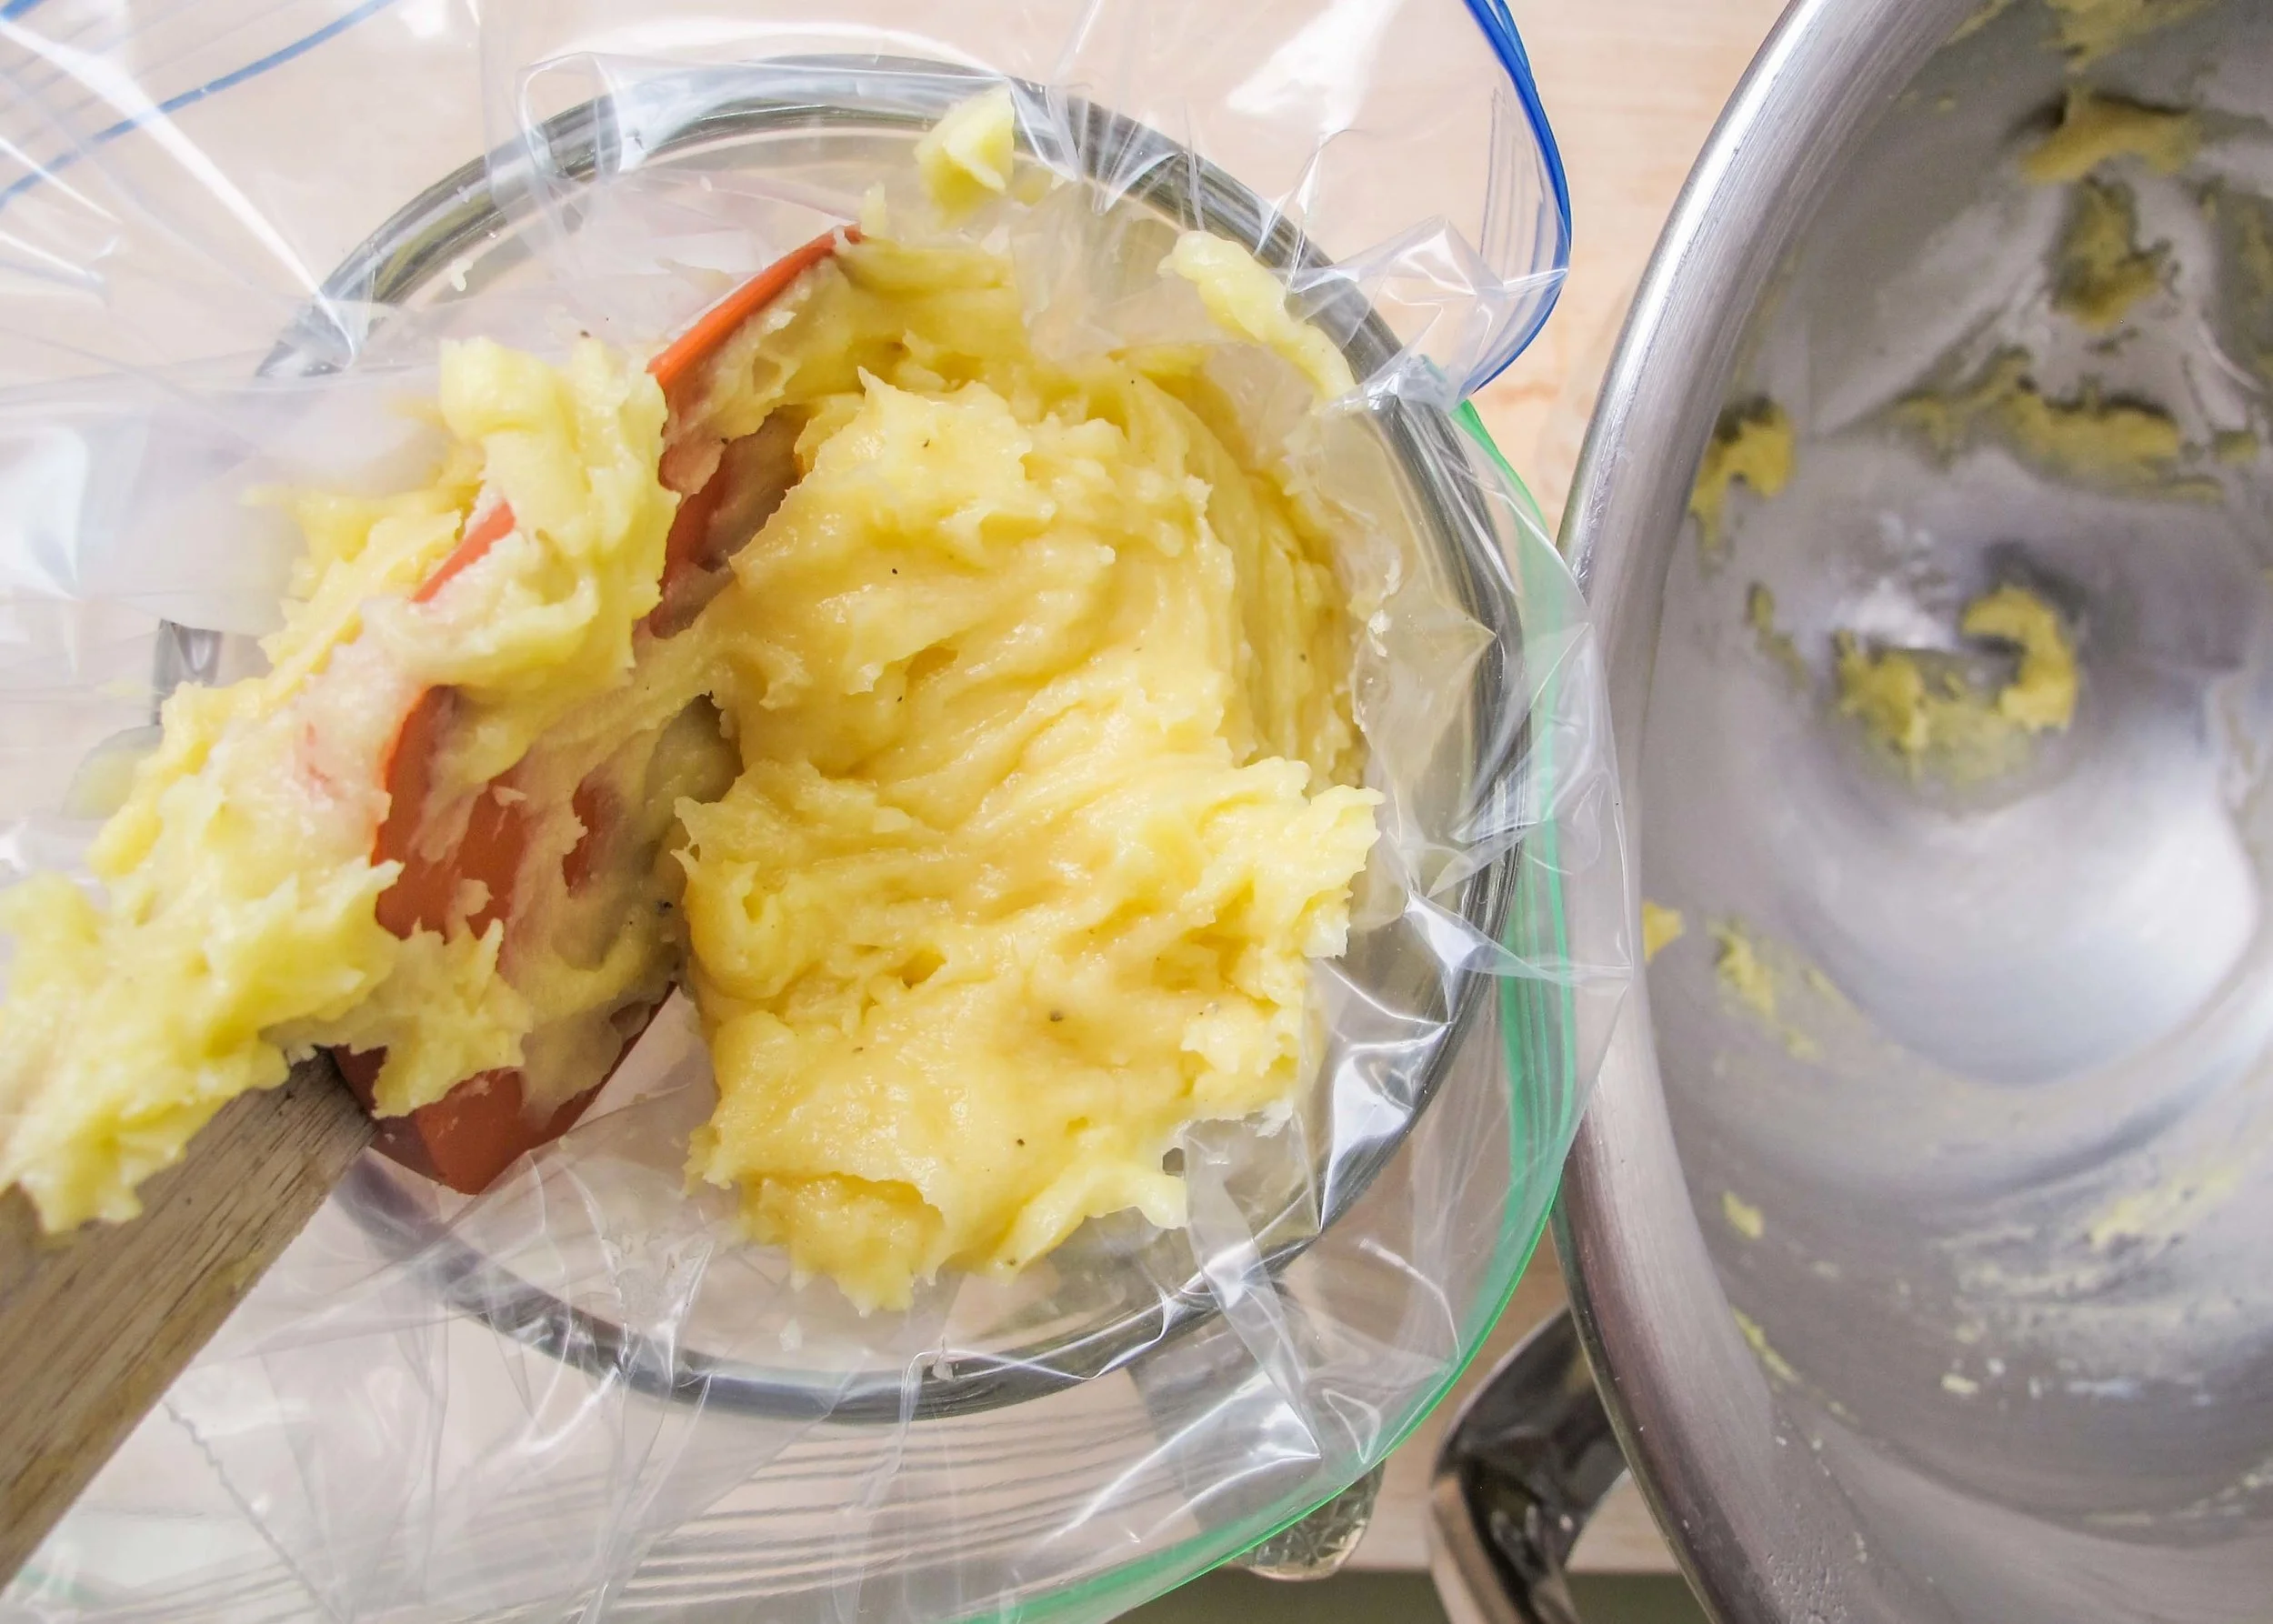
4. Continue to cook and stir until a cohesive, soft dough is formed (the dough will pull away from the sides of the pot). Once the dough has taken shape, continue to cook for 1 minute more, stirring constantly.


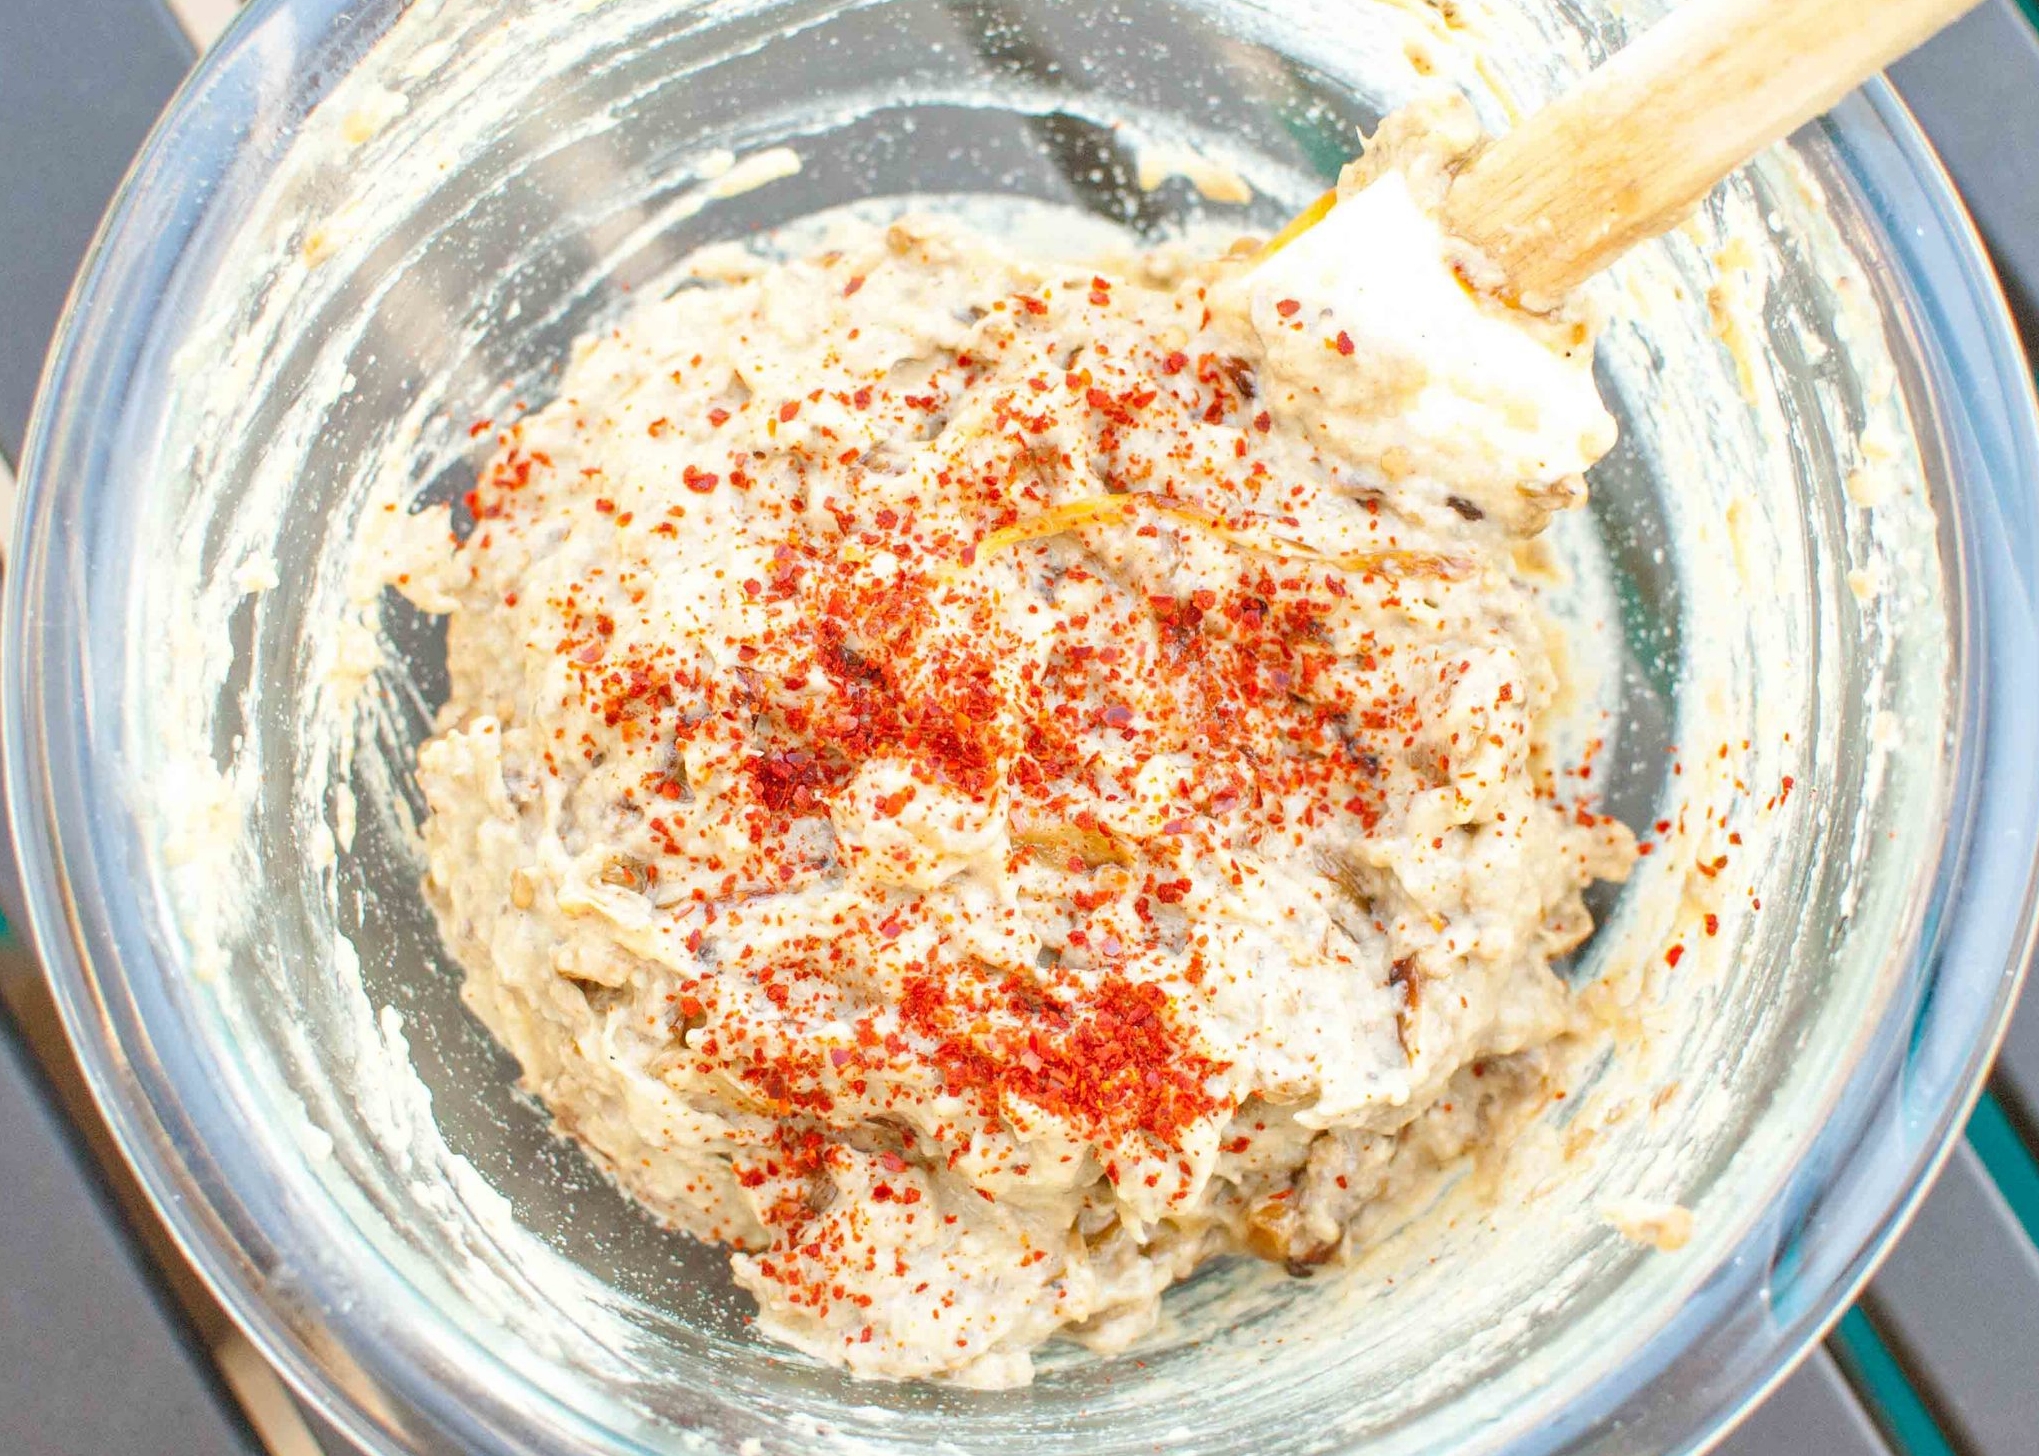
5. Add the mixture to a stand mixer bowl fitted with a paddle attachment (or a mixing bowl, or a food processor) and mix on low for 1 minute to release steam and cool down the dough. Add an egg, one at a time and mix on medium-low until it the egg has been fully incorporated (about 30 seconds to 1 minute). This photo has one egg and has been mixed for 10 seconds. The appearance of the dough is curdled and not cohesive. Continue to mix until it looks like the following photo.
6. Continue adding the remaining eggs until the dough resembles this constancy.
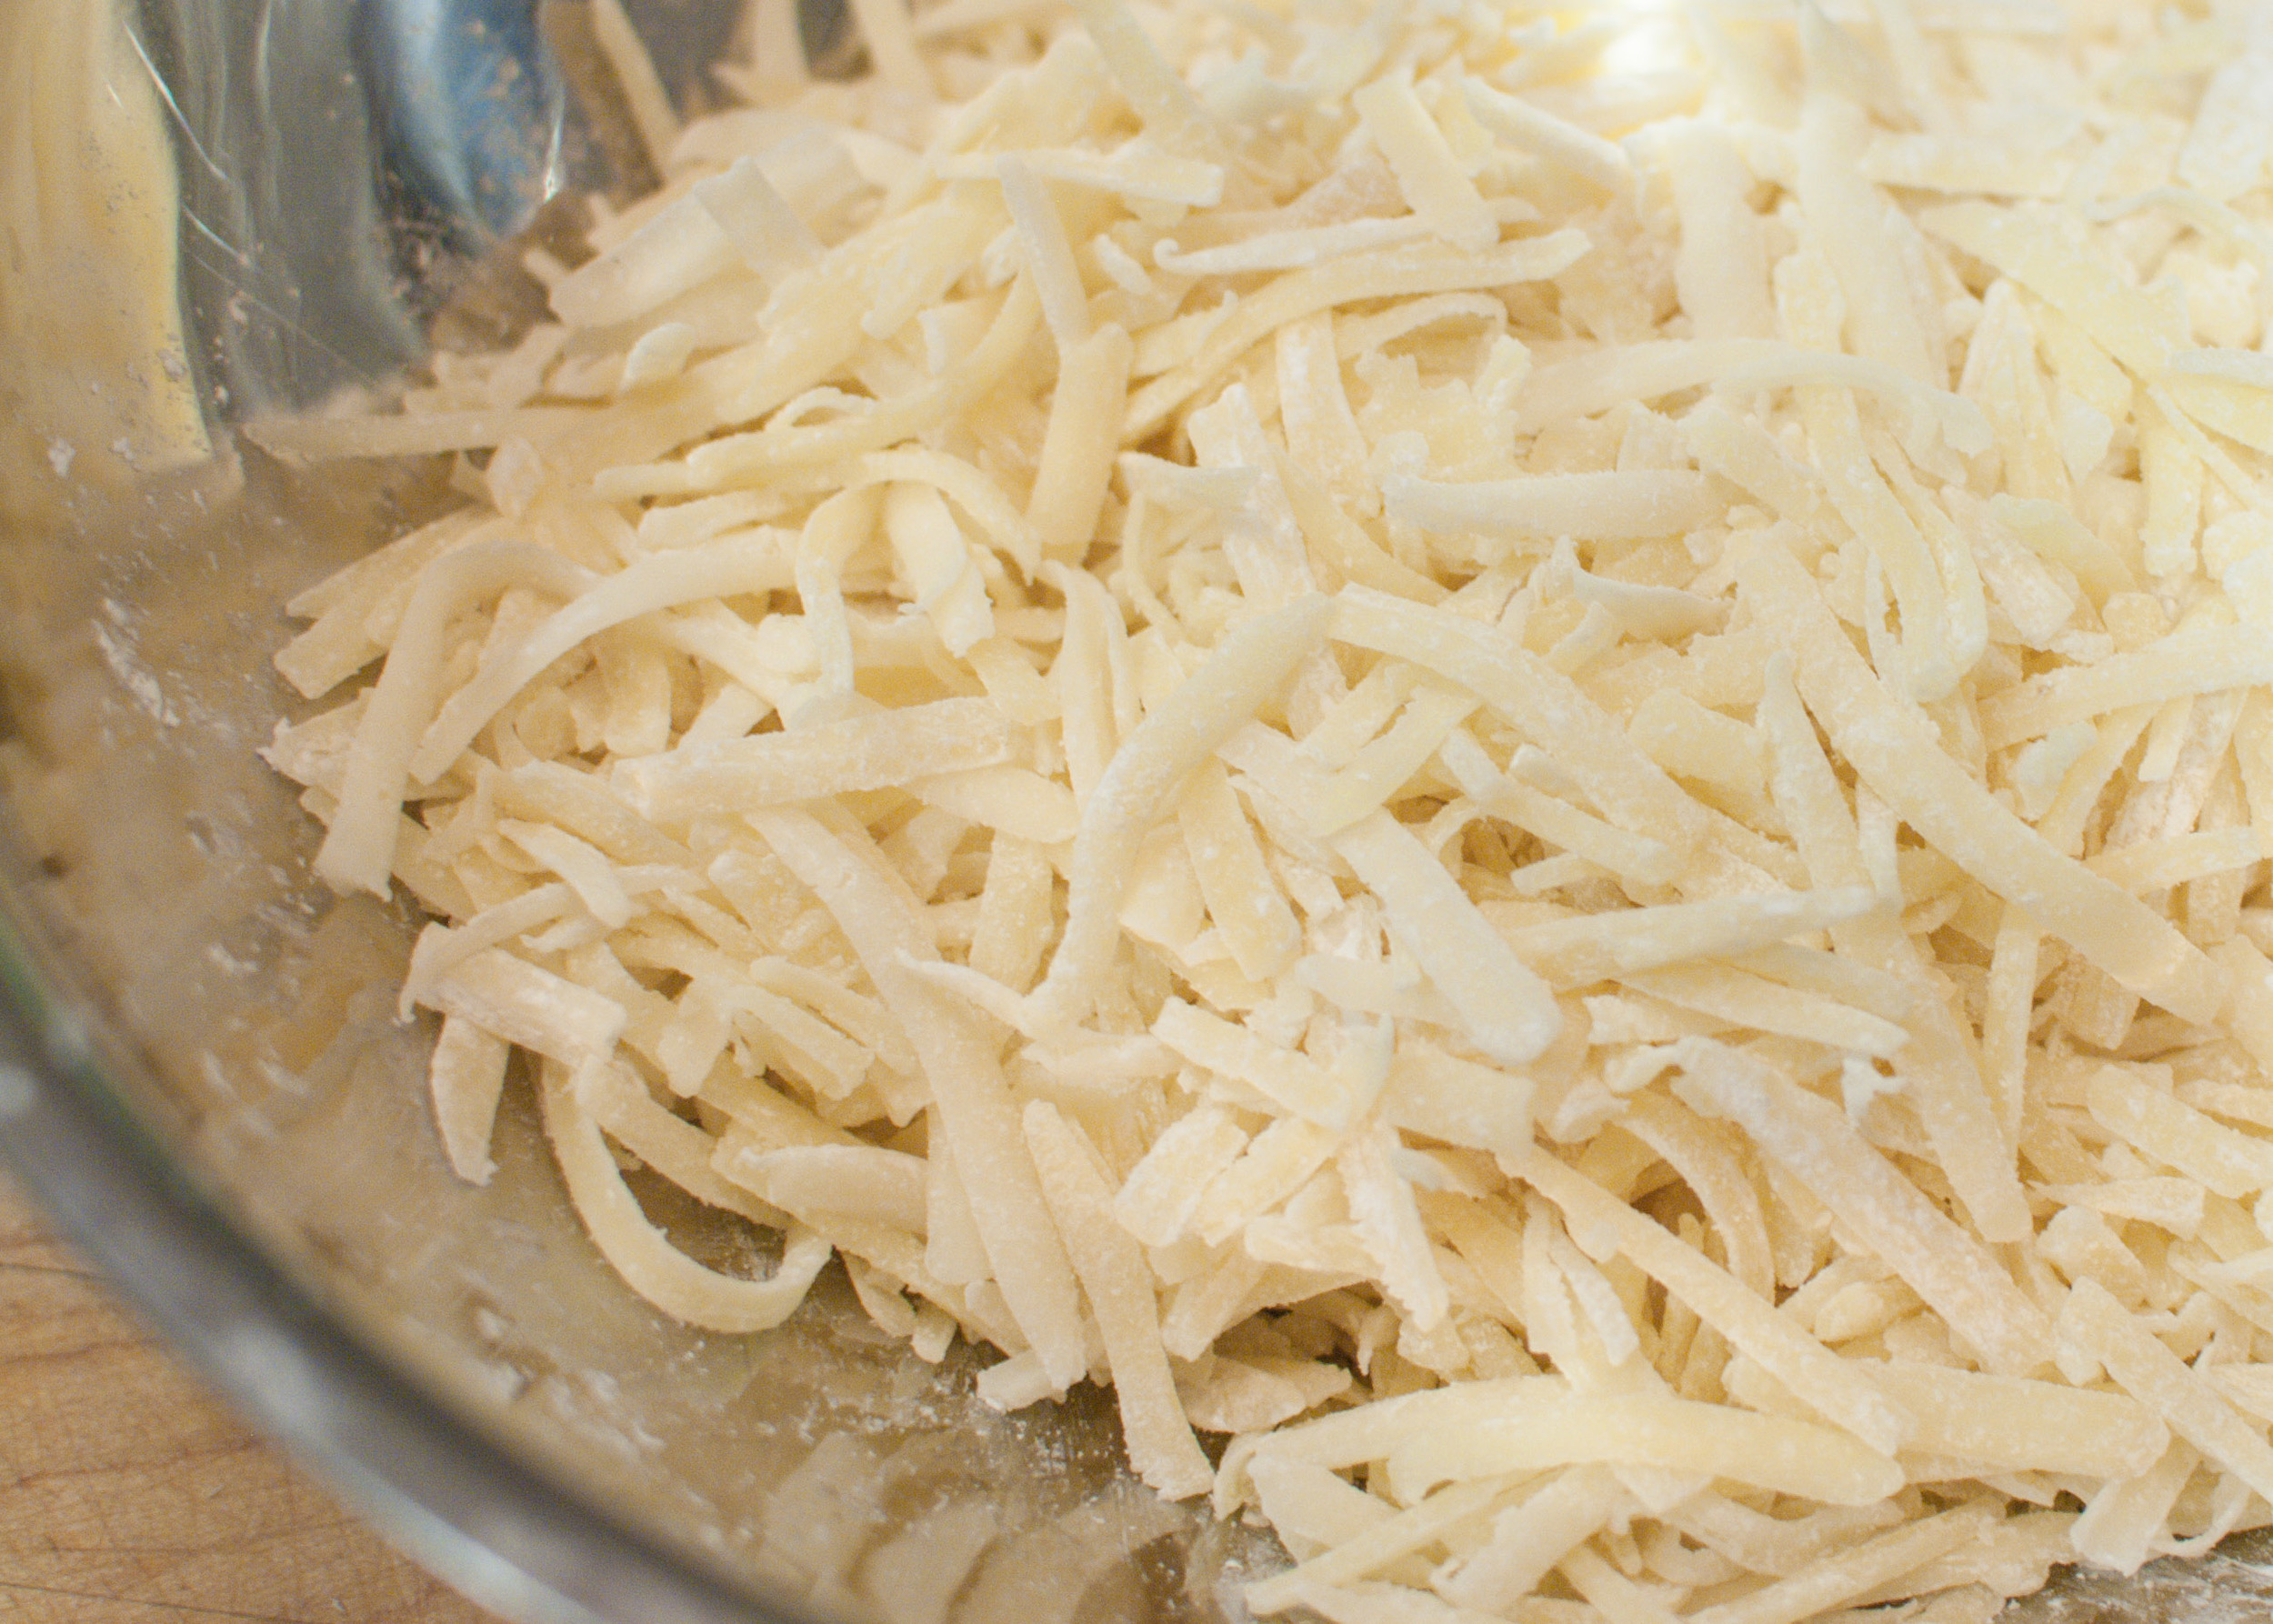
7. Add shredded cheese and fold in.


8. Scrape dough into a gallon-sized freezer bag or piping bag. (I used a large beer stein to keep my bag open.)
9. Squeeze dough to a bottom corner of the bag and twist and pinch the bag at the top of the dough to create pressure. Snip the corner to approximately the diameter of a dime.
10. Standing directly above your prepared baking sheet, position the tip of the bag to kiss the parchment. Gently squeeze bag from the top, releasing the dough, while simultaneously and slowly drawing the bag upwards.


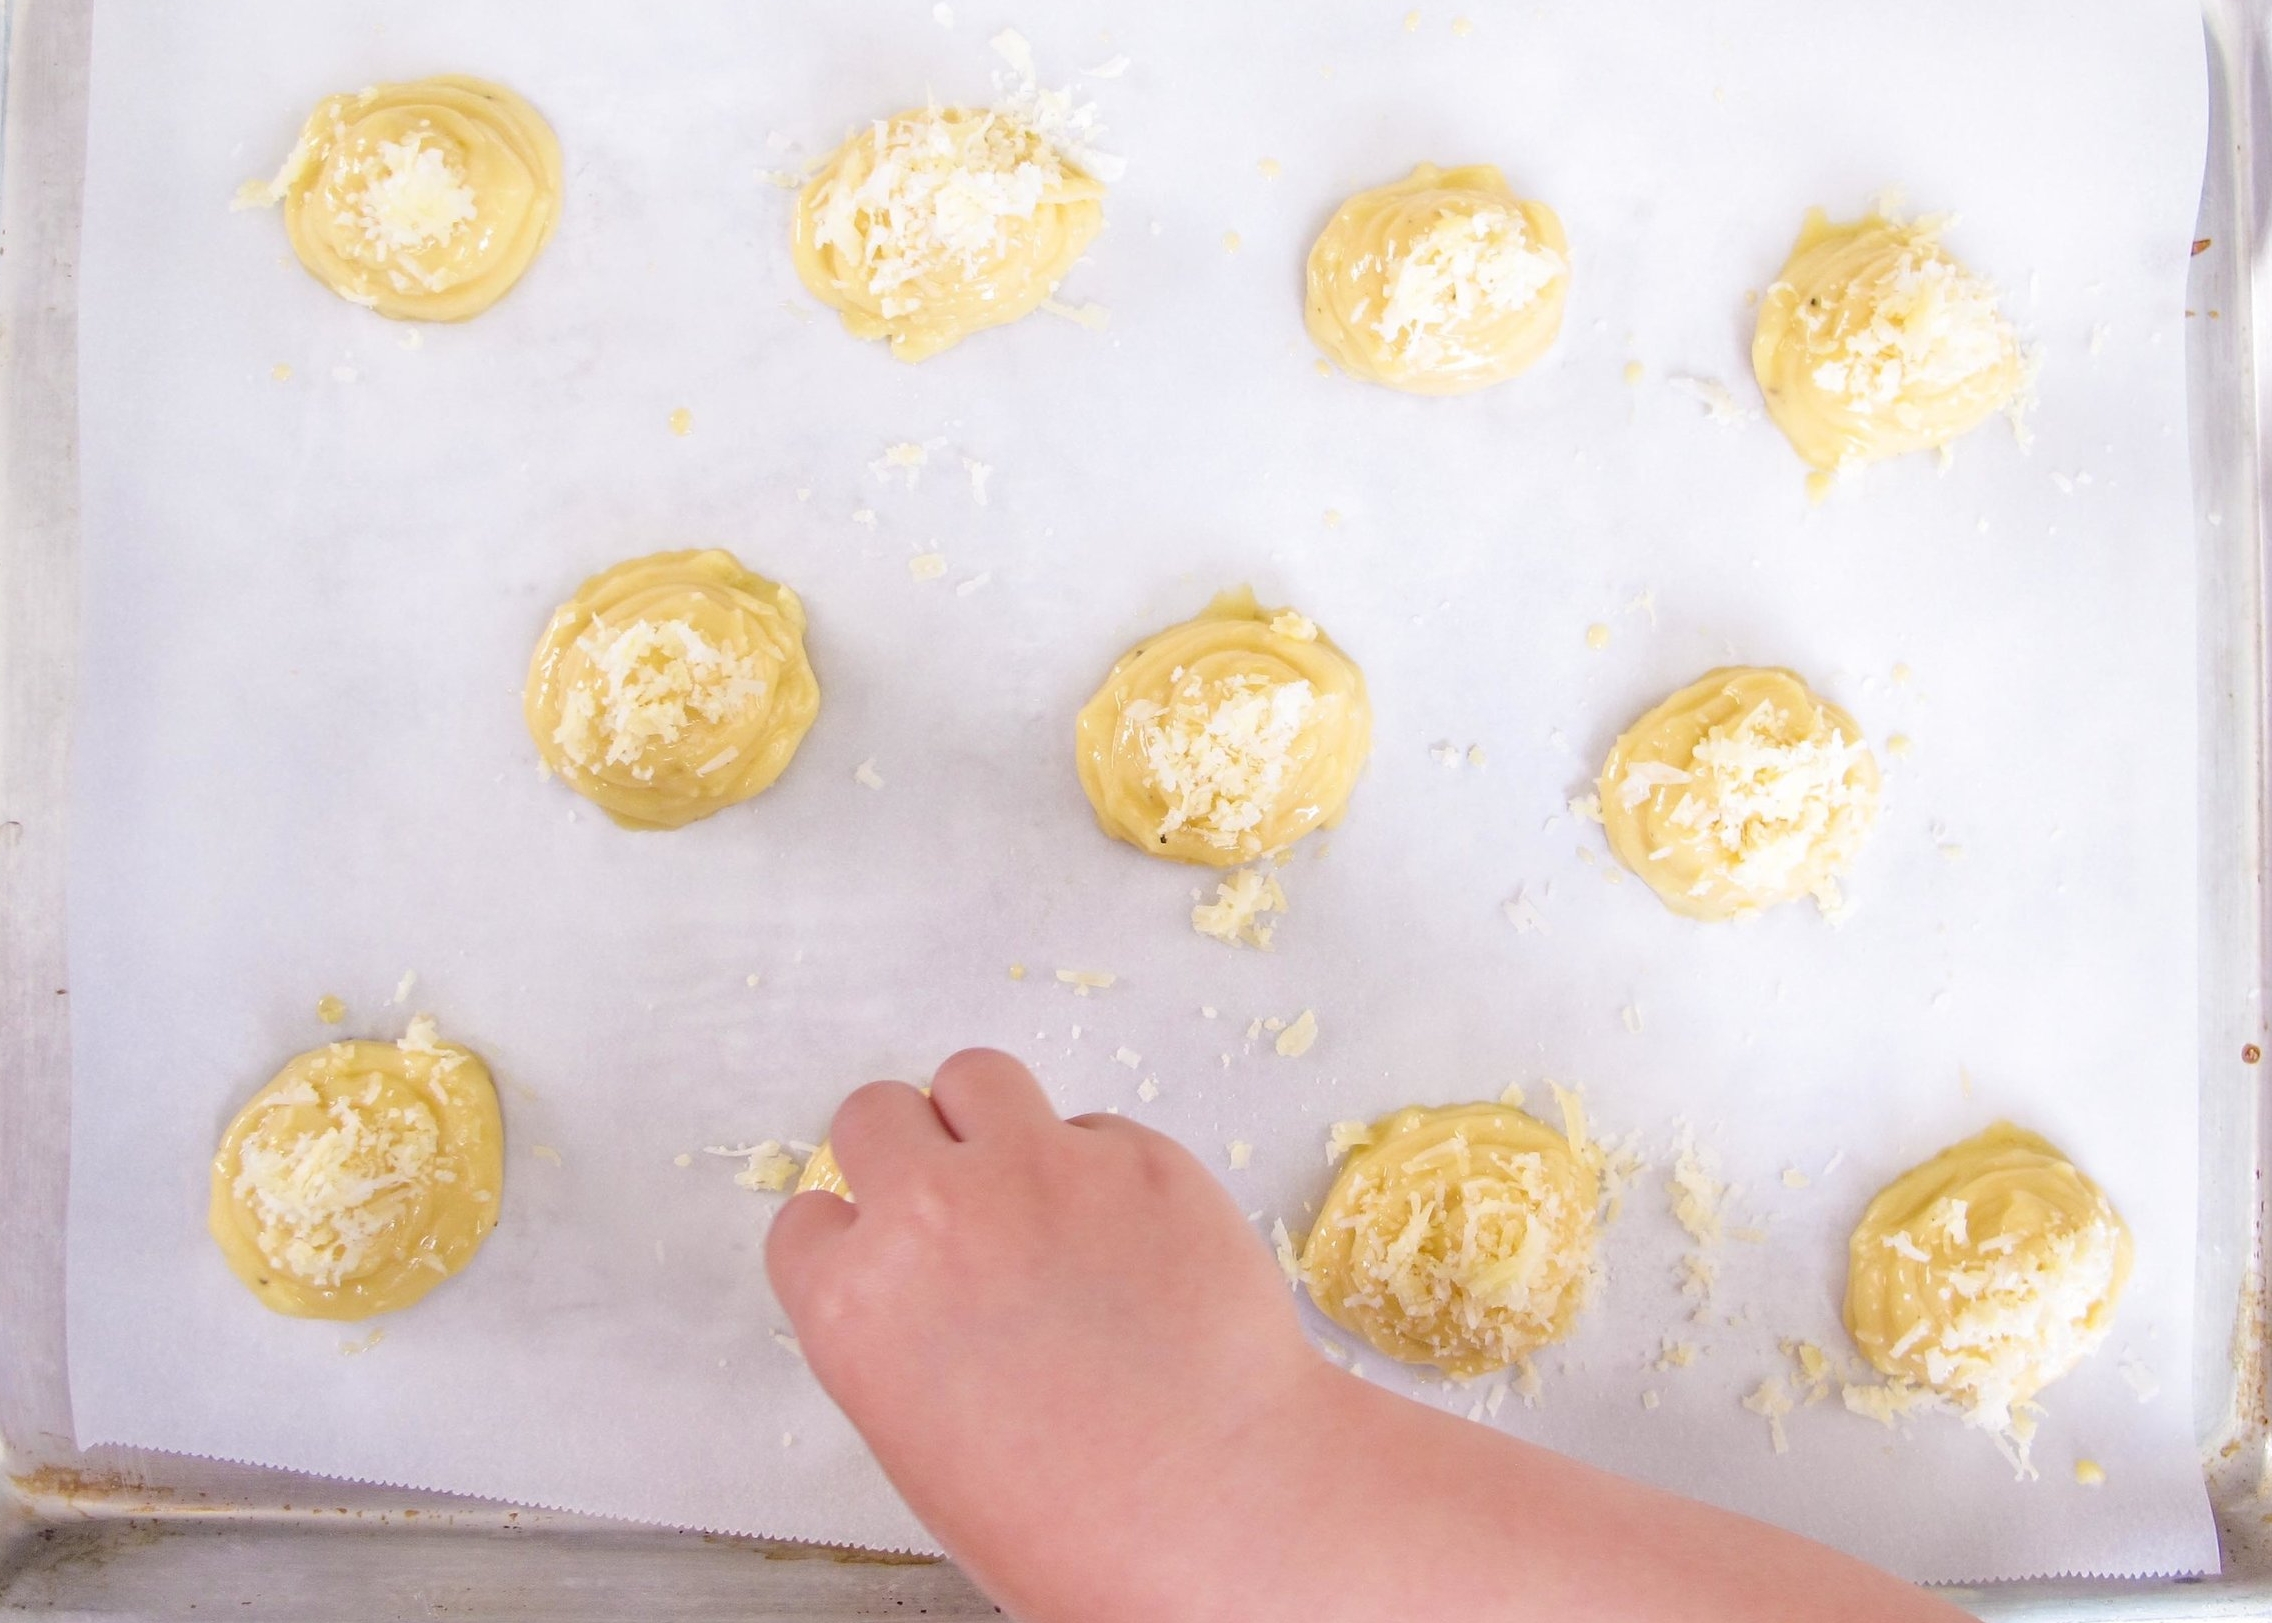
11. Continue piping mounds on the baking sheet with 2" of space between each one.
12. Dip your finger into the egg wash and gently push down each of the unruly tails that formed on your mounds. With a pastry brush, brush the top of each mound with egg wash.
13. Sprinkle finely shredded cheese on top.


14. Place baking sheets into the preheated oven, with the racks positioned at 1/3 and 2/3 distance. Bake for 15 minutes at 425 degrees. Carefully turn the pans in the oven to ensure even cooking. Be gentle! You don't want to bang them around and have any collapse - they are still fragile at this point. Turn oven down to 375 degrees and continue to cook for 10 minutes more, until beautifully golden brown and hollow on the inside.
Enjoy immediately or store in an airtight container, and rewarm in a 350 degree oven for 8 minutes.