flour

Pane Bianco by Cynthia Raub

Print Friendly and PDF

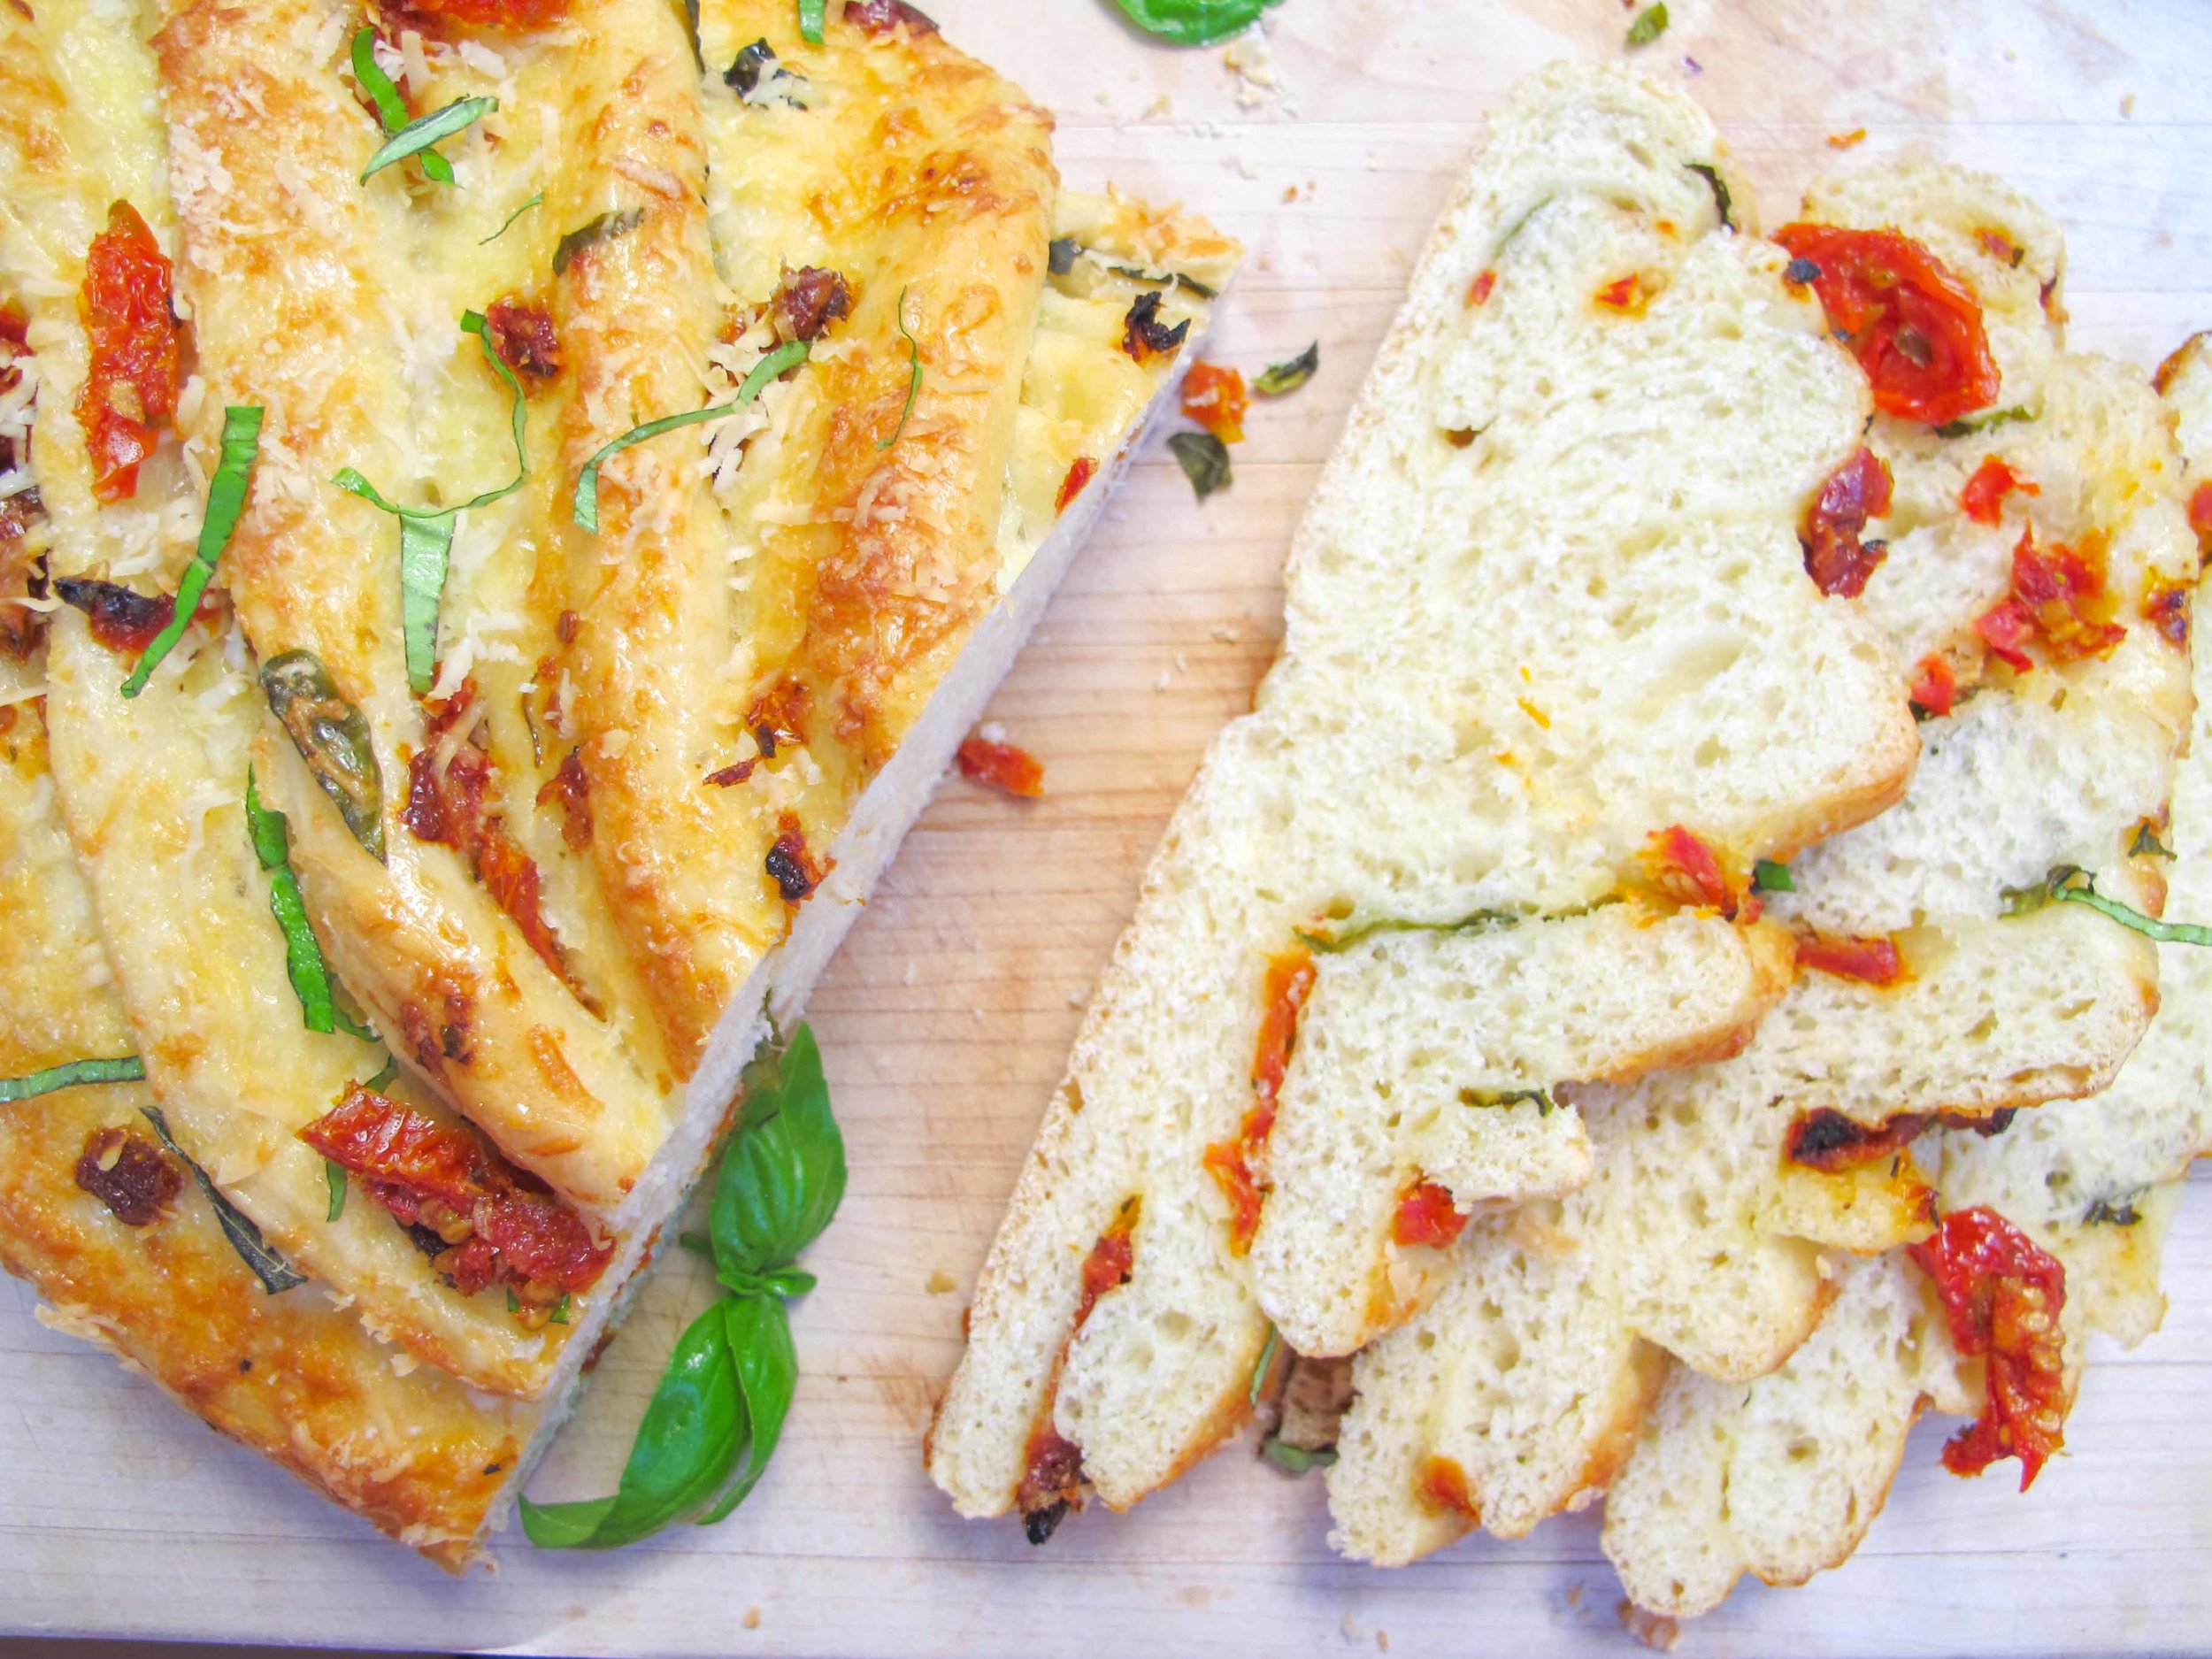
When I first laid eyes on a photo of this golden and curvy loaf of Pane Bianco, I was in awe and intrigued. As a baking newbie, I was intimidated by the gorgeous loaf until I read the recipe. Very little special equipment is required, (a stand mixer or rolling mat aren't necessarily required, they just make the work easier,) and the recipe uses straightforward ingredients I always have on hand. Since I am actively working on developing my baking skills, this was a great confidence boosting recipe to try. The attractive valleys created by slicing through a rolled log are filled with aromatic and colorful specs of tomato and basil. The scent of freshly baked bread and garlic was intoxicating. So much so, that my children followed their noses down the stairs to the kitchen to ask what I was cooking. I turned the oven light on and they sat in my lap in front of the oven and we watched it bake away together. "I can't wait to eat that!" Emily exclaimed. "Mommy, can I have that for lunch tomorrow?" Asked Olivia. I responded with, "Yes, you can have that in your lunch tomorrow . . . if we don't end up eating the whole thing tonight!" 

Notes: King Arthur Flour notes that you may substitute all-purpose flour for the bread flour in the recipe but to reduce the water in the recipe to 1/4 cup. They also warn that the bread may not hold its form as well. This recipe is endlessly adaptable and can be filled with a myriad of combinations! If you're a novice baker like me, sometimes bread recipes can be intimidating or confusing because you might not trust your judgement on what exactly the visual descriptions are supposed to look like. Because of that and because I am a visual learner, I have watched many a YouTube video on bread and scrolled through thousands of pictures on Instagram to expose myself to the process of baking. This may or may not help you, but I have found it helped my judgement in what to look for, immensely. 


Time: 3 hours (2 hours inactive, 35 minutes baking, 25 minutes preparing)
Yields: 1 loaf

Bread
3 cups bread flour
2 teaspoons instant yeast
2 teaspoons sugar
2 teaspoons salt
1 large egg
1/2 cup lukewarm milk
1/3 cup lukewarm water
3 tablespoons olive oil

Filling
2 tablespoons olive oil
4 cloves garlic, finely minced
1 cup shredded Parmesean (or cheese of your choice) divided
1/2 cup oil-packed sun-dried tomatoes, drained and cut into 1/2″ pieces
1/3 cup torn fresh basil

1 egg, beaten with a splash of water

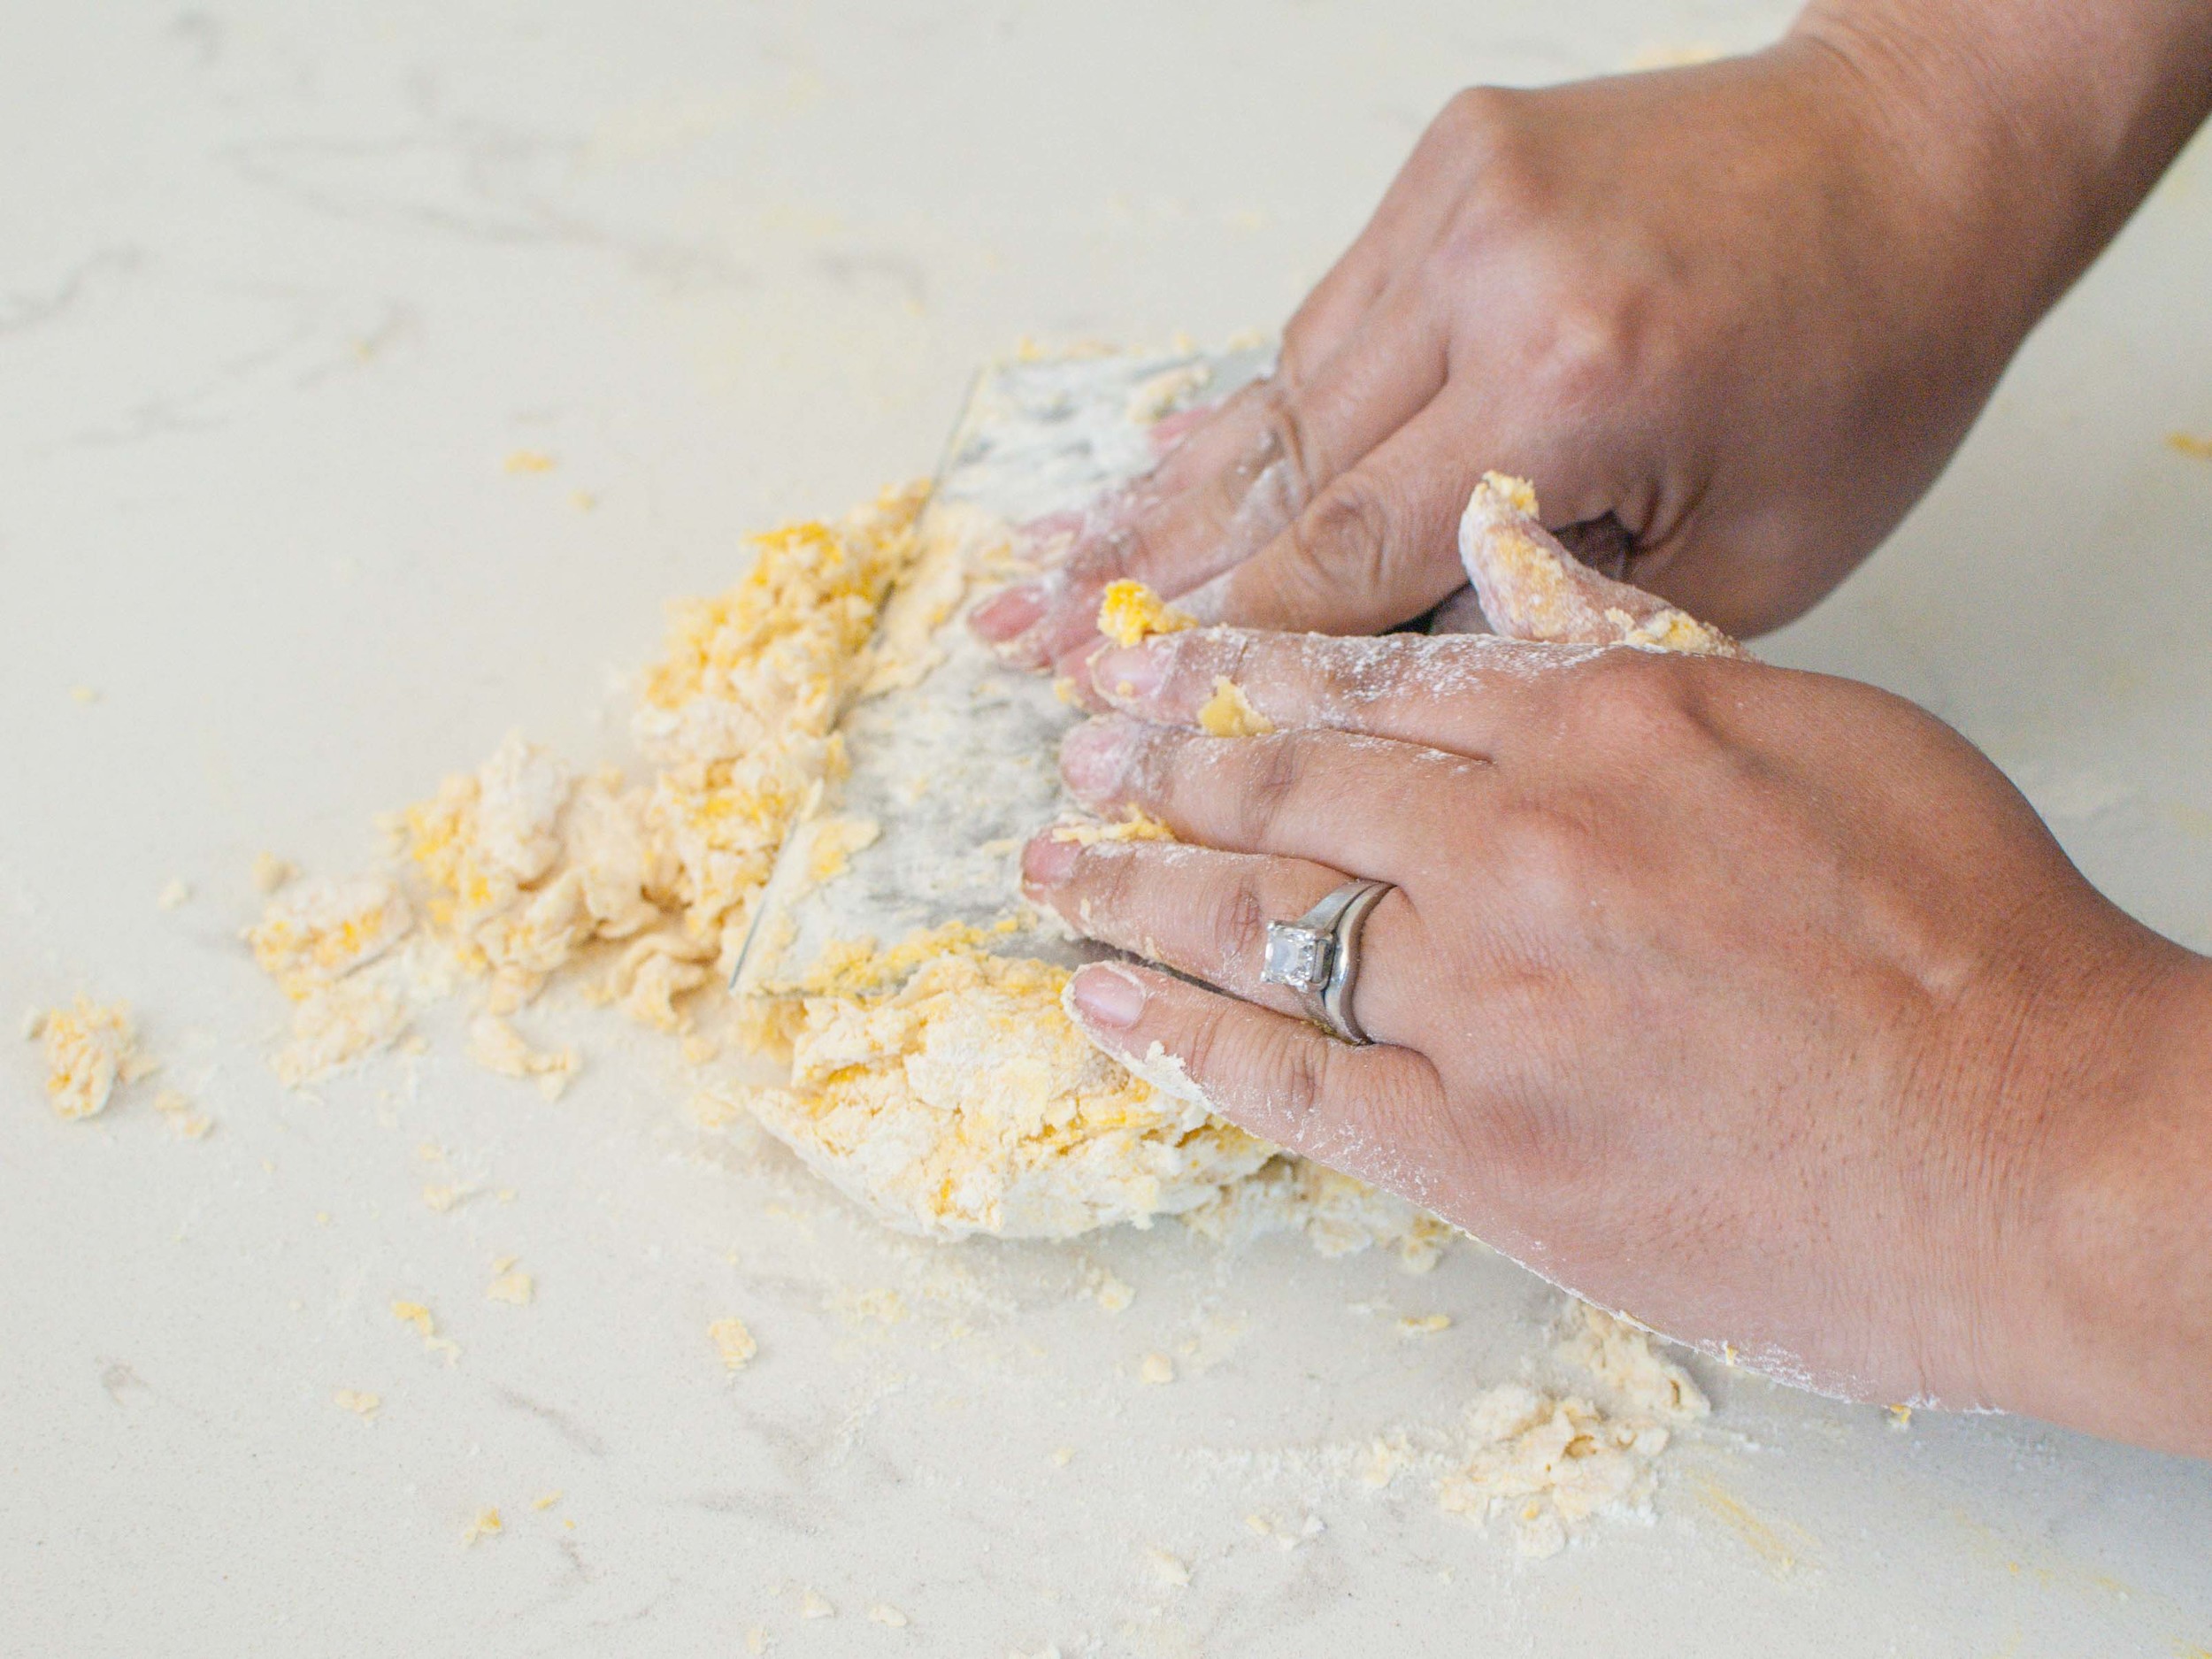
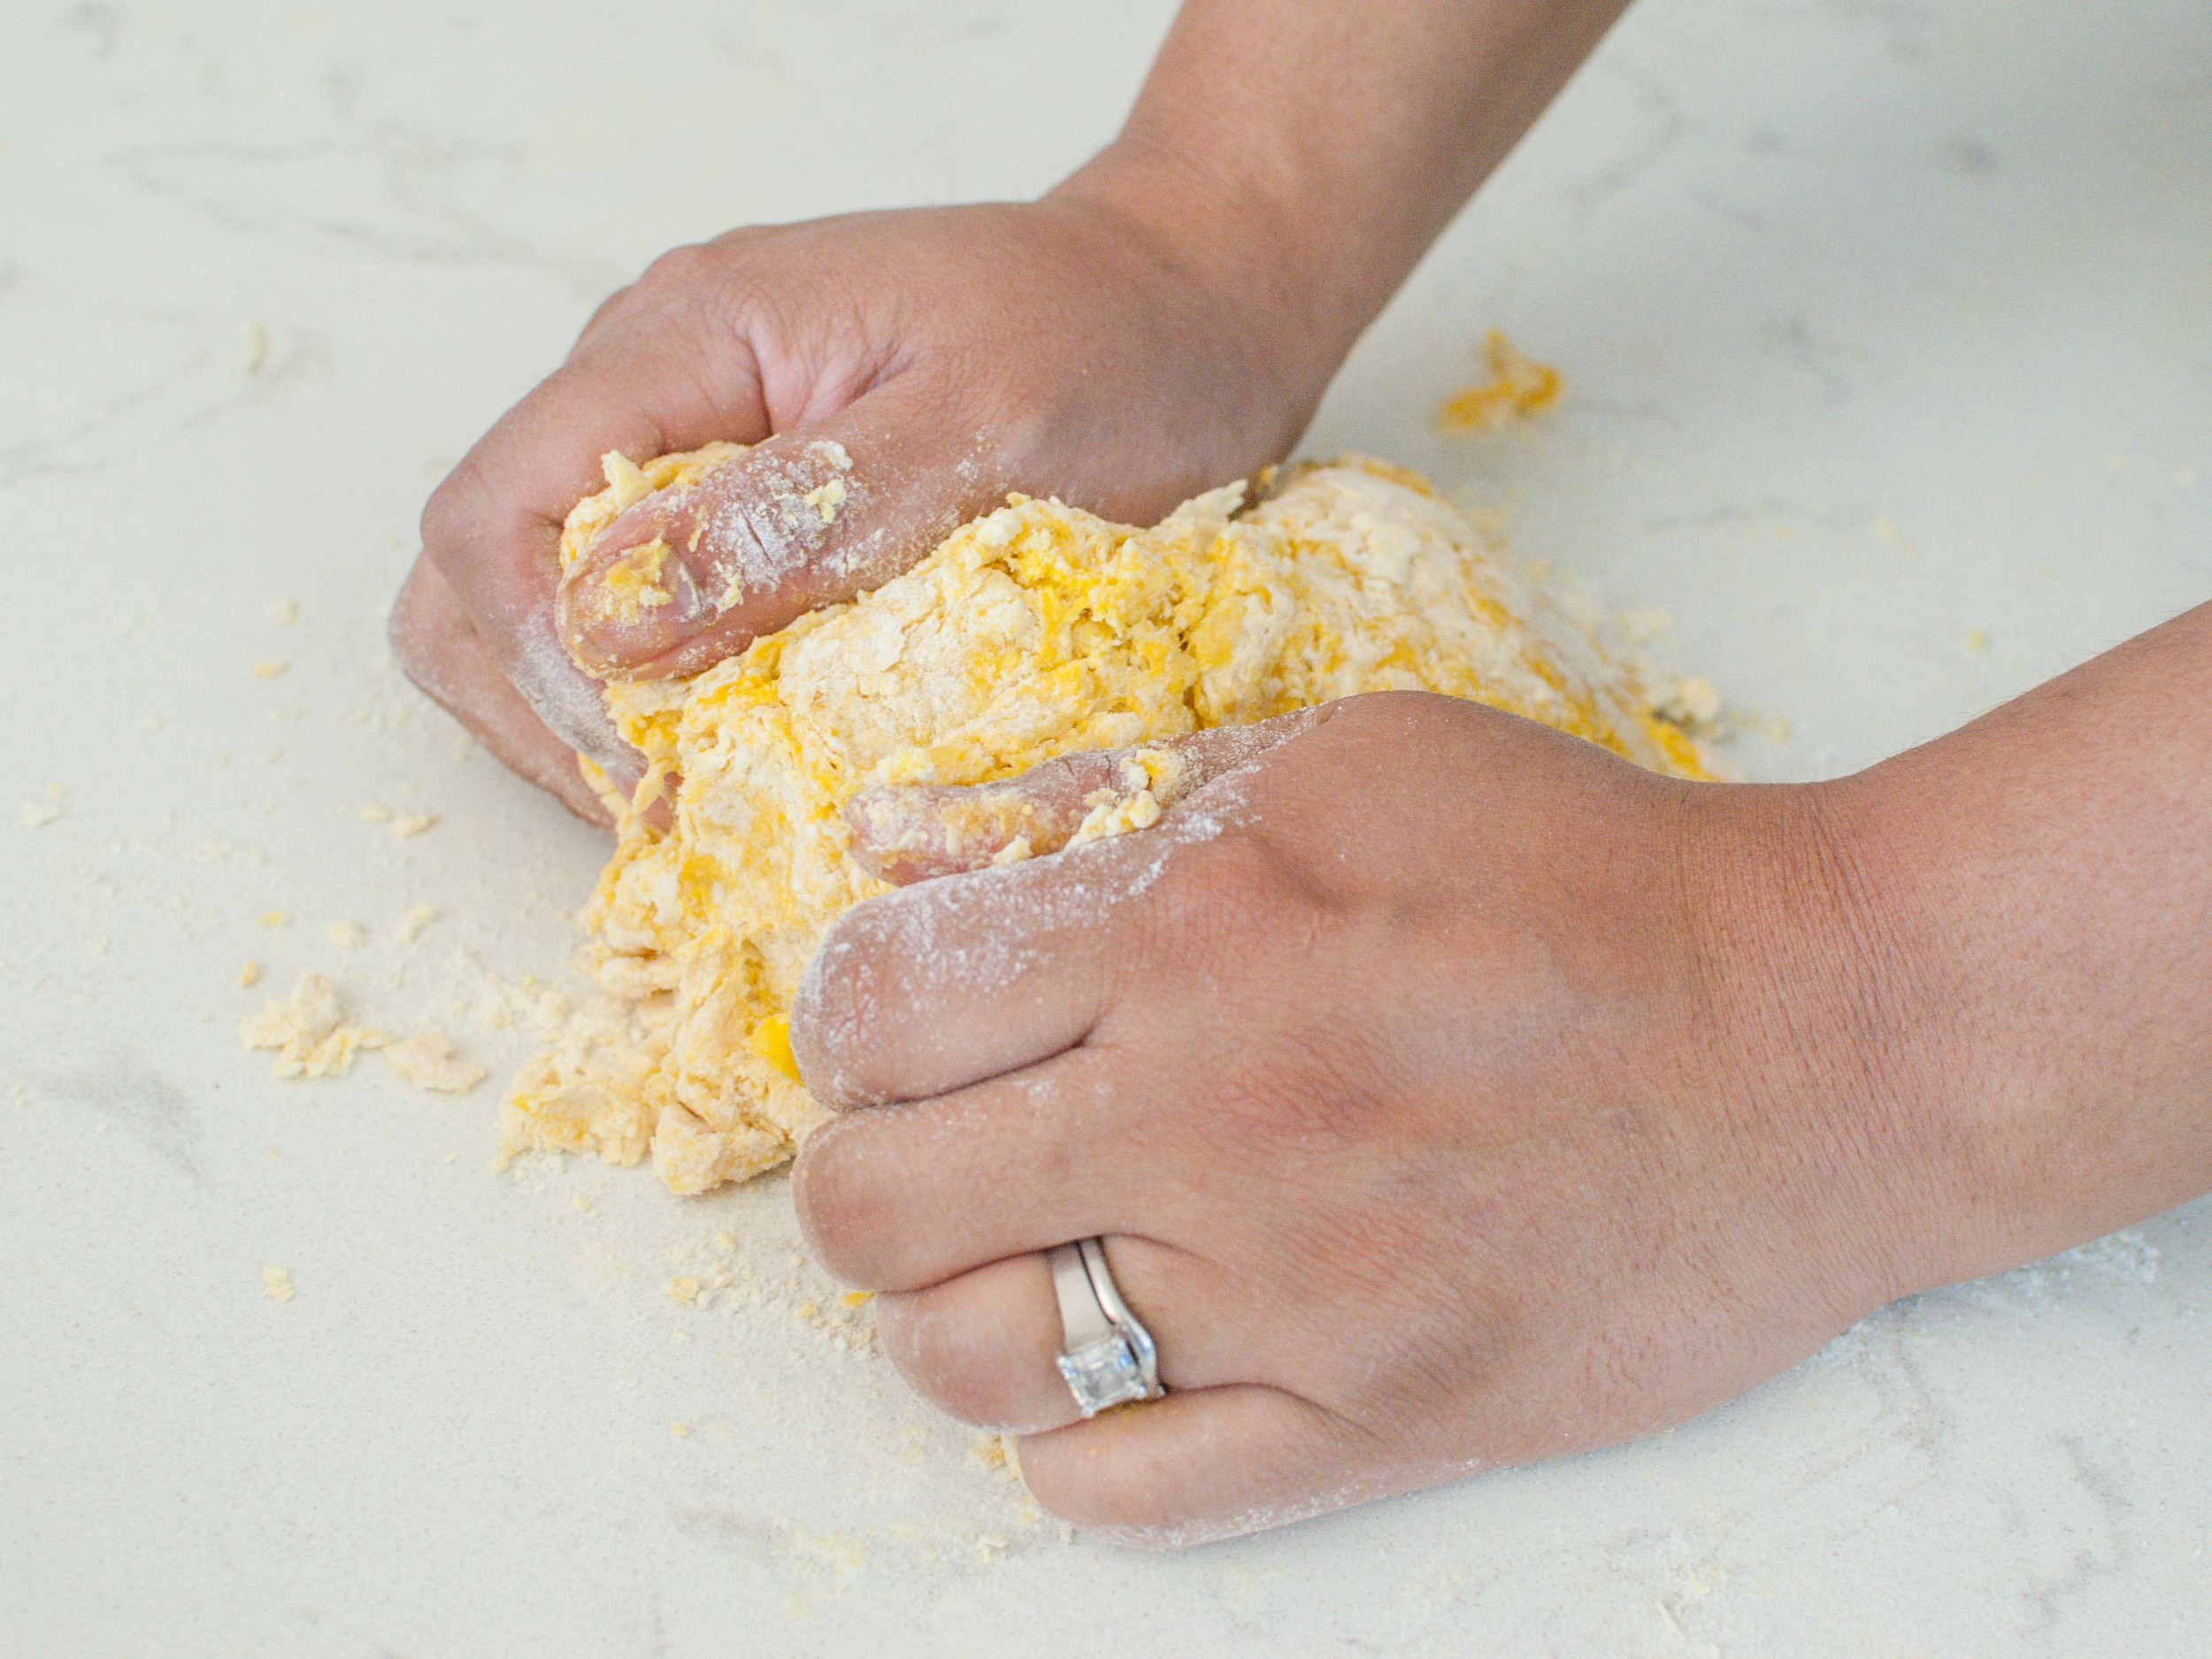
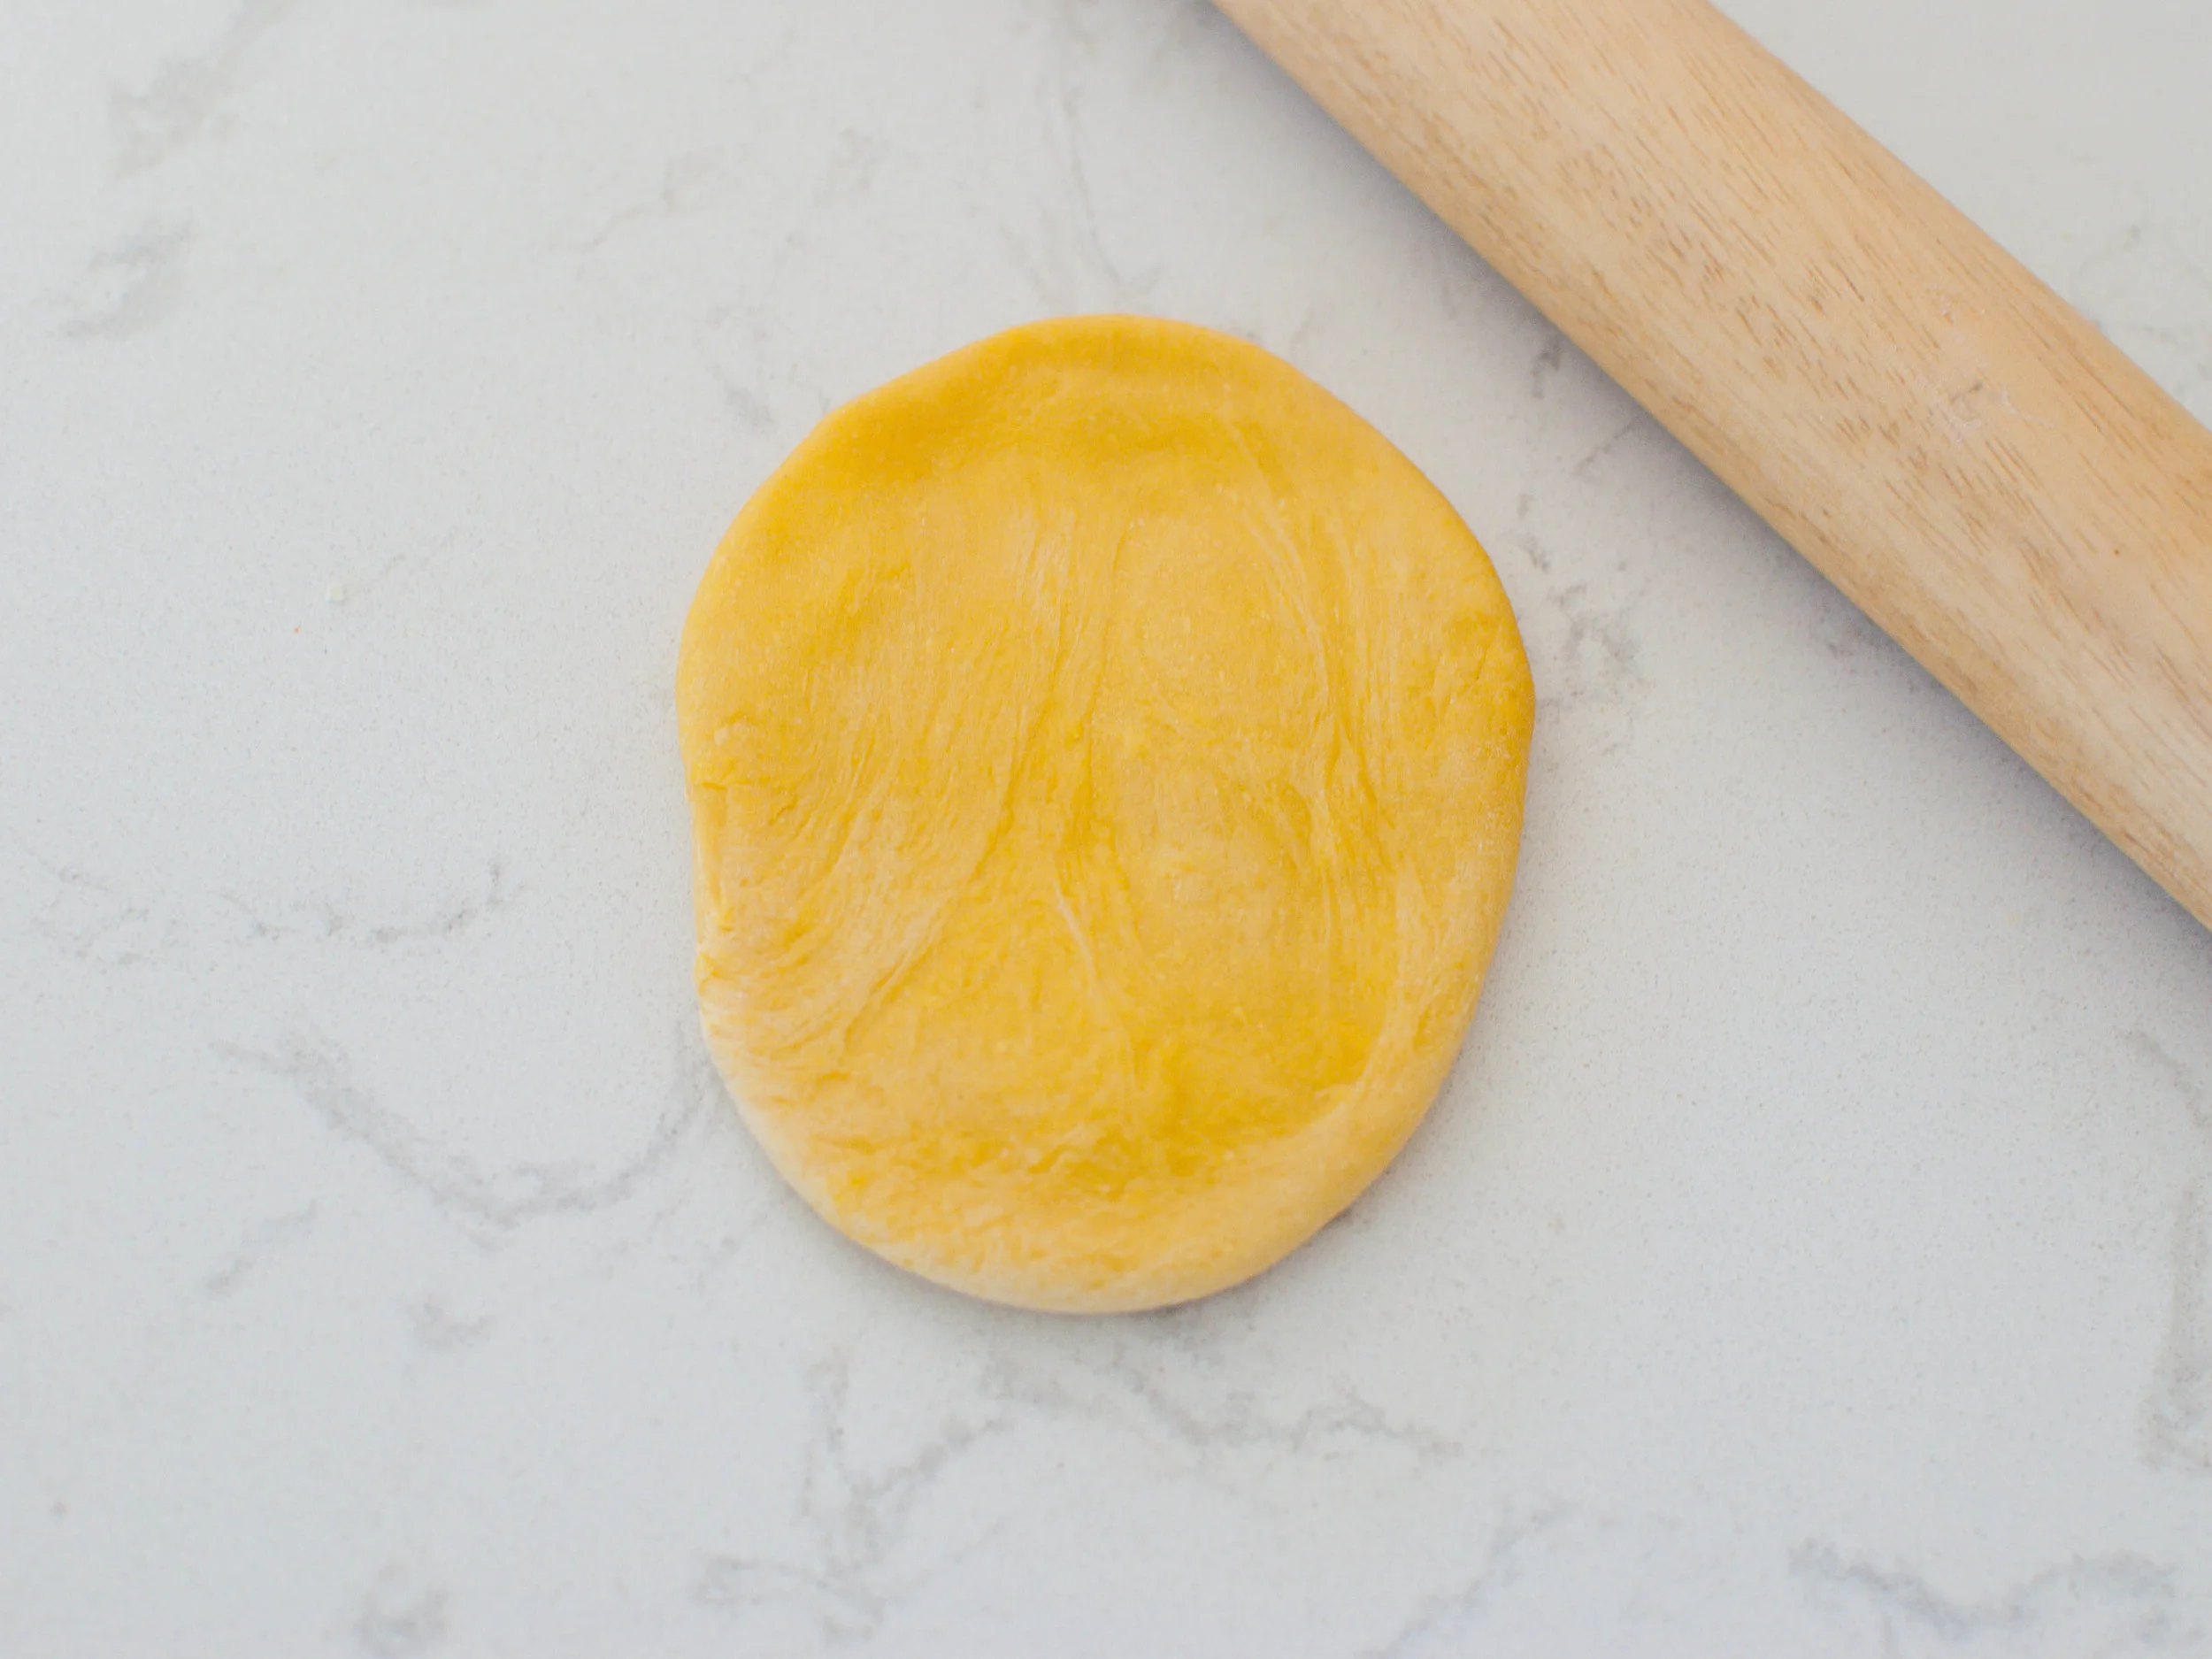
Combine the eight bread ingredients (flour through olive oil) in your stand mixer (with a dough hook), in your bread machine, or in a large mixing bowl. On the lowest setting (or with a wooden spoon), begin to mix the dough until smooth and elastic (about 6 minutes). The dough should pull away from the sides and "clean" the sides of the bowl.

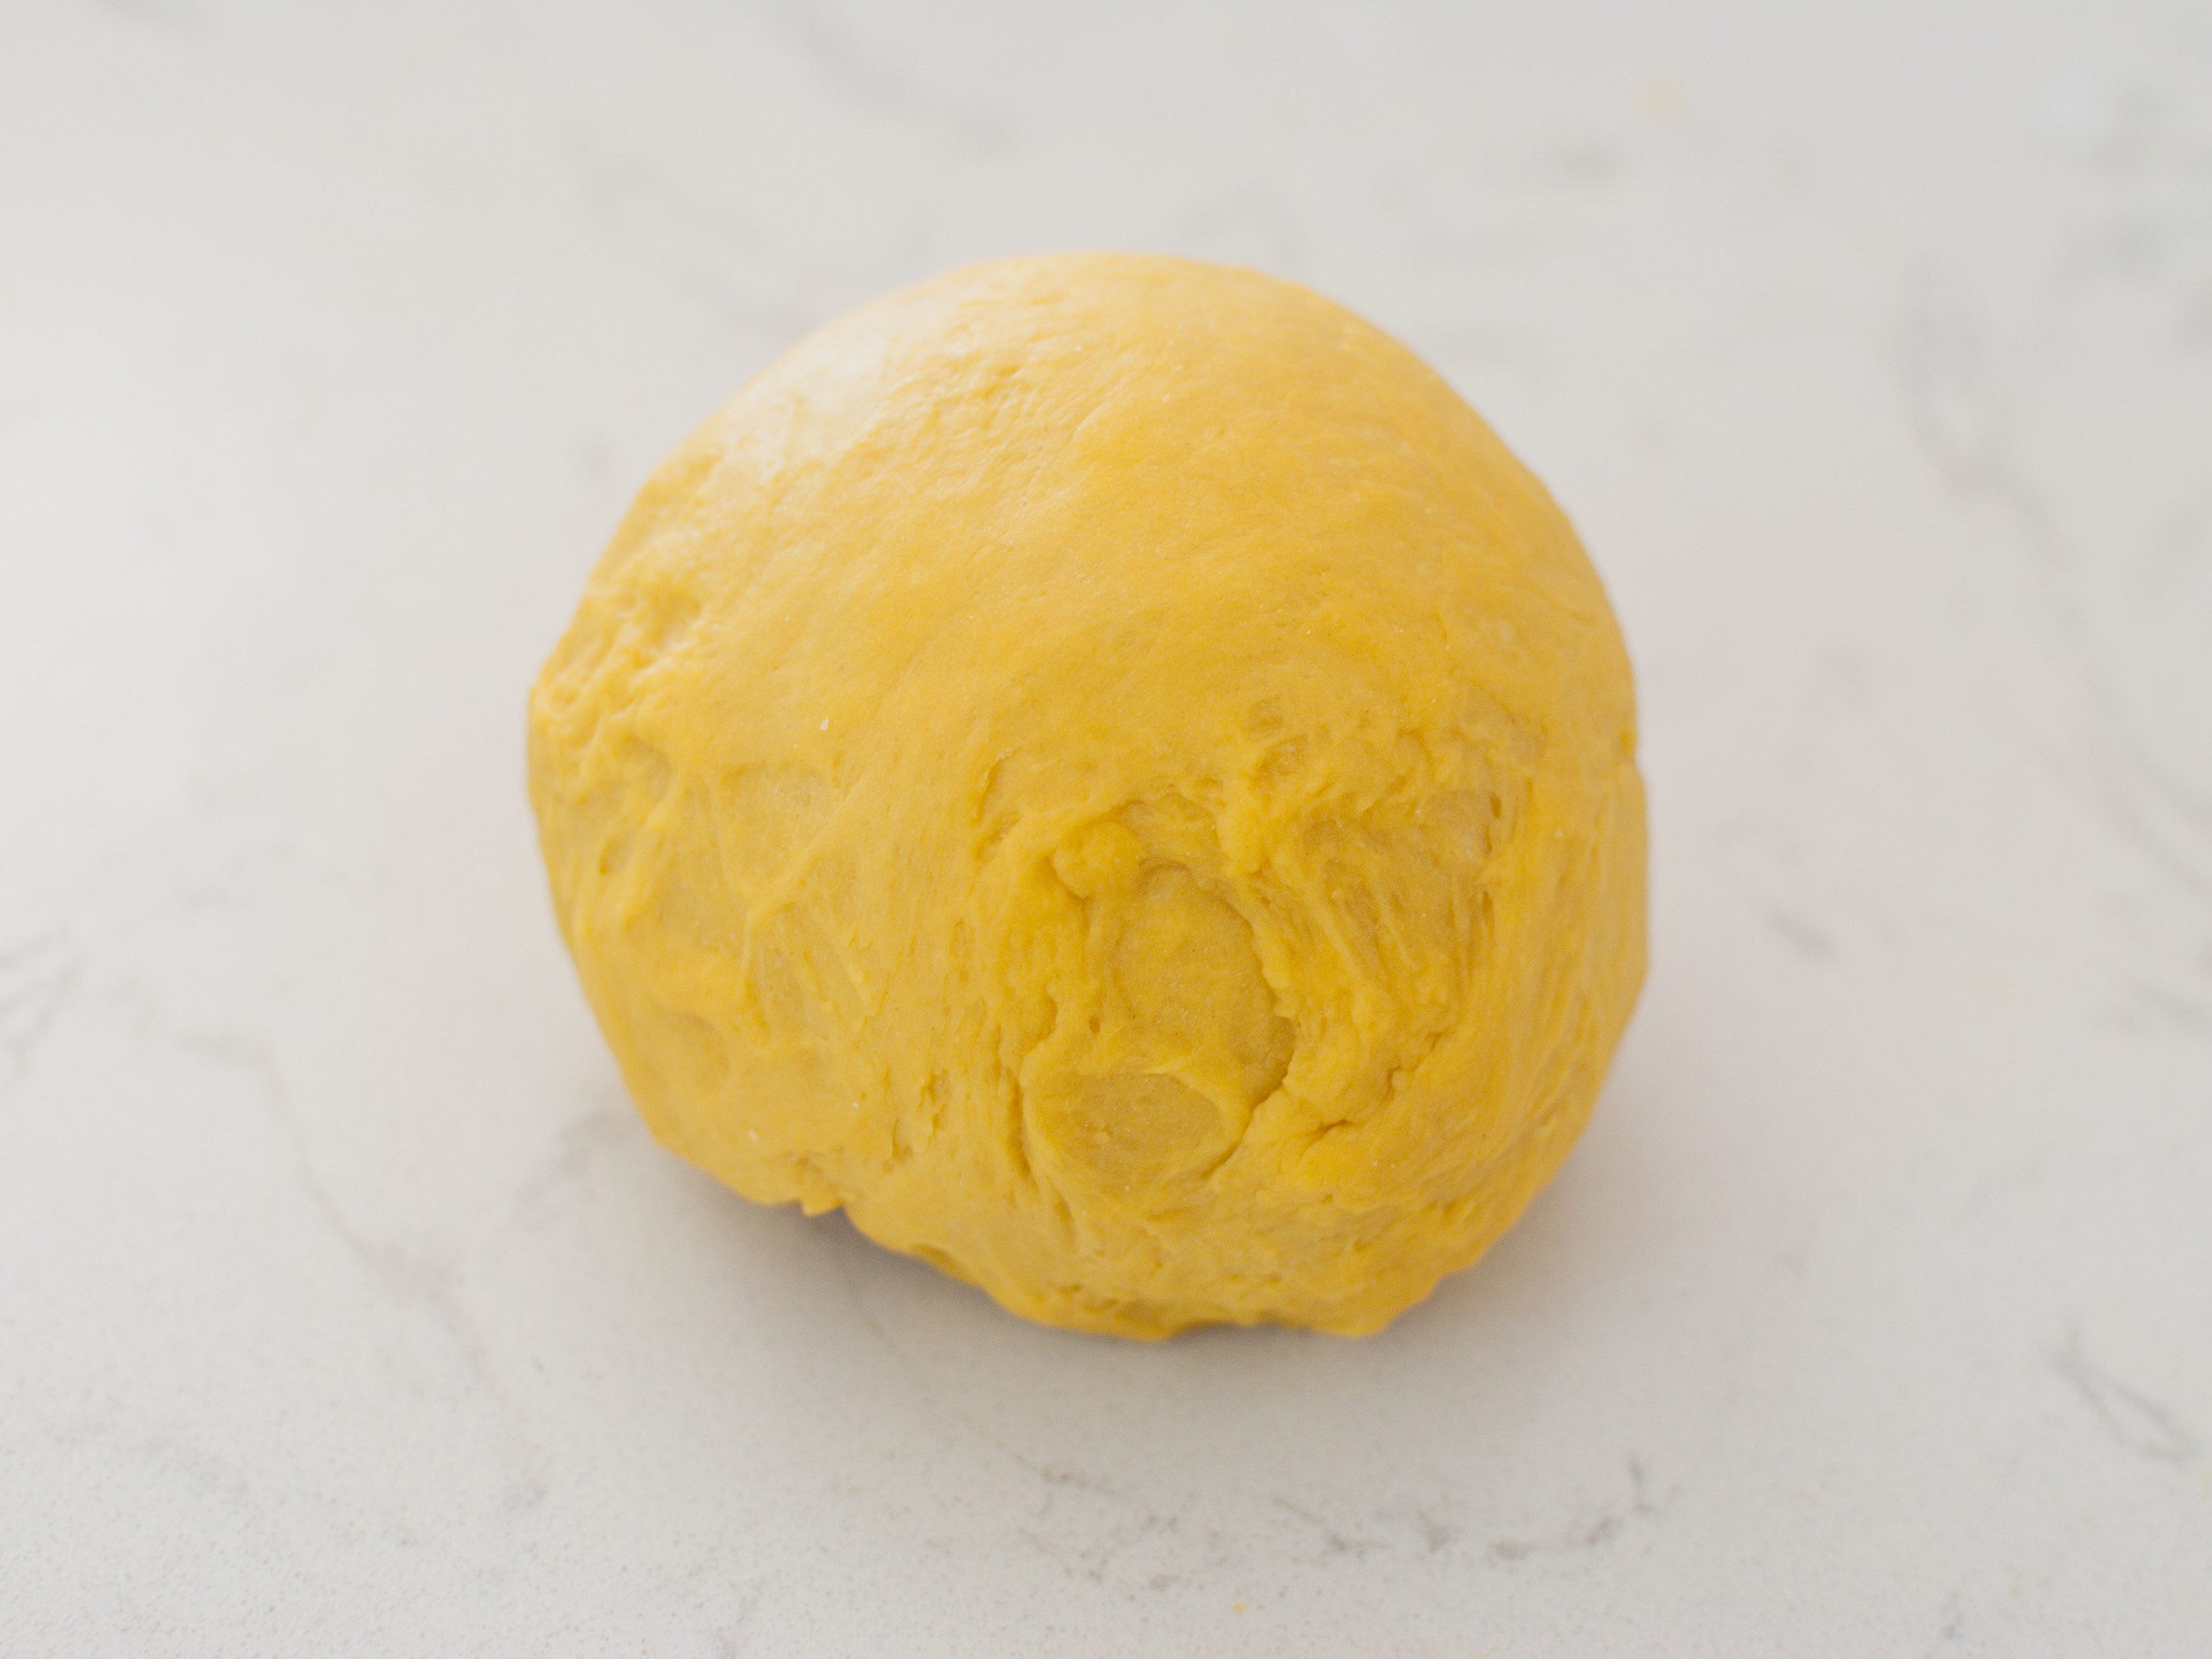
Grease a large bowl with olive oil, place the dough ball into the bowl and cover. Place the bowl in a warm area in your kitchen and allow to rise until about double in size, 45-60 minutes. Meanwhile, gather your remaining filling ingredients and set aside. 

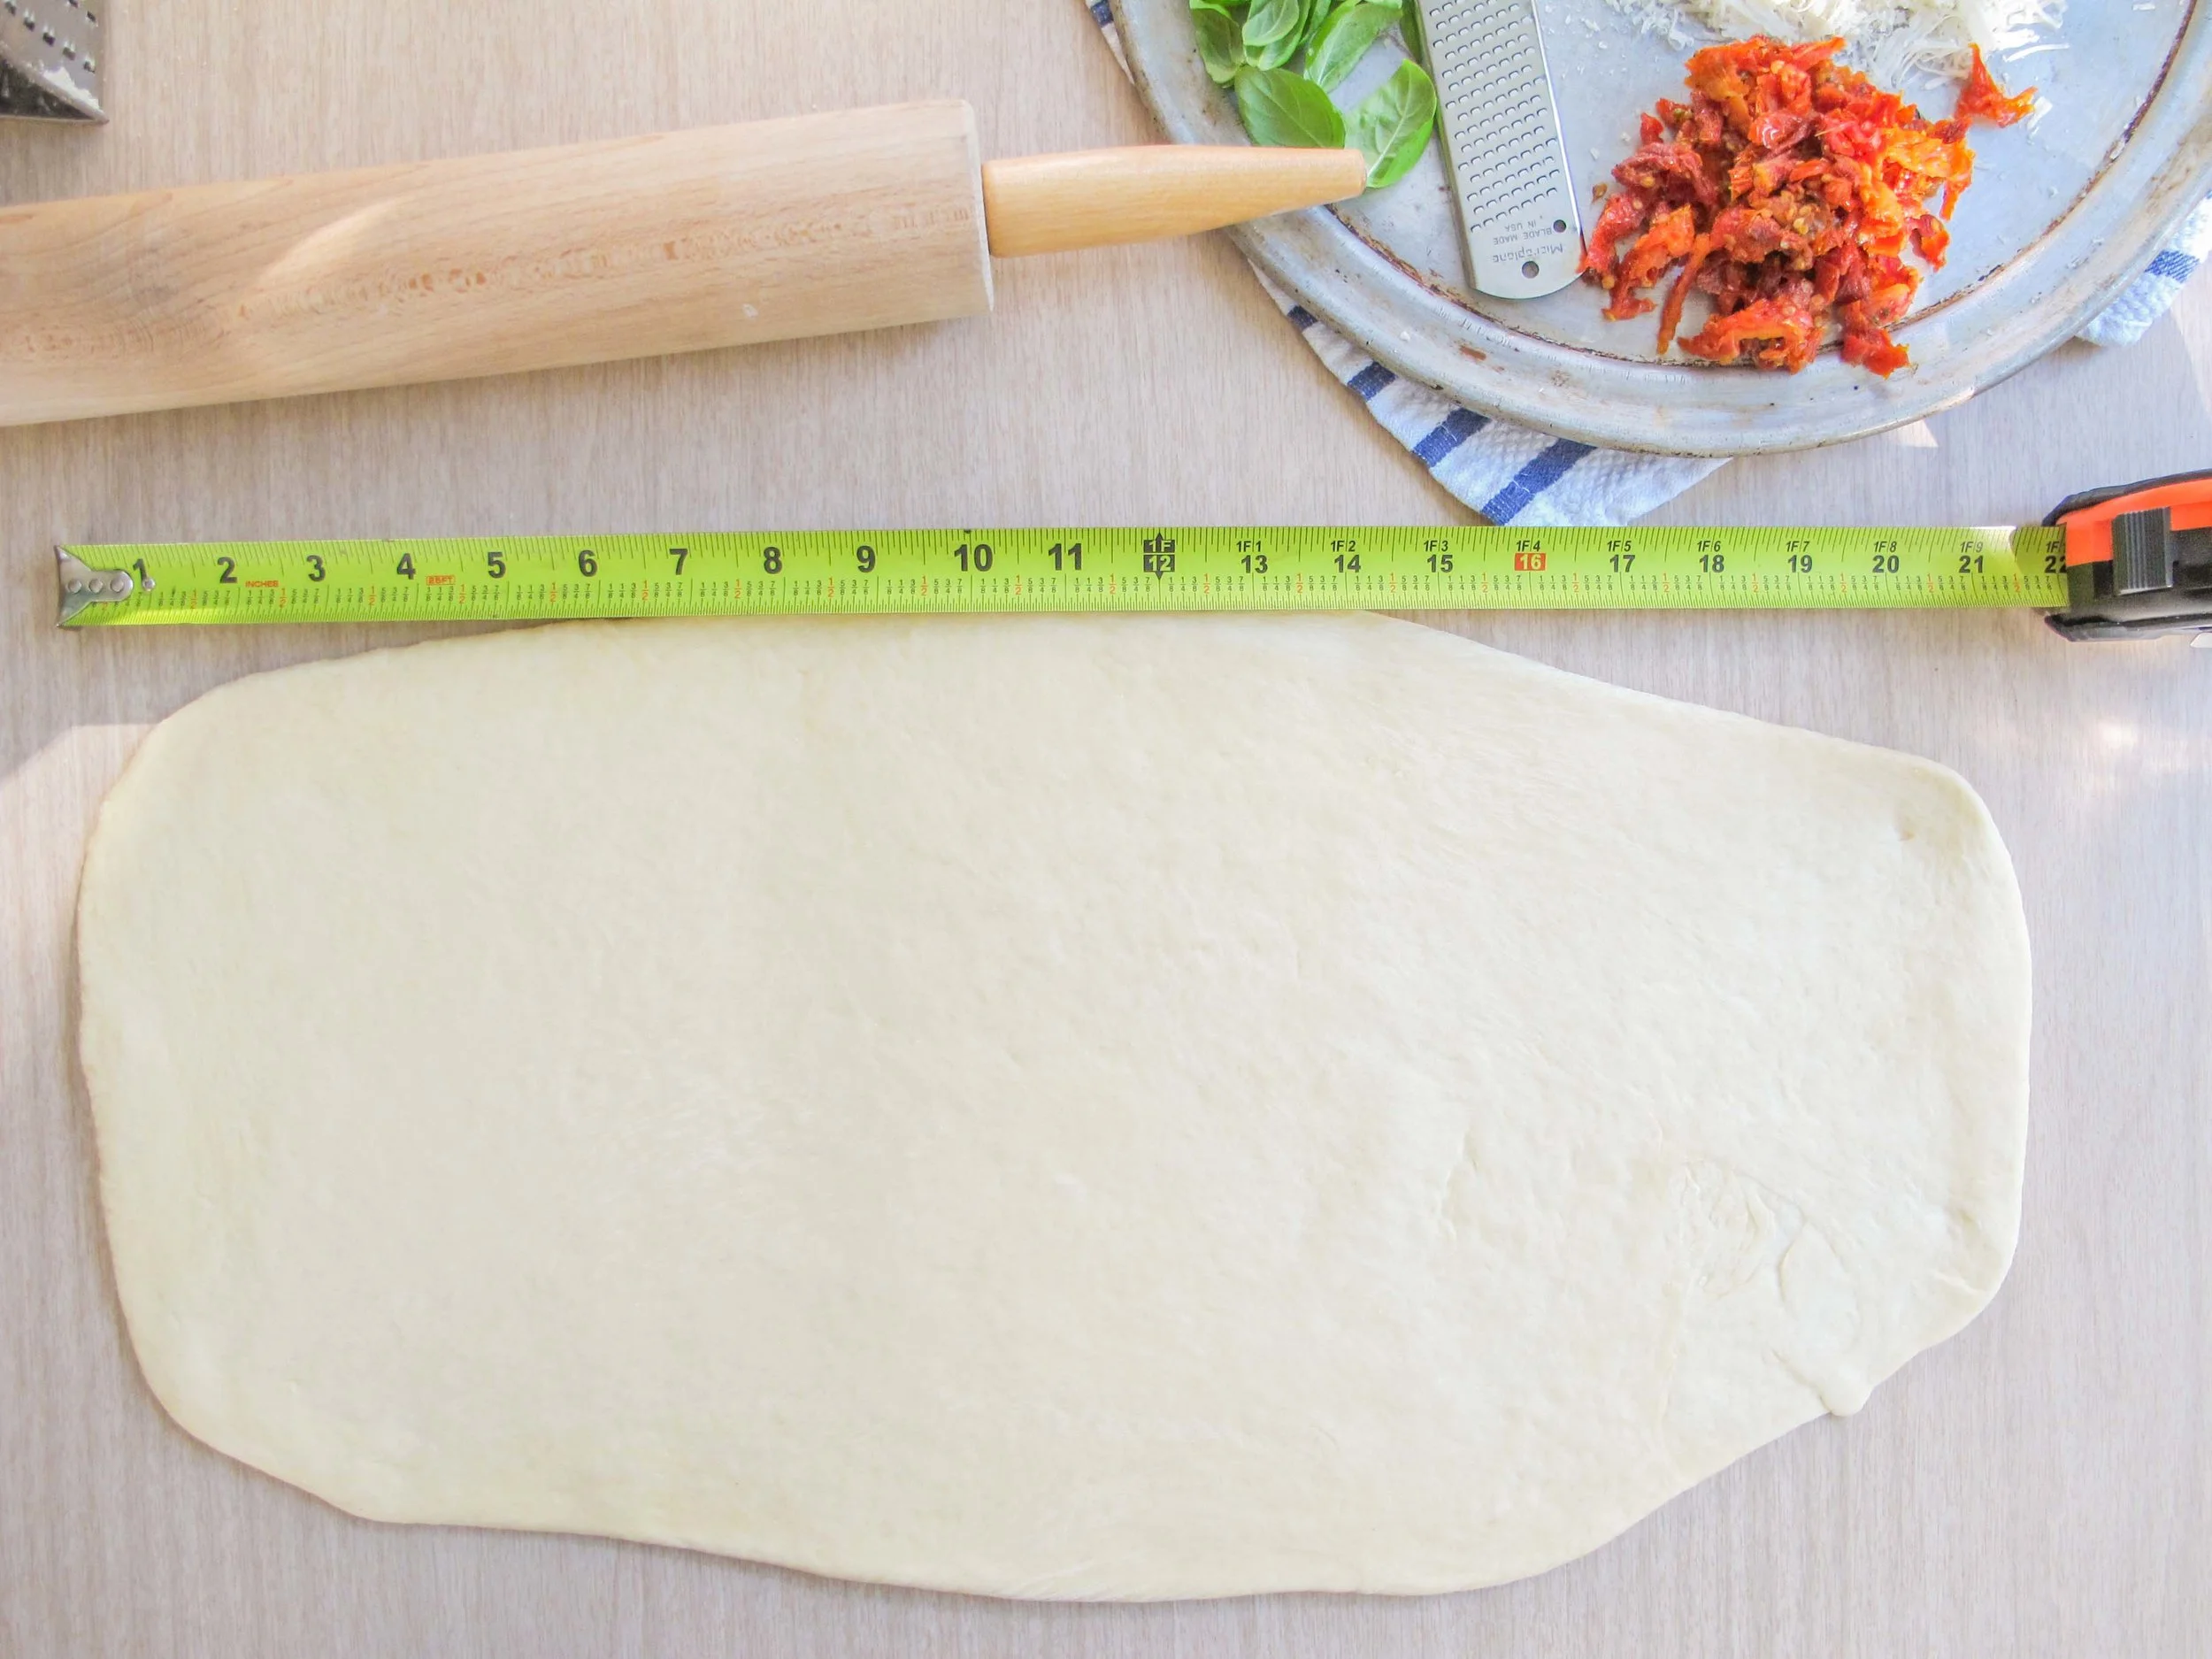
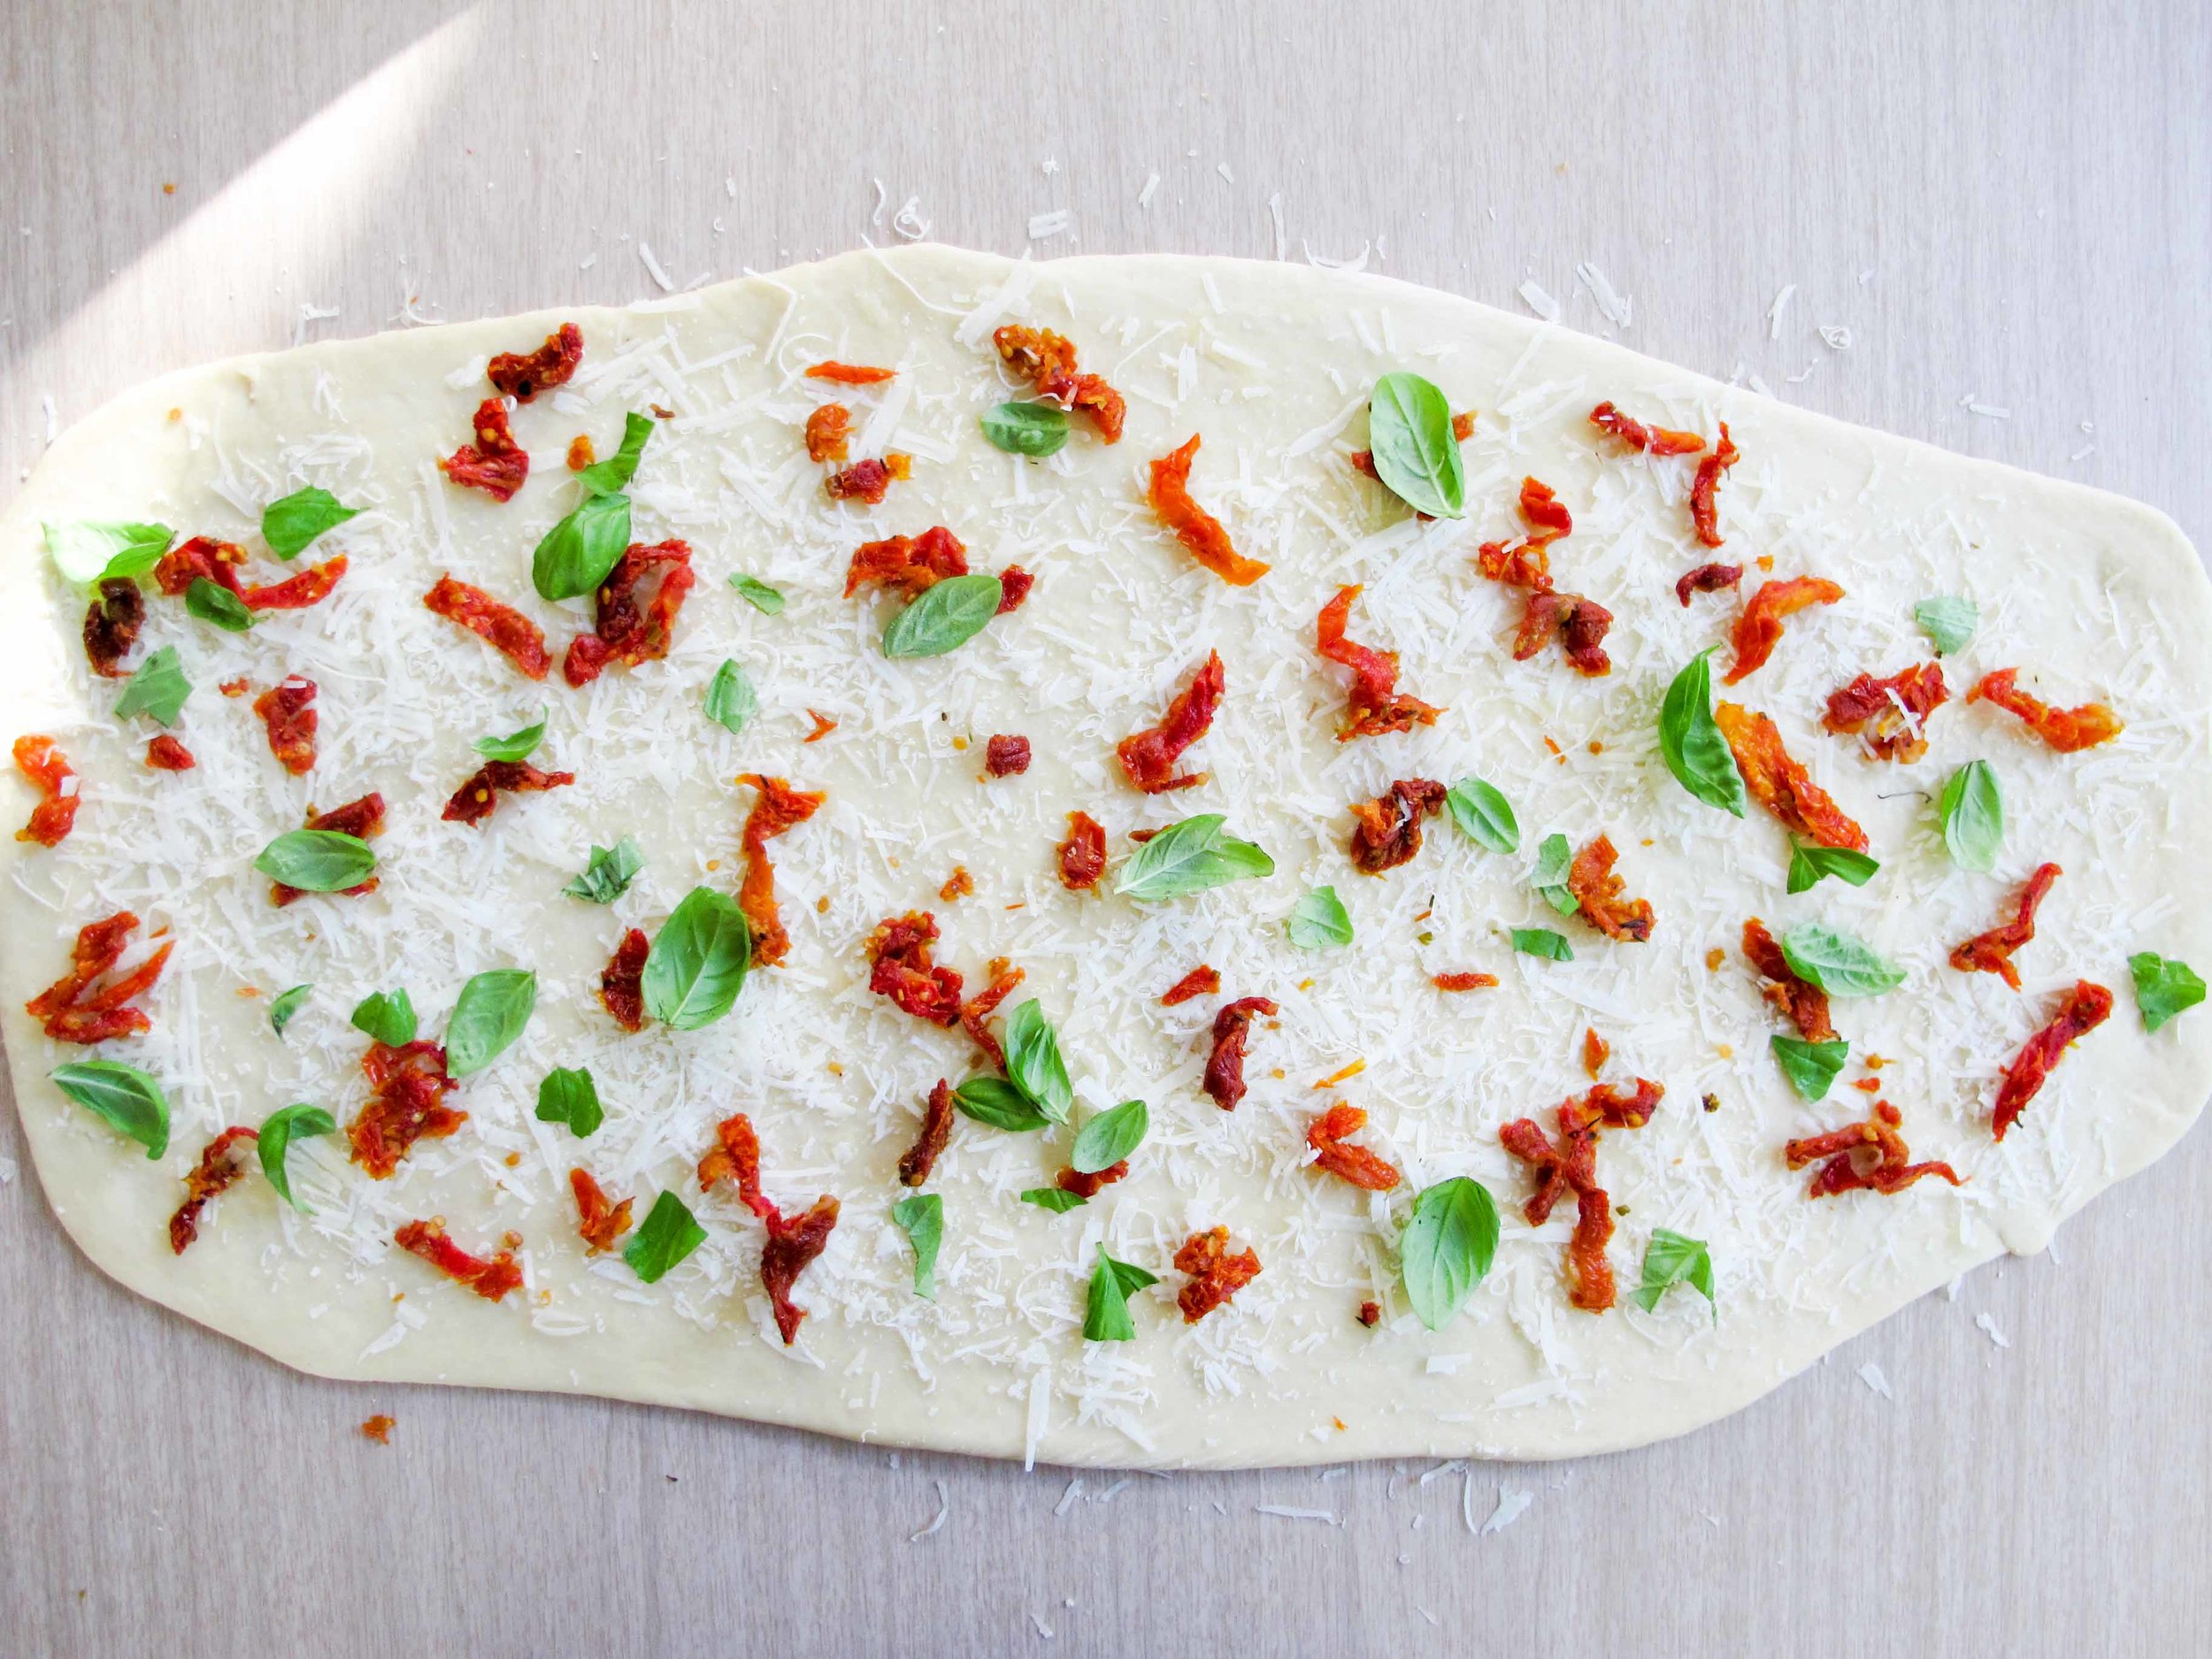
Once the dough has risen, gently deflate it on your clean and flat work surface. Reshape into a ball and allow to rest for 10 more minutes. Then roll the dough into a rectangle, about 22" x 10". Combine 2 tablespoons of olive oil and finely minced garlic in a small bowl and brush or massage this mixture onto the rolled out dough. Sprinkle 3/4 cup of cheese, sun dried tomato and basil over the garlic mixture evenly. 

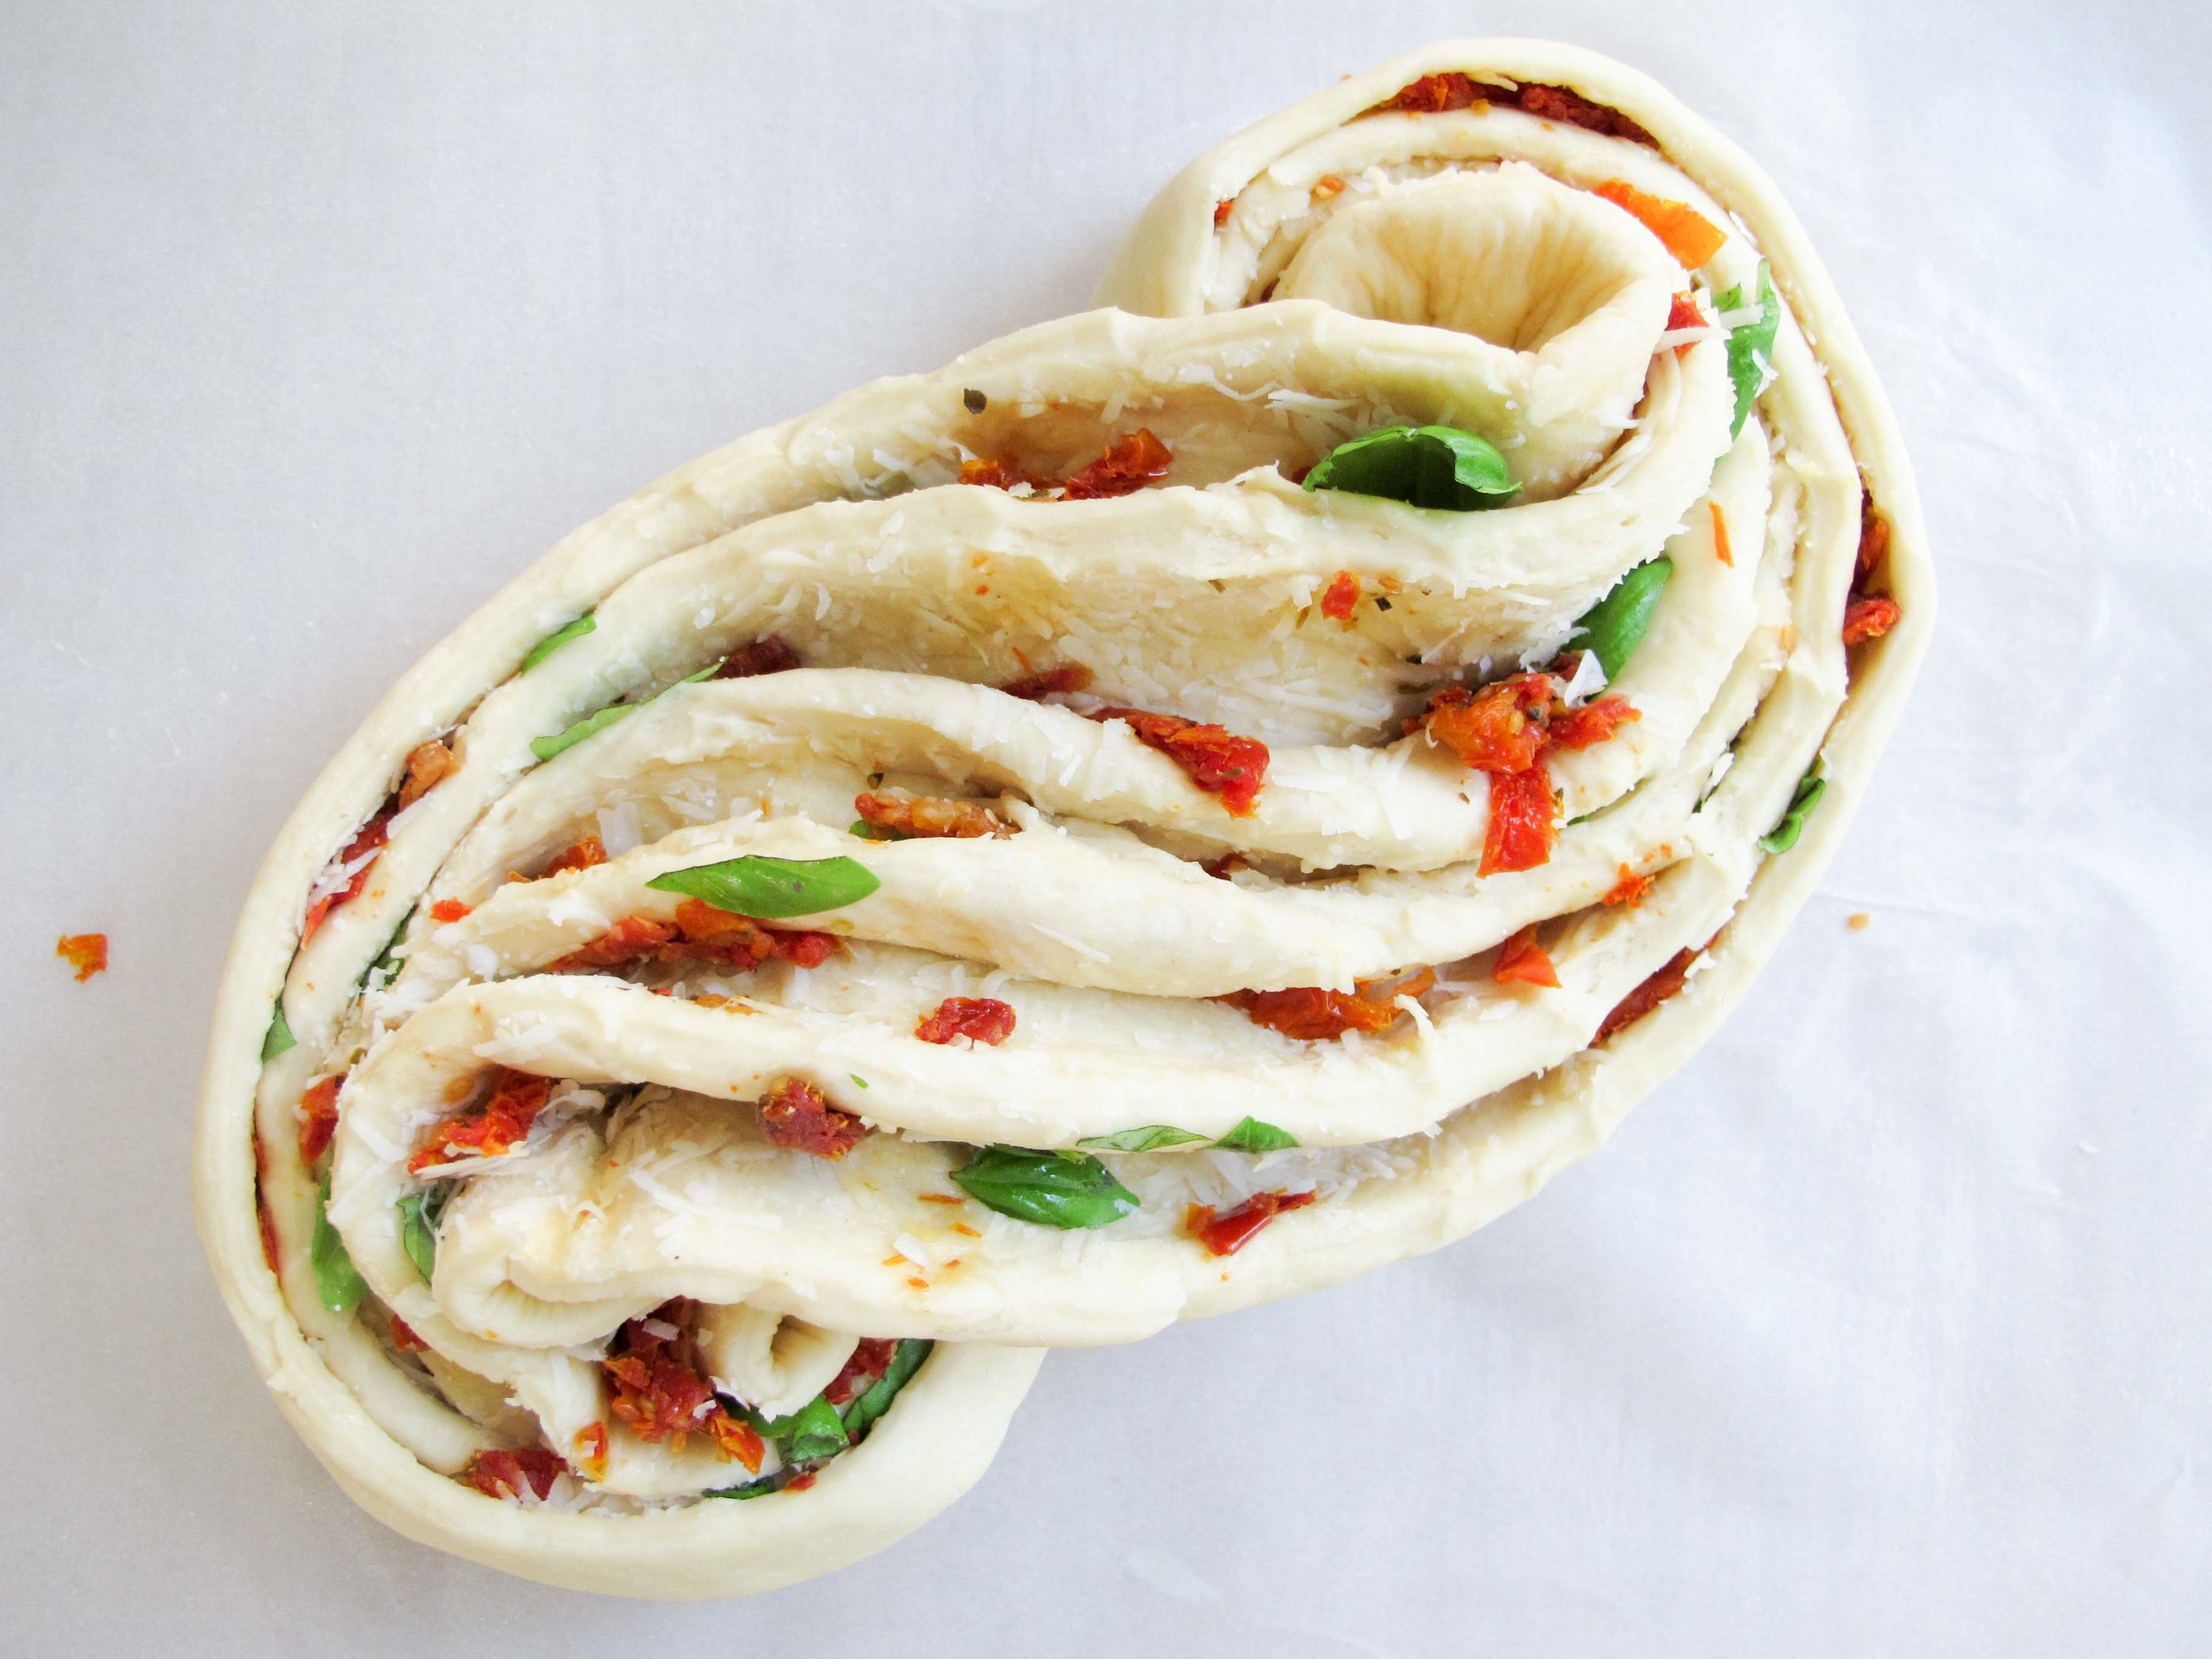
Carefully roll the dough lengthwise from one end to another. Once rolled, pinch the flap closed against the log and place the dough seam-side down on a piece of parchment paper that fits your baking pan. 

Starting from 1/2" from one end, snip through 1" depth of the roll with kitchen scissors, exposing the layers and filling. Continue to cut through the length of the roll.

Shape the log into a figure-8 shape by tucking one end of the roll underneath the center of the roll. Tuck the remaining side underneath the roll on the opposite side. Transfer the parchment paper with your loaf onto your sheet tray.

Cover the shaped dough and allow to rise until doubled in size, another 45 minutes to 1 hour. Preheat oven to 350 degrees at this time.

Once the loaf has risen, brush with egg wash and sprinkle with remaining 1/4 cup of cheese if desired. Bake the loaf for 20 minutes and check for browning. It should begin to develop a golden color, so tent the loaf to prevent too much browning and scorching of the delicate and exposed filling ingredients. Bake another 10 minutes to finish cooking. Remove from oven and place on wire rack to cool completely. 

Fresh Egg Pasta by Amy Cantu

Print Friendly and PDF

I never fully understood why anyone liked pasta with butter and parmesan. It always just sounded bland and boring to me. I filed it under "picky kid food". This luscious and ethereal fresh egg pasta changed my entire understanding of what pasta with butter and parmesan could actually mean. These wide ribbons were at once delightfully delicate and richly filling. A quick toss with a pat of butter and shower of grated parmesan infused the springy strands with a bit of luxury and saltiness without masking its simple glory. Cynthia and I went mad for it - dancing around the kitchen, swooning, moaning, eyes-rolling-into-the-back-of-our-heads, madness. This fresh pasta meets and exceeds any and all expectations you might have for homemade noodles.  If eating a bowl of nothing but plain pasta is too one note for you, (I promise that I struggled to consider eating anything else with it,) Cynthia's spring vegetables are a bright and punchy (if not guilt-appeasing) match to the simple indulgence of homemade pasta.

Notes: Homemade pasta is not terribly difficult to make, even for a novice. It can even be made with no special equipment, except perhaps a rolling pin. I had a pasta machine collecting dust in the closet (I almost forgot I even had it and only used it once 10 years ago), so I pulled it out to see if it still worked. It does, and it's been getting a lot of use ever since we tested this recipe. I pulled inspiration and direction from both Serious Eats, which has yet to fail me, and also a recipe from Melissa Clark in New York Times Cooking. I love the delicate richness of an extra egg yolk and detailed, fool-proof directions from Serious Eats; I also liked the addition of olive oil in Melissa Clark's version, which added flavor and made the dough easier to roll out. My first batch of pasta sported some ragged edges and uneven texture, but it still tasted better than any pasta I'd ever eaten. So, don't toss out any uglies - close your eyes and enjoy the perfect taste!

If the recipe makes more pasta than you need, the strands can be twisted together into a few loose nests and then frozen to cook later. The frozen pasta can be cooked without thawing, adding an extra minute or two to cook through.


Time: 1 hour
Serves: 4-6

2 1/4 cups all purpose flour
1 teaspoon kosher salt
1 tablespoon extra version olive oil
2 eggs
4 egg yolks

Dump the flour onto a clean work surface, making a large well in the center. Sprinkle the salt and drizzle the olive oil over the flour. Carefully pour the eggs and egg yolks into the well. Use a fork to break up the egg yolks and beat well. With a bench scraper, fold flour into the egg, creating a shaggy dough ball. Scrape the dough from fingers then continue to knead the dough using the heels of your hands until the dough is very smooth and elastic. Add additional water 1 tablespoon at a time, if the dough feels too dry, or add additional flour 1 tablespoon at a time, if the dough feels too wet. Wrap dough in plastic wrap and let rest at least 30 minutes on the countertop or overnight in the fridge.

To use a pasta machine:

Cut dough into quarters. Place one quarter on a lightly floured work surface and re-cover the remaining dough. Using a rolling pin, roll the dough into an oblong shape about 1/2-inch thick.

Set the pasta machine to the widest setting. Pass the dough through the pasta machine to make a sheet, then repeat 2 more times. 

Place dough on a lightly floured work surface. Fold both ends in so that they meet at the center of the dough, and then fold the dough in half where the end points meet, trying not to incorporate too much air into the folds. Using rolling pin, flatten dough to 1/2-inch thick. Pass through the rollers 3 additional times.

Reduce the setting, and repeat rolling and folding the dough, passing it through the machine 2 or 3 times before going to the next setting. For pappardelle and fettuccine, stop rolling when the dough is about 1 or 2 settings wider than the thinnest one on your roller. For lasagna noodles, and for ravioli and other stuffed or filled pasta, go to the thinnest setting. 

Narrow the setting by 1 notch and repeat the folding and rolling process. Repeat once more (the dough should now have passed through the third widest setting). Continue passing the dough through the rollers, reducing the thickness by 1 setting each time until it reaches the desired thickness. It should now be very delicate and elastic to the touch, and slightly translucent.

Place rolled dough onto a work surface or baking sheet lightly dusted with flour or lined with parchment paper, folding the dough over as necessary so that it fits; sprinkle with flour or line with parchment between folds to prevent sticking.

Cover dough with plastic wrap or a kitchen towel to prevent drying, then repeat rolling and folding process with remaining dough quarters. If making noodles, cut dough into 12- to 14-inch segments. Run the dough through the pasta machine again using the cutter attachment, or cut the dough into your desired width using a pizza cutter or chefs knife.

If rolling by hand:

Cut the rested dough into 2 pieces, keeping them covered with plastic wrap or a dish towel when not in use. Use a rolling pin to flatten the dough until it is as thin as a penny for fettuccine and pappardelle, or even thinner for lasagna sheets. This will take some time and arm strength, but the process is easy and the results are rewarding! Cut the noodles to the desired width and length using a pizza cutter or chefs knife.

To cook the pasta:

Bring a large pot of well-salted water to a boil, add fresh pasta and boil for 1 to 3 minutes, depending on thickness of the pasta. Drain well. 

To enjoy this simple indulgence, toss noodles with butter, a light sprinkling of coarse salt, and a heavy shower of freshly grated parmesan cheese. Perfection!