Recipe

Easy Chocolate Pudding by Cynthia Raub

Print Friendly and PDF

I vacillate between having absolutely no self control to annoyingly smug and proud for my saint-like restraint. It's black or white and there is no grey. I either have self control or I don't. This is why you normally won't find cookies, ice cream or any other sweet treat in my home. My smug self feels superior for not caving in at the store and buying yummy and delectable treats at the store. The reason I don't keep treats in the house is because if I have them, I will eat all of them. Not one, not a few - ALL. This is where my self control fails me. But after my kids go to bed, I open my sad pantry doors, and I am disappointed that there are no yummy sweets for me to indulge in. This has lead to some desperate alternatives. A handful of chocolate chips? I've done it. A spoonful of Nutella? On the reg. Cinnamon sugar toast? I'm a child, I know.

But ever since I made this easy and fast chocolate pudding from pantry staples, my late nights have been a little less sad and disappointing. This pudding comes together in 15 minutes because of the cornstarch. Cornstarch doesn't have the best reputation, but it's just as "natural" as refined flour or sugar. I love to use cornstarch in my Korean Green Onion and Seafood Pancakes (Pa Jun) to lighten the pancake batter. For this recipe, the cornstarch thickens your pudding beautifully and easily. This recipe is also very versatile, as you can switch the milk from whole to skim, or an alternative milk. You can omit the cocoa to make a vanilla pudding or omit the generous portion of butter to health-ify things a little. Chocolate pudding can be made ahead and kept for several days, or it can be made on the fly to satisfy an immediate craving. I love that it's easy to transport (especially to a picnic with a summery bean salad) and doesn't require any extraneous kitchen equipment.


Notes: Although this recipe is very straightforward, it does implement one important cooking technique: tempering. Tempering is the process in which you heat an egg mixture slowly with a hot milk mixture. Adding hot milk to eggs will heat the eggs without cooking them, in order to develop the custard. The egg in this recipe helps to thicken the pudding and brings an overall richness to each bite but must be cooked and introduced to the recipe properly. If too much heat is introduced to the eggs too quickly, the eggs will scramble and curdle, leaving the mixture inedible and unusable.

If you are looking to cool your chocolate pudding quickly, (maybe you're pressed for time or maybe you have no self control . . . ) cover a rimmed baking sheet with a piece of parchment paper or plastic wrap. Spread the chocolate pudding evenly to increase the surface area of the pudding, and cover the top of the pudding with another sheet of parchment paper or plastic wrap. Placing the parchment paper or plastic wrap directly on top of the pudding prevents the rubbery pudding skin from forming. If you find that your pudding it too firm or gelatinous for your liking once it's been cooled, you can put it in a mixer with the whisk attachment to lighten it up.


Time: 15 minutes active + cooling time
Yield: 3 cups

3 egg yolks
1/3 cup cornstarch
3 cups whole milk (divided)
3/4 sugar
1/2 cup cocoa
2 tablespoon vanilla
2 tablespoons butter
Optional: cookie crumbs and/or whipped cream for garnish

In a large bowl, combine egg yolks, cornstarch and 1/2 cup of milk. Whisk until frothy and until the cornstarch has been fully incorporated.

In a non-reactive medium pot on medium heat, combine remaining milk, sugar and cocoa. Whisk until combined and bring to a simmer, allowing to simmer for 3 minutes.

Remove pot from heat and with a ladle, slowly stream 1/4 cup of hot cocoa liquid into the large bowl containing the egg and cornstarch mixture, whisking to disperse the hot liquid. (In my photo I did not use a ladle- I poured the hot cocoa liquid directly from the pot, which I would not advise). Continue to add hot liquid in a thin stream to the egg mixture slowly, while whisking constantly, until the egg mixture has been tempered (see Notes above).

Once combined, pour back into the pot and bring to a boil over medium heat, whisking occasionally. Once thickened and glossy after coming to a boil, turn off heat and transfer to a clean, heat proof bowl and place plastic wrap or parchment paper directly onto the top of the pudding. Chill in the refrigerator and serve, garnishing with cookie crumbs and/or whipped cream. (See Notes above for a rapid cooling tip!)

Flatbread with Chicken Shawarma, Eggplant, and Caramelized Onions by Cynthia Raub

Print Friendly and PDF

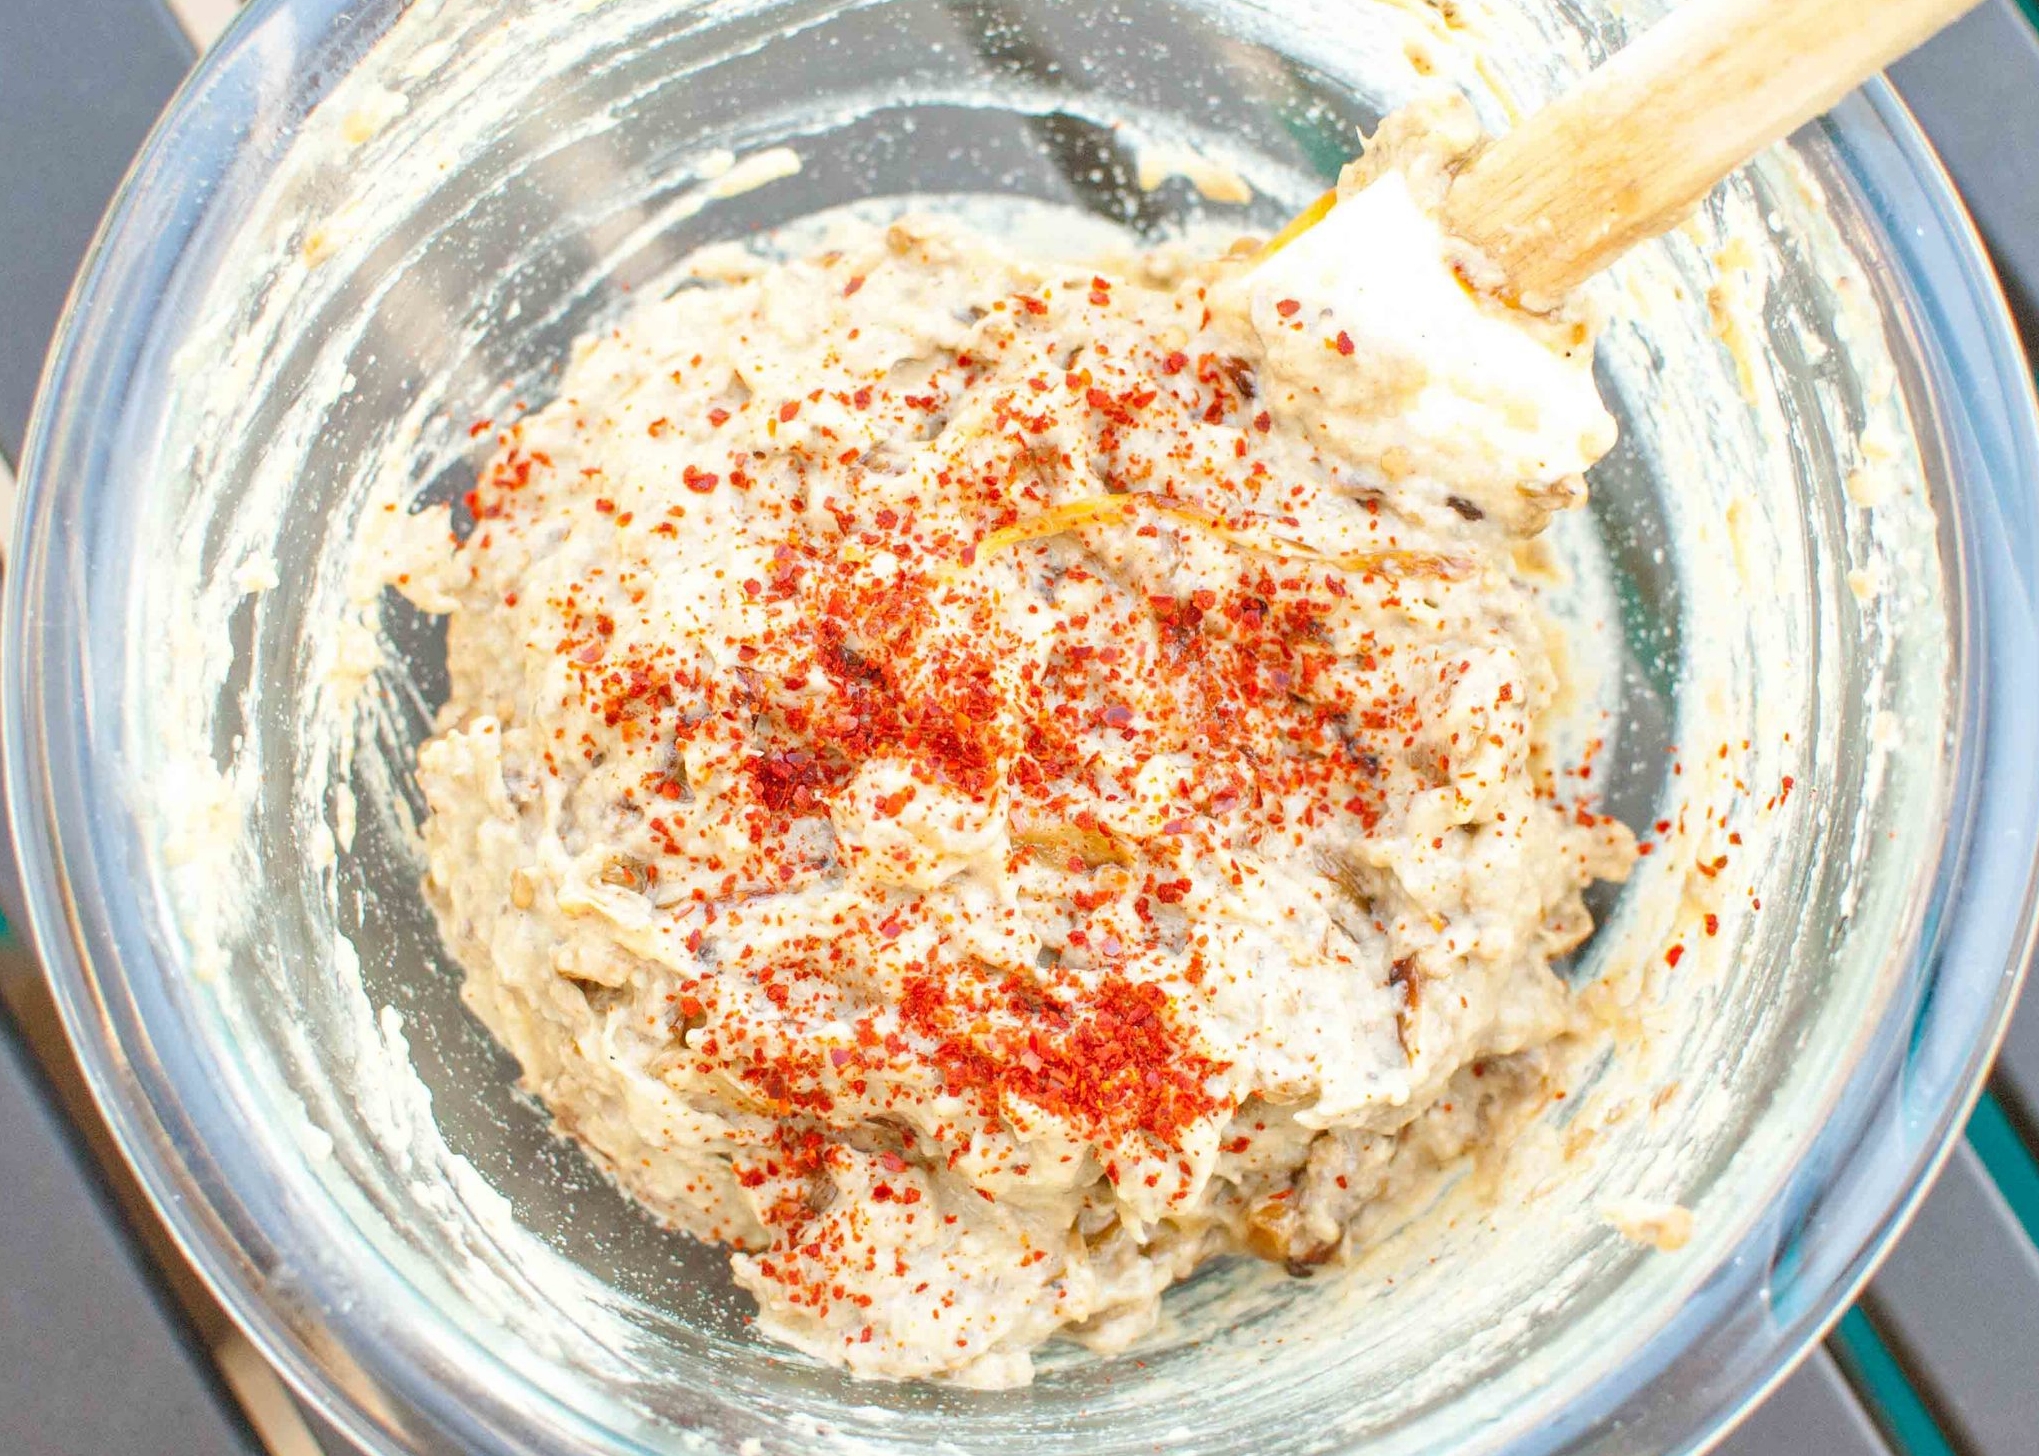
Recently, I got an email from NYT Cooking that was sharing Sam Sifton's Oven-Roasted Chicken Shawarma. It is one of those invaluable and easy pantry dishes that come together with very little prep and even less hands-on cooking. Throw marinade and chicken into a bag, let sit, dump on a sheet tray and toss it in the oven. And then what emerges is fragrant, multi-dimensional, and tasty chicken. The chicken is highly versatile as it can be served alongside typical Mediterranean sides and dishes like pita, cucumber and tomato, hummus, and rice. Or, I thought, you could throw it on a flatbread (a.k.a. pizza dough) and feel like a real, true and actual genius. Do you know what else is genius? Outsourcing the luscious spread to marry the flatbread and chicken together. You see, I am all too familiar with Amy's love for eggplant and I decided to exploit it. I told her I was planning on making the chicken shawarma, and I thought about putting it on a flatbread but that's where my ideas ended. Dang, shoot, crud - I'm plum out of ideas! Oh what could possibly be irresistibly delicious to spread on the flatbread? Then like a horse out of the gate, Amy threw out a dozen ideas, and it ended with roasted eggplant with caramelized onions. That was it. We are going to make this together, eat it, and be happy.


Notes: I used this recipe for the flatbread and pre-cooked the bread before adding any of the toppings. Like pizza, flatbread can be topped with nearly anything, so in the words of Melania Trump (just kidding, FLOTUS Michelle Obama) about flatbread toppings, "the only limit to your achievement is the strength of your dreams and your willingness to work for them." #foodwisdom


Read More: The Shared Craving


Time: 15 minutes to assemble
Makes 2 flatbreads

2 flatbreads, pre-baked
1 cup Eggplant Dip with Caramelized Onions and Tahini
1 1/2 cups shredded Chicken Shawarma
1 cup crumbled feta cheese
1/4 cup mint, chopped or chiffonade
Olive oil for finishing
Lemon wedges for serving

Preheat oven to 400 degrees. Place pre-baked flatbread dough on a full sheet tray. Spread eggplant dip generously over each flatbread and top with shredded chicken shawarma. Split feta between the two flatbreads and sprinkle evenly. Drizzle or brush edges of crust with olive oil.

Put the flatbread in the oven and cook until edges of the bread are golden and crisp and the spread, chicken and cheese are warmed through, about 6-8 minutes. Slice the flatbread and garnish with mint chiffonade and lemon wedges. 

Chicken Shawarma by Cynthia Raub

Print Friendly and PDF

In college, my priorities were: being hopelessly aimless, Depeche Mode, and Ali Baba. I'd walk around campus with my first generation iPod and listen to Enjoy the Silence on repeat daydreaming that it was written for me. After class I would scurry down to Ali Baba, a small Mediterranean place on the edge of campus and order a chicken shawarma gyro. Chicken shawarma is often crisped and browned on its warmly spiced edges, all while juxtaposing and pairing perfectly with the sides it is served with. When a recipe for chicken shawarma was delivered to my inbox, I immediately needed to eat it. I turned on some Depeche Mode and threw some ingredients in a bag to marinate. Once it was done roasting, I shredded off a steaming piece and was briefly transported to the dearly departed memory of my 22 year old, ear-phoned, and aimless self. 

Notes: Shawarma is generally served with tomatoes, cucumbers, pita, tahini sauce, and rice or in a delicious gyro. We decided to make a fussy but worthwhile flatbread that mimicked pita. But this chicken is so versatile and easy that you could eat it on a shoe and be satisfied. 


Read More: The Shared Craving


Time: 10 minutes prep, 1-6 hours inactive, 30 minutes cooking
Yields: about 3 cups shredded chicken

2 lemons, juiced
½ cup plus 1 tablespoon olive oil
6 cloves garlic, peeled, smashed and minced
1 tablespoon kosher salt
2 teaspoons freshly ground black pepper
2 teaspoons ground cumin
2 teaspoons paprika
½ teaspoon turmeric
 A pinch ground cinnamon
 Red pepper flakes, to taste
2 pounds boneless, skinless chicken thighs
1 large red onion, peeled and quartered
2 tablespoons chopped fresh parsley

Combine lemon juice, olive oil, garlic, salt, pepper, cumin, paprika, turmeric, cinnamon and red pepper flakes in a sturdy gallon freezer bag. Add the chicken and onion, seal the bag, and massage chicken with the marinade. Refrigerate for at least and hour, or up to 12. 

Preheat oven to 425 degrees. Arrange chicken and onion evenly on rimmed baking pan. Roast chicken for 25-35 minutes until cooked through and browned on the edges. Allow chicken to rest for a couple of minutes before slicing thin in 1/4" strips. 

Optional: To further crisp the chicken, toss the thinly sliced chicken back onto the used sheet pan, drizzle with oil, and roast for 2-3 more minutes until crisp. 

Adapted from: NYT Cooking

Cold Brew Coffee with Mint Syrup by Cynthia Raub

Print Friendly and PDF

A couple of months ago when I made Chopped Herb Salad with Farro, I had a serious surplus of mint. It sat in the refrigerator, sad and unused, until my husband came to its rescue. He made a simple syrup with the languid, leftover bunch of mint, and chucked it back in the fridge. A few mornings later, with a cup of cold coffee in my hands, I remembered the mint simple syrup and added it to my coffee on a whim. It was . . . weird. And . . . a revelation! I happily added it to my coffee the rest of the week, until it was sadly gone. A month later, I went out to coffee with a friend, and she recommended the mint iced coffee at her regular spot. I was so confused! I thought I had invented mint iced coffee! Then the other day, as I was chatting with Amy about what we should drink with her yummy Blueberry Streusel Muffins, I mentioned my mint coffee discovery. She mentioned that her favorite drink at Philz Coffee was the Mint Mojito. What?! OK, maybe I didn't invent mint iced coffee after all. Even though I pretty much live under a rock, (trend? what trend?!) it was just surprising how I was inadvertently still in the mix of the world without even knowing it.

Notes: Cold brew coffee concentrate is so convenient to have on hand and is usually more enjoyable for people like me, who rarely get to drink coffee hot. The recipe is simple, but here are a few ideas to make your beverages special. Coffee ice cubes are a special addition to iced coffee, when you are concerned about watering down the potency of your cup of joe. Also, to get beautiful herbs to float in your ice cubes (mint, anyone?!), fill the tray halfway and add small mint leaves. Freeze for a few hours and then top with more water to encase the leaves. I would also recommend trying this delicious beverage with coconut milk in lieu of cow's milk or cream. The combination of mint and coconut milk made this drink fun and almost tropical.


Time: 12-24 hours (inactive)
Yields: 2.5 cups coffee concentrate

For The Cold Brew Coffee:
1 cup coarse ground coffee
3 cups filtered water

Fill a large jar or pitcher with 3 cups of filtered cold (or room temperature) water. Carefully pour in coarse ground coffee and stir to combine. Cover and store in the fridge for 12-24 hours. 

Strain grounds from steeped coffee twice: first through a fine mesh sieve to separate the large grounds; and second, though a coffee filter to remove the fine debris. Store in an airtight container in the refrigerator for up to one week.

For The Mint Syrup:
1 bunch mint (about 1 cup, packed)
1 cup water
1 cup sugar

Combine mint, water and sugar in a small pot. Bring to a rolling boil over medium high heat, stirring occasionally to dissolve the sugar. Allow to cool to room temperature and store in a container with an airtight lid. Mint syrup keeps for 1 week. 

To Serve:
Fill a glass with ice. Leaving room for simple syrup and cream, pour one part coffee concentrate to one part water over the ice. Top with mint simple syrup - stir and taste, adjusting sweetness to your preference. Add cream or milk to taste and stir. Garnish with mint leaves and enjoy!

Mediterranean Turkey Burger by Cynthia Raub

Print Friendly and PDF

When Amy delivered her second baby almost two years ago, (?! Sniff!), I was in the throes of an obsession with burger patties. Lamb burgers, black bean burgers, salmon burgers, turkey burgers - I loved them all and made them with fierce frequency. A few days after she delivered her beautiful (and huge) bundle of sweetness, I brought these turkey burgers over for her family, with a side salad and dessert. She was the first mama I knew who delivered a baby after I had my own, and it was the first newborn meal I ever gifted. I think back to that day, and I think that's when the spark for intentionally sharing food with frequency began for me. She was grateful as the burden of preparing dinner was lifted, and I was so happy to help in that small way. Since then, I have brought new mamas meals like Harissa Grilled Pork Loin Chops and Swiss Chard and Leek Crostata, but these turkey burgers have a special place in my heart . . . and stomach. I still make them often because they are easy to prepare, delicious, and perfect for sharing with others. These are also a fantastic option for holiday barbecues and parties for anyone looking for a (seemingly) healthier burger!

Notes: Most beef burger recipes will recommend to work the ground meat mixture as little as possible so that the patty remains tender and loose. Because of all of the additional ingredients in this patty, I recommend a through mixing of the ingredients so that the patty is solid and does not fall apart during cooking or eating! These are perfect for preparing in a large batch and freezing for future meals. It's an easy recipe to scale up, and it takes just a little more time to form the extra patties. They are even delicious as meatballs and cooked in tomato sauce!


Time: 25 minutes
Yield: 5-7 patties

1.5 lbs ground turkey
1/2 cup (about 8 ounces) chopped frozen spinach, thawed and drained
1/3 cup crumbled feta
1/3 cup sun-dried tomatoes in olive oil, chopped
1 teaspoon kosher salt
1 teaspoon black pepper
1 teaspoon oregano
1 teaspoon paprika
2 tablespoons olive oil

In a medium microwave safe bowl, thaw frozen chopped spinach by covering the bowl with plastic wrap and nuking for 1 minute on 80% power. Spinach should be warm and thawed. Scatter spinach on a clean kitchen towel (or several layers of quality paper towels) to absorb the water. Gather the edges of the towel and wring out the liquid, drying completely. Loosen spinach into small pieces.

In a large bowl, combine turkey, spinach, feta, sun dried tomatoes, kosher salt, black pepper, oregano, paprika and olive oil. Mix ingredients with clean hands, distributing all of the ingredients throughly.

Depending on the size of your buns, use a 1/3 or 1/2 cup measuring cup to portion out patties. Scoop mixture into your hands and flatten to make a patty, smoothing out the rough edges. Create a shallow indention in the center of your patties, as the center tends to expand while cooking.

To cook: Heat a griddle, grill pan, or cast iron pan on medium-high and add enough neutral oil to coat the bottom of the pan. Once the oil begins to shimmer, carefully lay patties onto the pan, to avoid splattering oil. Don't crowd the pan! Crowding the pan will result in steamed and pale-looking patties. To avoid overcooking, brown the patty on the first side until cooked 2/3 of the way through, about 3-4 minutes. Flip over and finish cooking on the second side, about 2 minutes.

Serving suggestion: whole wheat hamburger buns, sliced tomato, lettuce, mayonnaise

Lemon Poppy Seed Cookies by Cynthia Raub

Print Friendly and PDF

I love lemon poppy seed anything: cookies, muffins, scones, you name it! These cookies are addictively crisp, with a tender crumb and are a perfect addition to any cookie assortment. The lemon zest lends a fragrant floral note in addition to its citrusy sweetness. These cookies are especially delicious with tea because of they are delicate and subtly sweet. This recipe is simple, adaptable, and perfect for preparing in advance for your special occasions. 

Notes: I have adapted this recipe from Smitten Kitchen, who has adapted a simple slice and bake recipe from cookie queen Dorie Greenspan. Deb of Smitten Kitchen recommends different add-ins such as cranberries and orange, or lime and cornmeal - the possibilities of substitutions are endless with this recipe. To get a beautifully round cookie, roll the log tightly in the plastic wrap as described in the instructions. If you have an empty paper towel roll handy, cut through it lengthwise and nestle the dough roll inside of it to protect the roll's round edges.


Read More: The Shared Cookies


Time: 30 minutes active,  2.5 hours inactive
Yield: About 30 cookies

2 sticks (1 cup) unsalted butter, at room temperature
2/3 cup confectioners’ sugar, sifted
2 large egg yolks, at room temperature
Pinch of salt
1 teaspoon vanilla extract
1 teaspoon lemon extract
2 cups all-purpose flour
Zest of 2 lemons (about 2 heaping tablespoons)
1/3 cup poppy seeds

Beat room temperature butter on medium speed in a stand mixer with the paddle attachment until smooth. Add sifted confectioners sugar and continue to beat on medium until smooth. Once smooth, add egg yolks, one at a time until incorporated. Add salt, vanilla extract, lemon extract, lemon zest and poppy seeds- beat until combined and smooth. Lower the mixing speed and add the flour, a 1/2 cup at a time. Continue to mix until wet mixture binds to the flour but do not over mix. 

Turn the dough out onto a clean work surface and gently gather it into a ball. Divide the ball into two and wrap each half in plastic wrap- refrigerate for 30 minutes.

After 30 minutes of resting and firming in the refrigerator, remove one dough ball from its plastic wrap and roll gently into a log (about 1.5 inches thick) on a clean and flat surface. Place the rough log onto a clean sheet of plastic wrap, wrapping the plastic wrap around the length of the log to secure the shape. Take the ends of the plastic wrap and roll the log of dough against the table away from your body until the plastic wrap is taught and the ends are secure. Repeat with the second roll, and refrigerate for at least 2 hours. *Optional: Cut a toilet paper roll or paper towel roll through its length and place the log(s) into the roll- this will protect the log from developing a flat side.

Preheat oven to 350°F and line baking pans with parchment paper. Remove the dough logs from the refrigerator, unwrap it from its plastic and place on a cutting board. With a sharp knife, slice log into 1/4" thick cookies. Gently pat the rough cut edges of the cookies with your fingers, rounding out any flat or uneven spots and place on baking pan with 1 inch space between cookies.

Bake the cookies for 12-15 minutes until crisp and barely golden. Rotate the baking sheet halfway through baking to ensure even cooking. Transfer to a wire rack to cool to room temperature.