herbs

Slow-Roasted Pork with Crunchy Skin and Chimichurri Sauce by Amy Cantu

Print Friendly and PDF

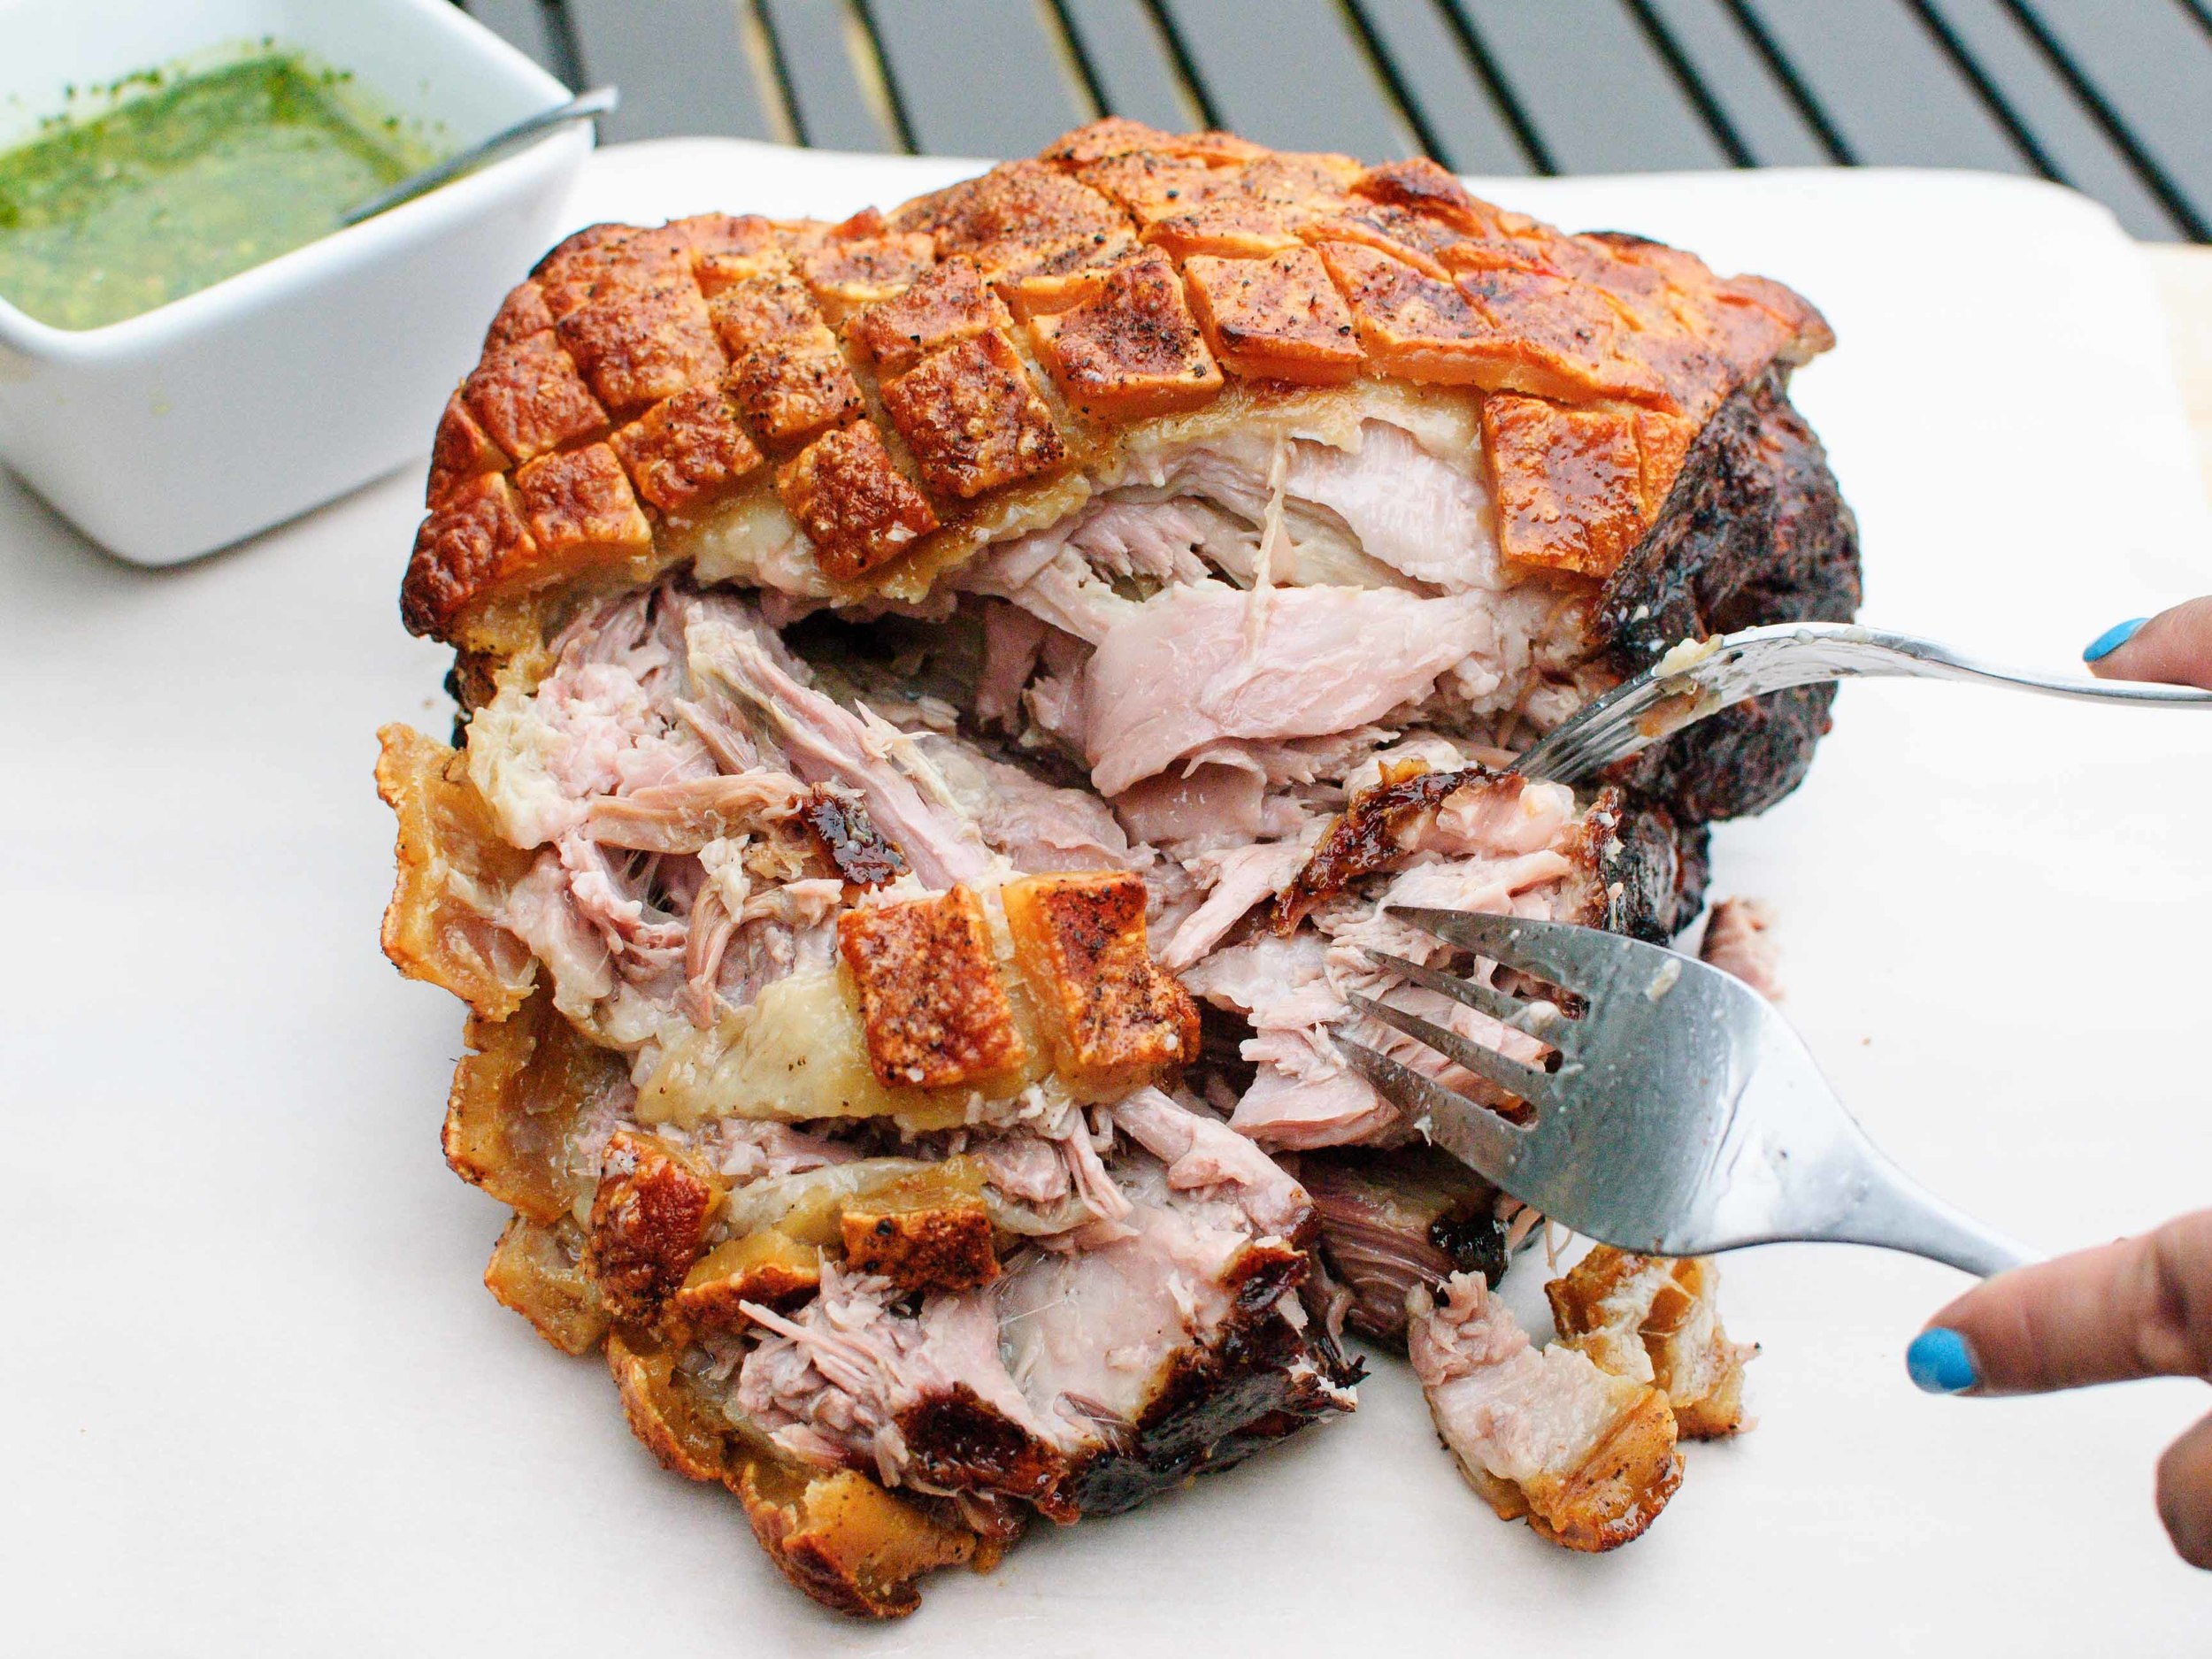
When faced with a very large, beautiful, bone-in, skin-on, fatty beast of a pork shoulder, do not be afraid. Revel in awe in its size, richness, and sacrifice to our privileged bellies. I gathered up my courage and treated this beast the best way I know how - with love and simplicity. I love pork so much. I especially love this slow-roasted, juicy, succulent, messy, pork shoulder complete with its crunchy, puffy, crackling skin. I really can't fully describe the love, joy, and pure elation that Cynthia and I felt, as we pulled this meat into thick shreds. I honestly just felt thankful. Thankful for the plentiful gifts of the pig. Thankful to have Cynthia to share it with. Thankful that Father's Day gave us an excuse to roast such a beast. As for the simplicity, just salt and pepper season this pork to allow all of its sweet, meaty flavor to shine through. I served it next to a bowl of bright green, tangy Chimichurri Sauce to cut through some of the pork's richness and contrast the slow-roasted flavors with fresh herbs. Even now, I breathe a deep, happy sigh at the thought of it.

Notes: I bought my pork from a butcher, so I asked for the skin to be scored and the meat tied (what you see in the photos below).  It never hurts to ask if the meat counter will do the same! Scoring the skin encourages crunchy pork skin (or pork rind), and it looks pretty. Tying the meat helps the roast keep its shape for even cooking. All of that said, it’s not totally necessary to score and tie the roast for great results, so don’t sweat it if you don’t feel like the hassle.
 
To score the skin on your own, use a really sharp knife or a clean box cutter to cut a diamond pattern into the skin. The cuts should go through the skin and into the fat, but not the meat. (See photos below for an example.)
 
No need to get fancy with tying the meat. Just use kitchen twine and tie the meat in 2-inch intervals. If you want to learn how to tie butcher knots, you can Google lots of tutorials.

This recipe is very simple and straightforward, but do notice that the cooking time has a wide range for a couple different reasons. 1) The time it takes for the meat to achieve the soft, shredding stage depends on the amount of fat and connective tissue. A thermometer is not super helpful here – check it with a fork to see if the meat is soft and giving. 2) This is a two-step process: Once the meat is cooked, the pork comes out of the oven to rest for at least 15 minutes, before going back into a very hot oven for another 20 minutes or so to crisp up the skin to its proper crunchy glory.

The seasoning on this pork roast is deliberately simple to allow for limitless options in the pork’s destiny. I have included a recipe for Chimichurri Sauce, which Cynthia and I used to judiciously dunk thick shreds of pork with our greasy fingers. (Forks were just getting in our way!) We also devoured Cynthia's Pork and Broccolini Sandwich made with this pork - so amazing. My family made various fun tacos with the leftover meat throughout the week. To reheat the meat, crisp the meat in either a hot pan (no extra oil needed), or in an oven/toaster oven at 400 degrees Fahrenheit for about 10 minutes. Some ideas: dollops of Pico de Gallo and Guacamole, topped with Harissa and plain yogurt, drizzled with spicy Korean Bi Bim Bap sauce, and heaped with Thai Cucumber-Peanut Relish. The pork recipe comes from the venerable Serious Eats, which has its own fun list of suggested sauces.


Time: 8-12 hours
Servings: 8-12
 
1 whole bone-in, skin-on pork shoulder, 8-12 pounds
Kosher salt
Black pepper, freshly ground

Set the oven rack to the middle position. Preheat the oven to 250 degrees Fahrenheit.

Line a rimmed baking sheeting with heavy-duty aluminum foil and set a wire rack inside it. Place a piece of parchment paper on top of the wire rack. (This prevents the pork from sticking to the wire rack.)
 
Optional: Score pork skin with a diamond pattern, using a very sharp knife or clean box cutter - cut through the skin and into the fat layer. Tie the meat in 2-inch intervals using kitchen twine.

Season the pork all over with a liberal shower of salt and pepper. Place skin-side up on top of the parchment paper.

Roast in the oven for 8-10 hours. Start checking for doneness at 8 hours, by twisting a fork into the meat – the fork should be met with little resistance.

Remove pork from oven, and let rest for 15 minutes and up to 2 hours with a piece of foil tented over it.
 
Preheat the oven to 500 degrees Fahrenheit. If the roast was tied, remove the string. Return the pork to the oven to crisp the skin.  Rotate the sheetpan every 5 minutes, for a total of about 20 minutes. The skin should be puffy and blistered, and you should be completely beside yourself with glee at this point!

Tame your beating heart, tent the pork with foil, and let rest for 15 minutes before serving. (And by serving, I really mean tearing into the meat and crunchy skin with your fingers and dunking the juicy morsels into your sauce of choice – see Notes.)

Recipe very slightly adapted from Serious Eats.

Chimichurri Sauce

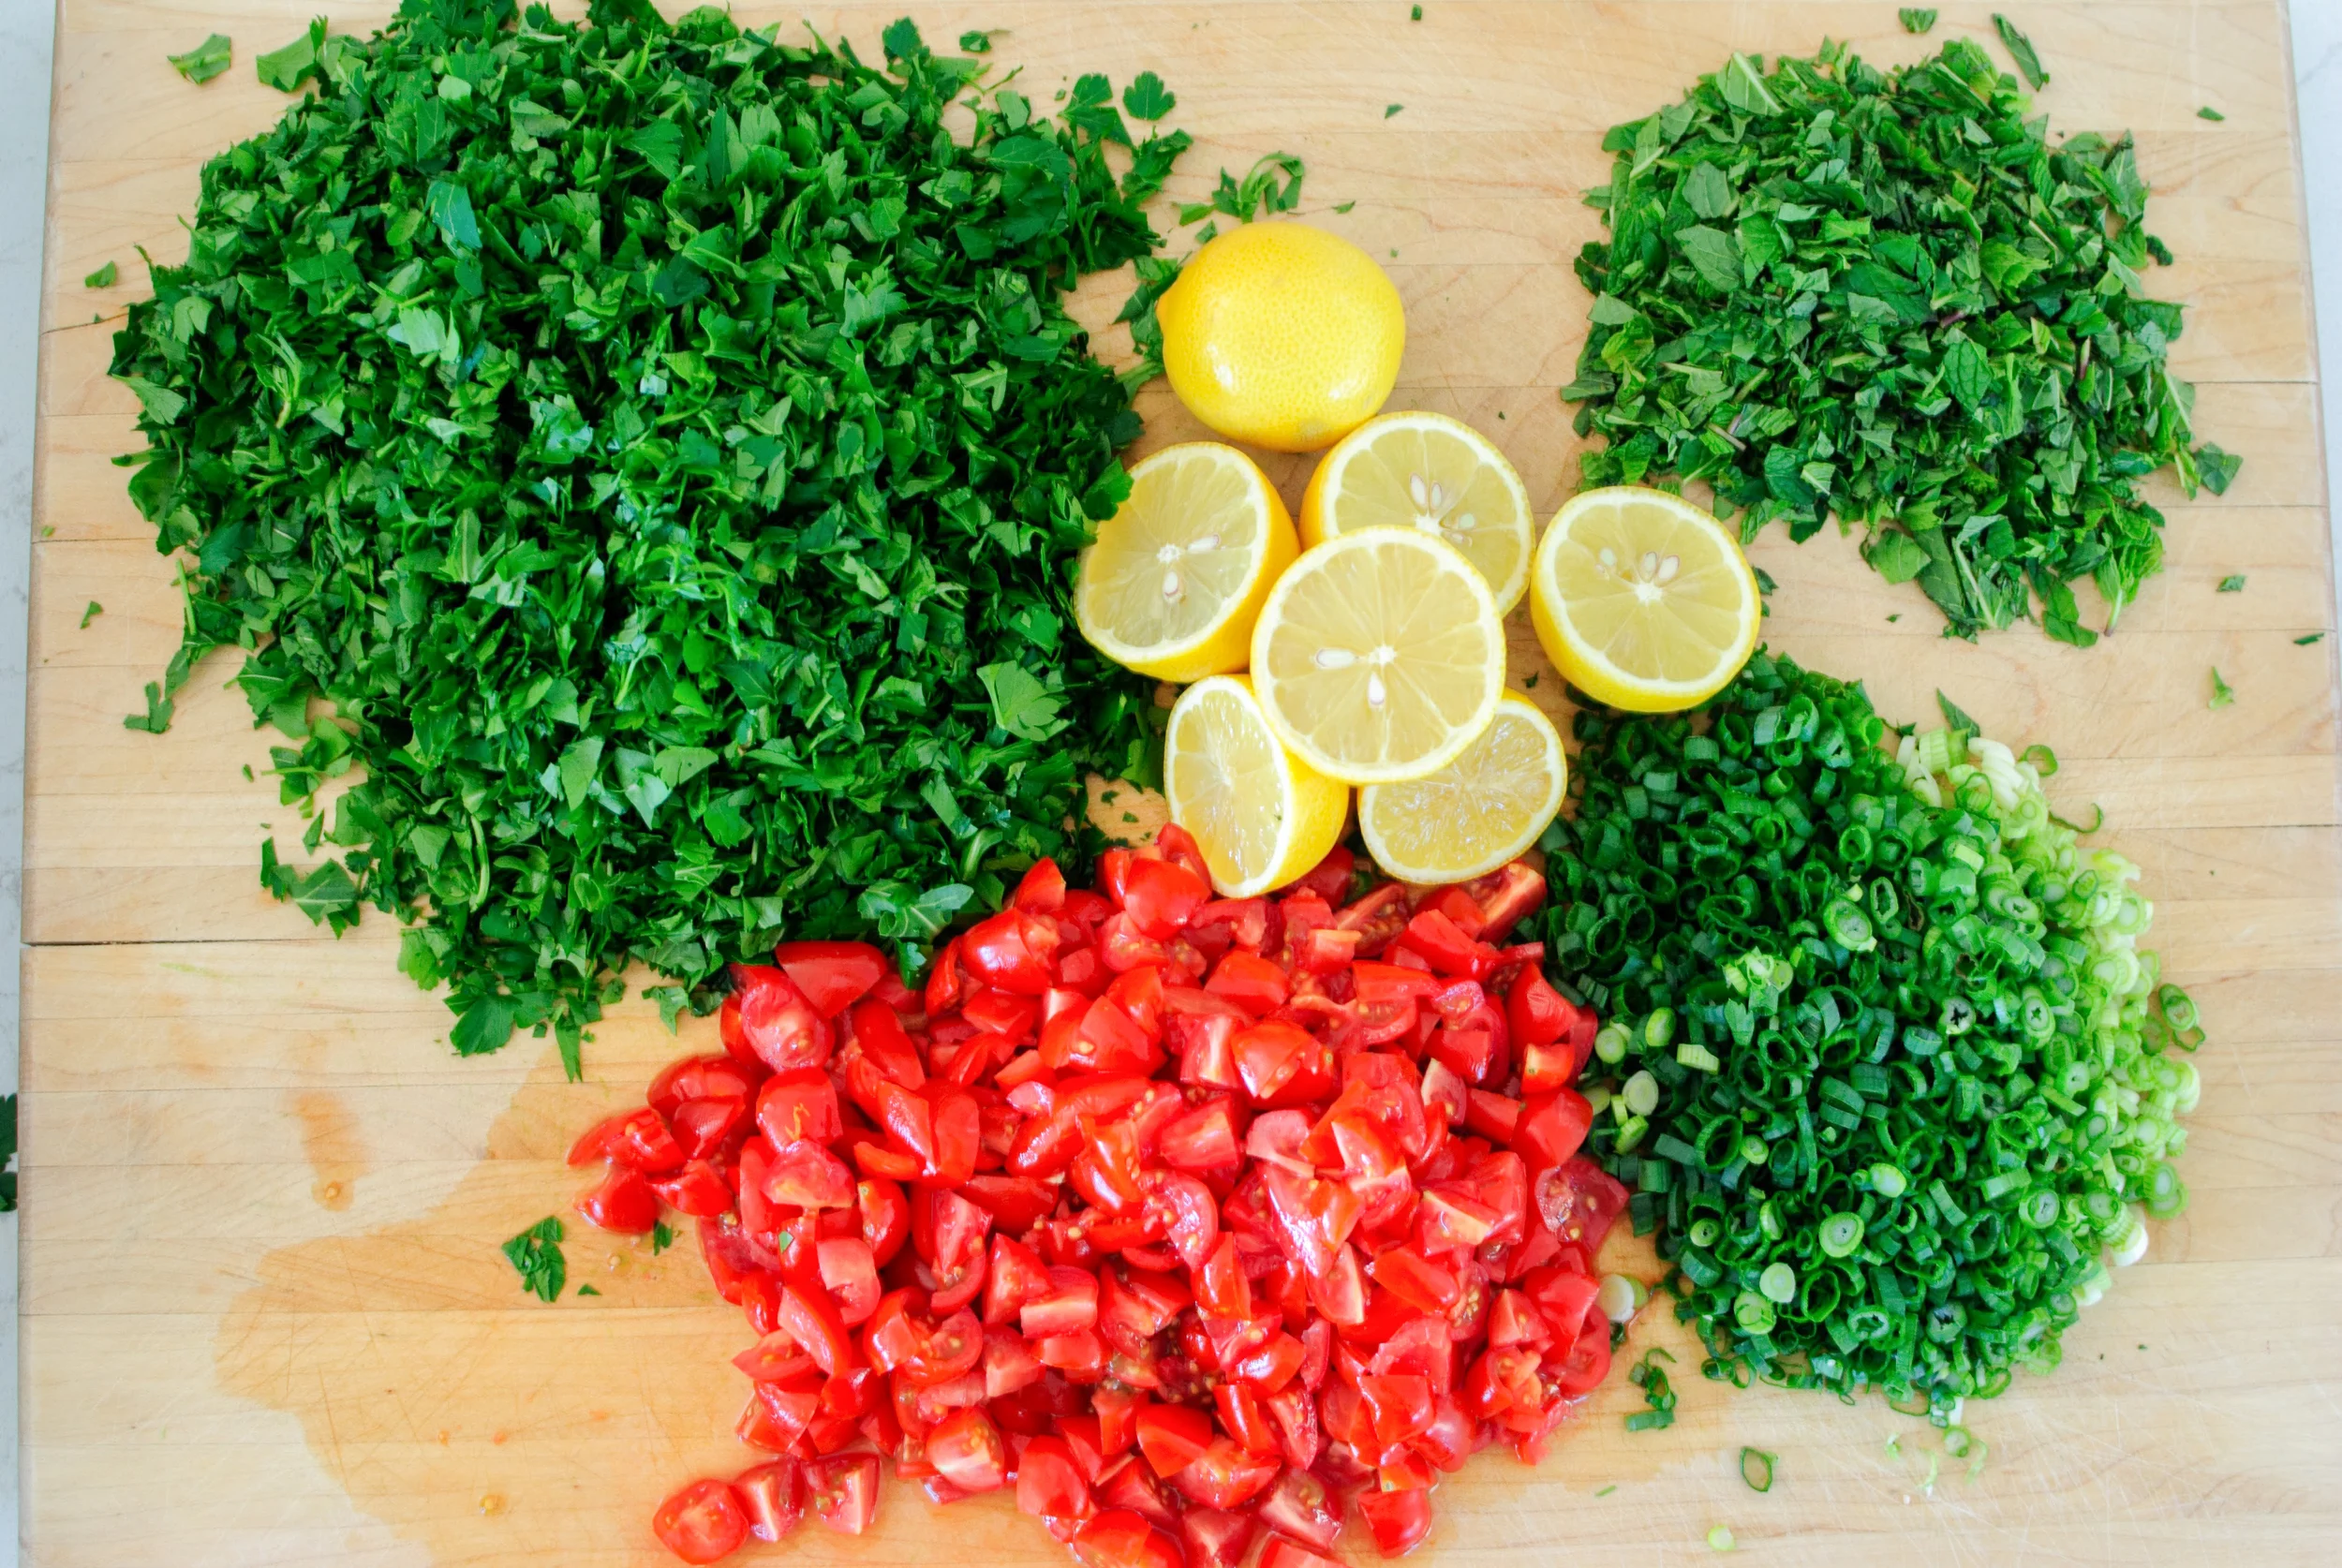
½ cup packed fresh parsley leaves, washed and dried
½ cup packed fresh cilantro leaves, washed and dried
5 medium cloves garlic, peeled
2 tablespoons oregano leaves
½ shallot, roughly chopped
¼ cup red wine vinegar
1 teaspoon Kosher salt
¼ teaspoon red pepper flakes
½ cup extra-virgin olive oil

In the bowl of a food processor, pulse together parsley, cilantro, garlic, oregano, shallot, vinegar, salt, and pepper flakes until roughly chopped. With the motor running, drizzle in the olive oil, until just combined. Drizzle a little extra oil, if sauce seems too thick. Do not over-process – you should still see distinct flecks of herbs.

Alternatively, finely chop the herbs, garlic, and shallot. Combine chopped aromatics with vinegar, salt, and pepper flakes in a medium bowl. Whisk in olive oil, drizzling in extra if the sauce seems too thick. 

Use immediately or store up to 2 days in the refrigerator. (Also makes a great marinade.)

Rosemary-Cheddar Scones by Amy Cantu

Print Friendly and PDF

Scones seem like a special treat in a way that muffins seem ordinary. Don't get me wrong, I will never turn down a good muffin, but a scone is a bakery good that I eat slowly and savor with a big mug of coffee or tea. (I can't be bothered with those dainty tea cups at home.) These Rosemary-Cheddar Scones are stuffed with little cubes of cheddar cheese that ooze out when baked to form lacy, crunchy bits of crispy cheese around the scone. This might be my favorite part. It's like the bit of crunchy cheese that's left at the bottom of a fondue pot, or the cheese that escapes a grilled cheese sandwich onto the griddle. The Rosemary-Cheddar Scone itself is moist and tender, flecked with bits of fragrant rosemary, and happily cheesy. (Please don't compare these to the dry hockey puck scones that seem to be everywhere. Those scones are an abomination and should be banned from being sold.) Getting me up in the morning is like waking a sleeping monster, but this monster absolutely will get up early to bake these scones, because the results are so worth it!

Notes: This recipe is an old, tried and true friend from my early days of cooking. Ina Garten's The Barefoot Contessa Cookbook was one of my early cookbook muses, with her easy-to-follow recipes, bright enthusiasm, and beautiful, large photos that convinced me that I could and needed to cook each recipe. The original recipe called for dill, but I have substituted any fresh herb that I have hiding in the fridge - rosemary, chives, thyme, tarragon, etc. are all delicious. I happen to have an enormous rosemary bush in the backyard, so it's a convenient choice for me! Other delicious add-ins could be bacon bits, peeled and diced apple, jalapeño pepper, sun-dried tomatoes, or corn. You can also vary the type of cheese - brie, gruyere, mozzarella, jack . . . the possibilities are endless.

Lastly, this recipe makes a lot of scones. Ina's original recipe suggest 16 (very) large scones, but I find that it makes more like 24 medium scones. I have adjusted the baking time for the smaller size, but if you want to make mini scones, reduce the baking time by a few minutes, or if making the large size, add a few minutes. The fully baked scones can be fully cooled and frozen. Reheat frozen scones in a 350 degree Fahrenheit oven for 8-10 minutes (mini scones may only need 5-8 minutes). Unbaked scones can also be frozen - place on a baking sheet and freeze until solid (about 1 hour). Transfer to an airtight container to store in freezer. To bake, pop as many frozen scones as needed onto a baking sheet and add an extra 5 minutes or so to the baking time.


Read More: The Shared Scones


Time: 45 minutes
Yield: About 24 scones
 
4 cups plus 1 tablespoon all-purpose flour, divided
2 tablespoons baking powder
2 teaspoons salt
3/4 pound cold unsalted butter, diced
4 eggs, beaten lightly
1 cup cold heavy cream
1/2 pound extra-sharp yellow Cheddar, small-diced
1/3 cup minced fresh rosemary leaves
1 egg beaten with 1 tablespoon water or milk, for egg wash

Preheat the oven to 400 degrees F.

Combine 4 cups of flour, the baking powder, and salt in the bowl of an electric mixer fitted with a paddle attachment. 

Add the butter and mix on low speed until the butter is in pea-sized pieces. Mix the eggs and heavy cream and quickly add them to the flour-and-butter mixture. Combine until just blended.

Toss together the Cheddar, rosemary, and 1 tablespoon of flour and add them to the dough. Mix until they are almost incorporated.

Dump the dough onto a well-floured surface and knead it for 1 minute, until the Cheddar and rosemary are well distributed.

Roll the dough 3/4-inch thick. Cut into 3-inch squares and then in half diagonally to make triangles. Brush the tops with egg wash.

Bake on a baking sheet lined with parchment paper for 15 to 20 minutes, until the outside is crusty and golden, and the inside is fully baked.

Chopped Herb Salad with Farro by Cynthia Raub

Print Friendly and PDF

California's El Niño dreams have been realized this winter. The rains that have drenched our drought stricken area have been numerous and plentiful. But in true California fashion, in between the blustery storm systems, we also had gorgeous clear days in the 70s! My husband has been telling me for years that he has SAD (Seasonal Affective Disorder). Like the amazing wife that I am, I laughed and teased him because I thought he was being dramatic. But this winter has brought out the SAD in me. As soon as a week of gray skies and heavy showers passed, the sun shone and warmed everything - including my cold, cold heart. This sunny and bright herb-heavy side dish was a welcome relief from the chilly cold days. My husband aptly described it as, "preposterously herbaceous" and he is right (again??). Martha Rose Shulman of the venerable NYT Cooking Magazine, a.k.a. my spirit animal, named it a Chopped Herb Salad with Farro for a reason- the farro adds a savory chew but it's by far not the star of the dish. It was such a light and satisfying accompaniment to Amy's succulent Roasted Chicken Legs with Smoked Paprika, Blood Orange and Honey.

Notes: I followed this recipe to the T and made no changes to the ingredients or preparation. If you are not convinced that the strong and fragrant herbs make an incredible salad base, I wouldn't judge you for adding more grains to suit your preferences. 


Time: 30 minutes
Servings: 6

2 cups chopped fresh flat-leaf parsley (from 2 large bunches)
¼ cup chopped fresh mint
1 cup chopped arugula or a mix of arugula and other herbs
¾ pound (2 large) ripe tomatoes, very finely chopped
1 bunch scallions, finely chopped
1 cup cooked farro or spelt
1 teaspoon ground sumac
 Juice of 1 to 2 large lemons, to taste
 Salt to taste
¼ cup extra-virgin olive oil

In a large bowl, combine parsley, mint, arugula and/or other herbs, tomatoes, scallions, farro, sumac, lemon juice and salt to taste. Refrigerate for 2 to 3 hours so the farro marinates in the lemon juice.
Add olive oil, toss together, taste and adjust seasonings. The salad should taste lemony. Add more lemon juice if it doesn’t. 

Recipe from: NYT Cooking Magazine

Chickpea Carrot Salad by Cynthia Raub

Print Friendly and PDF
chickpea and carrot salad

When considering what to bring as a side in addition to the Harissa Grilled Pork Chops, I wanted to make something that was packed with the protein of a sturdy bean and included a hearty, kid-friendly vegetable. This Chickpea Carrot Salad is all of that, and it's also delicious cold, at room temperature, and warmed. (When you have a new baby, you can't be too picky with the temperature of food because you'll be lucky to eat at all!) This salad is filling but not heavy, and so delicious despite the humble and simple ingredients.

Notes: I wish I had tripled or quadrupled this recipe, too! It kept so well that it made an easy lunch the next day with a fried egg on top. If you have a food processor or large box grater to shred the carrots, this recipe is easy and not labor intensive. If you have neither a food processor or large box grater, this is a great way to work on your knife skills and practice your julienne!


Time: 15 minutes
Serves: 4-6

2 cans of chickpeas
2 tablespoons extra virgin olive oil
2 bay leaves
2 garlic cloves, smashed
2 thyme sprigs
2 cups carrots, finely julienned (or shredded)
2 teaspoons lemon juice, freshly squeezed
2 teaspoons sherry vinegar
2 teaspoons kosher salt
1/2 teaspoon freshly cracked black pepper
1 tablespoon mint, chiffonade
1 tablespoon parsley, minced
1 tablespoon chives, chopped

Drain chickpeas and rinse with water - set aside.

Add 2 tablespoons olive oil, 2 bay leaves, 2 smashed garlic cloves, and 2 thyme sprigs to a large skillet. Heat the oil and ingredients until garlic is sizzling. Once sizzling, add 2 cups of shredded carrots and toss to coat in oil and aromatics. Cook for 1 minute.

Add the chickpeas to the skillet and season with salt and freshly ground black pepper.  Toss the chickpeas for a couple minutes until warmed through.  Transfer to a dish to cool.

Before serving remove the bay leaves, garlic, and thyme.  Season with 2 teaspoons freshly squeezed lemon juice, 2 teaspoons of sherry vinegar, and adjust seasoning. Garnish with herbs just before serving.

Adapted from Bouchon cookbook by Thomas Keller