

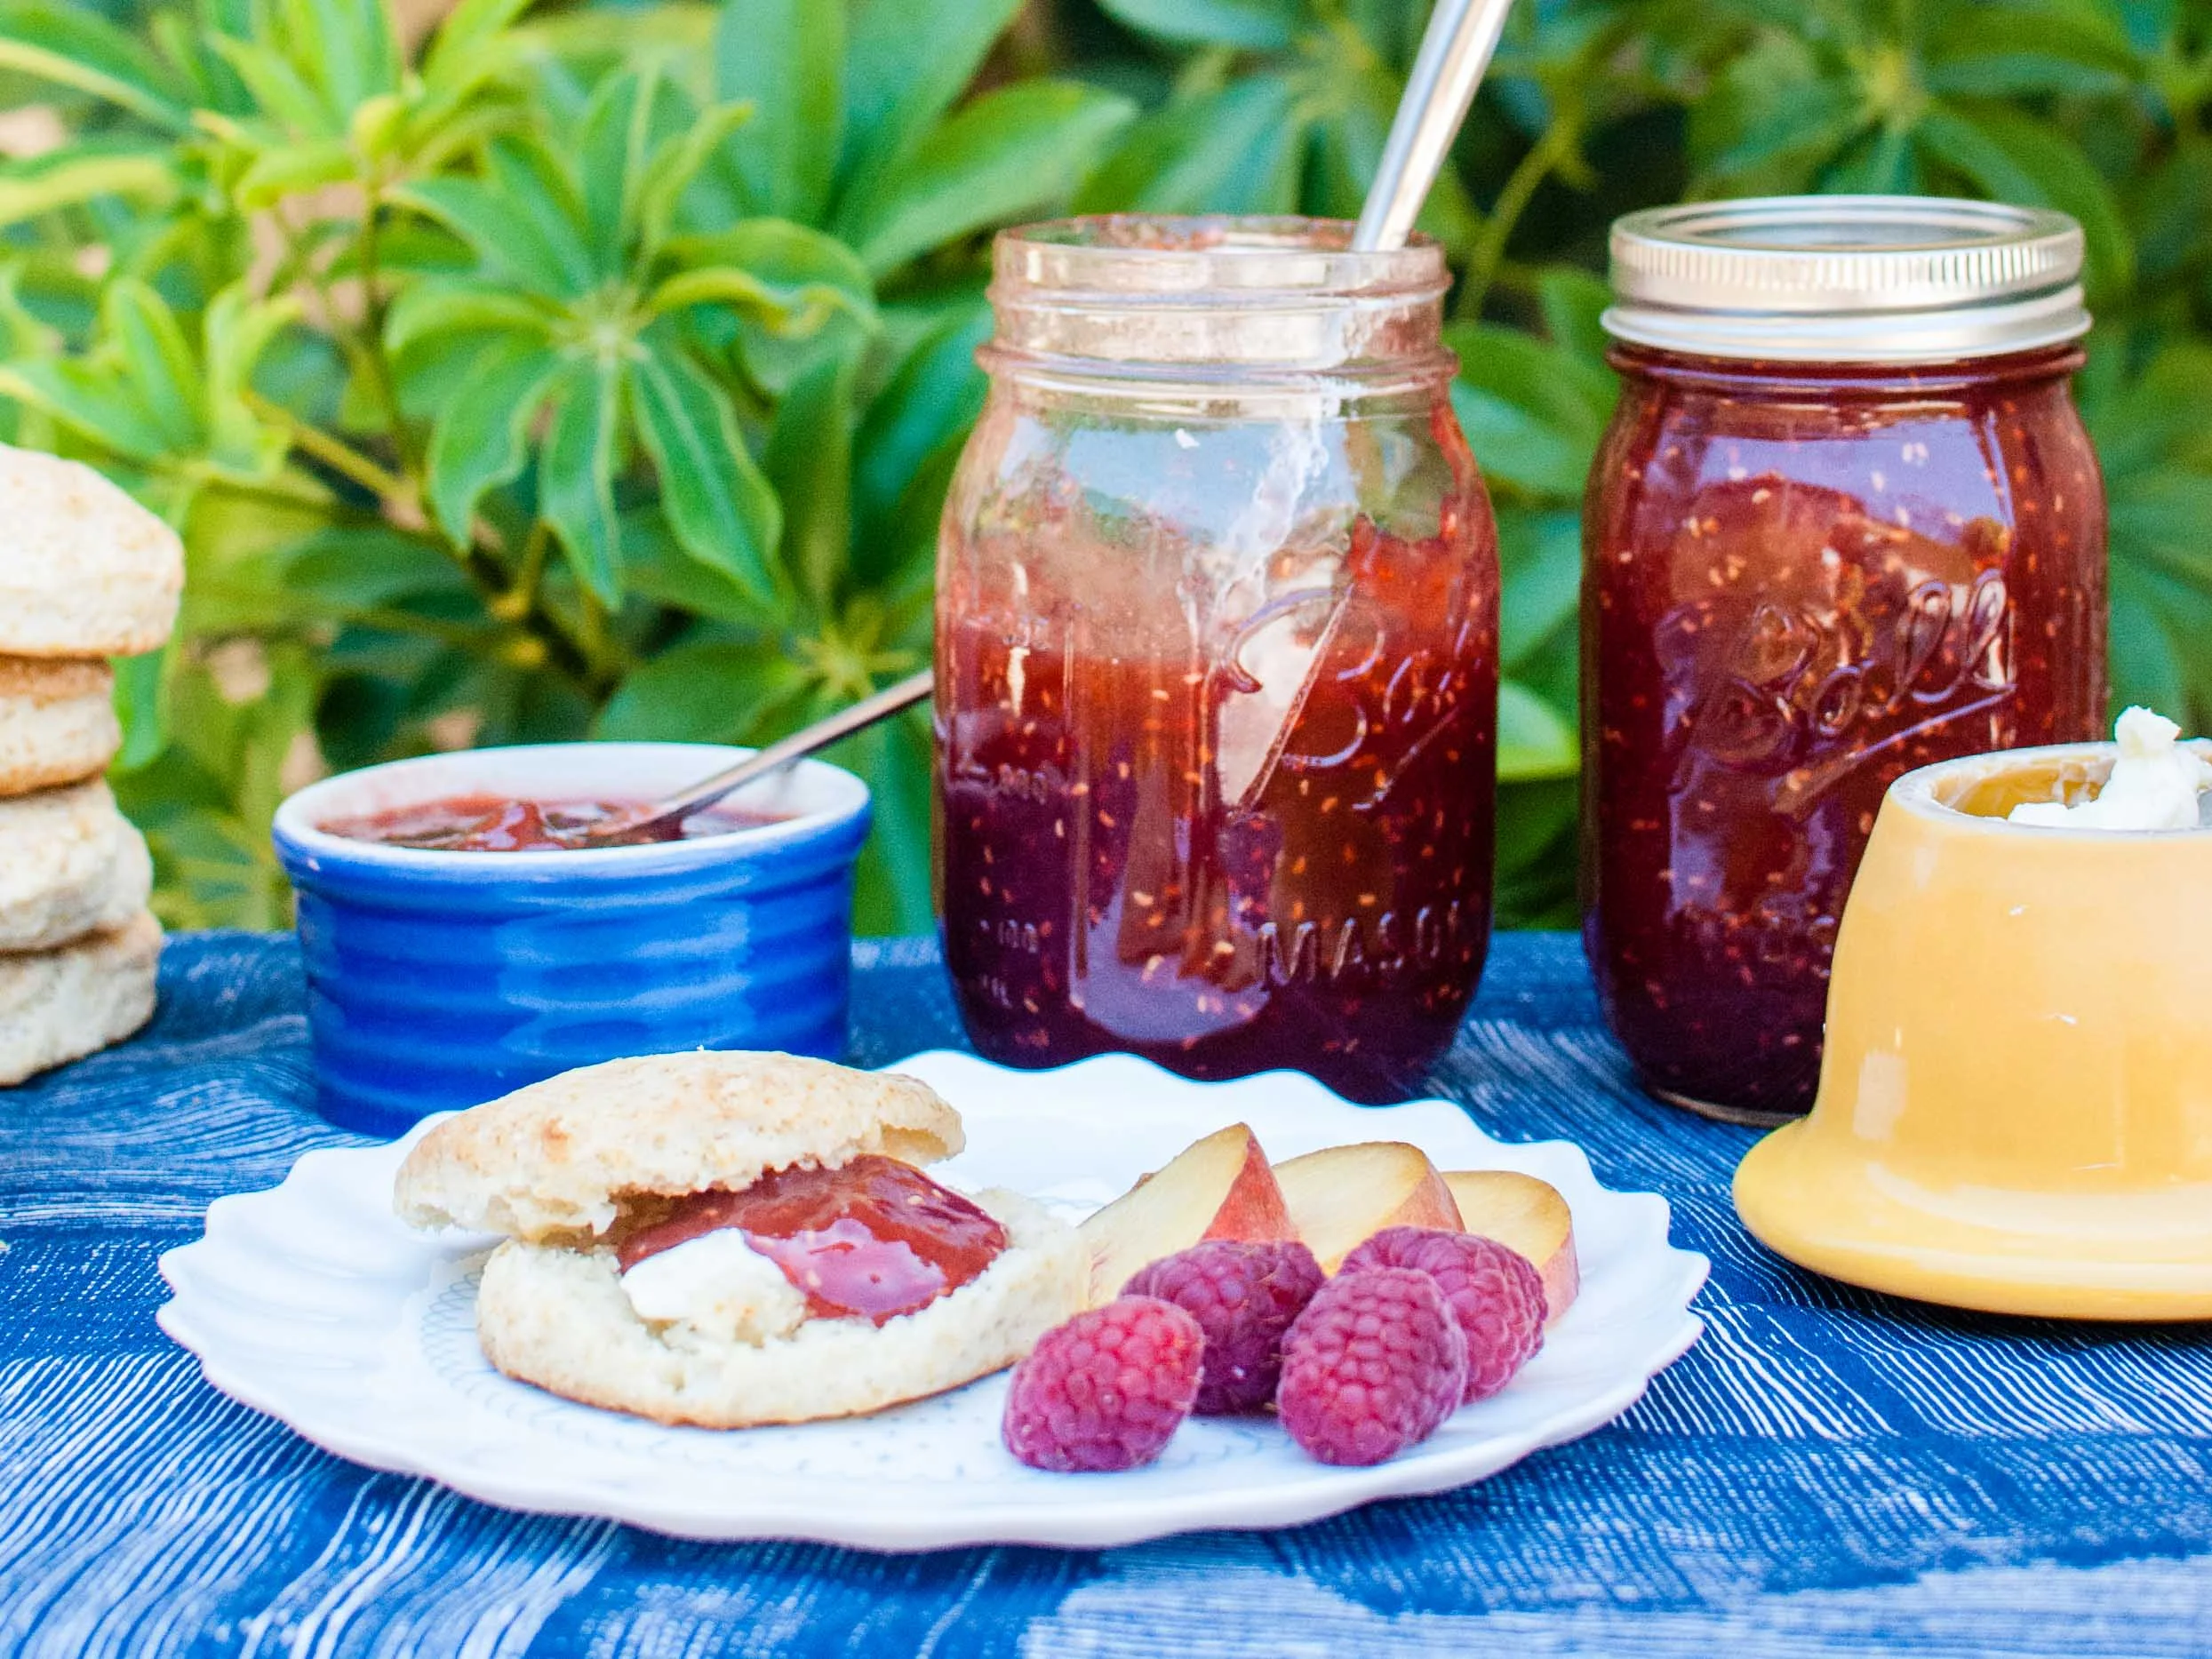
Making jam is a labor of love, but it also extends the flavors of summer into the winter. I have a soft spot in my heart for fruit jams, and love the soft, spoonable texture of this pectin-free Raspberry Peach Jam. Since there is no added commercial pectin to this jam, the texture is looser than most jams you would find in a grocery store, and the raspberry and peach flavors are bold and vivid. I think it also makes this Raspberry Peach Jam more versatile, since you could also use at as a topping for ice cream or yogurt. My favorite way to eat it is spooned generously onto a buttermilk biscuit - mornings don't get much better than that!
Notes: If you are going to bottle the jam to make it shelf stable (and more giftable), make sure to read and follow the recipe well. (Nothing worse than a spoiled jar of jam.)
I added vanilla beans to this jam to give it a more sophisticated, floral flavor, but feel free to leave it out if you don't have any.
Read More: The Shared Labor of Love


Time: 1 1/2 hours
Yield: 6 half-pint jar
5 pounds (80 oz) Fresh peaches
24 ounces Fresh aspberries
7 cups (50 oz) granulated sugar
1/4 cup lemon juice (1-2 lemons)
1/2 teaspoon kosher salt (1/4 teaspoon table salt)
2 large vanilla beans
Bring a large pot of water to boil. Put a few metal spoons into the freezer to use for checking the set of the jam later.
If bottling your jam, preheat oven to 250 degrees F. Wash 6 half pint mason jars with rims and new lids in hot, soapy water. Let rims and lids dry on a clean towel. Place clean jars (without lids/rims) on a rimmed cookie sheet and carefully place in oven. Heat for 30 minutes or until ready to fill with jam.
Meanwhile, use a sharp paring knife to score the bottom of each peach with an "X". Blanch the peaches in the boiling water for 30 seconds, then remove to a bowl of cold water to cool. Skins should now easily peel off the peaches using your fingers. Remove pits and dice the peaches into 1/2-inch pieces.
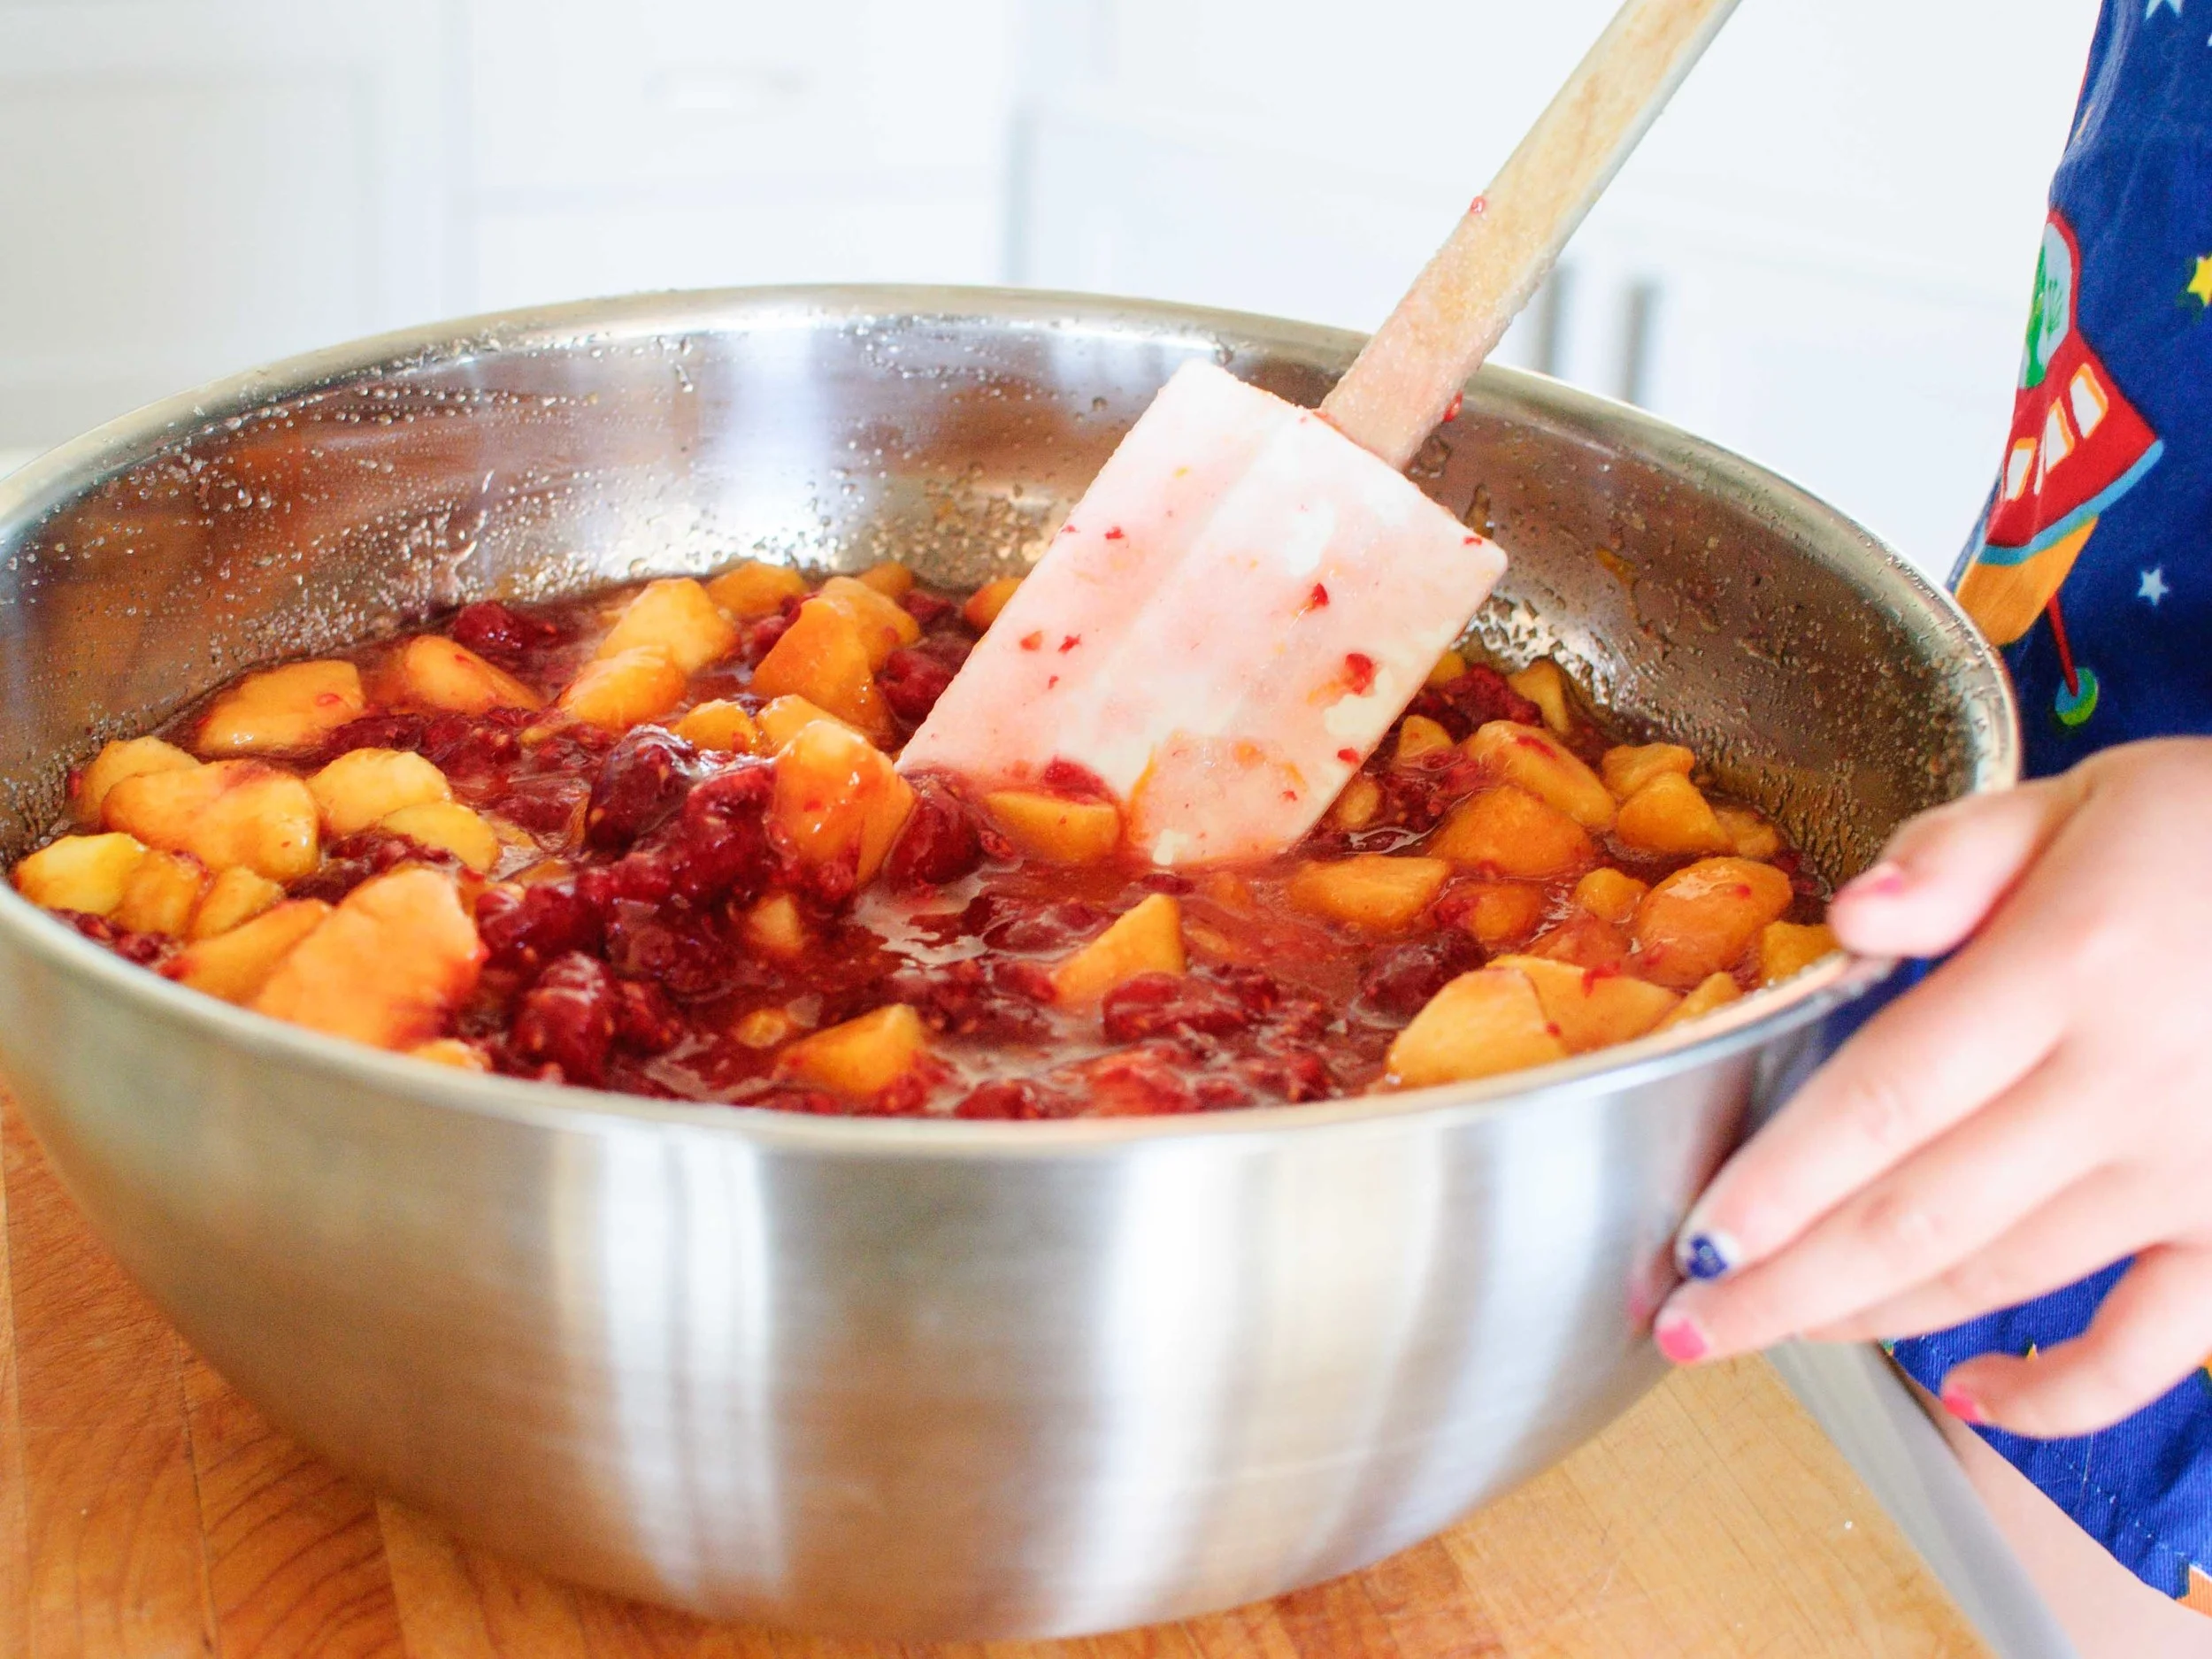
In a very large bowl, stir together diced peaches, raspberries, sugar, lemon juice, and salt until well combined. Slice vanilla beans in half length-wise, and use the tip of a small knife to scrape the black seeds into the bowl. Add the vanilla bean pods into the bowl as well, and stir until combined.
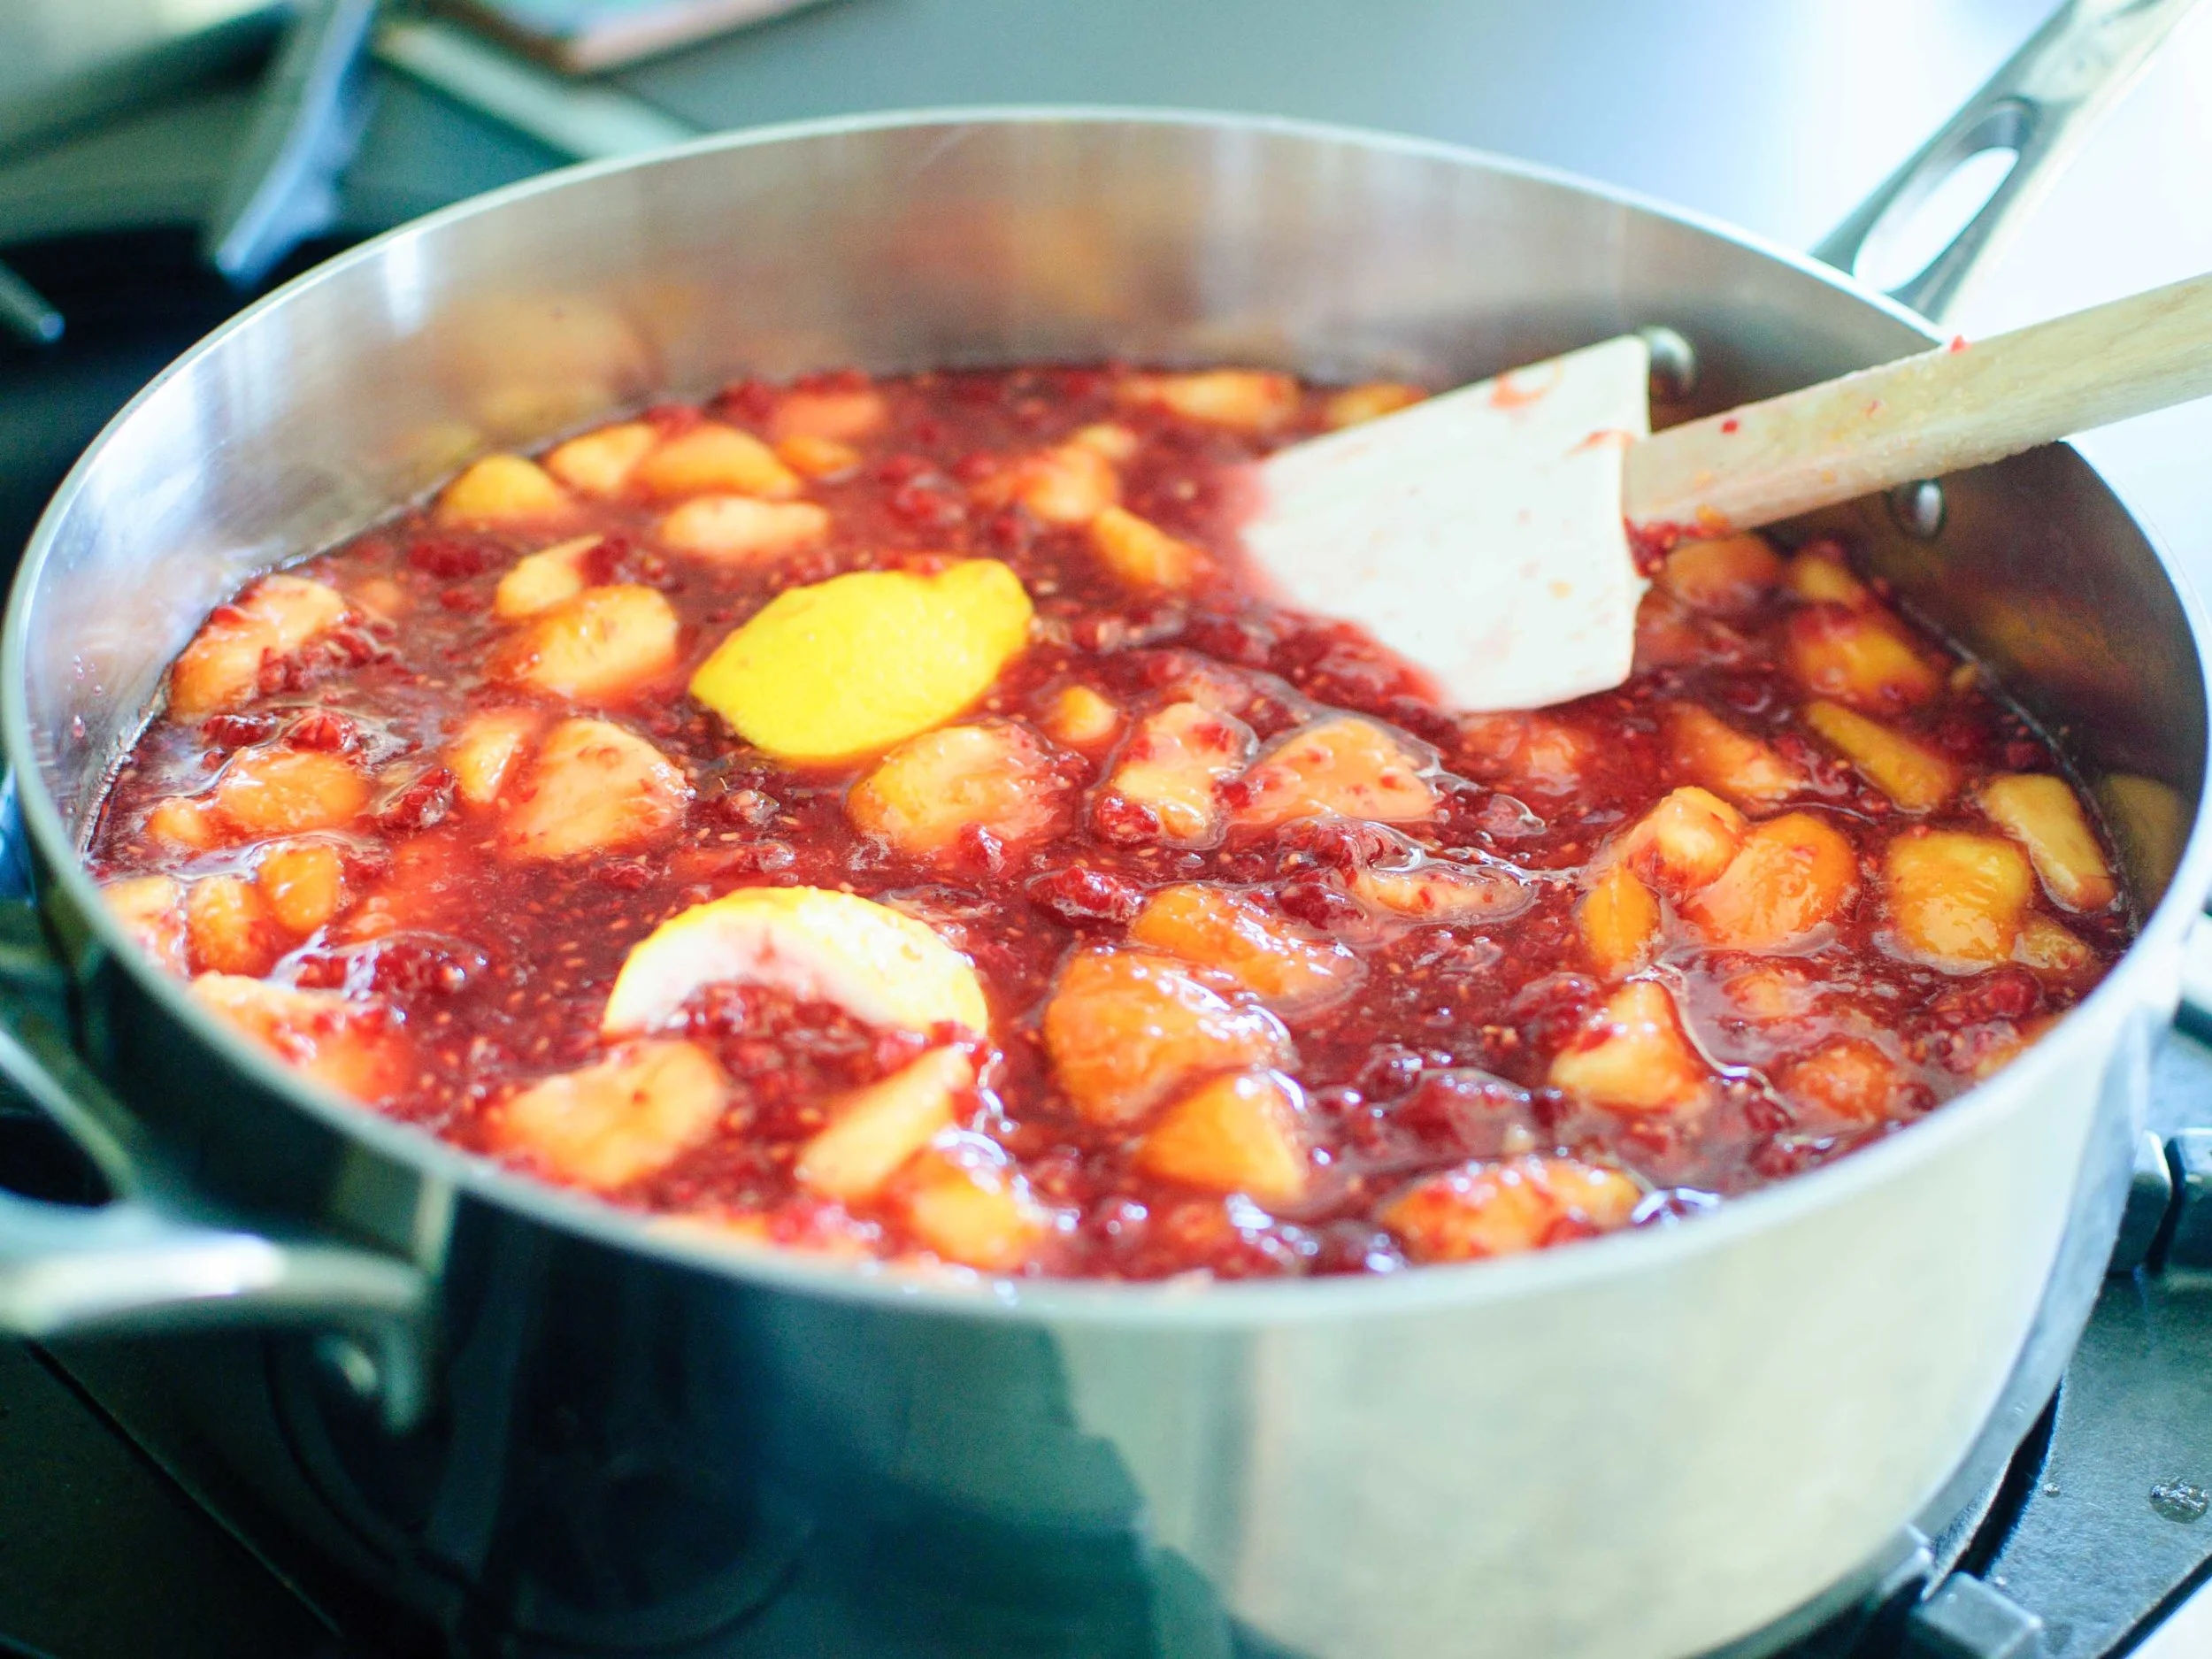
Divide fruit mixture into two large, wide saute pans (or complete this step in two batches). Bring fruit to a boil over medium heat, stirring frequently so the fruit doesn't scorch. Continue to cook jam until the large bubbles subside to smaller, finer bubbles and the jam thickens a bit. Begin checking the jam by drizzling a bit of jam onto a frozen spoon. Let the jam cool for a few seconds on the spoon, then draw a line through the jam with your fingertip. If the jam stays mostly separated, the jam is ready. If the jam quickly fills in the line, continue cooking the jam for a few more minutes and then check again.
Freezer jam: Pour jam into freezer safe containers, leaving 1/2-inch headspace. Place lids on containers and let stand at room temperature for 24 hours. Then place jam in the freezer (for up to 6 months) or refrigerator (up to 3 weeks).
Bottled jam: Place canning rack in a large canning pot, and fill halfway with water. Bring to a boil. Fill hot mason jars with jam leaving 1/4" headspace between the jam and the rim of the jar. Wipe the rims of the jar clean. Seal jars and carefully load into the canning pot, using jar lifters. Check that the water covers the jars by 1 or 2 inches, adding additional boiling water if needed. Boil the jars for 10 minutes to process. Use jar lifters to remove from the canning pot and let cool on a towel or cake rack at room temperature for 12-24 hours. Any jars that do not seal, should be stored in the refrigerator and eaten first. Sealed jars should be stored in a cool, dry place away from direct sunlight.