Main

Audy's Tom Yum Soup by Amy Cantu

Print Friendly and PDF

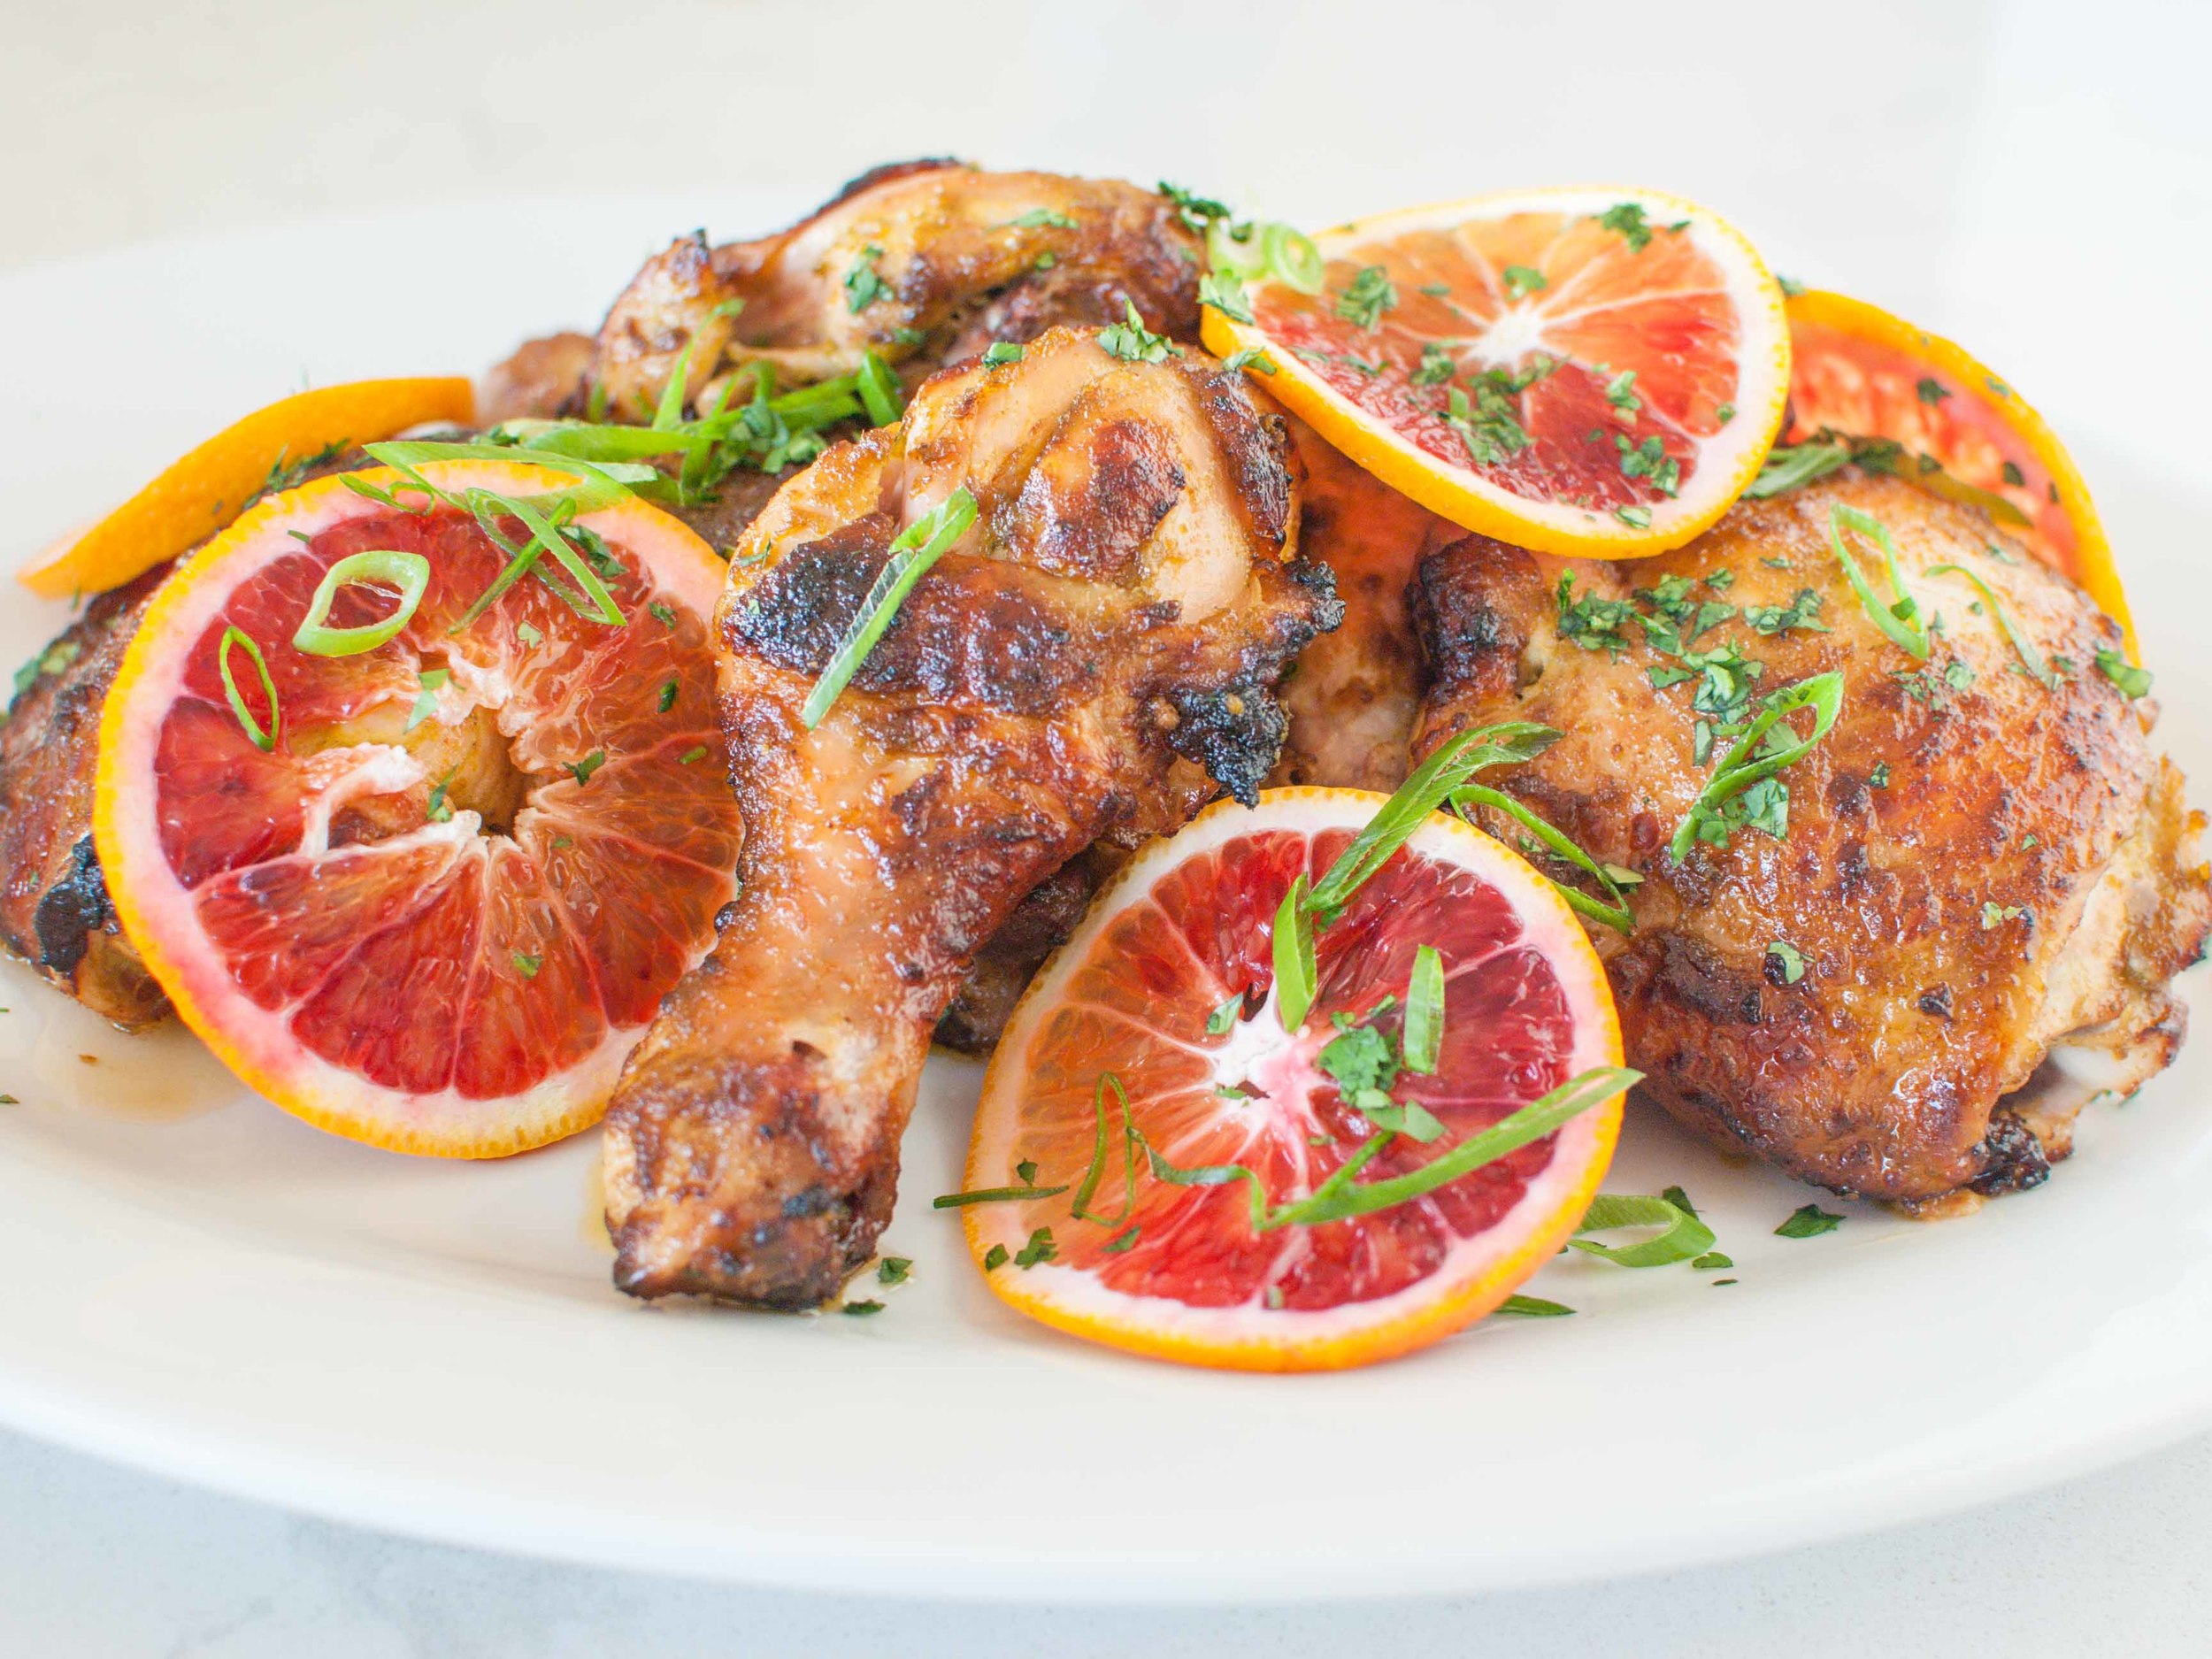
When I told my sister that we were going to feature some of our dad’s Thai home-cooking on the blog, she enthusiastically said, “Oh Dad makes the BEST tom yum soup!” I think she’s right. I’m hard-pressed to find a better one at any Thai restaurant - with generous pieces of fish, shrimp, and scallops (my favorite). The key to his soup is making sure to get the right balance of sweet, sour, salty, and spicy - you really do need to taste the soup and adjust the seasonings so that they equally satisfy all four senses. Limes vary in size, acidity and sweetness - so use your tastebuds as your guide and the listed amounts in the recipe as suggestions.

Notes: Thai soups are fragrant and spicy from all the fresh aromatic herbs and chilies. There will be large chunks of galangal, lemongrass, and lime leaves in the final soup that are not meant to be eaten, but are there to flavor the soup. You can fish them out before you serve, or do as the Thais do, and just eat around them. Lemongrass, lime leaves (a.k.a. makrut or kaffir lime leaves), and galangal can be found in the produce section of most Asian supermarkets and some well-stocked grocery stores. If you cannot find lemongrass or kaffir lime leaves, you can substitute strips of lime or lemon zest. You can also substitute ginger for the galangal. It will not have same flavor, but the soup will still taste good. Thai fish sauce or nam pla, can also be found in Asian supermarkets or in the Asian section of a well-stocked grocery store.

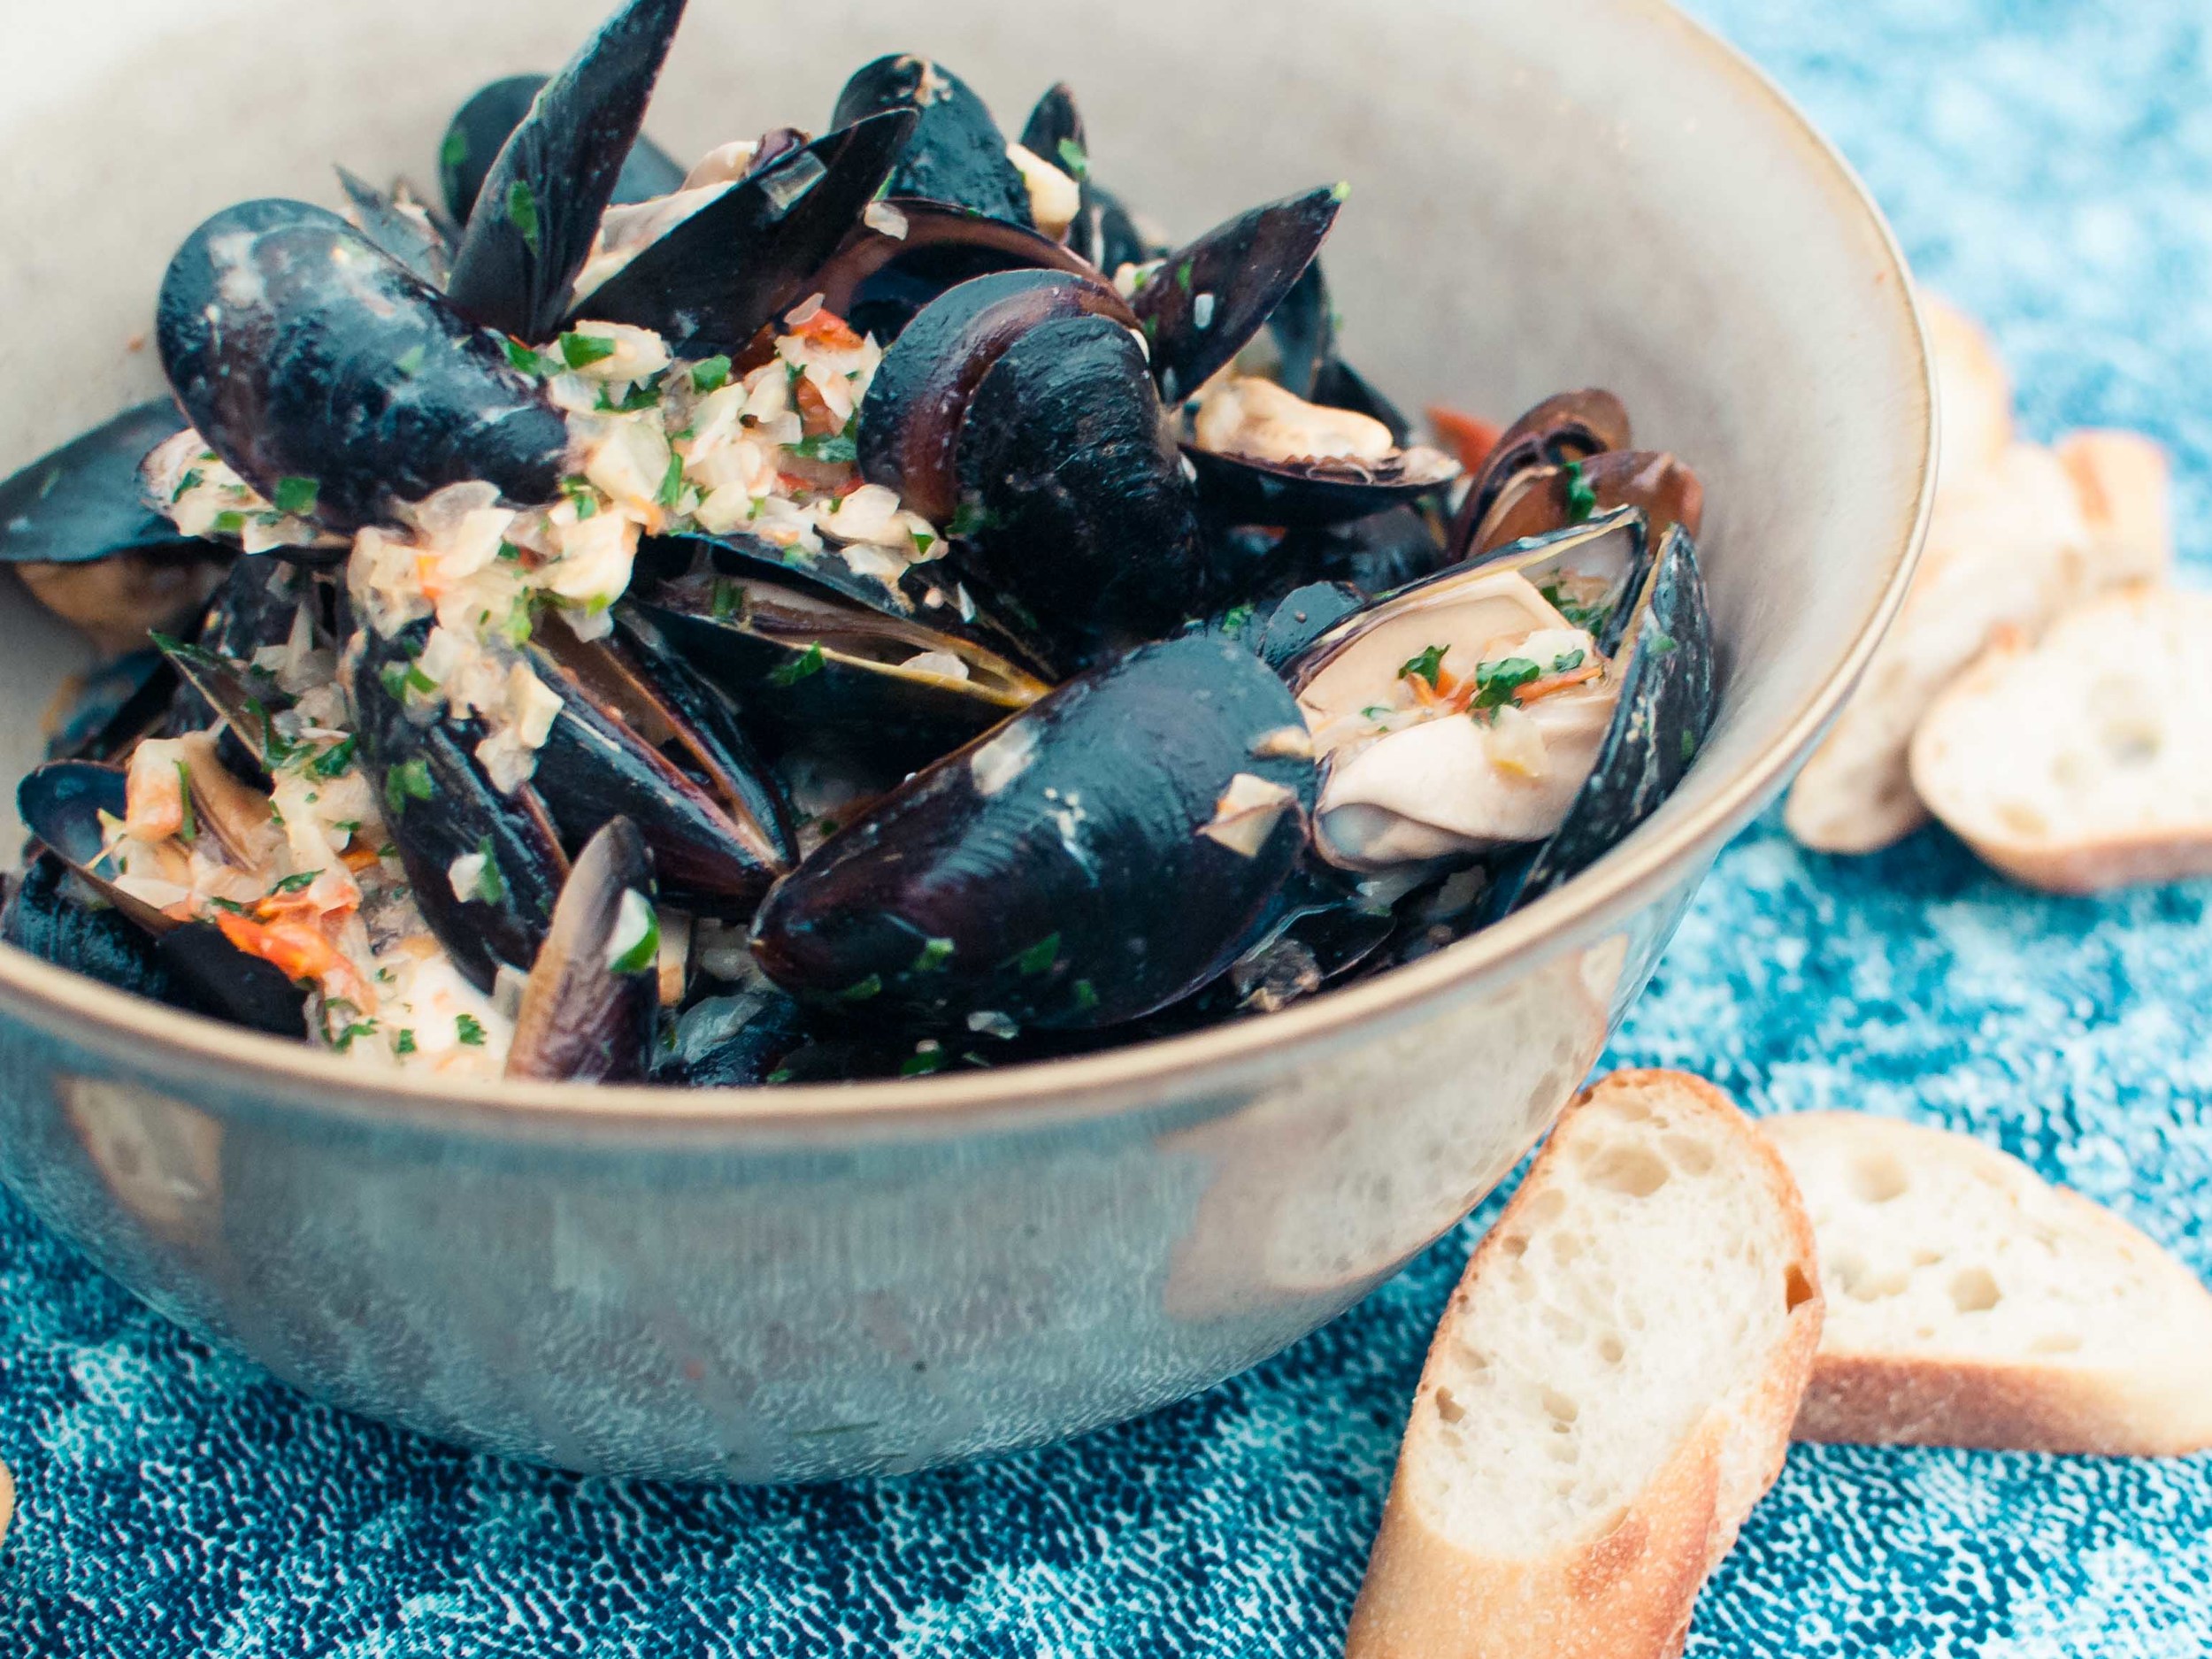
My dad uses scallops, salmon, and shrimp for the seafood in this soup. You can use any combination of seafood (mussels and other firm-fleshed fish work well) or substitute cut-up chicken.


Time: 30 minutes
Servings: 4-5 generously

¼ cup cilantro (with stems), finely chopped
1-2 fresh Thai bird chilies or serrano chilies, finely diced
1-2 limes, juiced
2 tablespoons Thai fish sauce (nam pla), add more or less to taste
2 teaspoons sugar
1 quart chicken stock
2 cups water
1 inch piece of galangal, sliced into ⅛” pieces
4 makrut lime leaves
2 stalks of lemongrass, cut into 2" lengths
1 small yellow onion, cut into 1” dice
1 shallot, cut into 1” dice
½ pound white button mushrooms, sliced into ½” pieces (about 2 cups)
½ pound salmon, cut into 2” pieces
½ pound sea scallops
½ pound medium shrimp, peeled and deveined

Combine cilantro, finely diced chilies, lime juice, fish sauce and sugar into a serving bowl and reserve. Remove outer layer of lemongrass stalk and cut stalk into 2-inch lengths. Using the butt of a kitchen knife, pound and bruise stalks all over.

Pour stock and water into a large pot, add galangal, kaffir lime leaves, and sliced lemongrass; bring to a boil over medium-high heat. Add onion and shallots and simmer for 5 minutes. Add mushrooms and simmer for 3 more minutes. Add salmon, simmer for 1 minute. Add scallops and simmer for 1 minute. Add shrimp and simmer for 1 minute or until just pink and no longer translucent. (Seafood will continue to cook in the hot broth after removing from heat.)

Ladle into serving bowl containing chili and cilantro mixture, and stir to combine. Taste and adjust lime juice (sour), fish sauce (salty), sugar (sweet), and chilies (spicy) as needed. (The soup should taste equally sour, salty, sweet, and spicy.) Serve immediately.

Roasted Chicken Legs with Smoked Paprika, Blood Orange, and Honey by Amy Cantu

Print Friendly and PDF

I really can’t get enough of roasted chicken in its very many forms. The skin gets so tantalizingly golden, and meat comes out so juicy! This one is already conveniently in pieces, and using dark meat keeps it moist, even if you happen to forget about it in the oven for a bit. I love the lightly sweet honey glaze matched with the punchy tart orange, spicy jalapeño, and smokey paprika. The blood oranges speak to winter, but the fresh herb garnish bridges the gap to spring. This chicken goes perfectly with the herbaceous farro salad that Cynthia put together!

Notes: Consider your spiciness level when choosing how much jalapeño to add and whether to seed it. For the kids, I used half of a small, seeded jalapeño - the marinade seemed mildly spicy, but once cooked, I could hardly tell it was there. Keeping the seeds will dramatically increase the spiciness.

The recipe calls for blood oranges, which have a more pronounced flavor and adds pretty color for the garnish. Regular oranges work just fine too!


Inspired by Melissa Clark’s recipe in her cookbook, Cook This Now.

Time: 1 hour
Servings: 4

⅓ cup freshly squeezed orange juice, preferably blood orange
3 tablespoons extra virgin olive oil
3 garlic cloves, finely chopped
2 tablespoons cilantro leaves, plus additional for garnish
½ - 1 small jalapeño, seeded if desired, and chopped
1 tablespoon grated fresh ginger
1 ½ teaspoons kosher salt (¾ teaspoon table salt)
1 teaspoon freshly grated orange zest
1 teaspoon smoked paprika
1 tablespoon honey
3 pounds bone-in, skin-on chicken thighs and drumsticks, patted dry
Sliced scallions, for serving
Orange wedges, for serving

In a blender, combine the orange juice, oil, garlic, cilantro, jalapeño, ginger, salt, orange zest, and paprika and blend until garlic and jalapeño are pureed.

Reserve ¼ cup of marinade and stir in honey to make a glaze. Set aside.

Combine the chicken and remaining marinade in a large bowl. Cover with plastic wrap and transfer to the refrigerator to marinate for at least 1 hour (or overnight if you can plan that far ahead).

When you are ready to cook the chicken, preheat the oven to 475 degrees Fahrenheit. Line a large baking sheet with aluminum foil and top with the chicken. Roast for 30 minutes, turning once halfway through. Brush glaze over chicken pieces and roast for 10 minutes more or until the chicken skin is golden and the meat juices are no longer pink.

Serve sprinkled with scallions and cilantro, with orange wedges for squeezing over the meat.

Harissa Grilled Pork Loin Chops by Cynthia Raub

Print Friendly and PDF
harissa grilled pork loin chops

After the delivery of my first child, I was ravenous. I craved animal fat and meat that I could gnaw off of the bone. When the opportunity came to cook for a friend with a new baby, I recalled my postpartum craving and was drawn to the idea of grilled meat on the bone with a deeply savory marinade. After some brainstorming with my husband Michael, he suggested I make my own harissa for the pork loin chops I had in mind. Harissa is a North African pepper paste blended with fragrant spices like cumin, coriander, dried mint and caraway. There are numerous iterations of harissa depending on the neighborhood, country or ethnicity but the basic recipe is peppers, spices, garlic and olive oil. It's a widely available condiment in specialty food stores, but it was also surprisingly easy and very inexpensive to make at home from scratch. Harissa is often compared to ketchup or sriracha, but it's neither of those. It's deeply aromatic with very little sweetness, unlike ketchup; and it lacks the bite in acidity that sriracha brings to the palette.

Notes: Because I was cooking for a family that included a three year old, I deseeded the peppers in order to control and mute the amount of spiciness. Deseeding the peppers made the harissa warm but not spicy to my palette. Before I served it to our friends, my own similar-aged (and spicy-adverse) children tried it, and they didn't find it spicy at all. I wish I had doubled this recipe because the harissa keeps so well and is a perfect food gift to share. This recipe was generous enough to season the pork, and I had a 1/2 cup to give to Amy on the condition that she cook something delicious for us with it.


For the Harissa:
Time: 30 minutes
Makes 1 Cup

8 dried guajillo chiles, stemmed and seeded (about 2 oz.)
8 dried new mexico chiles, stemmed and seeded (about 1 1⁄2 oz.)
1⁄4 tsp. coriander seeds
1⁄4 tsp. cumin seeds
3 tbsp. extra-virgin olive oil, plus more as needed
1 1⁄2 tsp. kosher salt
5 cloves garlic
Juice of 1 lemon
Zest of 1 orange

Deseed chiles, cut into 2 inch pieces with scissors and put into a skillet over medium heat. Toast chilies until fragrant, about 3 minutes. Place chiles into a medium bowl, cover with boiling water, and let sit until softened, 20-30 minutes. Heat caraway, coriander, and cumin in an 8" skillet over medium heat. Toast spices, swirling skillet constantly, until very fragrant, about 2 minutes. Transfer spices to a grinder and grind to a fine powder. Set aside.

Drain chiles and transfer to the bowl of a food processor or blender with the ground spices, olive oil, salt, garlic, lemon juice and orange zest. Purée, stopping occasionally to scrape down the sides of the bowl, until the paste is very smooth, about 2-4 minutes. Transfer to a sterilized 1-pint glass jar and fill with oil until ingredients are submerged by 1⁄2". Refrigerate, topping off with more oil after each use. Harissa paste will keep for up to 3 weeks.

Adapted from: Saveur Magazine

For the Pork Loin Chops:
Time: 60 minutes
Servings: 6

3/4 cup prepared Harissa
12, 1" thick pork loin chops (bone in)

Prepare your grill. While your grill is heating up, dry pork chops throughly with a paper towel. On a large sheet pan, toss pork chops with Harissa paste and marinate for a minimum of 30 minutes (up to 6 hours). Once the pork is marinated and the grill is hot, place pork chops on the grill over indirect heat and cook 3-5 minutes per side. Cook until internal temperature reaches 145 degrees Fahrenheit.

Mussels with Tomato and Fennel by Amy Cantu

Print Friendly and PDF
Mussels with Tomato and Fennel

Notes: Rinse mussels well under cold water, scrubbing if needed.  Pull out any beards by grabbing them and pulling towards the hinge-end of the mussels. (The beards look like little hairs poking out from between the shells.) Throw out any cracked mussels or open mussels that don't close when tapped with another mussel.


Time: 15 minutes
Servings: 4

2 tablespoons unsalted butter
1 small onion, finely chopped
1 small fennel bulb, fronds removed, and finely chopped
4 medium cloves garlic, thinly sliced
1 tomato, small dice
1 teaspoon kosher salt (1/2 teaspoon table salt)
1/2 teaspoon freshly ground pepper
1 cup dry white wine, such as Sauvignon Blanc
2 pounds mussels (see note above)
3 tablespoons heavy cream (optional)
1 tablespoon juice and 1 teaspoon grated zest from 1 lemon
3 tablespoons minced fresh parsley leaves
1 baguette, sliced and lightly toasted

Melt 2 tablespoons butter in a large saucepan over medium-low heat. Add onion, fennel, and garlic. Season with salt and pepper and cook, stirring, until vegetables begin to soften (about 5 minutes). Add tomatoes and continue to cook until all vegetables are soft but not browned, about 5 minutes more.

Increase heat to high and add wine. Bring to a boil and let reduce by half, about 2 minutes. Add mussels, stir, cover, and cook, shaking pan constantly and peeking every 30 seconds to stir. As soon as all the mussels are open, transfer mussels to a bowl using tongs. Place pan lid over bowl to keep mussels warm.

Remove from heat and whisk in heavy cream. Return mussels to pot, add parsley, lemon juice, and lemon zest, stir to combine, then transfer to a warm serving bowl. Serve immediately with crusty bread.

Three Cheese Fondue by Amy Cantu

Print Friendly and PDF

Fondue is so fun to eat! Who can resist crusty bread dipped into a pot of ooey-gooey, unctuous cheese? No one, that’s who. (Unless you hate cheese, in which case, I’m sorry- we can’t be friends. Just kidding . . . maybe.) Twirling bits of food into a pool of melty goodness is somehow therapeutic and it also bonds you with those dipping with you. Added bonus: My 4-year-old got a big kick out of dunking his broccoli and carrots into the cheese sauce, and he probably ate a week’s worth of veggies in this one meal alone.

Notes: This is a fairly classic fondue recipe, but make it your own by using any combination of good melting cheeses, liquid, and flavoring. For example, you could substitute smoked cheddar, hard apple cider, and apple butter for a completely different fondue. Or how about extra-sharp cheddar, beer, and bacon bits? You get the idea!


Time: 25 minutes
Servings: 4

1 medium clove garlic, cut in half
1 cup dry white wine, such as Sauvignon Blanc, plus more as needed
⅓ pound Gruyère or Comté cheese, grated
⅓ pound Emmentaler cheese, grated
⅓ pound Fontina cheese, grated
1 tablespoon cornstarch
1 tablespoon fresh juice from 1 lemon
1 tablespoon kirsch (optional)
Freshly ground pepper

Ideas for dipping:
Baguette or other rustic bread, large cubes
Small new potatoes, boiled and cooled (can be left whole or halved)
Broccoli or cauliflower florets, blanched
Carrots, bite-size pieces, blanched
Asparagus, blanched
Sausage, cooked and sliced into bite-sized pieces
Salami, diced into bite-sized pieces
Apple slices, Granny Smith or other tart apple

In a medium bowl, evenly coat the cheeses with cornstarch.

Rub the cut sides of garlic around the inside of a double boiler or stainless steel mixing bowl set over a pot of simmering water on low heat. The bowl should not touch the water. Pour in the wine and heat until hot. (You should see wisps of steam.)

Gradually stir in the cheese, one handful at a time. Stir each handful of cheese until it is completely melted, before adding another handful. Do not allow the cheese to come to a simmer. Once you have a smooth, glossy cheese sauce, stir in the lemon juice and kirsch, if using. Season with freshly ground pepper. Pour fondue into a fondue pot to keep it warm.

Choose your dippers, dunk and swirl into the cheesy goodness, and enjoy!

Soba Noodle Salad by Cynthia Raub

Print Friendly and PDF
sobanoodlesalad

Noodles! There are thousands of different kinds, and I love them all. But I am particularly fond of soba - chewy, nutty, Japanese buckwheat noodles. When I feel health-conscious, I choose soba noodles because . . . I’m not sure! They are gluten-free, but that doesn’t matter to me. They are lower calorie than pasta made with wheat, but that doesn’t matter to me either! I think it’s because they can be dressed lightly and eaten cold that makes me *feel* they are a more healthful choice. I dressed the soba noodle salad with a Ginger Scallion Sauce, courtesy of one of my favorite chefs, David Chang. For the children, I set aside their portion and used the remaining sauce from the Crispy Chicken Wings to dress their noodles. 

Notes: Cold noodle salads are flexible and easy to customize with different vegetables, proteins and sauces. In this recipe, I used shelled edamame, julienned carrots, roasted cauliflower, and red bell peppers; you could also use shredded cabbage, thinly sliced half-rounds of cucumber, julienne of zucchini, sautéed mushrooms, blanched baby spinach . . . really, anything! The same goes for sauces I’ll often make a rice wine vinaigrette, a carrot ginger salad dressing or a very light peanut sauce to dress soba.


Servings: 4-6
Time: 30 minutes

4 bundles (or 360 grams) soba noodles (prepared according to the package)
2 tablespoons sesame seed oil
1 cup Shelled edamame
1 cup Carrot, julienned
1 cup Cauliflower florets
1 cup Red bell pepper, julienned
1 tablespoon neutral oil (vegetable, canola, and grapeseed all work)

Cook soba noodles according to package directions. Rinse with cold water and dress lightly with sesame seed oil to prevent the noodles from sticking. Set aside.

While the noodles are cooking, add 1 tablespoon oil to a medium pan, bring up to medium-high heat, until oil barely begins to smoke. Add cauliflower to the pan, and cook until the first side is brown - about 2-3 minutes. Shake pan vigorously and continue to cook until desired doneness. (I like fork-tender cruciferous vegetables, so I cooked mine for about 6 minutes). Set aside. Julienne carrots and red bell peppers, set aside with prepared edamame. Combine noodles and vegetables in a large bowl. 

Ginger Scallion Sauce
from Momofuku cookbook by David Chang

Servings: 1 cup of sauce
Time: 15 minutes

Ingredients:
2½ cups thinly sliced scallions (green and whites, from 2-3 large bunches)
½ cup finely minced fresh ginger
¼ cup grapeseed or other neutral oil
1½ teaspoons usukuchi (light soy sauce)
¾ teaspoon sherry vinegar
¾ teaspoon kosher salt, more to taste

Mix together the scallions, ginger, oil, soy sauce, vinegar, and salt in a bowl. Taste and check for salt, adding more if needed. 

Crispy Chicken Wings by Cynthia Raub

Print Friendly and PDF
crispychickenwings

Small chicken wings are 33% meat, 33% skin and 33% bone - the best part being the skin. When chicken skin is rendered down from it’s pale, dotted and limp original state, it transforms into a golden and crunchy treat from the heavens. If you are #blessed enough, the fat from the skin might pool at the bottom of your baking pan to produce schmaltz. (Have you ever dipped a bland and dry veggie sandwich in warm schmaltz to make it palatable? I have, and it was glorious.) Chicken wings are a crowd pleaser and can be enjoyed hot and cold, which is why I thought they’d be a wonderful accompaniment to the Soba Noodle Salad with Ginger Scallion Sauce. The lacquered and addictive sweet and salty glaze was especially popular with the kids who loved nibbling off of the chicken bone. 

Notes: The chicken wings I bought were smaller than what I normally encounter at the store. But because of my love of chicken skin (see above) this didn’t bother me. The size of your chicken wings will change the amount of time you bake them. The meat on my small chicken wings were a little dry but the skin was incredibly crisp and was not compromised and didn’t get soggy when dressed with the glaze. This was worthwhile to me, but your mileage may vary.


Yield: About 50 wings
Time: 1 hour, 10 minutes

Ginger-soy glaze:
1/4 cup water
1/4 cup honey
4 tablespoons soy sauce
3 large garlic cloves, crushed
1 2 x 1-inch piece of ginger, peeled, sliced
1 teaspoon kosher salt
1 teaspoon lime juice
Red pepper flakes (optional)

Wings:
5 pounds chicken wings (tips removed, drumettes and flats separated - sometimes you can find "party wings" where this has already been done for you)
2 tablespoons vegetable oil
1 tablespoon kosher salt
1/2 teaspoon freshly ground black pepper

For ginger-soy glaze:
Bring all ingredients to a boil in a small saucepan, stirring to dissolve honey. Reduce heat to low; simmer, stirring occasionally, until reduced to 1/4 cup, 7–8 minutes. Strain into a small bowl. Let sit for 15 minutes to thicken slightly. Add a pinch of red pepper flakes, if desired and squeeze 1 teaspoon of lime juice into sauce, mix and reserve.

For wings:
Preheat oven to 400°F. Set a wire rack inside each of 2 large rimmed baking sheets. Place all ingredients in a large bowl; toss to coat. Divide wings between prepared racks and spread out in a single layer. Bake wings until cooked through and skin is crispy, 45–50 minutes.

Line another rimmed baking sheet with foil; top with a wire rack. Add wings to ginger-soy glaze and toss to evenly coat. Place wings in a single layer on prepared rack and bake until glaze is glossy and lightly caramelized, 4–6 minutes. Garnish with scallions and sesame seeds if desired.

Adapted From: http://www.epicurious.com/recipes/food/views/crispy-baked-chicken-wings-388693

Roasted Jalapeno Grilled Cheese Sandwich by Cynthia Raub

Print Friendly and PDF
jalapeno grilled cheese sandwich

The magic of grilled cheese is found between the two slices of golden and toasted buttered bread - when the cheese oozes from the sides from each bite. Because I was serving these sandwiches an hour after they were cooked on the griddle, I wanted them to have a gooey texture, even when they were room temperature. Thanks to the combination of cream cheese and Monterey Jack cheese these maintained a melty and creamy texture when they were no longer hot. Served alongside the Bacon Jam and Cheddar Grilled Cheese Sandwiches and a refreshing Beet and Cucumber Salad, this slightly spicy, gooey sandwich was richly satisfying for a group of dedicated preschool parents. 

Notes: My jalapeños were extraordinarily spicy, so I deseeded them after roasting. When cooking for a group of people, I like to offer something a dish with a little bit of heat, but nothing too overwhelming. Be sure to taste your spicy peppers to gauge how much to add and what would be appropriate for your crowd.


Time: 1 hour
Servings: 4

1 8-oz package cream cheese
1 cup shredded Monterey Jack cheese
2 jalapeños
1 bunch green onions
1 tablespoon olive oil
1 teaspoon black pepper
Salt to taste
8 slices of white bread
Butter, room temperature

Preheat oven to 350 degrees. Coat jalapeños and green onions in olive oil and a sprinkling of salt and place on a baking pan. Roast jalapeños and green onions for 15-20 minutes until charred and softened. Set aside and allow to cool.

Meanwhile, shred cheese and set aside. Place cream cheese in a food processor with cooled and roughly chopped jalapeños and green onions, and black pepper. Pulse 10 times to combine and until jalapeños and green onions are finely minced. Add shredded cheese and pulse 5 times until combined but not paste-like.

Heat a non-stick griddle to medium-high heat. Spread cheese mixture on a slice of bread, close with another piece of bread. Spread room temperature butter on both sides of the sandwich. Slap the sandwich down onto the griddle and wait for the heavens to sing, cooking about 4-6 minutes per side.

Bacon Jam and Cheddar Grilled Cheese Sandwich by Cynthia Raub

Print Friendly and PDF
bacon jam grilled cheese sandwich

There's something about the winter that makes me want to make bacon jam. Last year, I threw a grilled cheese and nighttime zoo excursion birthday party for my New Years baby. We had our family come over for dinner to enjoy gooey grilled cheese sandwiches and cupcakes before heading out to the zoo at 7 p.m. I wanted to serve a variety of grilled cheese sandwiches that would be satisfying and hearty enough to be a meal, so I made these sandwiches along with the Roasted Jalapeño Grilled Cheese Sandwich and served them with a tomato soup. When I volunteered to bring savory refreshments for a preschool board meeting, I wanted to bring something a little bit sinful for the parents who work so hard to maintain our cooperative preschool. The combination of the sweet, rich, and tart bacon jam with a sharp cheddar cheese on sliced sourdough is decadent and a novel twist on a grilled cheese. 

Notes: The bacon jam is an involved recipe that requires an hour, a watchful eye, and a considerable amount of chopping. It's a worthwhile commitment. You'll find a number of uses for the bacon jam - including giving it away to friends and neighbors. Make a batch and share it with your loved ones, or you'll find yourself putting it in your eggs, spreading it on bagels, or even eating it off of a spoon at midnight for weeks.


Time: 1 hour
Yield: 3 cups

For The Bacon Jam

1.5 lbs smoked bacon
3 cups of sweet onions, sliced
4 cloves of garlic, minced
1/3 cup packed dark brown sugar
1/3 cup cider vinegar
1 cup low-sodium chicken broth or stock
1 teaspoon kosher salt, plus more as needed
1 teaspoon freshly ground black pepper
1 teaspoon paprika
1 tablespoon unsalted butter

Place the bacon in a large heavy-bottomed pot or Dutch oven over medium heat and cook, stirring occasionally, until the fat has rendered and the bacon is starting to brown, about 10 to 20 minutes. Remove bacon with a slotted spoon onto a paper towel lined plate. Safely pour off bacon fat into a heatproof container, reserving browned bits and 2 tablespoons of bacon fat in the pot.

Bring the pot back to the stove, turn heat up to medium high - add the onion, season with salt, and cook, stirring occasionally, until the onion has browned, about 5-10 minutes. Add the sugar, garlic, and cider vinegar, stirring to combine.

Add 1/2 cup of the broth or stock and bring it to a simmer, scraping up the browned bits from the bottom of the pot. Continue to simmer, stirring occasionally, until the mixture has thickened and almost all of the liquid has evaporated, about 5-8 minutes.

Add 1/2 more cup of the broth or stock and simmer, stirring occasionally, until the mixture has thickened and almost all of the liquid has evaporated, about 5-8 minutes.

Season with kosher salt, black pepper and paprika and combine.

Transfer the mixture to a food processor and reserve the pot. Process until desired texture. (I like a little bit of texture, so I pulsed mine 20 times- which minced the bacon and onion, but did not make a smooth paste).

Return the mixture to the reserved pot, place it over medium heat, and rewarm, stirring occasionally. Remove from the heat and stir in the butter. (At this point, the bacon jam can be cooled to room temperature and refrigerated in an airtight container for up to 2 weeks. Rewarm before using.)

Adapted from "Fire in My Belly: Real Cooking" by Kevin Gillespie with David Joachim


For The Bacon Jam and Cheddar Grilled Cheese Sandwich

1 cup bacon jam
1 cup shredded sharp cheddar cheese (I used Tillamook)
12 slices sourdough bread
Unsalted butter, room temperature

Preheat a non-stick griddle to medium-high heat. In a medium mixing bowl, mix to combine bacon jam and shredded cheese. Spread a generous layer of the bacon and cheese mixture on a slice of bread. Close the sandwich up with a second slice of bread, butter outsides of the sandwich generously. Slap the sandwich down on the preheated grilled and cook until the bread is golden and crusty, the cheese is melted and the bacon jam is hot- about 5-7 minutes per side.

Meatballs with Tomato Sauce and Polenta by Amy Cantu

Print Friendly and PDF
Meatballs with Tomato Sauce and Polenta

We were out of town for two weeks over the holidays, visiting family and friends. So when we returned home an hour before dinnertime, I stared into the cavernous empty fridge and let out a loud groan. Ugggghhh. What are we going to eat?! I started freezer diving, and when I came up for air, I bestowed upon my family the bag of frozen meatballs from Cynthia! (Cue angels singing and bright spotlight on the frozen meatballs.) I fished out a bag of polenta and a can of tomatoes from the pantry, and dinner was on its way. While the meatballs and polenta baked in the oven, I stirred together a simple tomato sauce on the stove. Within an hour, we enjoyed creamy, parmesan polenta, crowned with savory meatballs bathed in a simple tomato sauce. I gave myself a pat on the back, and whispered a silent thank you to Cynthia. Voila! Dinner is served!

Notes: Cynthia's recipe for Swedish Meatballs are spiced mildly enough that when combined with the tomato sauce and polenta, the dish tastes decidedly more Italian than Swedish. If you are starting from scratch and using Cynthia's recipe, you can substitute 1 teaspoon dried oregano for the allspice and nutmeg. Or, feel free to use your own meatball recipe here.  To make this an easy vegetarian meal, serve the polenta topped with a runny, fried egg and the tomato sauce - yum!


Time: 50 minutes

Serves: 4

20 small meatballs, Cynthia's or your own recipe
1 recipe Simple Tomato Sauce (recipe below)
1 recipe Baked Polenta (recipe below)
Parmesan cheese, grated (optional garnish)
Fresh basil, chiffonade/thinly sliced into ribbons (optional garnish - see photo below)

Preheat oven to 350 degrees. I baked Cynthia’s frozen raw meatballs on a sheet pan, alongside the polenta for the last 35 minutes of cooking. The meatballs were shaped on the smaller side, so make sure to test that your meatballs are cooked through by splitting one open. You could also simmer the meatballs in the tomato sauce, while the polenta is baking in the oven.

Spoon polenta into four shallow bowls. Top polenta with meatballs and tomato sauce. Sprinkle with grated parmesan and basil, if using.

Simple Tomato Sauce

Developed from here and here.

Notes: This is a simple sauce that can be made on the fly with items from your pantry. I like the sweet, subtle anise flavor of fresh basil in this sauce, but if you don’t have any in the house, substitute dried oregano, which will give it a more Italian-American flavor. Dried basil tends to have a flat, dusty flavor, so I prefer dried oregano.

Taking an extra minute to hand-crush canned whole tomatoes (as opposed to already crushed or diced tomatoes), will give your sauce better flavor. The best tomatoes go into cans of whole tomatoes, while the inferior tomatoes get diced up or crushed.

The onion in this recipe is used for flavor and then removed once the sauce is cooked. This leaves you with a rich tomato sauce infused with onion flavor and a nice texture. You can save the onions for something else (they would be delicious alongside pan-seared chicken or roasted meat), or serve them on the side.

1 28-ounce can whole San Marzano tomatoes
¼ cup extra-virgin olive oil or butter
4 garlic cloves, peeled and slivered
Pinch of crushed red pepper flakes (optional)
1 teaspoon kosher salt
1 medium onion, peeled and halved
1 large fresh basil sprig, or 1/4 teaspoon dried oregano, more to taste

Pour tomatoes into a large bowl and crush with your hands, and reserve.

Heat olive oil in a saucepan over medium heat. When it is hot, add garlic. Sauté until the garlic sizzles, but is not brown (see photo above - about 1 minute). Add the crushed tomatoes to the pan, along with the red pepper (if using), salt, onion, and large basil sprig.

Cook uncovered at a slow, but steady simmer for about 45 minutes. Stir occasionally, when you feel moved to do so.

Remove the onion and basil. Taste and correct for salt. Serve.

Baked Polenta

Notes: Baked Polenta takes more time than polenta made on a stove-top, but there is very little active time. Polenta made over the stove requires constant stirring for at least half an hour, while baked polenta cooks in the oven, freeing me up to fix a salad or wrangle with the kids (more likely). The results leave you with a piping hot bowl of creamy corn goodness.

This polenta would also be great topped with any saucy protein (like a meat stew), a fried egg and a side of sauteed greens, or some roasted vegetables.

4 cups (1 quart) low-sodium broth (any kind) or water
1 cup polenta, coarse ground cornmeal, or corn grits (not quick-cooking)
1 teaspoon kosher salt (if using unsalted broth or water)
1/4 teaspoon freshly ground black pepper
3 tablespoons butter
2 ounces Parmesan, grated (optional)

Preheat oven to 350 degrees F.

Butter an oven-safe 2 quart dish. (An 8"x8" pan works well too.)

Combine broth (or water and salt), polenta, and pepper in the buttered dish and stir. Bake uncovered for about 1 hour, stirring once or twice. Polenta is done when it is thick and creamy.

Remove from oven, and stir in the grated parmesan and butter. Serve.

Swedish Meatballs by Cynthia Raub

Print Friendly and PDF
swedish meatballs

My two daughters had preschool potlucks on consecutive days - one in the morning and one in the afternoon. What could I cook that would work for both mealtimes? I wanted to bring something that: I could cook in bulk, was not very costly, could be prepared in advance, and was easy for preschoolers and standing parents to eat. Swedish meatballs were perfect! They are bite-sized and dense, making them an easy to serve and eat finger food. Not to mention, they are a preschooler’s favorite color of food: brown (see: crackers, toast, peanut butter, chocolate…). To make things interesting, I decided to quadruple the recipe to have generous portions for the two preschool parties, enough to freeze for my family and a bag for Amy.

Notes: In this recipe, I decided to shallow fry the meatballs to keep their beautiful round shape intact. This method is not for everyone, or for every occasion, but I was happy with the results. Alternatively, you can bake the meatballs at 350 degrees for 18-24 minutes; either directly on a baking sheet/baking pan or on a wire rack, so the fat can drip down. There are pros and cons to shallow frying and baking, but a big pro of baking is that you can scrape the little fatty bits from the pan into the gravy to make it extra delicious!

Also, this recipe calls for sweated onions, but I decided to cook half of the onion and keep half of the onion raw. I liked how the cooked onion lent a small amount of sweetness in a bite, but I loved how the raw onion cut through the beef flavor. The allspice and nutmeg in this recipe were so subtle that I think these meatballs are highly adaptable to numerous uses and cuisines. The spices are traditional for Swedish meatballs, but the gravy is what made it so. One night, my husband threw a dozen frozen meatballs into a vegetable soup for dinner and the allspice and nutmeg were almost undetectable. Amy used them in a completely different way, too, in her Meatballs with Tomato Sauce and Polenta.


Time: 1 hour
Servings: 30 2 oz meatballs, around 6 portions
Adapted from: Alton Brown, Swedish Meatball Recipe

For the Meatballs
3 cups of cubed white bread, crusts removed
1/2 cup whole milk
2 tablespoons butter
1 cup finely chopped onion
1 tablespoon kosher salt (plus more to taste)
1.5 pounds ground beef (I used 92% lean and 8% fat)
1.5 pounds ground pork
3 large egg yolks
1 teaspoon black pepper
1/2 teaspoon ground allspice
1/2 teaspoon freshly grated nutmeg
8 oz canola oil

For the Gravy
3 tablespoons of unsalted butter
4 tablespoons all-purpose flour
2 cups chicken broth
Splash of Worcestershire or soy sauce
1/2 teaspoon lemon juice or apple cider vinegar
1/2 teaspoon white pepper
Parsley, finely chopped- optional for garnish
1/4 cup sour cream, optional, to finish the gravy

Place bread in a small bowl, pour milk over and mix, set aside.

Heat 2 tablespoons of butter in a pan over medium heat. Add half of the onion (1/2 cup) and sweat until the onions are translucent and soft. Remove onions from the pan and set aside to cool.

In a stand mixer bowl, combine the bread and milk mixture, ground beef, pork, egg yolks, 1 tablespoon of kosher salt, black pepper, allspice, nutmeg, raw onions, and cooked onions. Mix until very well combined and the meat has become sticky and homogenous. Using a 2-ounce cookie scoop, portion, and then roll each meatball with your hands and place on a sheet pan.

In a 12" straight edge saute pan, heat oil to 250 degrees. Add the meatballs in small batches and fry until golden brown on all sides, about 7 to 10 minutes. Remove the meatballs to cooling rack with a slotted spoon or tongs.

In a medium saucepan, melt remaining 3 tablespoons butter over medium-high heat until foamy. Whisk in flour and cook until raw flour smell is gone and the mixture is lightly browned, about 3 minutes. Slowly whisk in chicken stock and bring it to a boil. Once at a boil, lower the heat to a simmer and cook until thickened, about 3 minutes. Whisk in a splash of soy sauce (or Worcestershire) and acid. Season with salt and white pepper. If you are feeling sassy, stir in 1/4 cup of sour cream to give the gravy a beautiful creamy look and tangy flavor.

Add meatballs to gravy and stir to coat. Simmer until meatballs are heated through. Garnish with chopped parsley!
 

White Bean Soup with Wilted Greens by Cynthia Raub

Print Friendly and PDF
white bean soup

I love soup! I love lunch!!! The idea of a Soup and Salad lunch is lovely -- to eat a light meal during the day that won't weigh you down so you can continue to kick ass the rest of the day. I'm normally not that sensible, as my meal preferences skew towards heavy and regretful with a generous serving of guilt. Soups like this one, a White Bean Soup with Wilted Greens are deceptively delectable and satisfying despite its humble ingredients. Soups are easy and wholesome weeknight meals that transform into delicious leftovers for lunch the next day. Because I was so proud of myself for not starting this soup with browned sausage, I added the option of fried pancetta and pancetta-fat torn croutons at the end. Because as much as I love soup and lunch, I really REALLY love cured ham products and bread fried in oil. The soup alone is hearty and delicious; but when I prepared this for Amy and Christine, I felt compelled to finish it with additional optional garnishes to make it special.

Notes: I have made this soup numerous times and every time, it's a little different. This is the amazing thing about the forgiving nature of soups! I've made it with beans I have cooked, canned beans, water, chicken stock; I have added sausage, and most of the time I don't have a hard cheese rind to add- but it's always delicious despite the small changes! The acid at the end can also be changed to white wine vinegar or apple cider vinegar. This soup tends to thicken up as it sits. When reheating leftovers, add a splash of broth or water to thin out. To make this vegetarian, omit the pancetta croutons and perhaps make olive oil and garlic croutons instead. Additionally removing the parmesan and rind would make this recipe vegan.


READ MORE: THE SHARED LUNCH


Time: 55 minutes
Servings: 6 large meals, 8 smaller portions

White Bean Soup with Wilted Greens
8 tablespoons olive oil plus more for serving
1 cup onion (small dice)
1 cup celery (small dice)
1 cup carrot (large dice)
5 garlic cloves, minced
4 cups vegetable broth
1 teaspoon chopped fresh rosemary
2 fresh thyme sprigs
2 bay leaves
1/2 teaspoon crushed red pepper (optional)
2 (15-ounce) cans no-salt-added white beans (Great Northern, Cannellini or Navy beans all work here), rinsed and drained
1 (1 1/2-ounce) piece Parmigiano-Reggiano cheese rind (optional)
Kosher salt and pepper to taste
4 cups of greens (kale, escarole, or spinach)
Lemon juice to taste
Shaved fresh Parmesan cheese
1 tablespoon finely chopped rosemary for garnish

Pancetta Fat Torn Croutons
6 oz diced pancetta
1 sprig thyme (optional)
2 crushed garlic cloves (optional)
4 loose cups of a rustic bread (Ciabatta, Pugliese, etc.) torn into 1 inch pieces
Olive Oil
Salt

Tear 1 inch pieces of bread from a loaf of bread - about 4 loose cups, set aside.

Heat 2 tablespoons of olive oil in a large Dutch oven or stockpot over medium-high heat. Add onion and cook until translucent, about 4 minutes, stirring frequently. Add celery, carrots and garlic, and sweat for 2 minutes. Add vegetable broth, beans, herbs (except chopped rosemary), and cheese rind. Season with salt, pepper and crushed red pepper to taste. Bring to a boil, reduce heat, and simmer 10 minutes.

While the soup is simmering, sauté the pancetta, crushed garlic clove, and thyme sprig in 2 tablespoons of olive oil, until the fat is rendered and the pancetta is browned. Remove pancetta to a paper towel lined plate. Reserve fat, thyme and garlic in the pan.

Add 2 tablespoons of olive oil to the pancetta pan at medium-high heat. Add torn bread in a single layer to the pan. Toss the bread frequently, exposing all sides to the fat and heat, browning the bread until golden. Cooking the croutons may have to be done in batches, depending on the size of your pan. Add oil each time, enough to cover the bottom of the pan lightly, for every batch. Sprinkle croutons with kosher salt.

Add greens to the soup and simmer until the greens are wilted. Taste, adjusting salt and pepper to your palette, then finish with a squeeze of lemon juice for brightness. Remove and discard parmesan rind; ladle into a bowl, finish with a drizzle of nice olive oil, chopped rosemary, croutons and pancetta.

Recipe developed from:
30-minute Tuscan White Bean Soup
White Bean Soup with Escarole