Meat

Chicken Salad by Cynthia Raub

Print Friendly and PDF
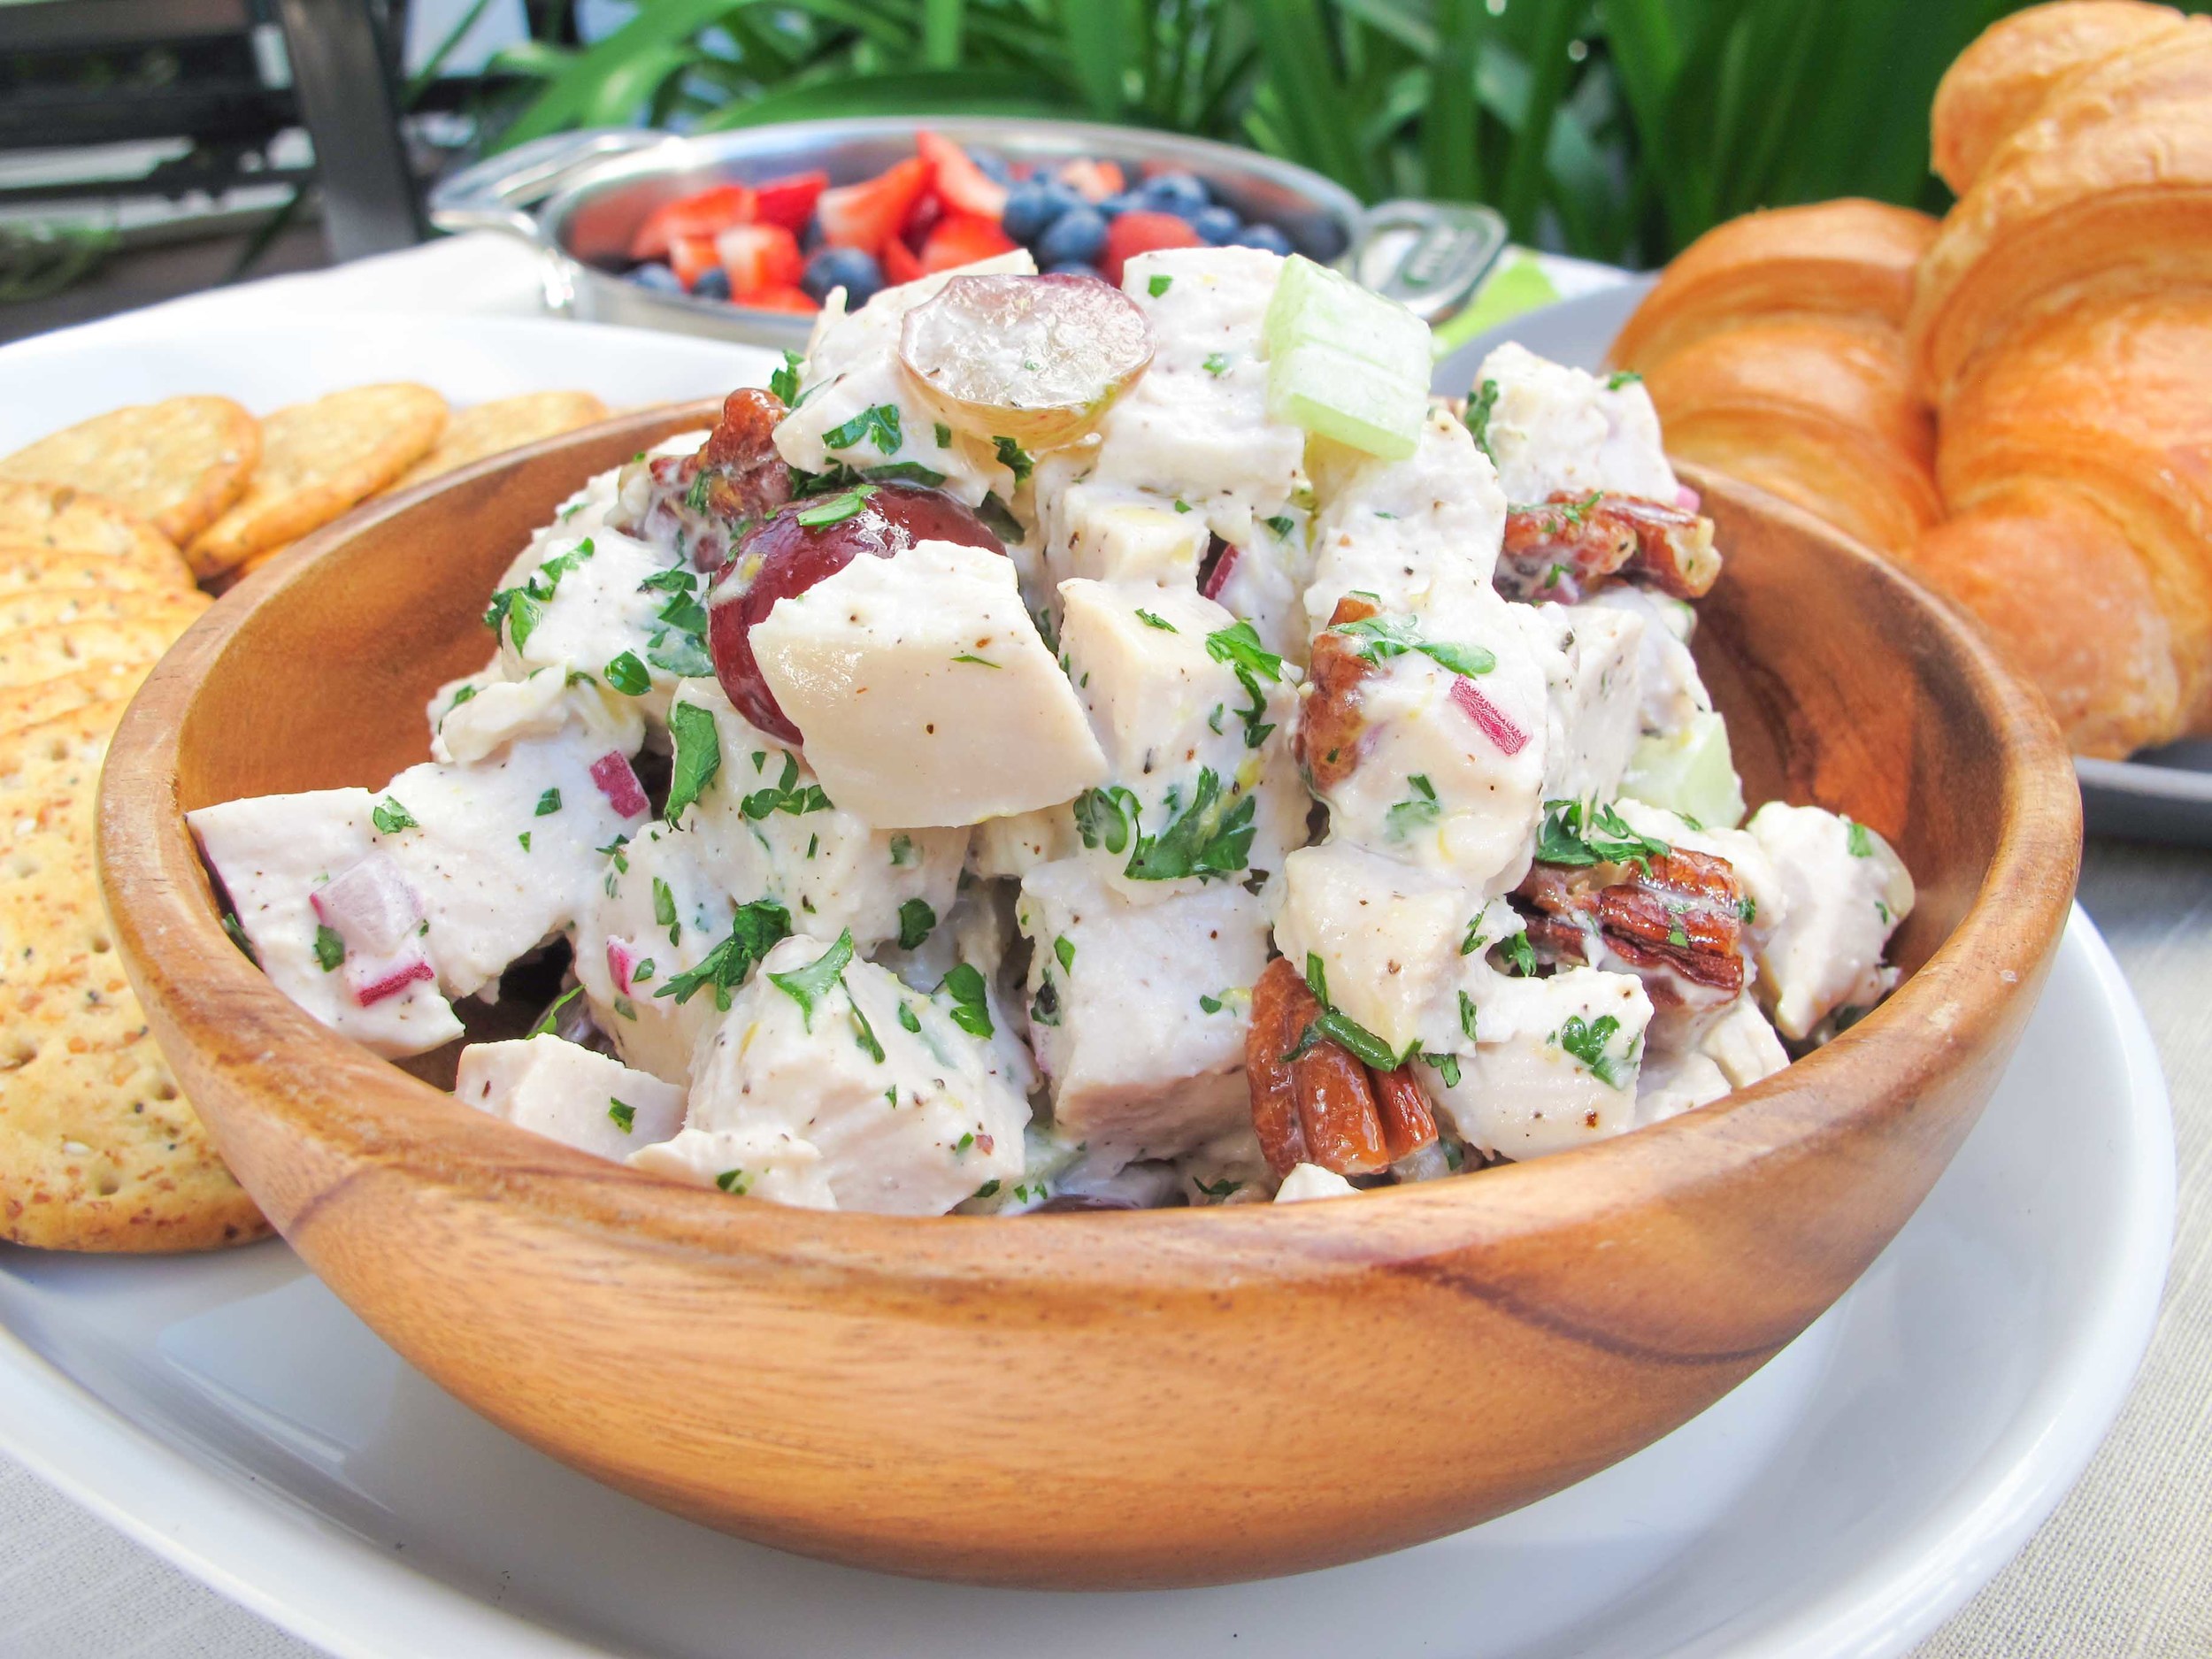
chicken salad recipe with croissants and crackers

Is there anything to dislike about chicken salad? Unless you are a vegetarian or vegan, or you don't care for mayonnaise (Amy . . . ), what is there not to love? Tender supple chicken accompanied by a crisp crunch of celery, a little sweetness from the fruit of choice, all brought together by a delicate mayonnaise dressing. Ahhh! Sounds like the perfect lunch or snack to me. I love sandwiches because they deliver the perfect bite and I especially have a thing for loosely filled sandwiches. I'm always looking for more recipes to make that keep well, and are easy to make larger quantities without much more work. This is one of those recipes and I promise it will be a crowd favorite, unless the crowd is vegetarian or hates mayonnaise (Amy . . . ).

Notes: This recipe requires a fair amount of chopping, but it comes together in a cinch. It involves very little to no cooking, depending on what chicken you choose to use. In a pinch, you can always shred chicken from a store-bought rotisserie bird or you can buy prepared chicken meat; however, I would strongly suggest you try the simple poaching method, (recipe below,) to get tender chicken and a delicious broth simultaneously with hardly any extra work. The grapes in this recipe can also be substituted with other fruit such as diced green apple or dried cranberries. I love chicken salad on a croissant because, why not? But, it's also a dream on sliced white bread, a simple roll, or on crackers.


Time: 20 minutes
Yield: 4 cups

1 tablespoon lemon zest
2 tablespoons lemon juice
1/2 cup mayo
1 1/2 teaspoon salt
1 teaspoon black pepper
1 teaspoon sugar
2 tablespoons chopped parsley
1/3 cup red onion, finely diced
1/2 cup toasted pecans, roughly chopped
3 cups (about 2 pounds) poached chicken, diced (Recipe Below)
1/2 cup celery, small dice
3/4 cups grapes, halved

In a small bowl, make the dressing by combining lemon zest, lemon juice, mayonnaise, salt, black pepper, sugar and parsley. Set aside.

In a large bowl, combine red onion, pecans, chicken, celery, and grapes. Pour dressing over chicken and stir to combine. Taste and adjust for seasoning. 

Serve as a sandwich on a roll, croissant or sliced bread; or with crackers as a light side or appetizer.

Poached Chicken

2 pounds chicken breast (about 3 moderately sized breasts)
1/2 carrot
1 celery rib
1/2 onion
10 parsley stems
1 teaspoon black peppercorns
1 tablespoon salt
Water

Place chicken in a large pot and cover with water by 1 inch. Scatter carrot, celery, onion, parsley stems and peppercorns on top. Season with salt. 

Turn heat to medium high and bring the pot to a simmer. Allow to simmer for 3 minutes, then turn off the heat and cover the pot with a tight fitting lid. Set aside and allow chicken to finish cooking in the hot liquid. Leave the chicken to cool in the pot, about 1 hour. 

Remove chicken and dice into 1/2 pieces. Strain liquid from vegetables for a beautiful and easy broth.
 

Chicken Shawarma by Cynthia Raub

Print Friendly and PDF

In college, my priorities were: being hopelessly aimless, Depeche Mode, and Ali Baba. I'd walk around campus with my first generation iPod and listen to Enjoy the Silence on repeat daydreaming that it was written for me. After class I would scurry down to Ali Baba, a small Mediterranean place on the edge of campus and order a chicken shawarma gyro. Chicken shawarma is often crisped and browned on its warmly spiced edges, all while juxtaposing and pairing perfectly with the sides it is served with. When a recipe for chicken shawarma was delivered to my inbox, I immediately needed to eat it. I turned on some Depeche Mode and threw some ingredients in a bag to marinate. Once it was done roasting, I shredded off a steaming piece and was briefly transported to the dearly departed memory of my 22 year old, ear-phoned, and aimless self. 

Notes: Shawarma is generally served with tomatoes, cucumbers, pita, tahini sauce, and rice or in a delicious gyro. We decided to make a fussy but worthwhile flatbread that mimicked pita. But this chicken is so versatile and easy that you could eat it on a shoe and be satisfied. 


Read More: The Shared Craving


Time: 10 minutes prep, 1-6 hours inactive, 30 minutes cooking
Yields: about 3 cups shredded chicken

2 lemons, juiced
½ cup plus 1 tablespoon olive oil
6 cloves garlic, peeled, smashed and minced
1 tablespoon kosher salt
2 teaspoons freshly ground black pepper
2 teaspoons ground cumin
2 teaspoons paprika
½ teaspoon turmeric
 A pinch ground cinnamon
 Red pepper flakes, to taste
2 pounds boneless, skinless chicken thighs
1 large red onion, peeled and quartered
2 tablespoons chopped fresh parsley

Combine lemon juice, olive oil, garlic, salt, pepper, cumin, paprika, turmeric, cinnamon and red pepper flakes in a sturdy gallon freezer bag. Add the chicken and onion, seal the bag, and massage chicken with the marinade. Refrigerate for at least and hour, or up to 12. 

Preheat oven to 425 degrees. Arrange chicken and onion evenly on rimmed baking pan. Roast chicken for 25-35 minutes until cooked through and browned on the edges. Allow chicken to rest for a couple of minutes before slicing thin in 1/4" strips. 

Optional: To further crisp the chicken, toss the thinly sliced chicken back onto the used sheet pan, drizzle with oil, and roast for 2-3 more minutes until crisp. 

Adapted from: NYT Cooking

Katsudon by Cynthia Raub

Print Friendly and PDF

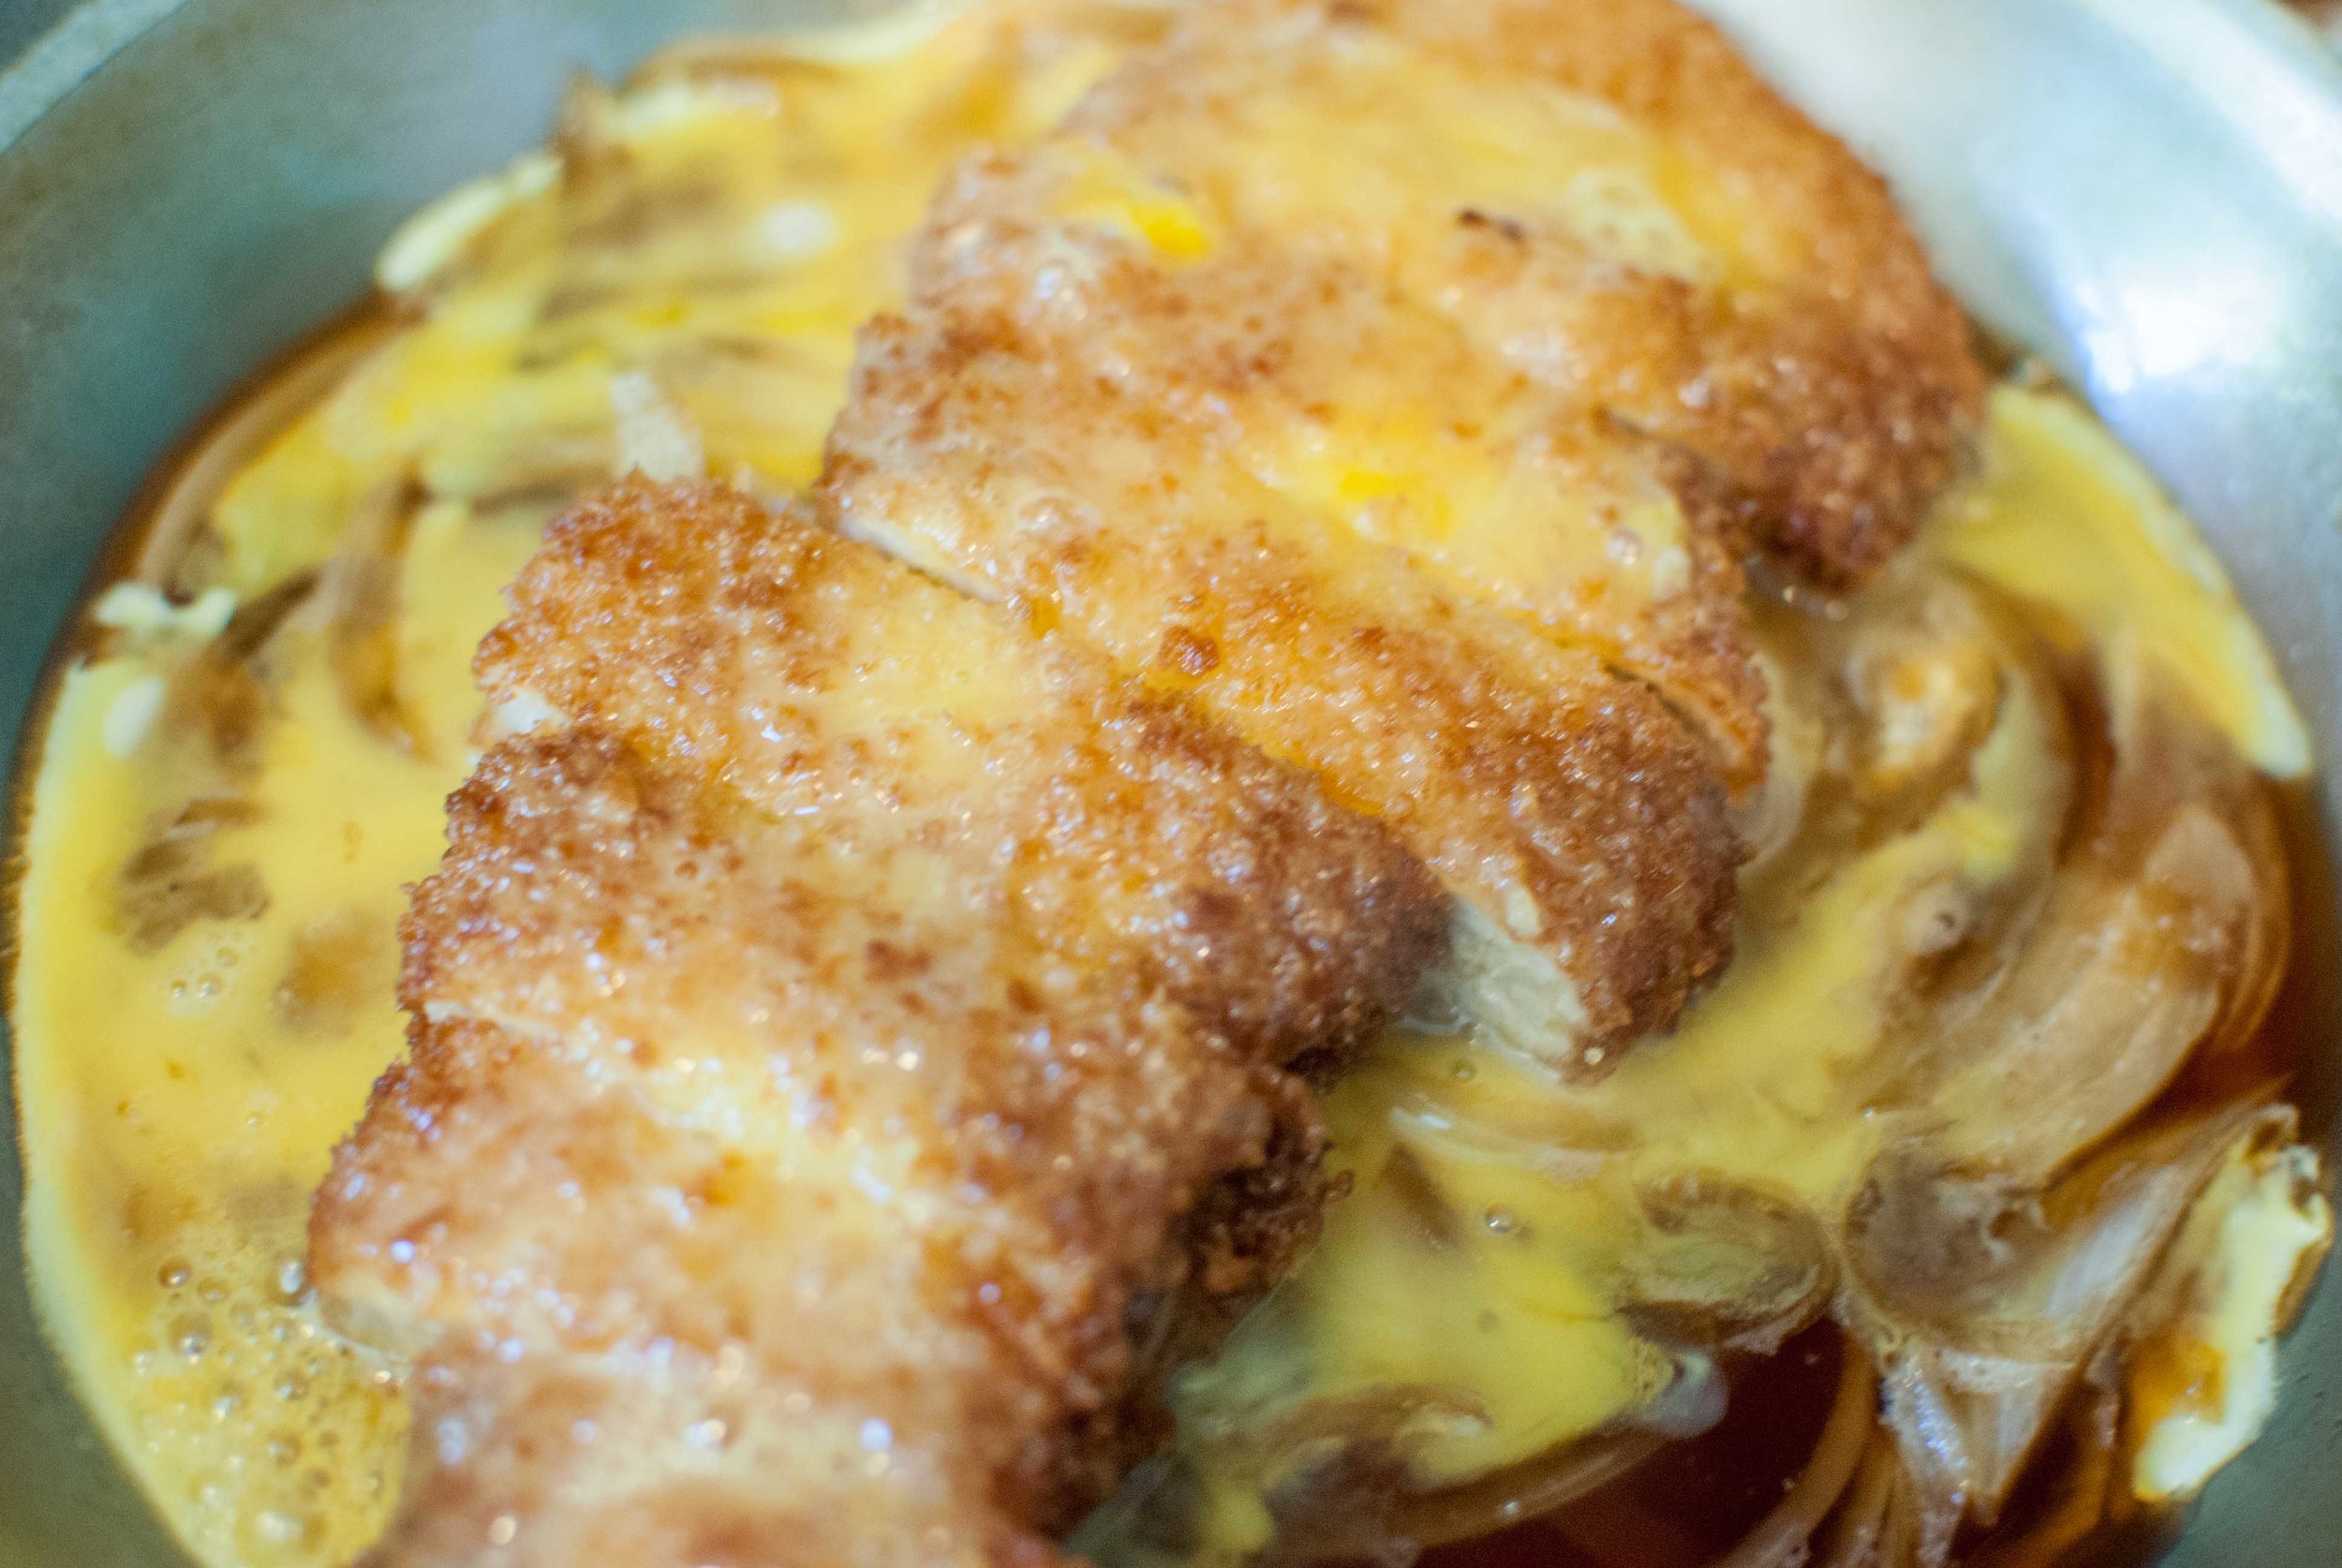
Katsudon is leftover sliced tonkatsu, which is quickly stewed in a sweet-salty broth, with softened onions and bound together with nature's finest: an egg. Once this beautiful mixture is finished cooking, you slip it over a bowl of steaming hot rice. Then you either: 1) pump your fist in excitement, 2) cry a thousand tears into your shirt because "It's so wonderful!", 3) hope no one else smells it so you don't have to share a bite or 4) all of the above. If you have leftover tonkatsu, this comes together quickly and easily. If you don't have any leftover tonkatsu, it's worth an entire batch just to make this dish. 

Notes: Katsudon is generally made from leftover tonkatsu so I wrote this recipe as a serving for one. I don't know why there would be ANY leftover tonkatsu, let alone MULTIPLE leftover servings. It's unfathomable to me and this recipe reflects that. This recipe is easy to scale up and you can do multiple servings in large pans, so don't be dismayed by the serving size. There is enough soy sauce in the recipe to season the sauce, which is why I have not included salt. I used low sodium soy sauce, and I didn't think any more salt was necessary.


Time: 12 minutes
Serves: 1

1/2 cup water (or stock)
3 scant tablespoons soy sauce
1 tablespoon mirin or sake
1 heaping tablespoon sugar
1/2 cup thinly sliced yellow or brown onion
1 portion of tonkatsu, sliced
1 egg, beaten
1 cup white rice
Green onion as garnish

In a small pan, combine water, soy sauce, mirin, sugar and onions. Over medium high heat, cook for 4-6 minutes, shaking the pan occasionally, until onions are soft and the liquid has reduced by 1/3. Add tonkatsu to the sauce and onion mixture. Pour beaten egg over pork and onions and cover the pan to cook the egg through - about 1 minute. Once the egg is cooked through, slip the contents of the pan onto a bowl of rice. Garnish with green onion and serve with Togarashi (Japanese seasoned chili powder). 

Tonkatsu (Japanese Fried Pork Cutlet) by Cynthia Raub

Print Friendly and PDF

Tonkatsu is a western-influenced Japanese dish that most would consider as comfort food. Similar to German wiener schnitzel, it is merely fried pork cutlets with a crumb coating. Tonkatsu is traditionally served over thinly sliced green cabbage with a side of hot yellow mustard and tonkatsu sauce, a fruit and vegetable based sauce (similar to a thickened and sweet Worcestershire sauce). Home-frying might be daunting, but I assure you that this recipe is not. Crank up your vent, prepare a few extra dishes for the dredging process, and make sure you have a handful of paper towels available. 

My mom makes this at home when she is feeding a group of people - it is inexpensive, delicious and easy. She will send leftovers home with me, which we will rewarm in the oven, (or just eat cold,) and it's one of the dishes that initially inspired me to share meals with the people I care about.

Notes: The three-step dredging process is crucial for this recipe and type of frying. Your diligence will result in tremendously flavorful and moist fried pork cutlets. This is a messy process, but it yields great results. If you don't like your fingers to get sticky, you can use tongs to grasp the pork while you coat the chops. BUT! Cooking is supposed to be a little messy and not to mention, you have more control when you use your hands. You can also substitute chicken (skinless, boneless, filleted thigh meat) for the pork, which will give you chicken katsu. I prefer a shallow fry for this dish because it's easier to clean up and just as effective as deep frying. The pork is thin and cooks quickly, so deep frying is not necessary to save time in this instance. If you happen to have any leftover tonkatsu, have your hand at Katsudon: an incredible remix of an already delicious dish.


Time: 40 minutes
Serves: 4

1 1/2 lbs pork loin chops, 3/4"-1" thick
1/2 cup flour
2 eggs, beaten
3/4 cup panko bread crumbs
Kosher salt, divided
Fresh ground black pepper
Vegetable oil

Depending on the size of your pork loin chops, place 2-4 in a gallon freezer bag and close halfway. On a sturdy and flat surface, pound the pork loin chops into 1/2" thick cutlets.

Prepare three shallow dishes for the dredging process. In the first dish, combine 1/2 cup flour and 1/2 teaspoon kosher salt. In the second dish, beat eggs with 1/2 teaspoon kosher salt and 1/4 teaspoon freshly ground black pepper. In the third dish, combine panko breadcrumbs and 1/2 teaspoon kosher salt.

Season pork lightly with salt and pepper. Taking the first cutlet, dredge it in the seasoned flour - coating all sides evenly. Once the pork is coated in flour, carefully dip it into the beaten egg mixture, coating the flour evenly with the egg. Then quickly dredge the flour and egg covered pork into the breadcrumbs for its final seasoning. Pat the pork slightly to make sure all of the breadcrumbs are adhered to the pork. Set aside on a large plate, and continue the process with the remaining pork.

Fill a medium to large skillet (with high, straight sides) with 1/2" vegetable oil. Turn heat to medium and allow the pan and oil to heat through about 3 minutes. Meanwhile, prepare a large plate or cooling rack with two layers of paper towels (to absorb oil from the fried pork).

Once the oil is heated through, place a pork chop into the oil, carefully releasing it away from yourself to avoid splashing oil. If there is enough room in your pan, you can cook multiple pork cutlets simultaneously. Just be sure not to crowd the pan and that each pork cutlet is evenly submerged in the oil.

Fry the pork until the first side is golden brown about 2 minutes. Flip the pork over and continue to cook until golden brown and cooked through - about another 2-3 minutes. Remove the pork from the cooking oil and place it on the paper towels to drain. Continue cooking the remaining pork in the same fashion. Slice into 1/2" strips and enjoy!

Serve with: steamed rice, thinly sliced cabbage, tonkatsu sauce

Mediterranean Turkey Burger by Cynthia Raub

Print Friendly and PDF

When Amy delivered her second baby almost two years ago, (?! Sniff!), I was in the throes of an obsession with burger patties. Lamb burgers, black bean burgers, salmon burgers, turkey burgers - I loved them all and made them with fierce frequency. A few days after she delivered her beautiful (and huge) bundle of sweetness, I brought these turkey burgers over for her family, with a side salad and dessert. She was the first mama I knew who delivered a baby after I had my own, and it was the first newborn meal I ever gifted. I think back to that day, and I think that's when the spark for intentionally sharing food with frequency began for me. She was grateful as the burden of preparing dinner was lifted, and I was so happy to help in that small way. Since then, I have brought new mamas meals like Harissa Grilled Pork Loin Chops and Swiss Chard and Leek Crostata, but these turkey burgers have a special place in my heart . . . and stomach. I still make them often because they are easy to prepare, delicious, and perfect for sharing with others. These are also a fantastic option for holiday barbecues and parties for anyone looking for a (seemingly) healthier burger!

Notes: Most beef burger recipes will recommend to work the ground meat mixture as little as possible so that the patty remains tender and loose. Because of all of the additional ingredients in this patty, I recommend a through mixing of the ingredients so that the patty is solid and does not fall apart during cooking or eating! These are perfect for preparing in a large batch and freezing for future meals. It's an easy recipe to scale up, and it takes just a little more time to form the extra patties. They are even delicious as meatballs and cooked in tomato sauce!


Time: 25 minutes
Yield: 5-7 patties

1.5 lbs ground turkey
1/2 cup (about 8 ounces) chopped frozen spinach, thawed and drained
1/3 cup crumbled feta
1/3 cup sun-dried tomatoes in olive oil, chopped
1 teaspoon kosher salt
1 teaspoon black pepper
1 teaspoon oregano
1 teaspoon paprika
2 tablespoons olive oil

In a medium microwave safe bowl, thaw frozen chopped spinach by covering the bowl with plastic wrap and nuking for 1 minute on 80% power. Spinach should be warm and thawed. Scatter spinach on a clean kitchen towel (or several layers of quality paper towels) to absorb the water. Gather the edges of the towel and wring out the liquid, drying completely. Loosen spinach into small pieces.

In a large bowl, combine turkey, spinach, feta, sun dried tomatoes, kosher salt, black pepper, oregano, paprika and olive oil. Mix ingredients with clean hands, distributing all of the ingredients throughly.

Depending on the size of your buns, use a 1/3 or 1/2 cup measuring cup to portion out patties. Scoop mixture into your hands and flatten to make a patty, smoothing out the rough edges. Create a shallow indention in the center of your patties, as the center tends to expand while cooking.

To cook: Heat a griddle, grill pan, or cast iron pan on medium-high and add enough neutral oil to coat the bottom of the pan. Once the oil begins to shimmer, carefully lay patties onto the pan, to avoid splattering oil. Don't crowd the pan! Crowding the pan will result in steamed and pale-looking patties. To avoid overcooking, brown the patty on the first side until cooked 2/3 of the way through, about 3-4 minutes. Flip over and finish cooking on the second side, about 2 minutes.

Serving suggestion: whole wheat hamburger buns, sliced tomato, lettuce, mayonnaise

Pork and Broccolini Sandwich by Cynthia Raub

Print Friendly and PDF

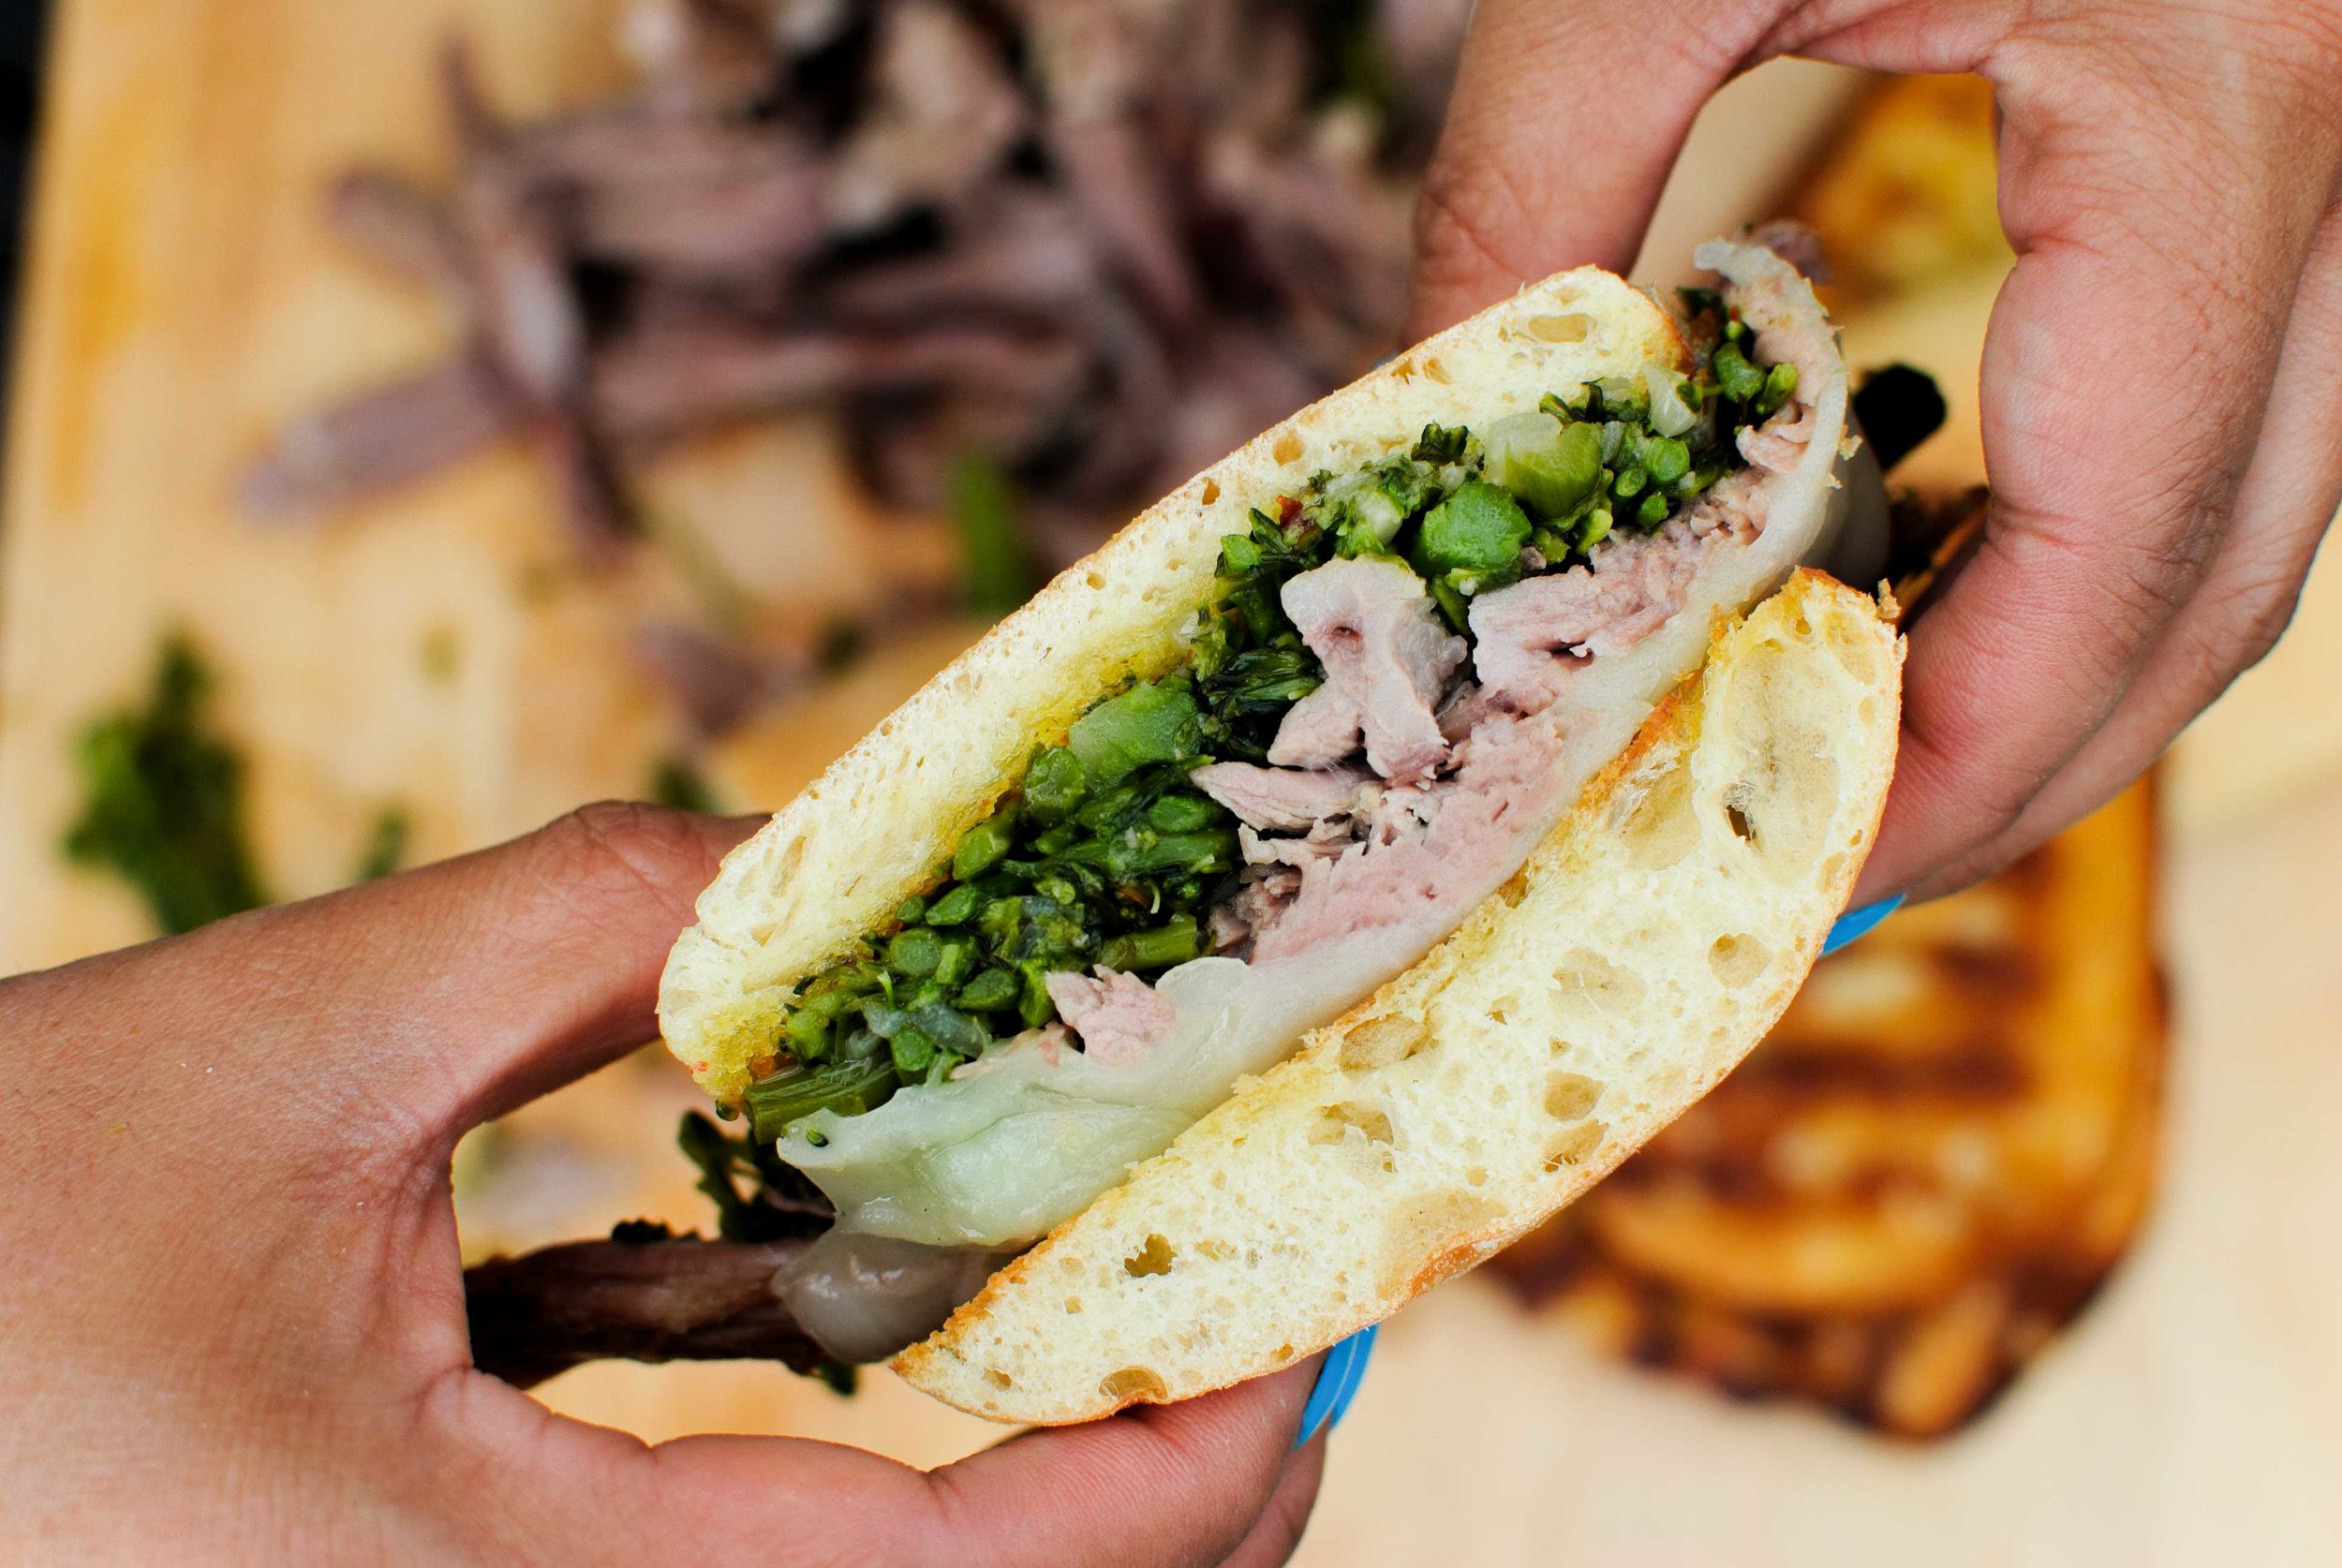
A pork shoulder roast is a gift that keeps on giving. Its meaty girth, gristle, and crisp skin provides a generous and impressive roast, without breaking the bank, which is perfect for a large group. Or, you can make one for your family and reserve the leftover meat for future meals! Amy gifted me with an enormous chunk of her roast and I wanted to do something different from my typical uses of leftover pork. I normally default to pulled pork sandwiches or use it as a taco filling, but somewhere in the depths of my memory, I recalled a pork sandwich I had at Salumi in Seattle eons ago as inspiration. The earthy and tender broccolini, with luscious and slightly crisped pork on a toasted roll, was held together by melted provolone. This decadent sandwich is my new favorite way to enjoy leftover pork shoulder.

Notes: This sandwich is pretty straightforward with few ingredients, so it's important that each component is the best that is can be. A substantial sandwich roll is crucial to a sandwich like this - a ciabatta or torta roll with good structure will not fall apart under the cooked down broccolini and loose pork. I loved the variations in texture that the broccolini had: from the firmer stems to the soft cooked heads, but I can see other greens used as a substitute. If you don't care for broccolini, I would recommend green swiss chard with stems and leaves.


Time: 20 minutes
Servings: 4

For the broccolini
2 bunches broccolini
2 tablespoons olive oil
1 teaspoon red pepper flakes
4 cloves garlic, sliced
2 shallots, sliced
1 teaspoon kosher salt
1 tablespoon lemon juice

For the sandwich
4 sandwich ciabatta rolls
4 tablespoons olive oil, divided
1 1/3 cups pork shoulder (pulled or sliced)
4 slices provolone

Preparing the broccolini
Make an ice bath to cool the broccolini, by filling a large bowl with water and ice. In a large sauté pan, fill halfway with water and bring to a boil on high heat. Trim the ends of the broccolini stems, about 1 inch. Cut the broccolini in half, place in boiling water, and cook for 2 minutes until barely cooked through.

Drain the broccolini, and put it in the ice bath to halt cooking. Drain cooled broccolini and set aside.

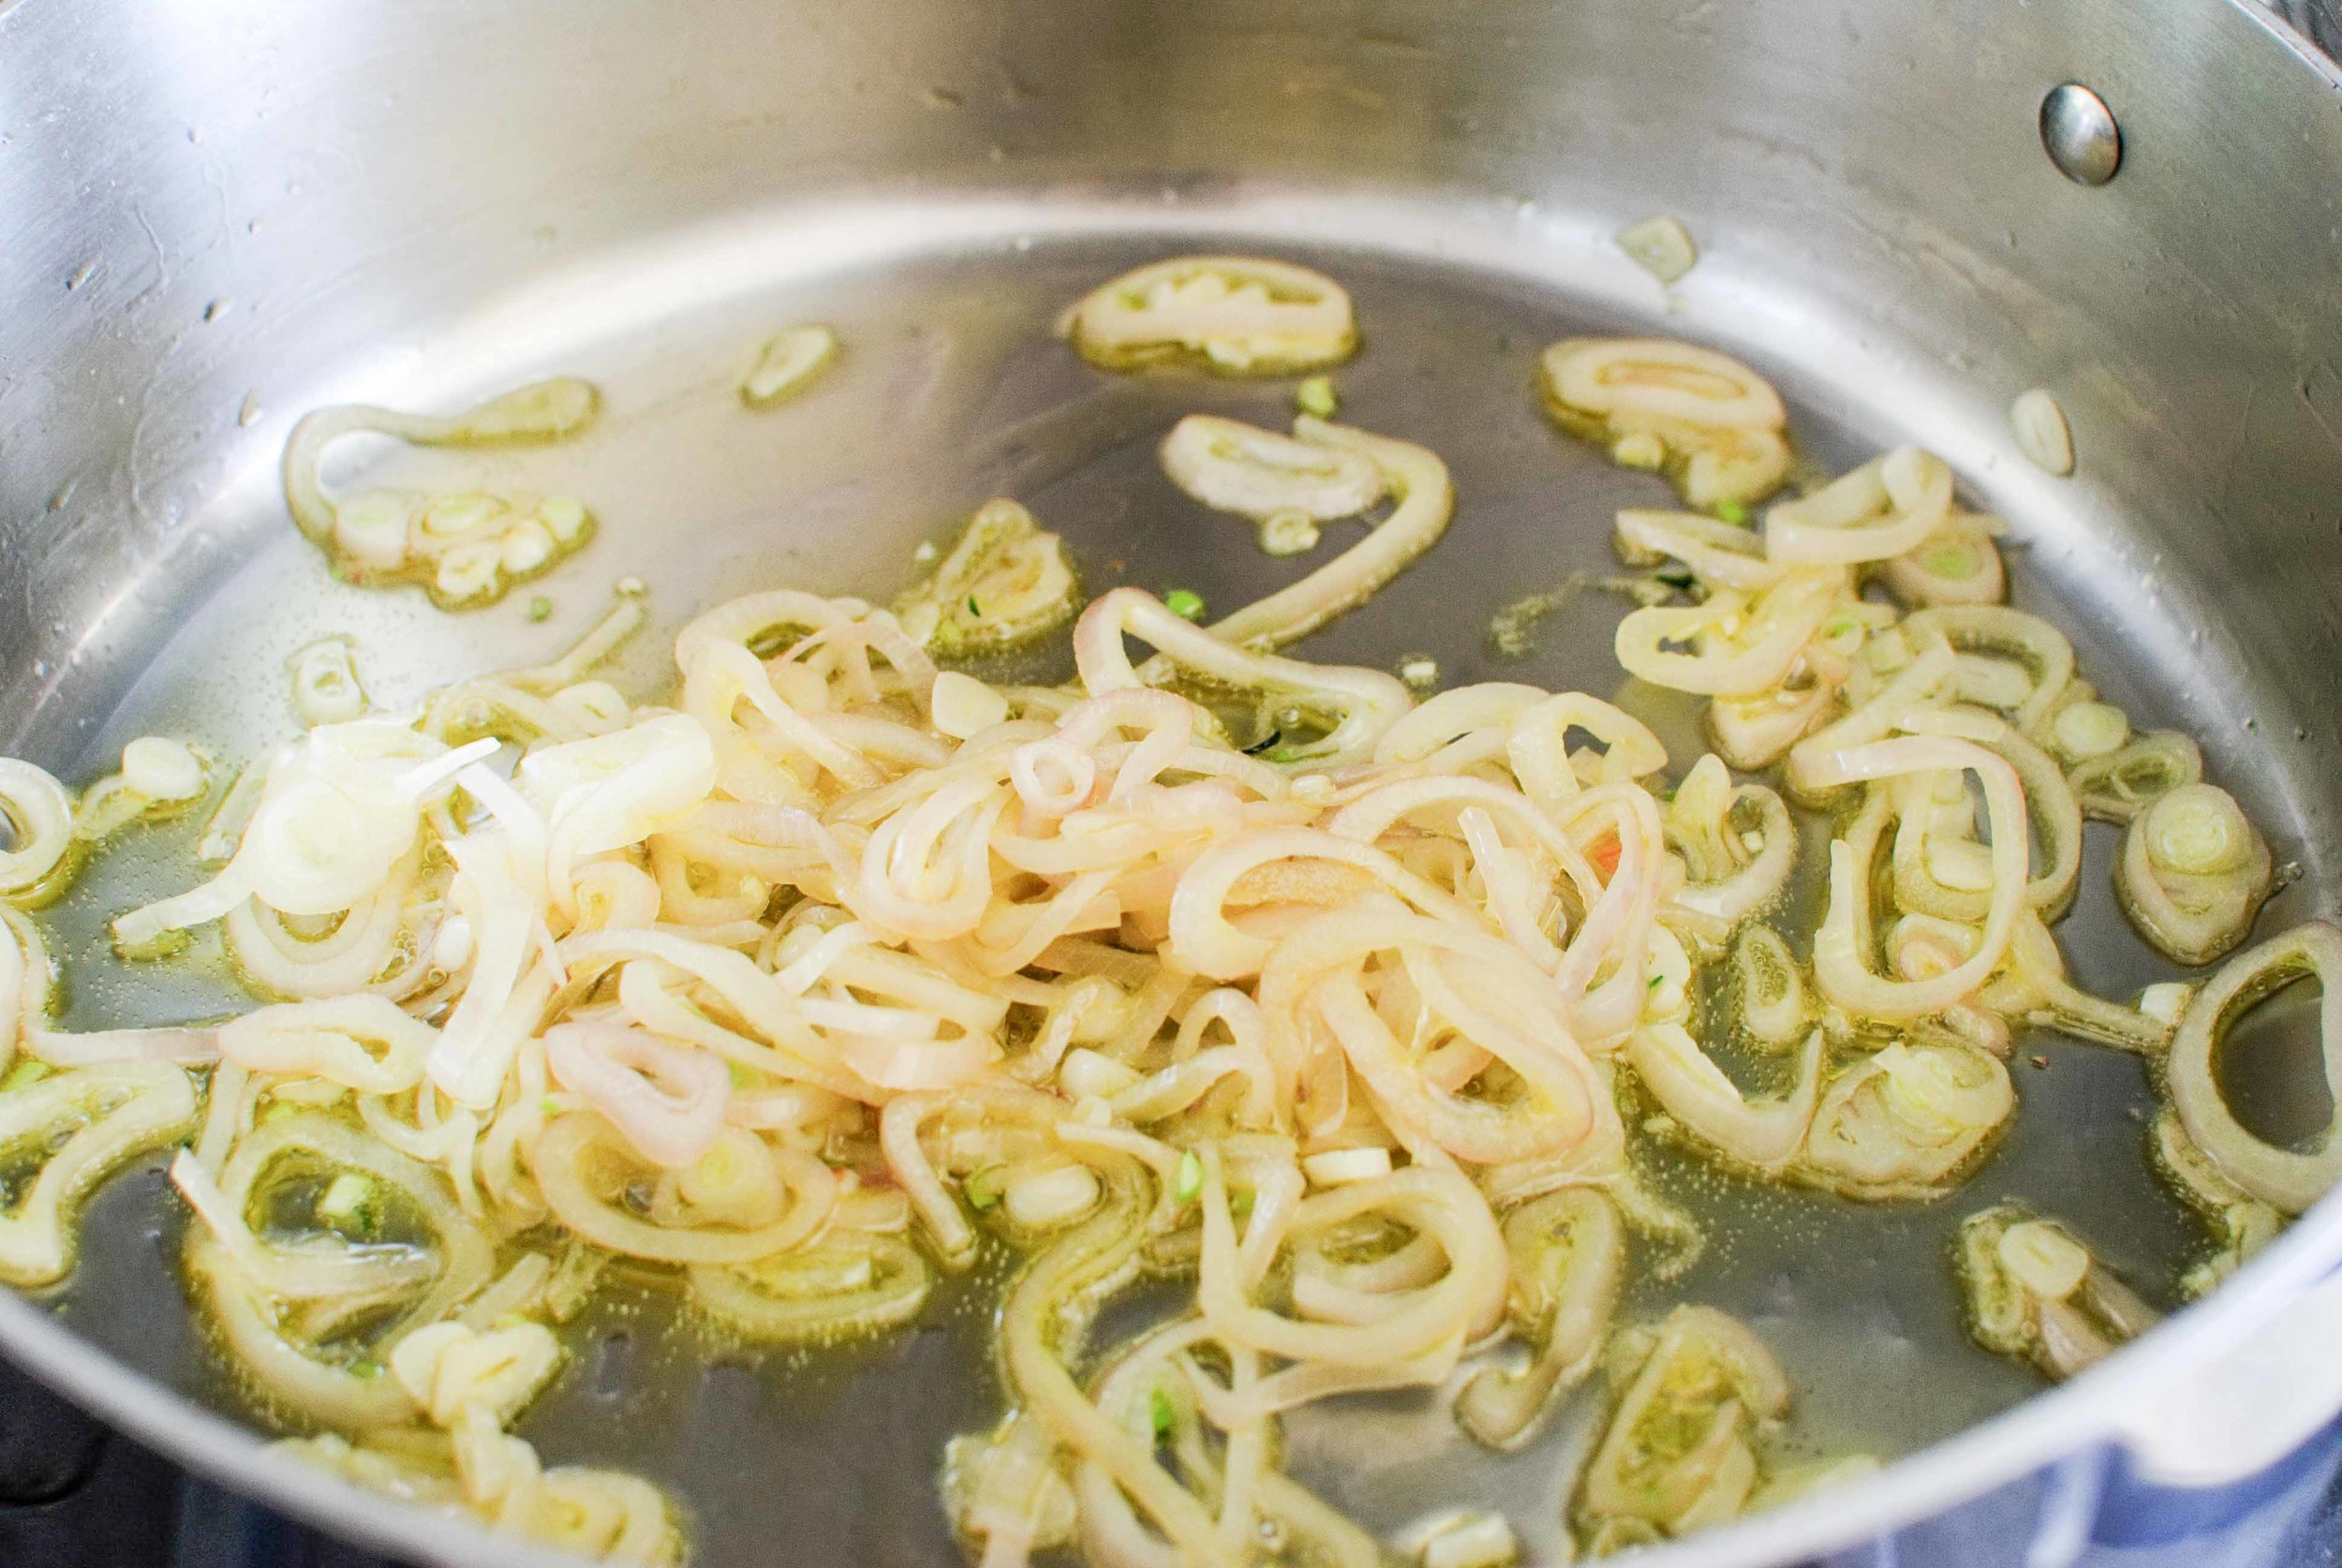
In the same sauté pan, heat 2 tablespoons of olive oil on medium heat. Add red pepper flakes, sliced garlic, and shallot rings- sweat until translucent and tender but not falling apart.

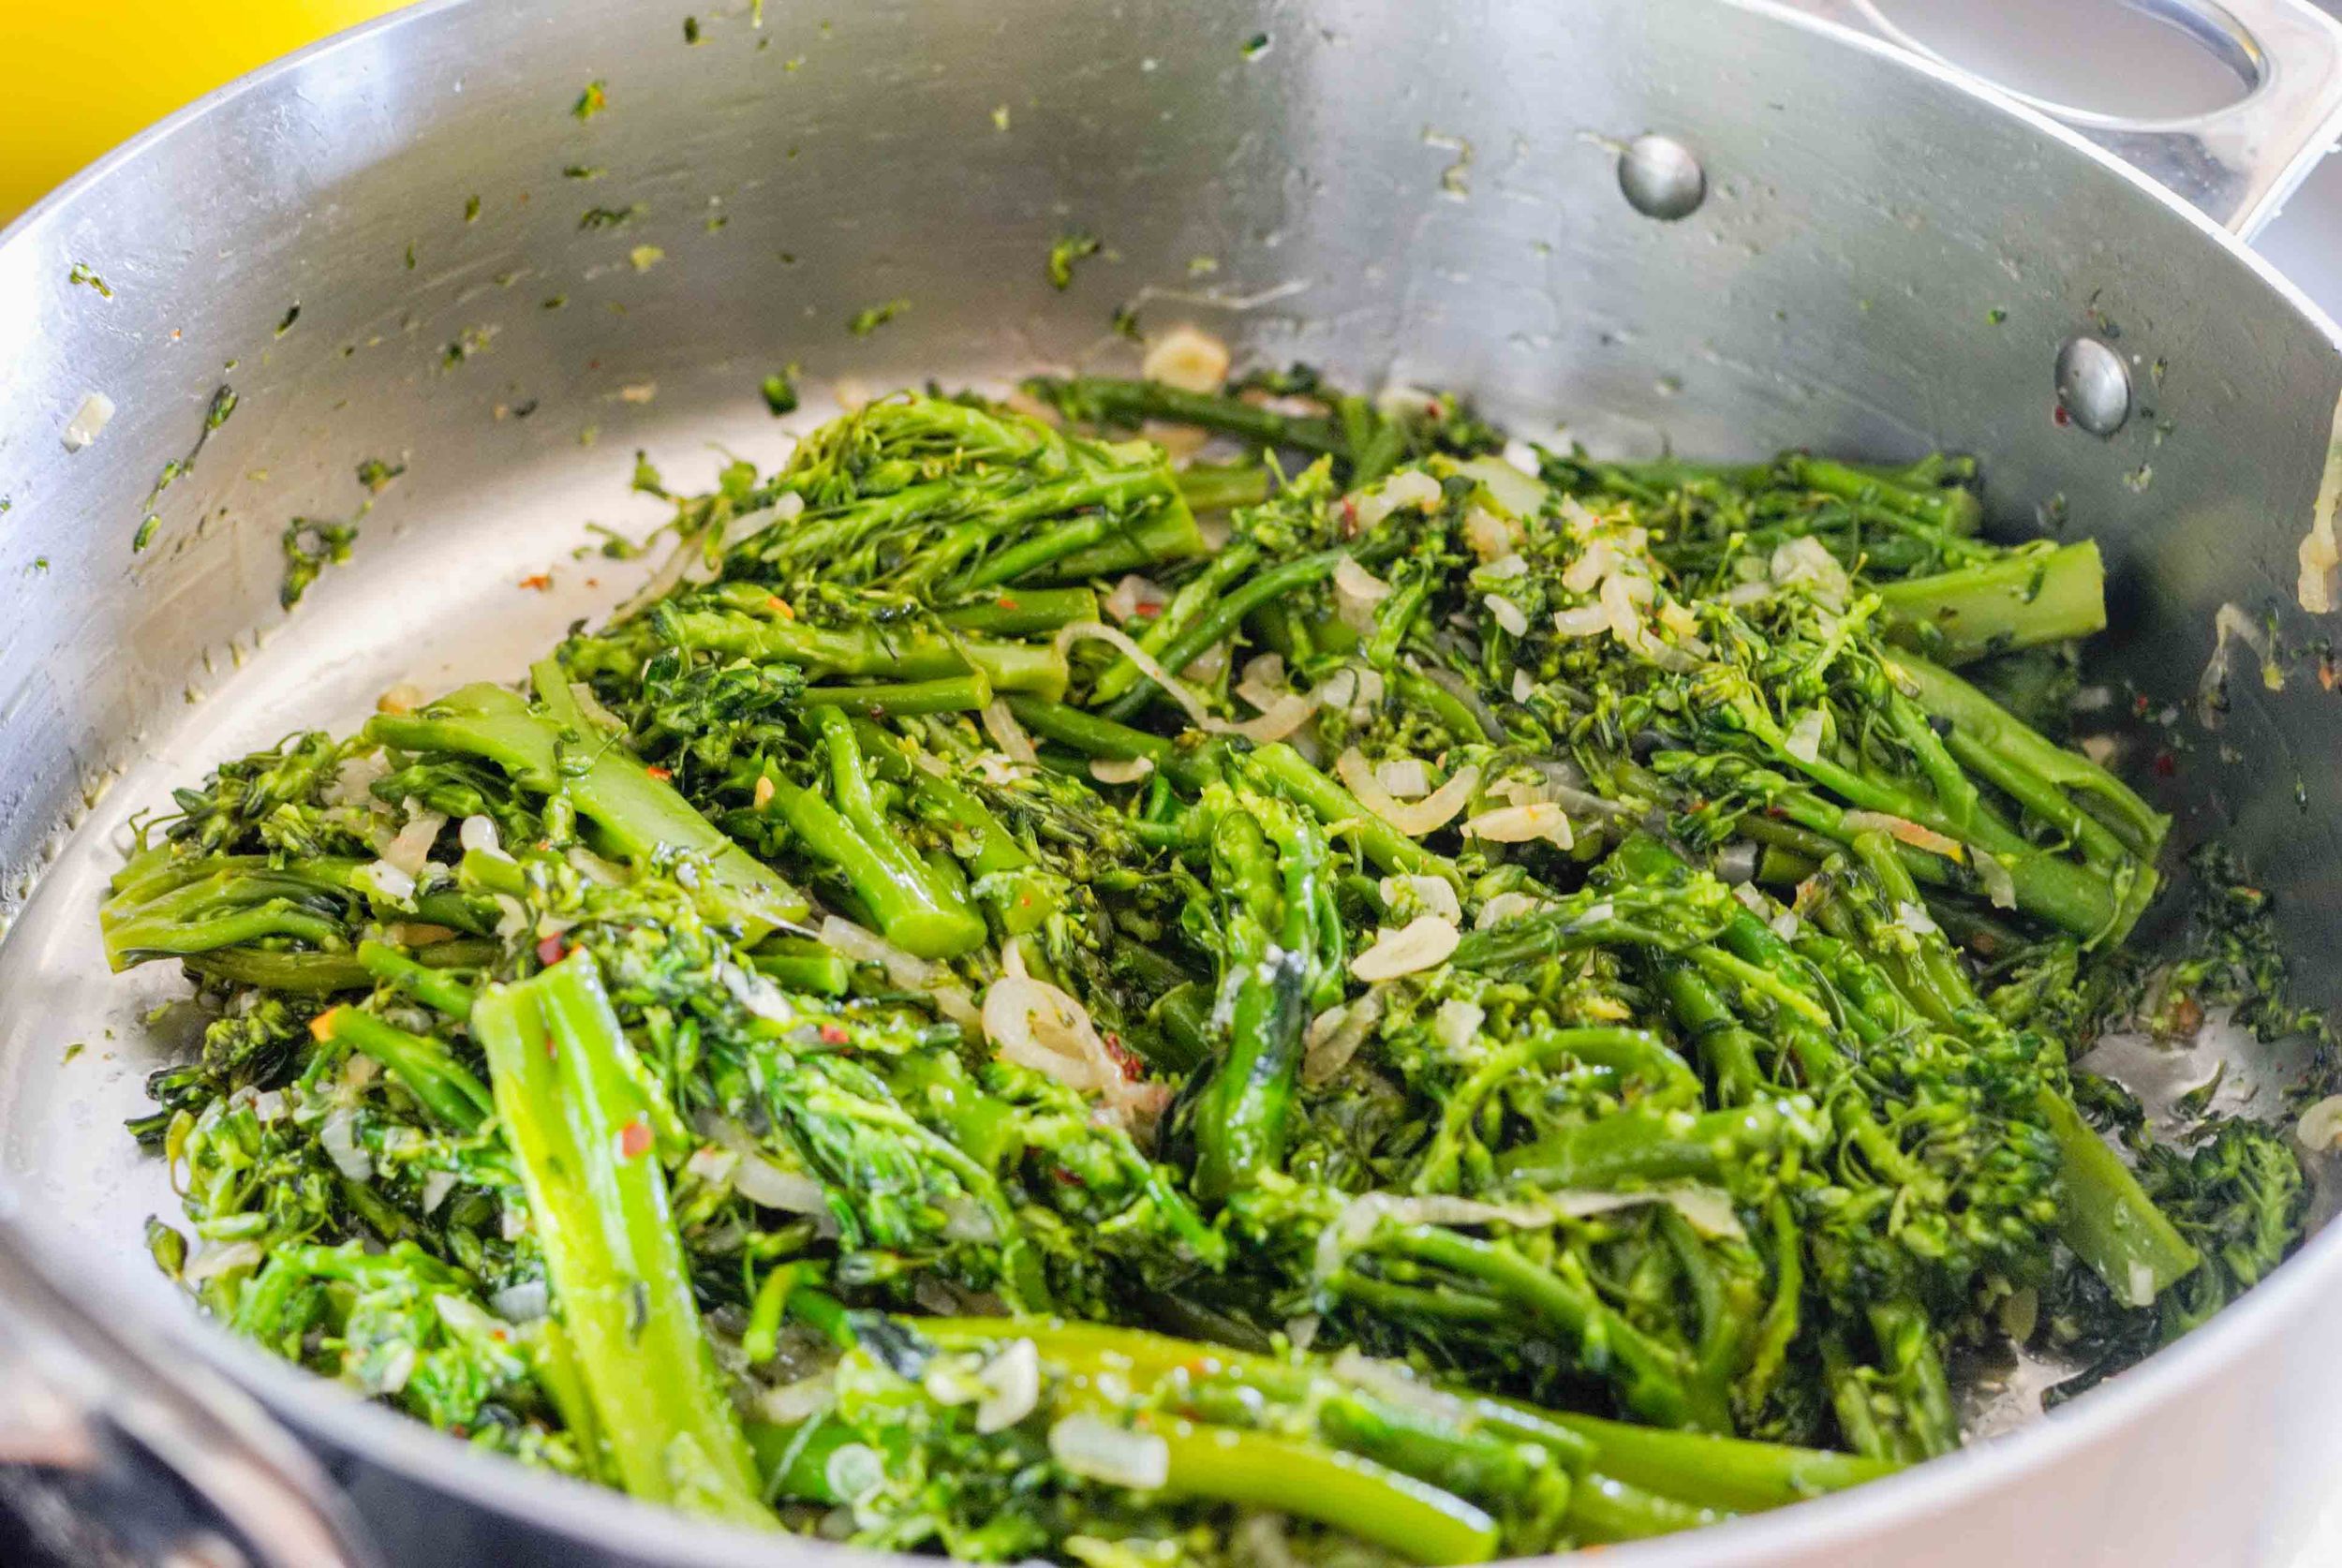
Add the broccolini and stir to combine. Cook on medium heat for 5-7 minutes, stirring occasionally, until tender and soft. Season with salt, and taste to adjust seasoning. Squeeze 1 tablespoon lemon juice on top of the broccolini to finish.

Assembling the sandwich
Slice sandwich rolls in half, drizzle with olive oil and, and toast until golden on a griddle or skillet. Set aside.

Drizzle skillet with remaining olive oil, and warm pork through, until some edges are brown and crisp.

Assemble sandwich by spooning broccolini on the bottom slice, then topping it with the supple and crisp pork. Place a slice of provolone on the pork and place under the broiler in your oven, until the cheese is melted. Devour immediately.

Slow-Roasted Pork with Crunchy Skin and Chimichurri Sauce by Amy Cantu

Print Friendly and PDF

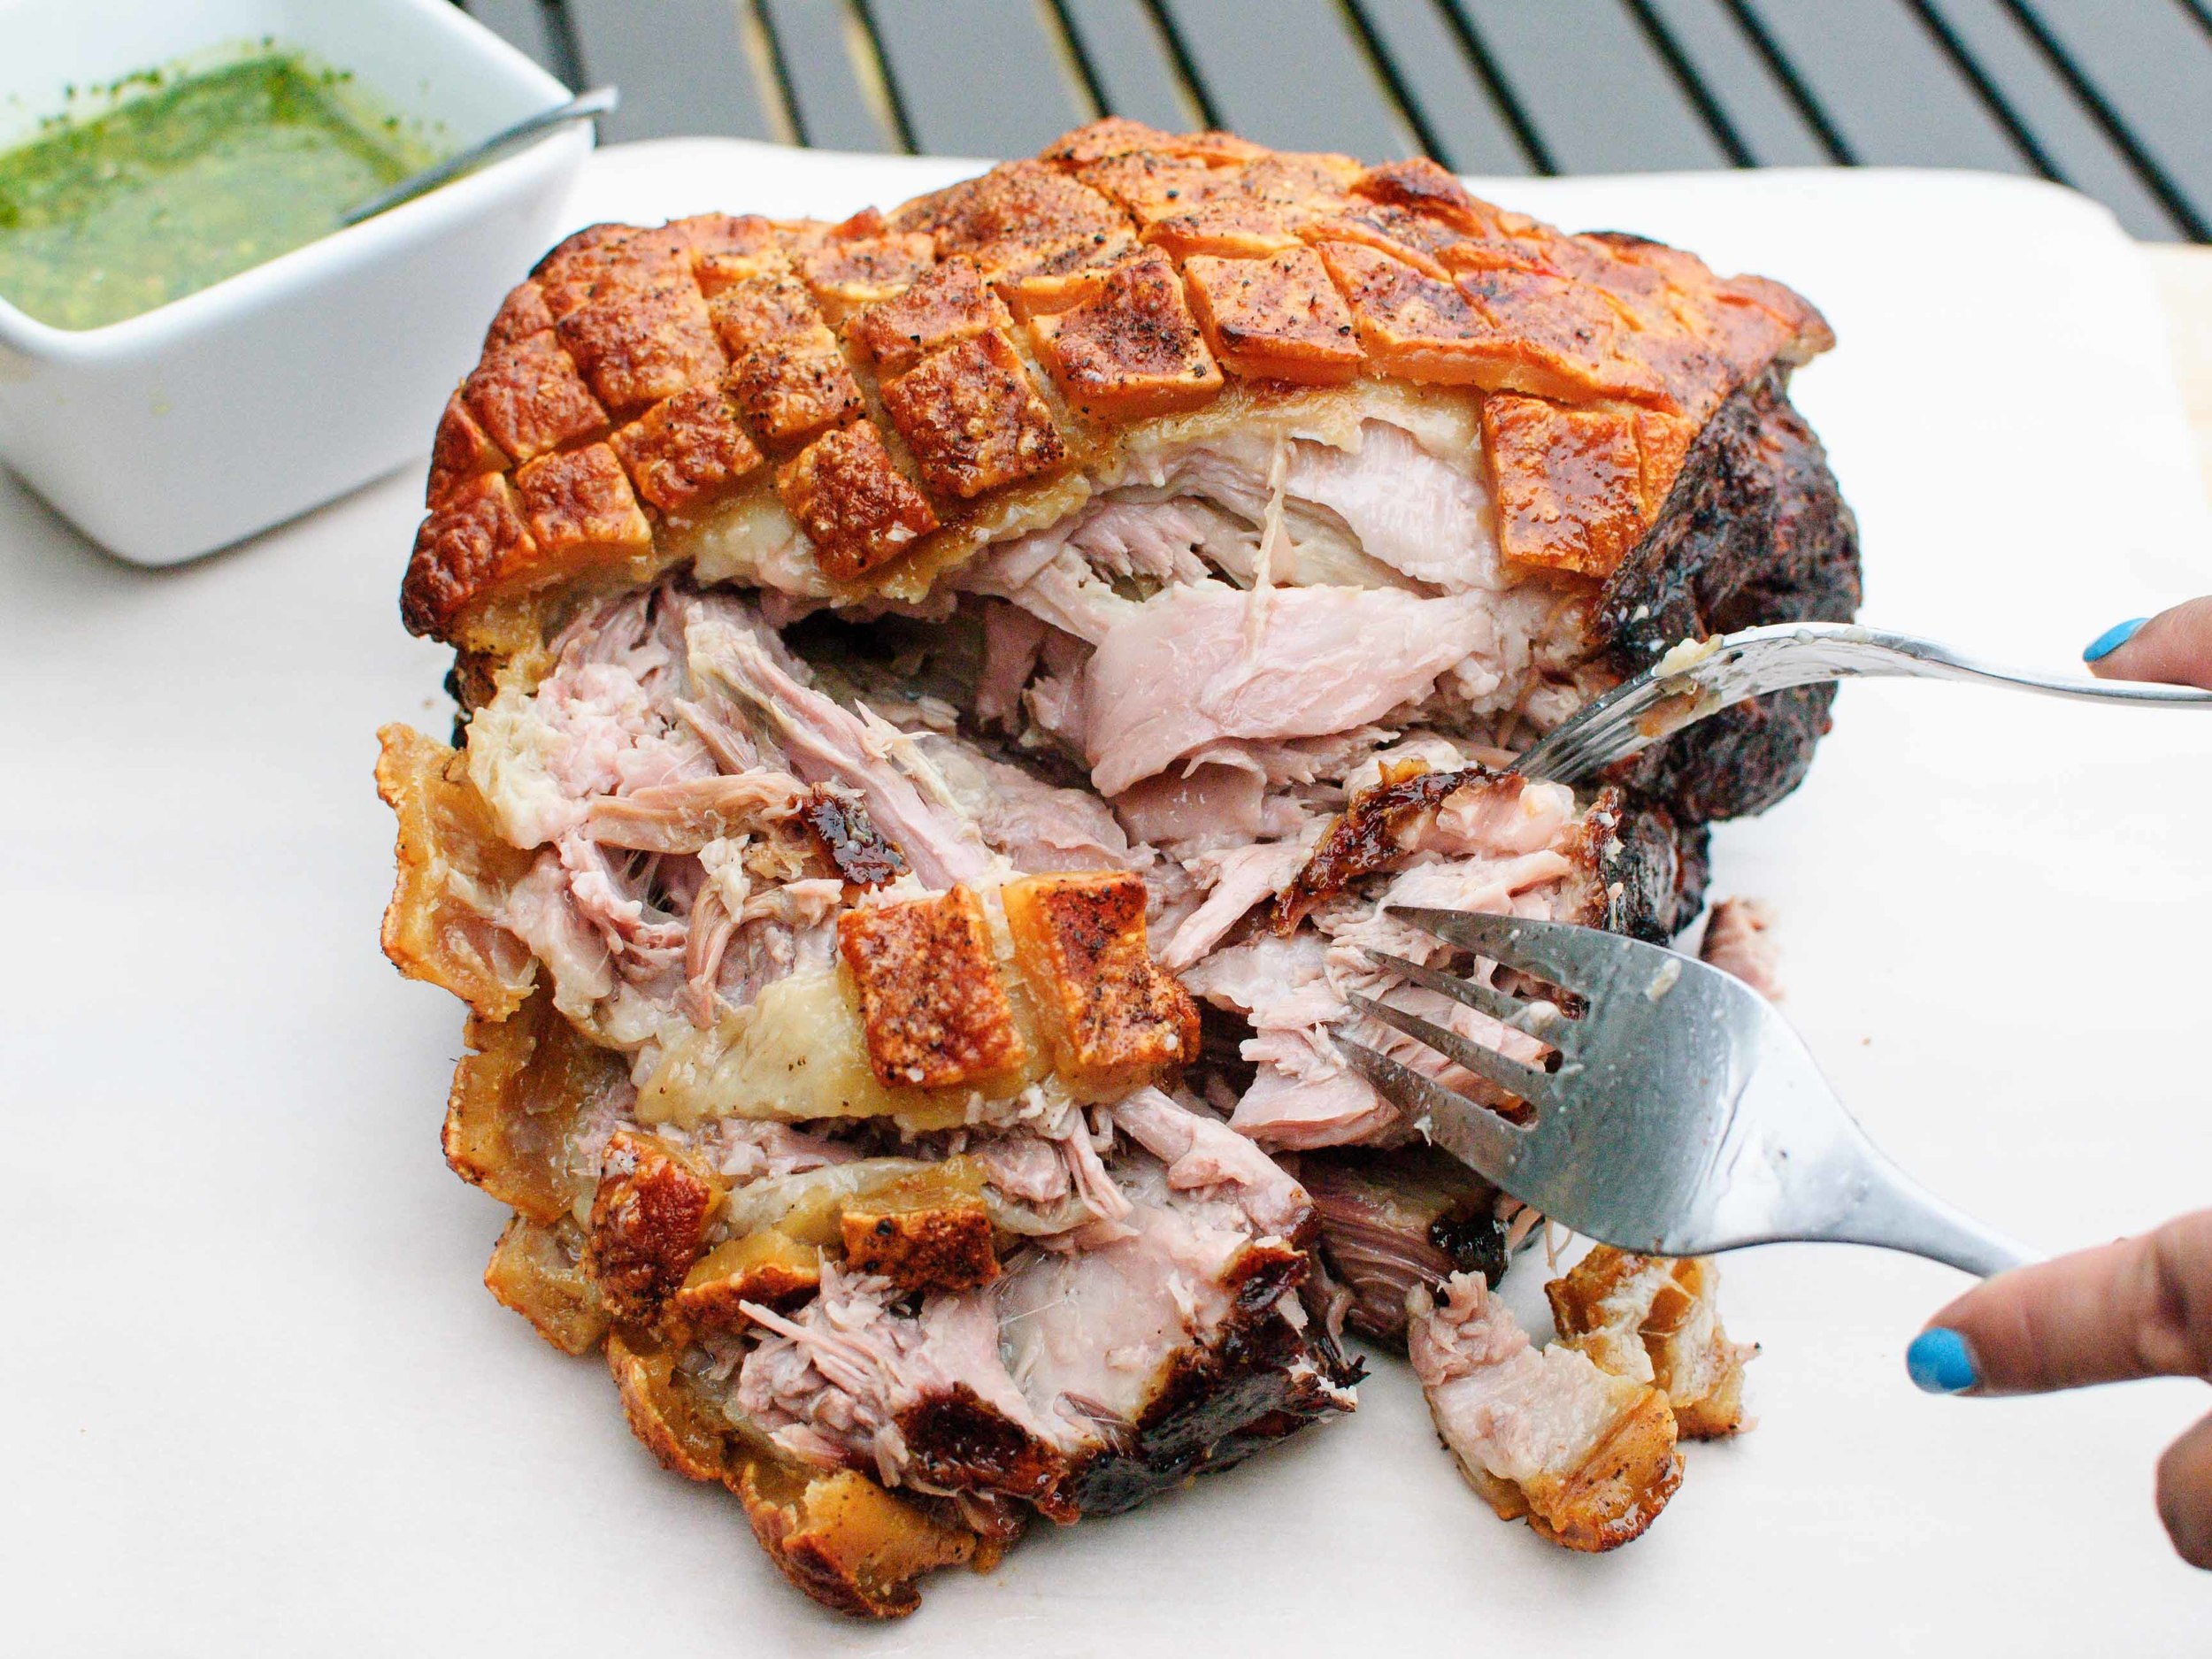
When faced with a very large, beautiful, bone-in, skin-on, fatty beast of a pork shoulder, do not be afraid. Revel in awe in its size, richness, and sacrifice to our privileged bellies. I gathered up my courage and treated this beast the best way I know how - with love and simplicity. I love pork so much. I especially love this slow-roasted, juicy, succulent, messy, pork shoulder complete with its crunchy, puffy, crackling skin. I really can't fully describe the love, joy, and pure elation that Cynthia and I felt, as we pulled this meat into thick shreds. I honestly just felt thankful. Thankful for the plentiful gifts of the pig. Thankful to have Cynthia to share it with. Thankful that Father's Day gave us an excuse to roast such a beast. As for the simplicity, just salt and pepper season this pork to allow all of its sweet, meaty flavor to shine through. I served it next to a bowl of bright green, tangy Chimichurri Sauce to cut through some of the pork's richness and contrast the slow-roasted flavors with fresh herbs. Even now, I breathe a deep, happy sigh at the thought of it.

Notes: I bought my pork from a butcher, so I asked for the skin to be scored and the meat tied (what you see in the photos below).  It never hurts to ask if the meat counter will do the same! Scoring the skin encourages crunchy pork skin (or pork rind), and it looks pretty. Tying the meat helps the roast keep its shape for even cooking. All of that said, it’s not totally necessary to score and tie the roast for great results, so don’t sweat it if you don’t feel like the hassle.
 
To score the skin on your own, use a really sharp knife or a clean box cutter to cut a diamond pattern into the skin. The cuts should go through the skin and into the fat, but not the meat. (See photos below for an example.)
 
No need to get fancy with tying the meat. Just use kitchen twine and tie the meat in 2-inch intervals. If you want to learn how to tie butcher knots, you can Google lots of tutorials.

This recipe is very simple and straightforward, but do notice that the cooking time has a wide range for a couple different reasons. 1) The time it takes for the meat to achieve the soft, shredding stage depends on the amount of fat and connective tissue. A thermometer is not super helpful here – check it with a fork to see if the meat is soft and giving. 2) This is a two-step process: Once the meat is cooked, the pork comes out of the oven to rest for at least 15 minutes, before going back into a very hot oven for another 20 minutes or so to crisp up the skin to its proper crunchy glory.

The seasoning on this pork roast is deliberately simple to allow for limitless options in the pork’s destiny. I have included a recipe for Chimichurri Sauce, which Cynthia and I used to judiciously dunk thick shreds of pork with our greasy fingers. (Forks were just getting in our way!) We also devoured Cynthia's Pork and Broccolini Sandwich made with this pork - so amazing. My family made various fun tacos with the leftover meat throughout the week. To reheat the meat, crisp the meat in either a hot pan (no extra oil needed), or in an oven/toaster oven at 400 degrees Fahrenheit for about 10 minutes. Some ideas: dollops of Pico de Gallo and Guacamole, topped with Harissa and plain yogurt, drizzled with spicy Korean Bi Bim Bap sauce, and heaped with Thai Cucumber-Peanut Relish. The pork recipe comes from the venerable Serious Eats, which has its own fun list of suggested sauces.


Time: 8-12 hours
Servings: 8-12
 
1 whole bone-in, skin-on pork shoulder, 8-12 pounds
Kosher salt
Black pepper, freshly ground

Set the oven rack to the middle position. Preheat the oven to 250 degrees Fahrenheit.

Line a rimmed baking sheeting with heavy-duty aluminum foil and set a wire rack inside it. Place a piece of parchment paper on top of the wire rack. (This prevents the pork from sticking to the wire rack.)
 
Optional: Score pork skin with a diamond pattern, using a very sharp knife or clean box cutter - cut through the skin and into the fat layer. Tie the meat in 2-inch intervals using kitchen twine.

Season the pork all over with a liberal shower of salt and pepper. Place skin-side up on top of the parchment paper.

Roast in the oven for 8-10 hours. Start checking for doneness at 8 hours, by twisting a fork into the meat – the fork should be met with little resistance.

Remove pork from oven, and let rest for 15 minutes and up to 2 hours with a piece of foil tented over it.
 
Preheat the oven to 500 degrees Fahrenheit. If the roast was tied, remove the string. Return the pork to the oven to crisp the skin.  Rotate the sheetpan every 5 minutes, for a total of about 20 minutes. The skin should be puffy and blistered, and you should be completely beside yourself with glee at this point!

Tame your beating heart, tent the pork with foil, and let rest for 15 minutes before serving. (And by serving, I really mean tearing into the meat and crunchy skin with your fingers and dunking the juicy morsels into your sauce of choice – see Notes.)

Recipe very slightly adapted from Serious Eats.

Chimichurri Sauce

½ cup packed fresh parsley leaves, washed and dried
½ cup packed fresh cilantro leaves, washed and dried
5 medium cloves garlic, peeled
2 tablespoons oregano leaves
½ shallot, roughly chopped
¼ cup red wine vinegar
1 teaspoon Kosher salt
¼ teaspoon red pepper flakes
½ cup extra-virgin olive oil

In the bowl of a food processor, pulse together parsley, cilantro, garlic, oregano, shallot, vinegar, salt, and pepper flakes until roughly chopped. With the motor running, drizzle in the olive oil, until just combined. Drizzle a little extra oil, if sauce seems too thick. Do not over-process – you should still see distinct flecks of herbs.

Alternatively, finely chop the herbs, garlic, and shallot. Combine chopped aromatics with vinegar, salt, and pepper flakes in a medium bowl. Whisk in olive oil, drizzling in extra if the sauce seems too thick. 

Use immediately or store up to 2 days in the refrigerator. (Also makes a great marinade.)

Steak Fajitas by Cynthia Raub

Print Friendly and PDF

I really love foods that deliver all the textures and all the food groups in one bite. A perfectly loaded chip from a plate of nachos, bi bim bap (a Korean rice dish with an assortment of vegetables and meat), cheeseburgers. Fajitas are also included in this fantastical group of perfect meals, and they may be even more superior because you can customize each bite as you go. I don't usually order fajitas when I am out at a restaurant (because: nachos), but whenever a hot skillet of roasting onions and meat walks across the dining room, I regret my meal choice immediately. Fajitas can vary from the traditional beef to vegan, and all of the iterations are delicious - you just can't go wrong with anything wrapped in a warm tortilla. Here is my ode to fajitas and all of the opportunities I have missed in restaurants of eating them. 

Notes: The cut of beef is paramount when making steak fajitas. Traditionally, buttery and deeply beefy-flavored skirt steak is recommended, but flap and hangar are comparable substitutions that will produce similarly delicious results. This marinade is robust, complex and flavorful; I found it to be an incredibly tasty and different treatment of beef in traditional fajitas. In the directions, I recommend resting the beef on the uncooked bell peppers and onions. This is so 1) you don't have to dirty another dish and 2) to give the vegetables even more flavor. Likewise, when cooking the vegetables, include the residual juices from the rested meat for another re-up in Flavortown.


Time: 45 minutes active cooking, plus 2-6 hours of marinating
Serves: 4-6

1/4 cup soy sauce
1/2 cup lime juice (3-6 limes depending on the size)
1/2 cup canola oil
1/4 cup packed brown sugar
2 teaspoons ground cumin seed
2 teaspoons freshly ground black pepper
1 tablespoon chili powder
1 tablespoon garlic, finely minced
2 pounds trimmed flank steak, cut crosswise into 5- to 6-inch pieces
Cilantro stems, if available
1 large red bell pepper, stemmed, seeded, and cut into 1/2-inch-wide strips
1 large yellow bell pepper, stemmed, seeded, and cut into 1/2-inch-wide strips
1 large green bell pepper, stemmed, seeded, and cut into 1/2-inch-wide strips
1 white or yellow onion, cut into 1/2-inch slices
12 to 16 fresh flour or corn tortillas, hot
Guacamole, for serving (optional - see recipe below)
Pico de Gallo, for serving (optional)
Cheese, hot sauce and salsa (optional)

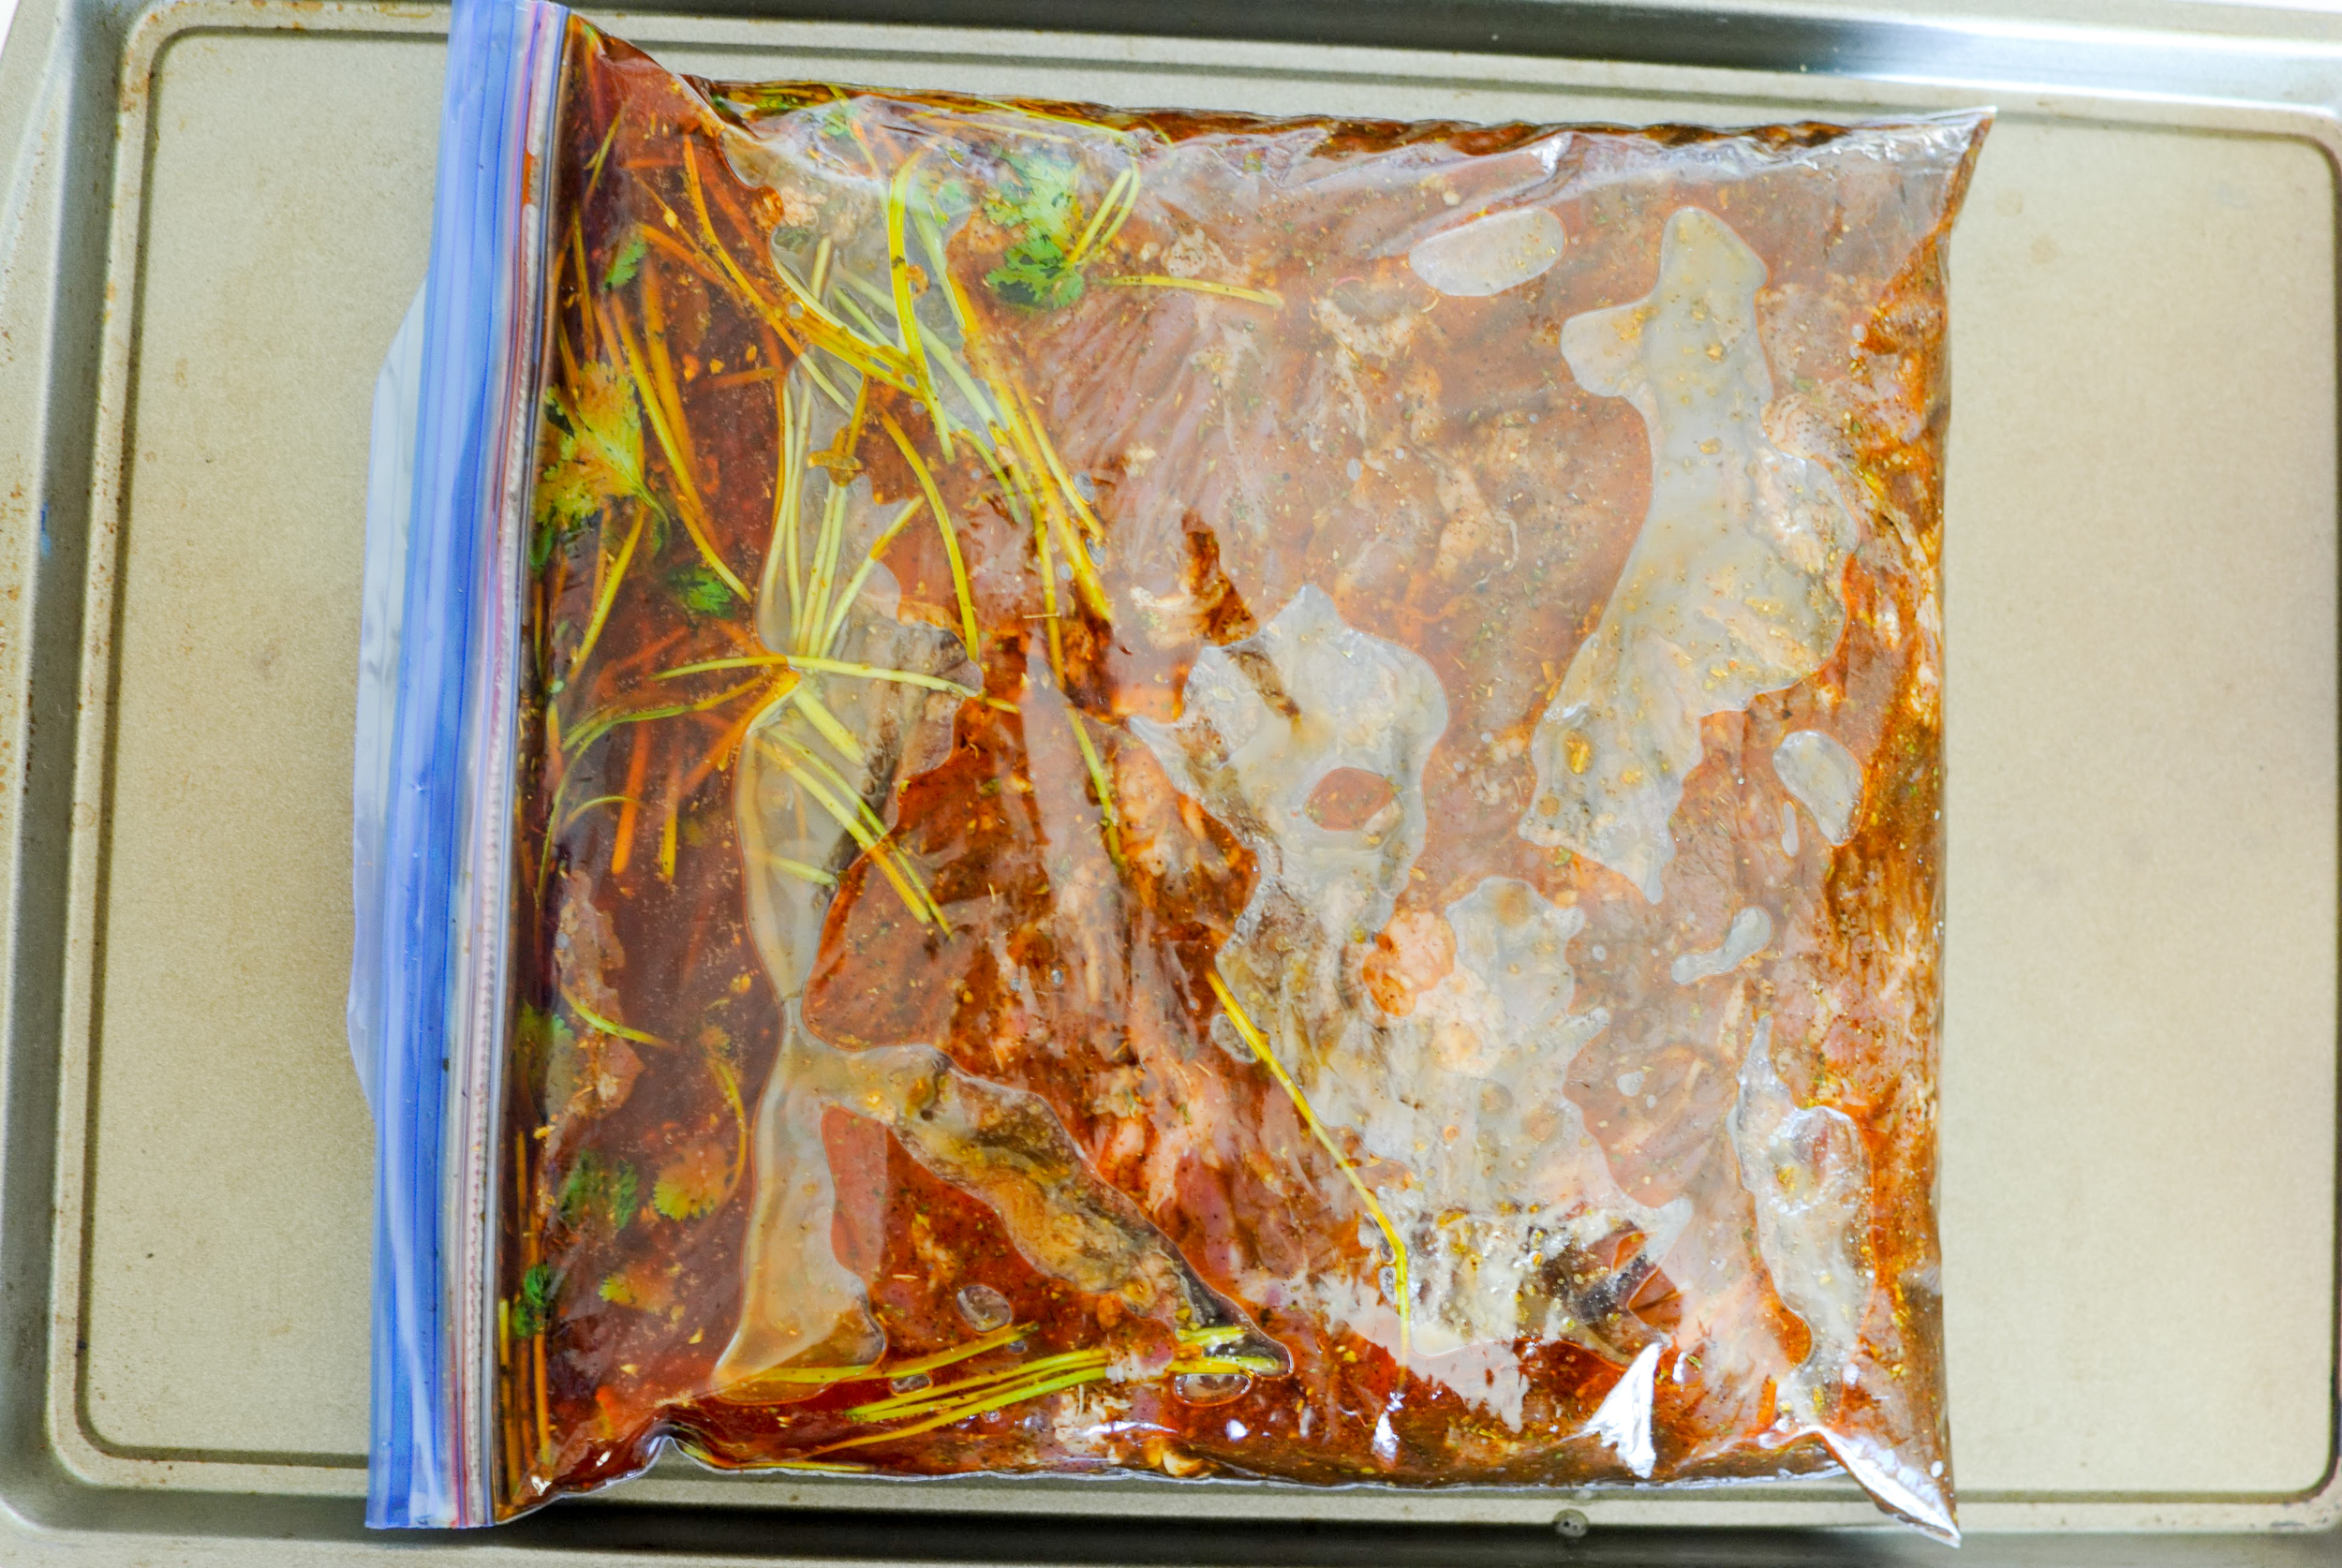
Combine soy sauce, lime juice, canola oil, brown sugar, cumin, black pepper, chili powder, and garlic in a medium bowl and whisk to combine. Cut steaks into several 6" pieces. Place steaks in a gallon-sized zipper-lock bag and add marinade and (optional) cilantro stems. Seal bag, squeezing out as much air as possible. Massage bag until meat is fully coated in marinade. Lay flat in the refrigerator, turning every so often for at least 2 hours and up to 6. 

Slice bell peppers and onions into 1/2" strips. Season liberally with salt and pepper. Set aside.

Once the meat has marinated, remove steaks from marinade, wipe off excess liquid, and transfer to a large plate. Turn your fan on and heat a grill pan on high for 3-5 minutes. Once the grill pan is smoking, place meat pieces on the grill pan several inches away from each other. Cook meat in multiple batches about 2-4 minutes per side and develop a nice char and grill lines. Your cooking time will depend on the thickness of your steaks, your preferred meat temperature, and the strength of your heat source. Rest the cooked meat on top of the uncooked bell peppers and onions. Allow meat to rest for 5-15 minutes before slicing. 

Carefully wipe your grill pan clean of carbon left from the cooked meat. Bring the grill pan back up to high and add pepper and onion mix and cook, stirring occasionally. Cook the vegetables until they are softened and beginning to char in spots, about 5 minutes. When vegetables are cooked, transfer steaks to a cutting board and pour any accumulated juices from the plate into the skillet with the vegetables. Toss to coat.

Transfer vegetables to a warm serving platter. Thinly slice meat against the grain and transfer to platter with vegetables. Serve immediately with hot tortillas, guacamole, pico de gallo, and other condiments as desired.

Recipe (adapted) from: Serious Eats

For Guacamole

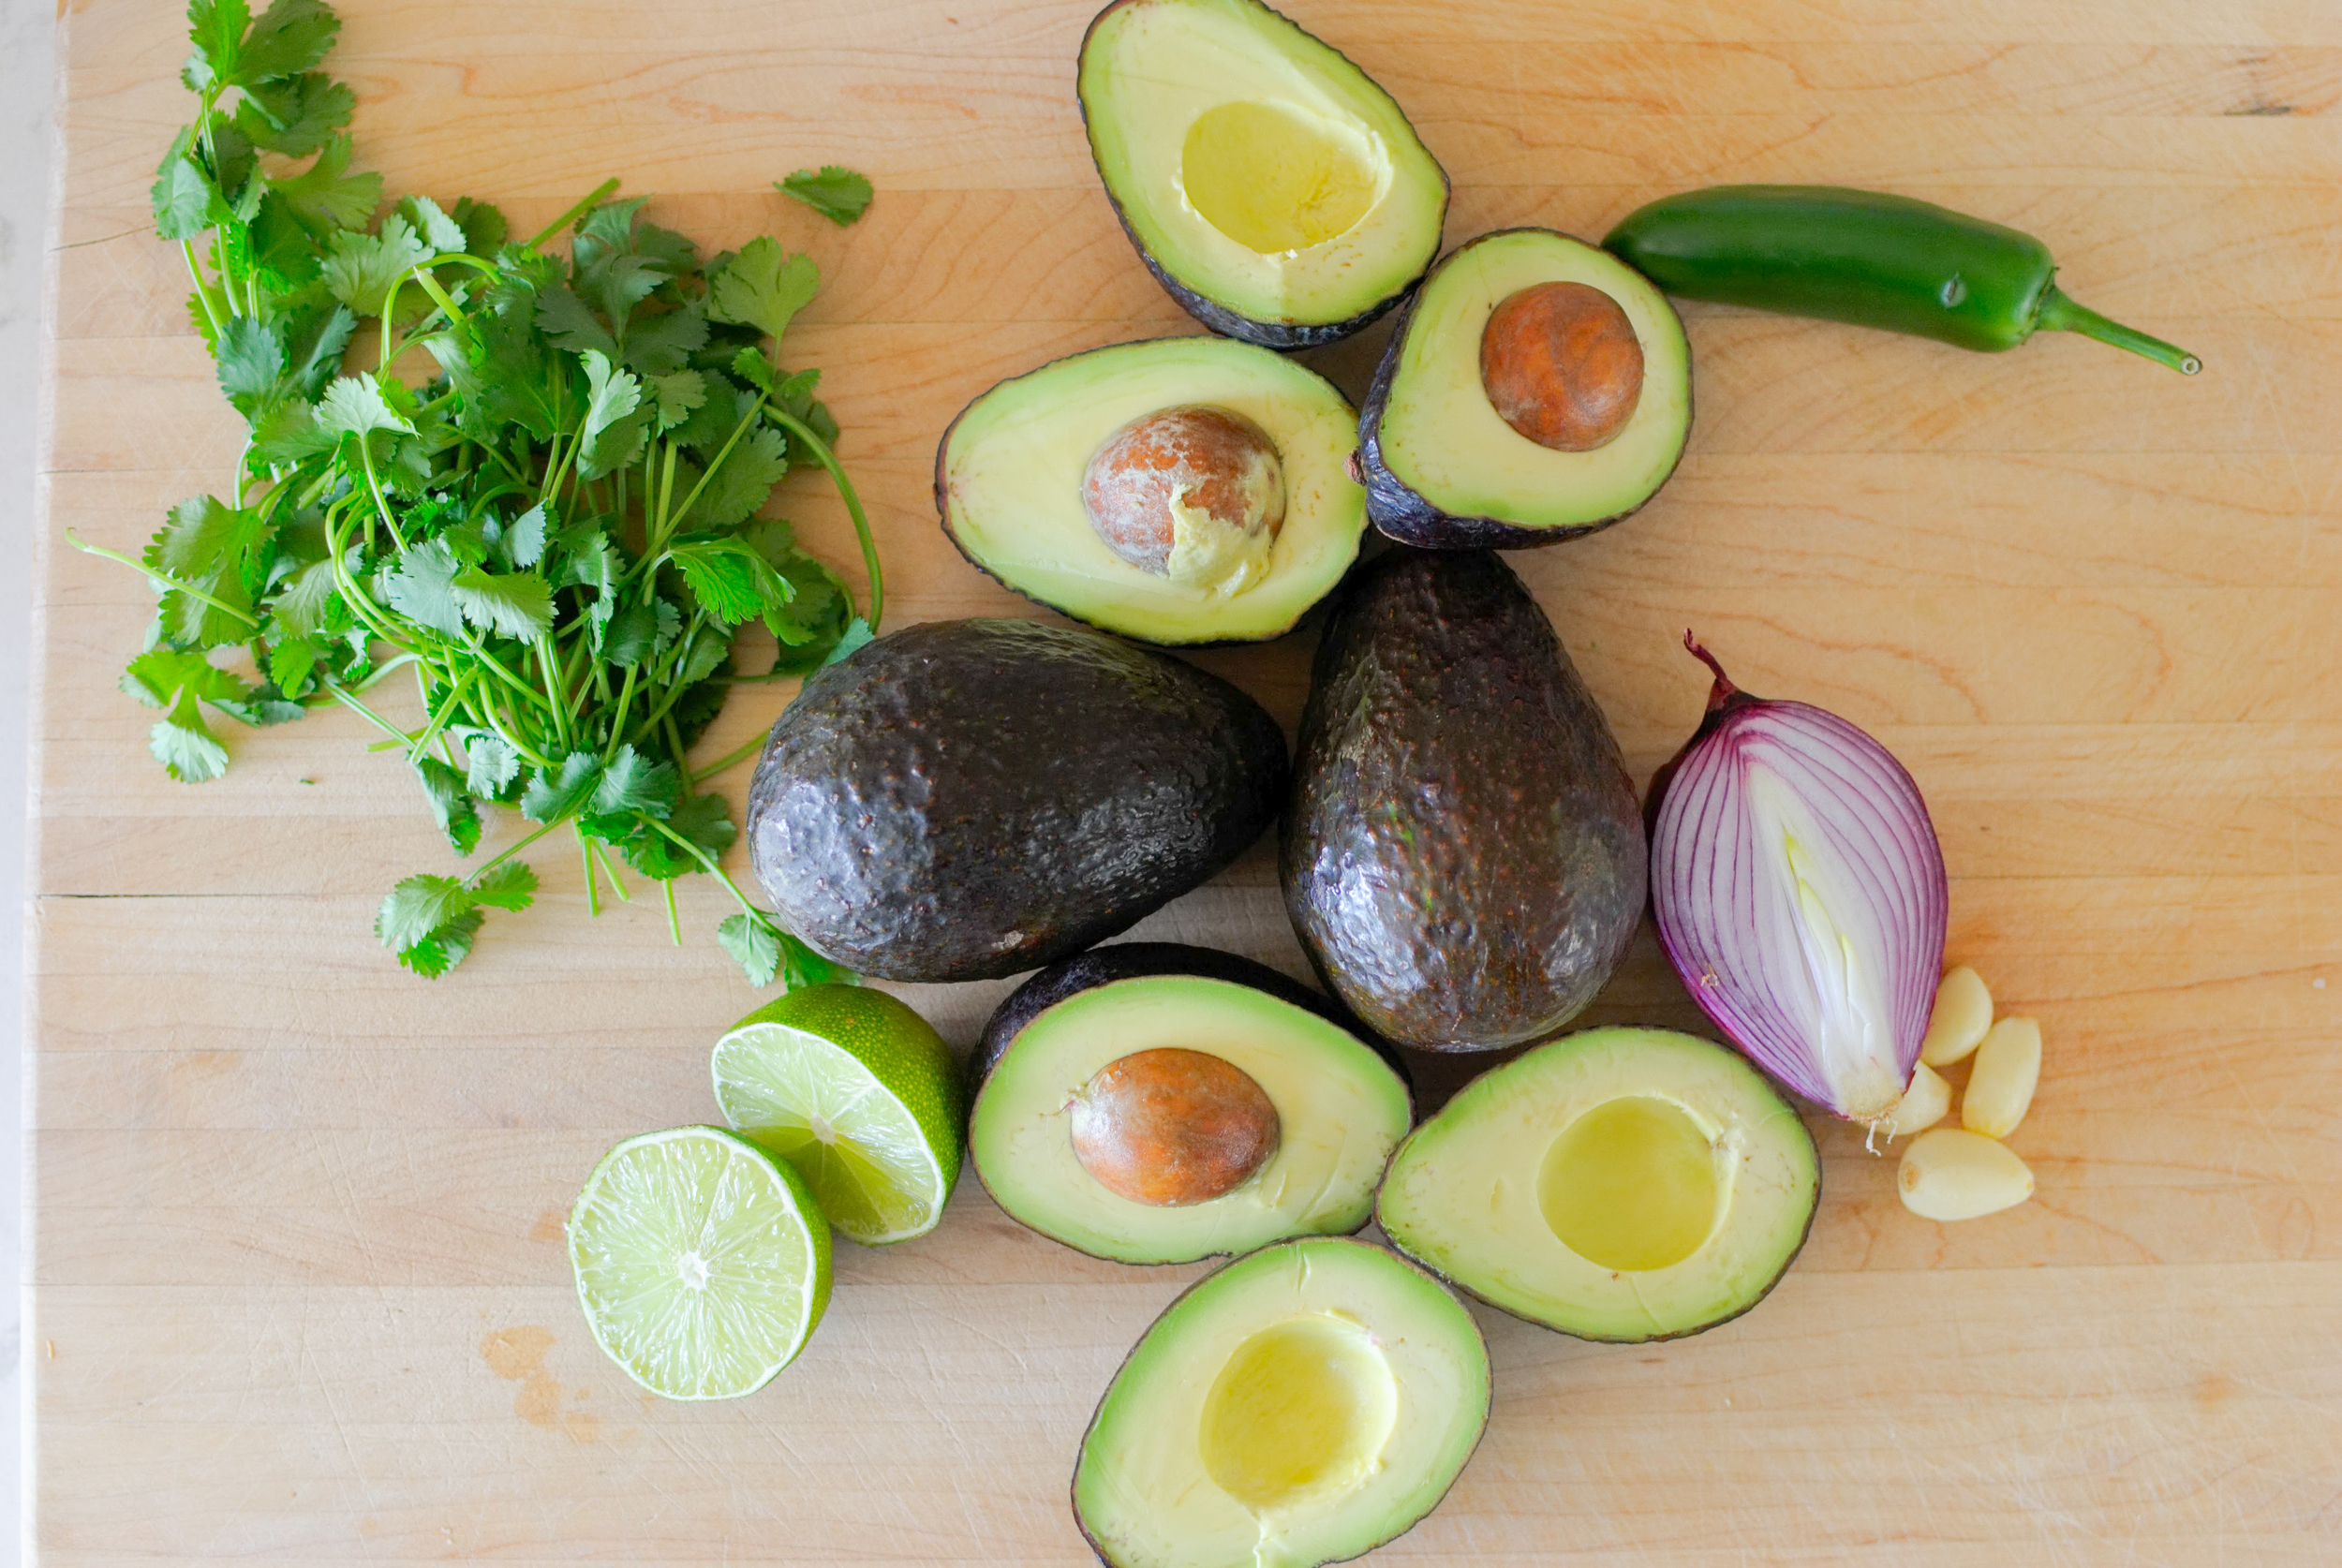
3 ripe avocados
1 large shallot, finely minced
1 tablespoon jalapeno, finely minced
1/2 cup loosely packed cilantro leaves
1-2 limes
Salt and pepper to taste

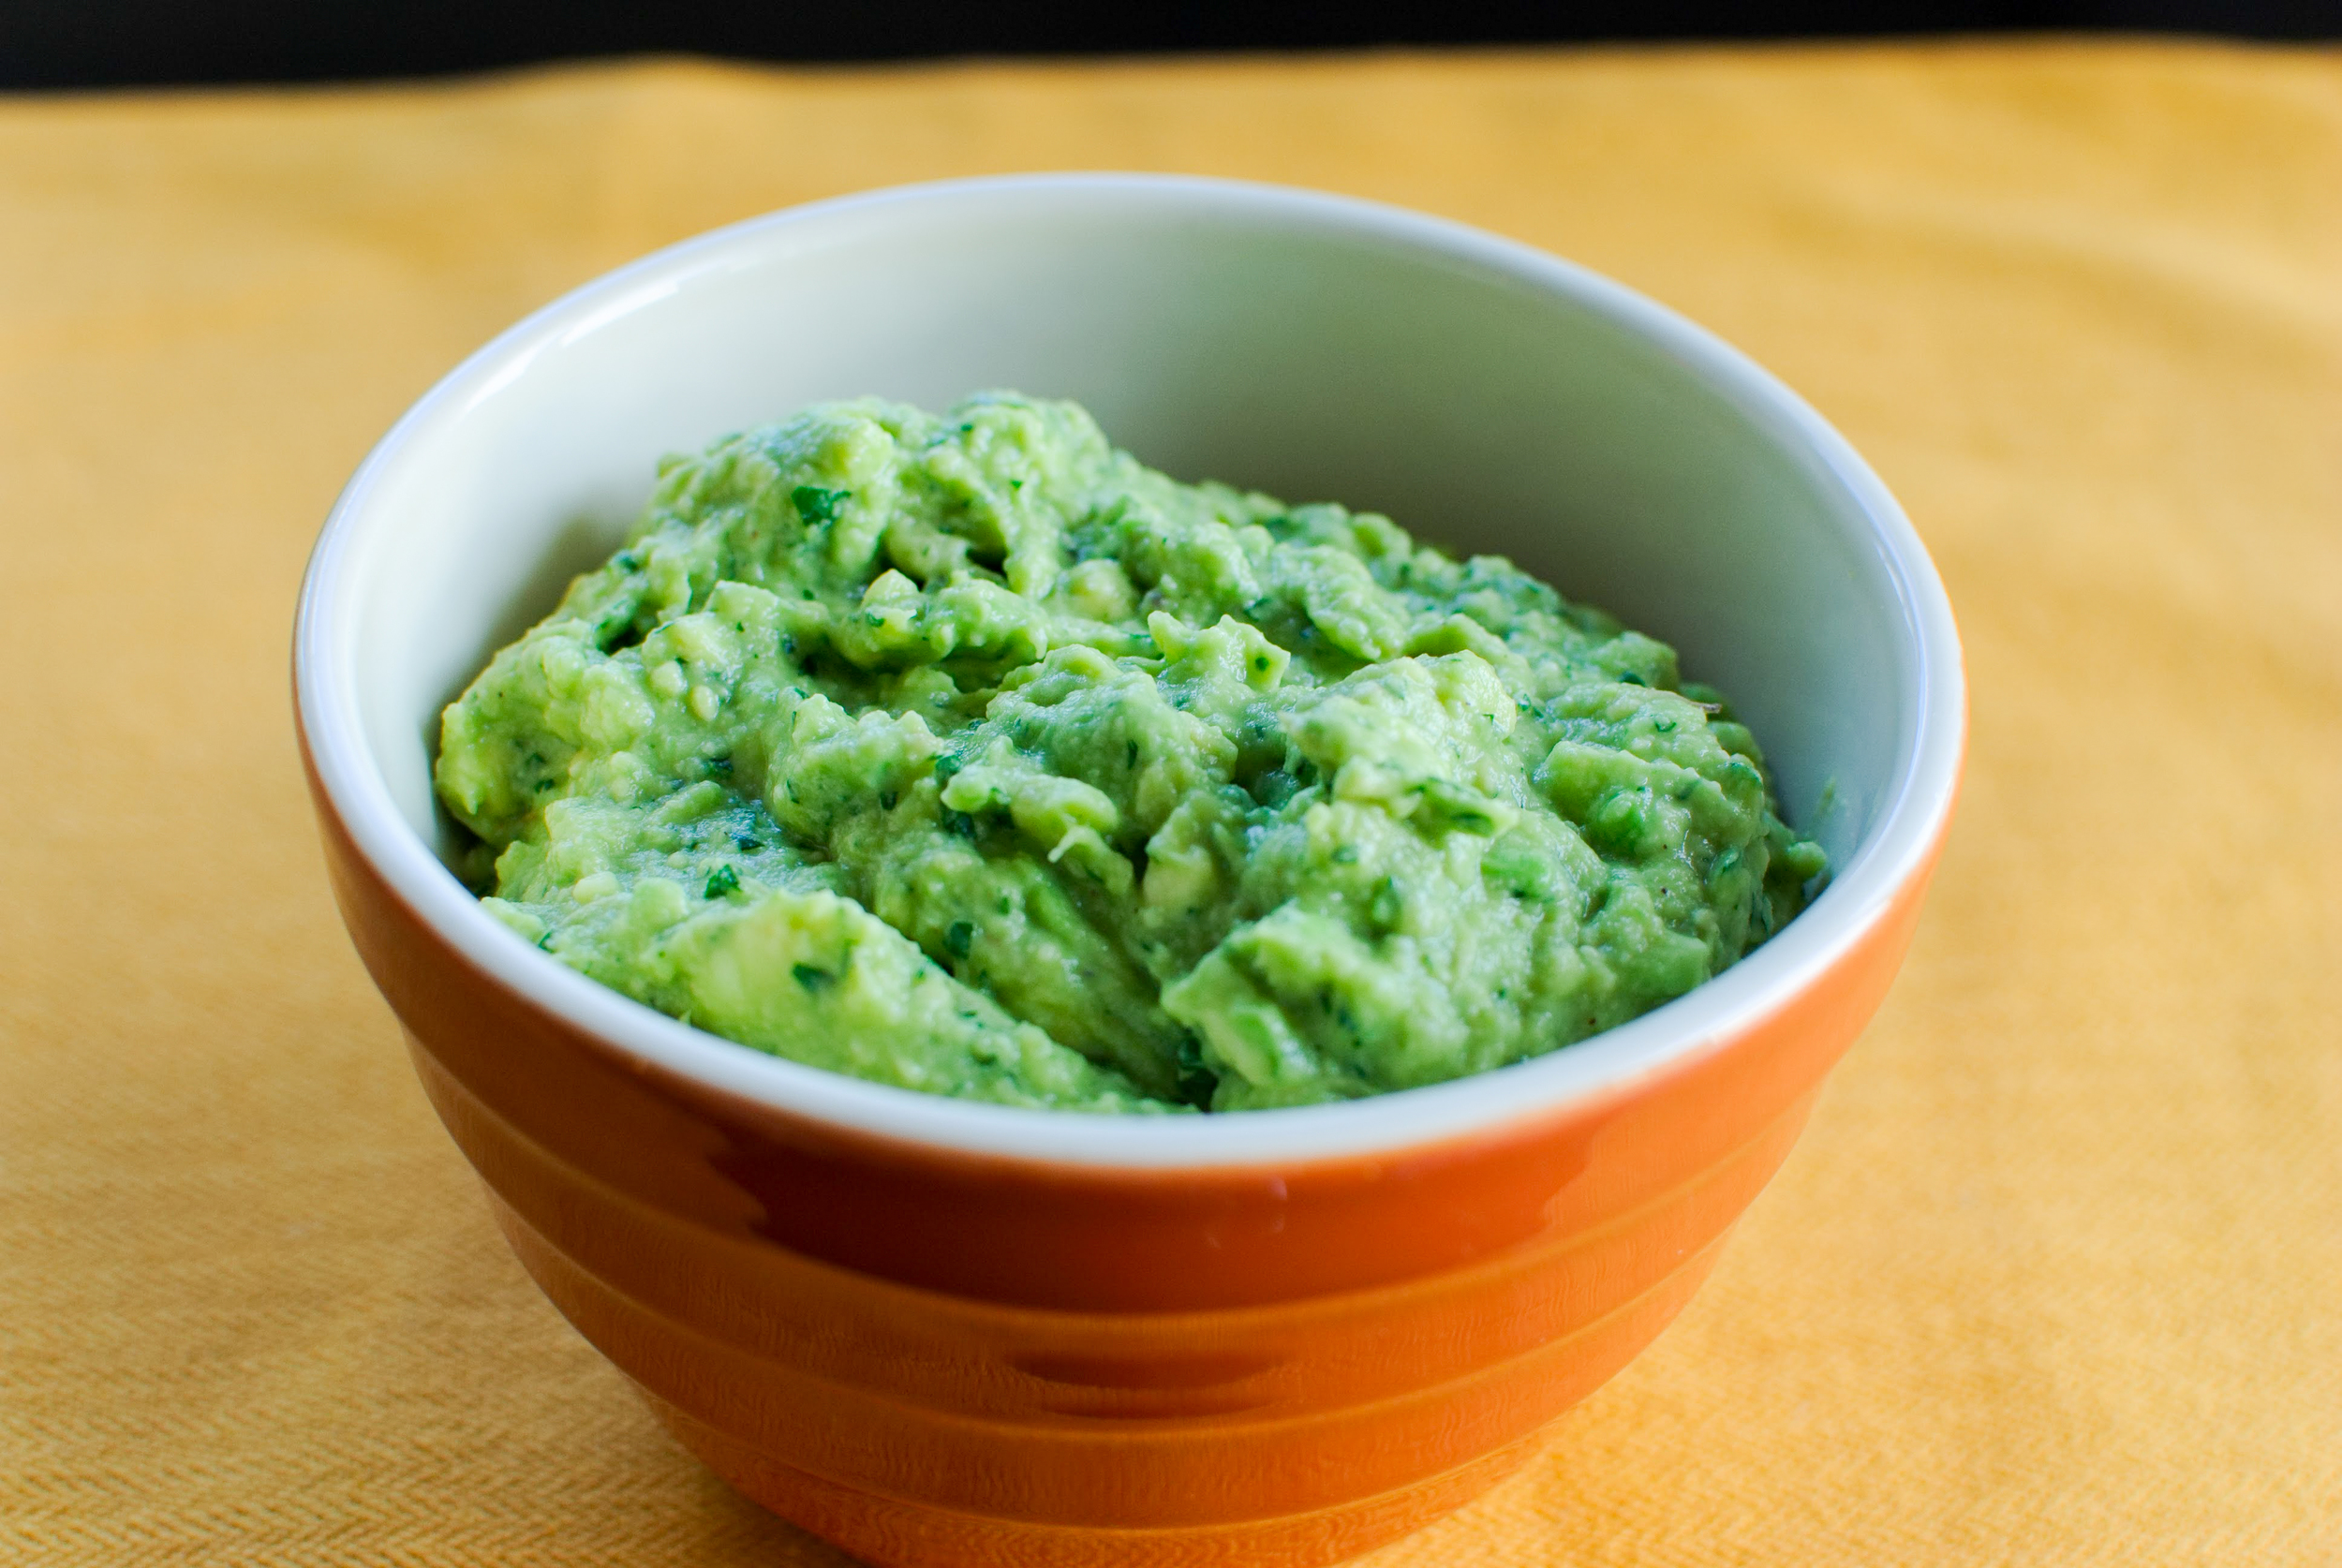
Slice avocados in half- remove seeds and scoop out flesh into a mixing bowl. Mash the avocado with a fork or whisk into desired guacamole consistency. Finely dice shallot and jalapeno and add to the avocado. Roughly chop cilantro leaves and add it to the bowl. Squeeze juice of 1 lime into the bowl, fold ingredients together and season with salt and pepper to taste. Adjust amount of lime at this time, too.


Audy's Tom Yum Soup by Amy Cantu

Print Friendly and PDF

When I told my sister that we were going to feature some of our dad’s Thai home-cooking on the blog, she enthusiastically said, “Oh Dad makes the BEST tom yum soup!” I think she’s right. I’m hard-pressed to find a better one at any Thai restaurant - with generous pieces of fish, shrimp, and scallops (my favorite). The key to his soup is making sure to get the right balance of sweet, sour, salty, and spicy - you really do need to taste the soup and adjust the seasonings so that they equally satisfy all four senses. Limes vary in size, acidity and sweetness - so use your tastebuds as your guide and the listed amounts in the recipe as suggestions.

Notes: Thai soups are fragrant and spicy from all the fresh aromatic herbs and chilies. There will be large chunks of galangal, lemongrass, and lime leaves in the final soup that are not meant to be eaten, but are there to flavor the soup. You can fish them out before you serve, or do as the Thais do, and just eat around them. Lemongrass, lime leaves (a.k.a. makrut or kaffir lime leaves), and galangal can be found in the produce section of most Asian supermarkets and some well-stocked grocery stores. If you cannot find lemongrass or kaffir lime leaves, you can substitute strips of lime or lemon zest. You can also substitute ginger for the galangal. It will not have same flavor, but the soup will still taste good. Thai fish sauce or nam pla, can also be found in Asian supermarkets or in the Asian section of a well-stocked grocery store.

My dad uses scallops, salmon, and shrimp for the seafood in this soup. You can use any combination of seafood (mussels and other firm-fleshed fish work well) or substitute cut-up chicken.


Time: 30 minutes
Servings: 4-5 generously

¼ cup cilantro (with stems), finely chopped
1-2 fresh Thai bird chilies or serrano chilies, finely diced
1-2 limes, juiced
2 tablespoons Thai fish sauce (nam pla), add more or less to taste
2 teaspoons sugar
1 quart chicken stock
2 cups water
1 inch piece of galangal, sliced into ⅛” pieces
4 makrut lime leaves
2 stalks of lemongrass, cut into 2" lengths
1 small yellow onion, cut into 1” dice
1 shallot, cut into 1” dice
½ pound white button mushrooms, sliced into ½” pieces (about 2 cups)
½ pound salmon, cut into 2” pieces
½ pound sea scallops
½ pound medium shrimp, peeled and deveined

Combine cilantro, finely diced chilies, lime juice, fish sauce and sugar into a serving bowl and reserve. Remove outer layer of lemongrass stalk and cut stalk into 2-inch lengths. Using the butt of a kitchen knife, pound and bruise stalks all over.

Pour stock and water into a large pot, add galangal, kaffir lime leaves, and sliced lemongrass; bring to a boil over medium-high heat. Add onion and shallots and simmer for 5 minutes. Add mushrooms and simmer for 3 more minutes. Add salmon, simmer for 1 minute. Add scallops and simmer for 1 minute. Add shrimp and simmer for 1 minute or until just pink and no longer translucent. (Seafood will continue to cook in the hot broth after removing from heat.)

Ladle into serving bowl containing chili and cilantro mixture, and stir to combine. Taste and adjust lime juice (sour), fish sauce (salty), sugar (sweet), and chilies (spicy) as needed. (The soup should taste equally sour, salty, sweet, and spicy.) Serve immediately.

Roasted Chicken Legs with Smoked Paprika, Blood Orange, and Honey by Amy Cantu

Print Friendly and PDF

I really can’t get enough of roasted chicken in its very many forms. The skin gets so tantalizingly golden, and meat comes out so juicy! This one is already conveniently in pieces, and using dark meat keeps it moist, even if you happen to forget about it in the oven for a bit. I love the lightly sweet honey glaze matched with the punchy tart orange, spicy jalapeño, and smokey paprika. The blood oranges speak to winter, but the fresh herb garnish bridges the gap to spring. This chicken goes perfectly with the herbaceous farro salad that Cynthia put together!

Notes: Consider your spiciness level when choosing how much jalapeño to add and whether to seed it. For the kids, I used half of a small, seeded jalapeño - the marinade seemed mildly spicy, but once cooked, I could hardly tell it was there. Keeping the seeds will dramatically increase the spiciness.

The recipe calls for blood oranges, which have a more pronounced flavor and adds pretty color for the garnish. Regular oranges work just fine too!


Inspired by Melissa Clark’s recipe in her cookbook, Cook This Now.

Time: 1 hour
Servings: 4

⅓ cup freshly squeezed orange juice, preferably blood orange
3 tablespoons extra virgin olive oil
3 garlic cloves, finely chopped
2 tablespoons cilantro leaves, plus additional for garnish
½ - 1 small jalapeño, seeded if desired, and chopped
1 tablespoon grated fresh ginger
1 ½ teaspoons kosher salt (¾ teaspoon table salt)
1 teaspoon freshly grated orange zest
1 teaspoon smoked paprika
1 tablespoon honey
3 pounds bone-in, skin-on chicken thighs and drumsticks, patted dry
Sliced scallions, for serving
Orange wedges, for serving

In a blender, combine the orange juice, oil, garlic, cilantro, jalapeño, ginger, salt, orange zest, and paprika and blend until garlic and jalapeño are pureed.

Reserve ¼ cup of marinade and stir in honey to make a glaze. Set aside.

Combine the chicken and remaining marinade in a large bowl. Cover with plastic wrap and transfer to the refrigerator to marinate for at least 1 hour (or overnight if you can plan that far ahead).

When you are ready to cook the chicken, preheat the oven to 475 degrees Fahrenheit. Line a large baking sheet with aluminum foil and top with the chicken. Roast for 30 minutes, turning once halfway through. Brush glaze over chicken pieces and roast for 10 minutes more or until the chicken skin is golden and the meat juices are no longer pink.

Serve sprinkled with scallions and cilantro, with orange wedges for squeezing over the meat.

Harissa Grilled Pork Loin Chops by Cynthia Raub

Print Friendly and PDF
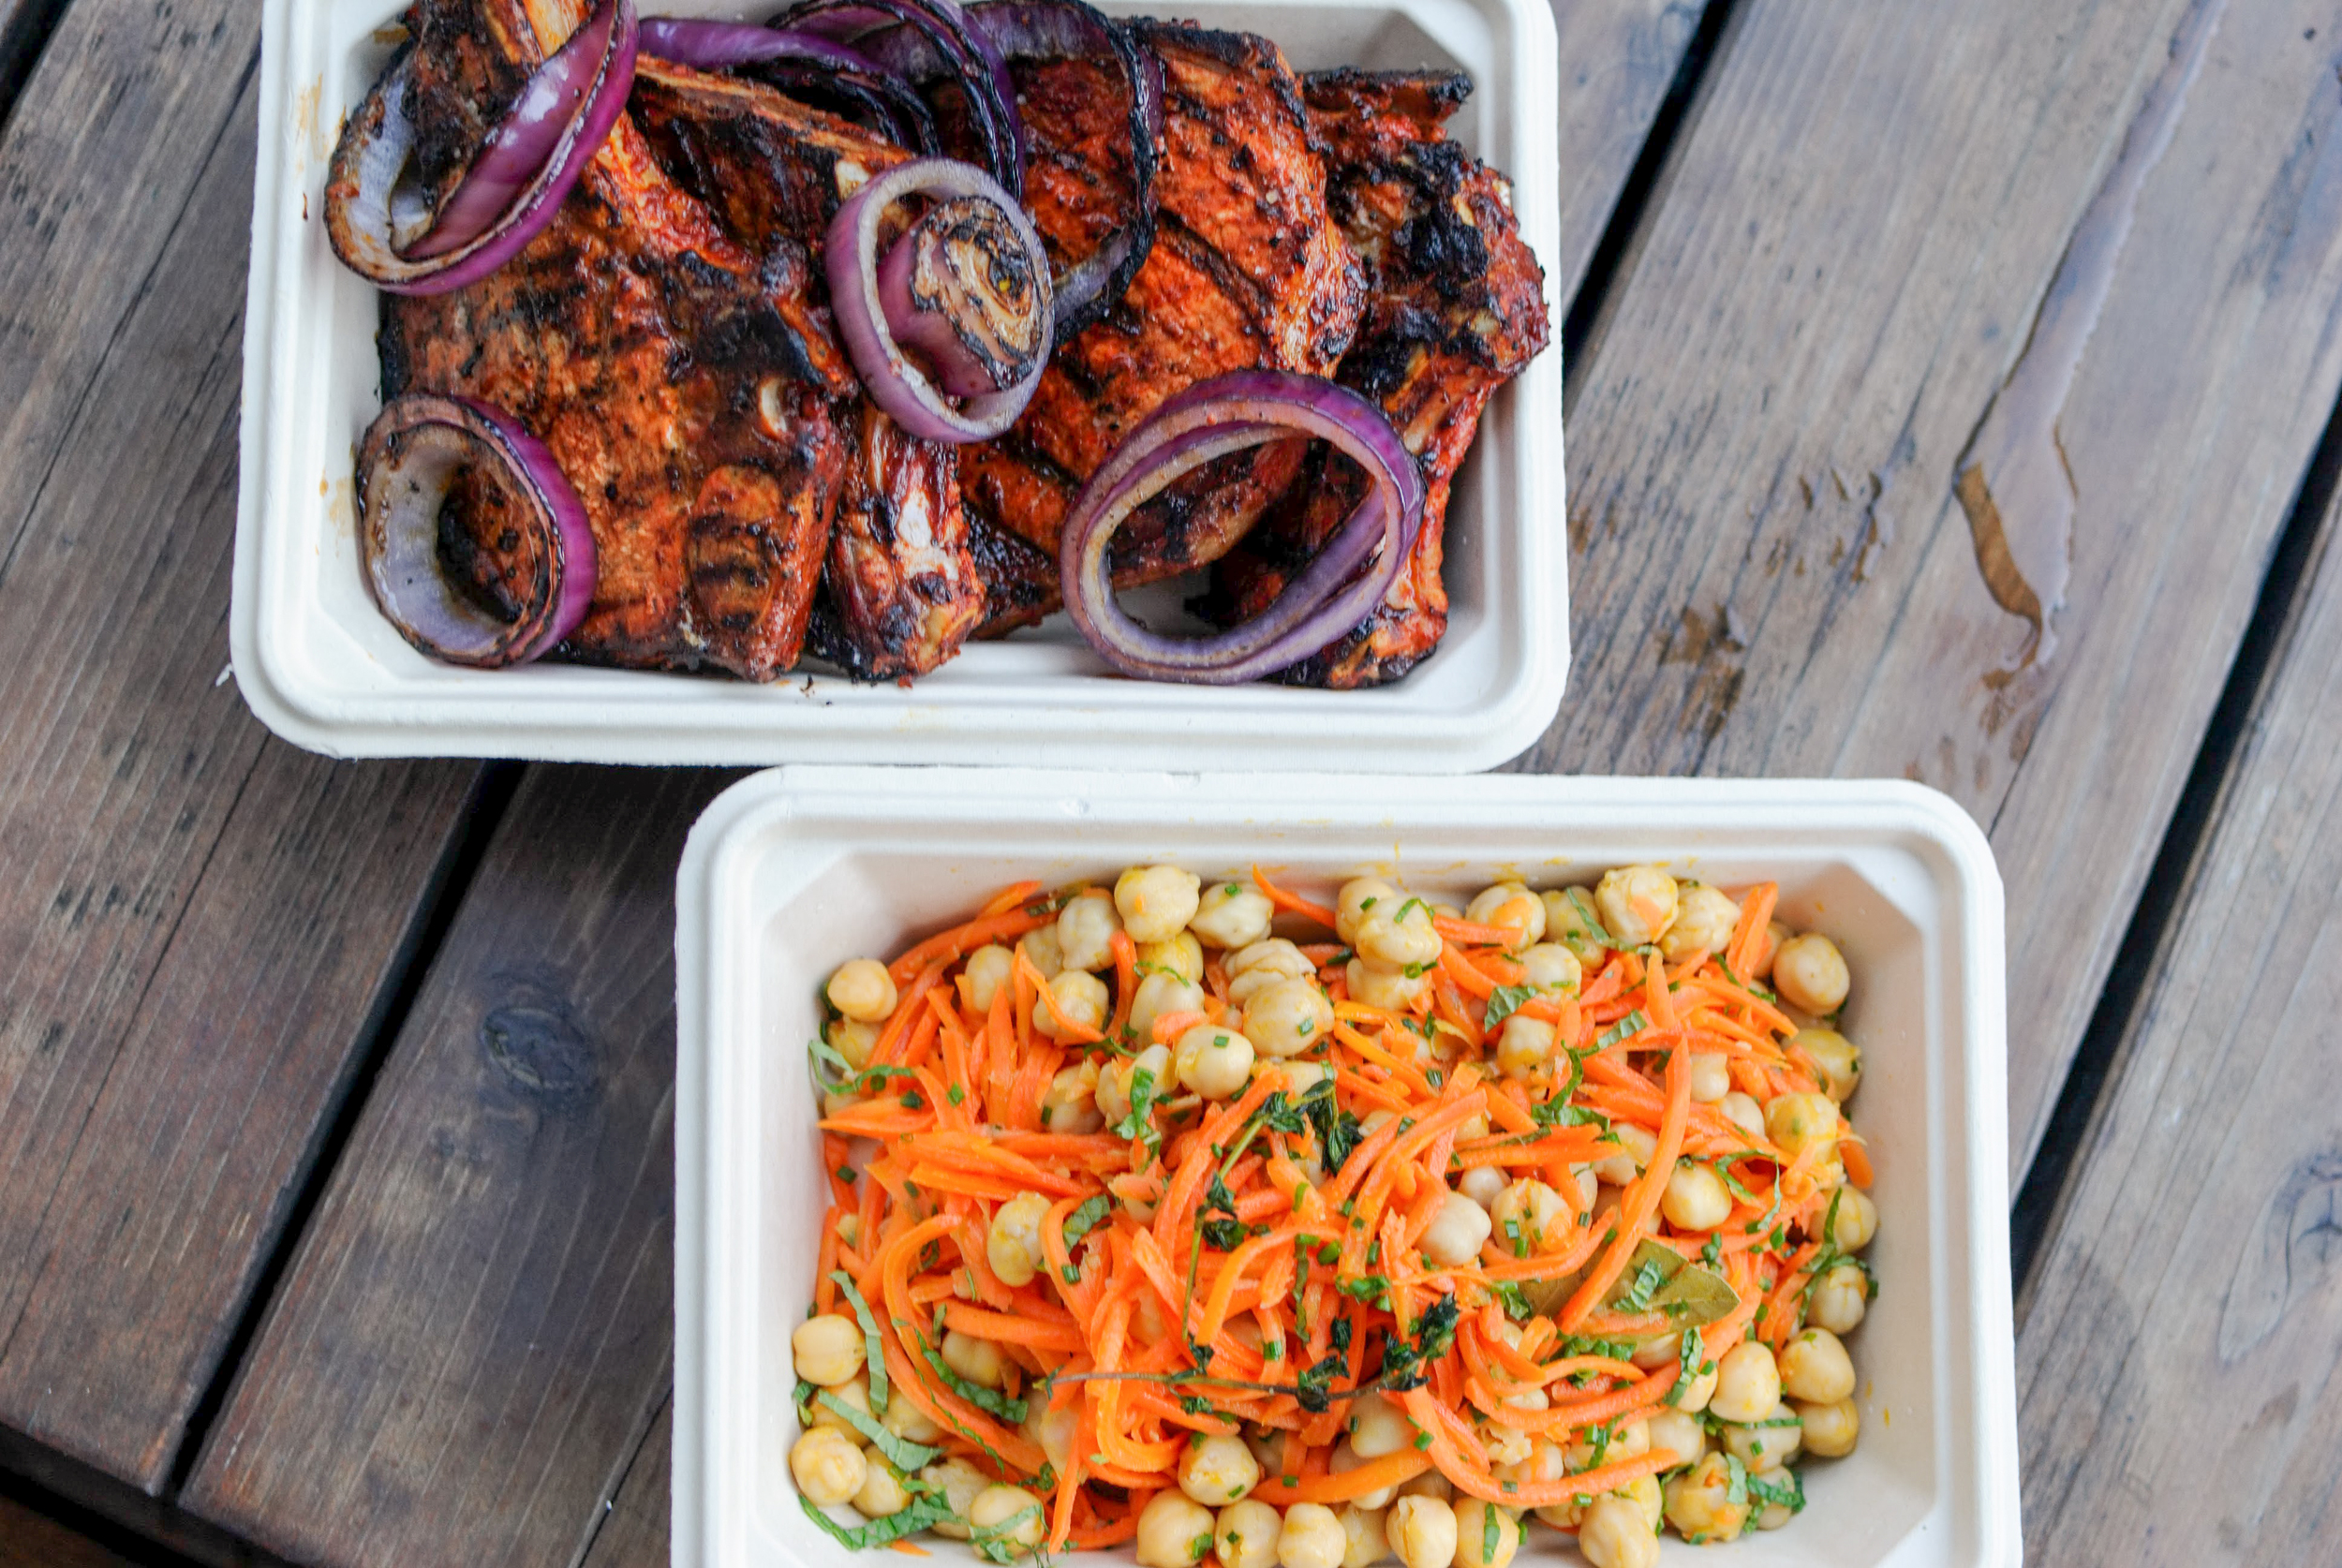
harissa grilled pork loin chops

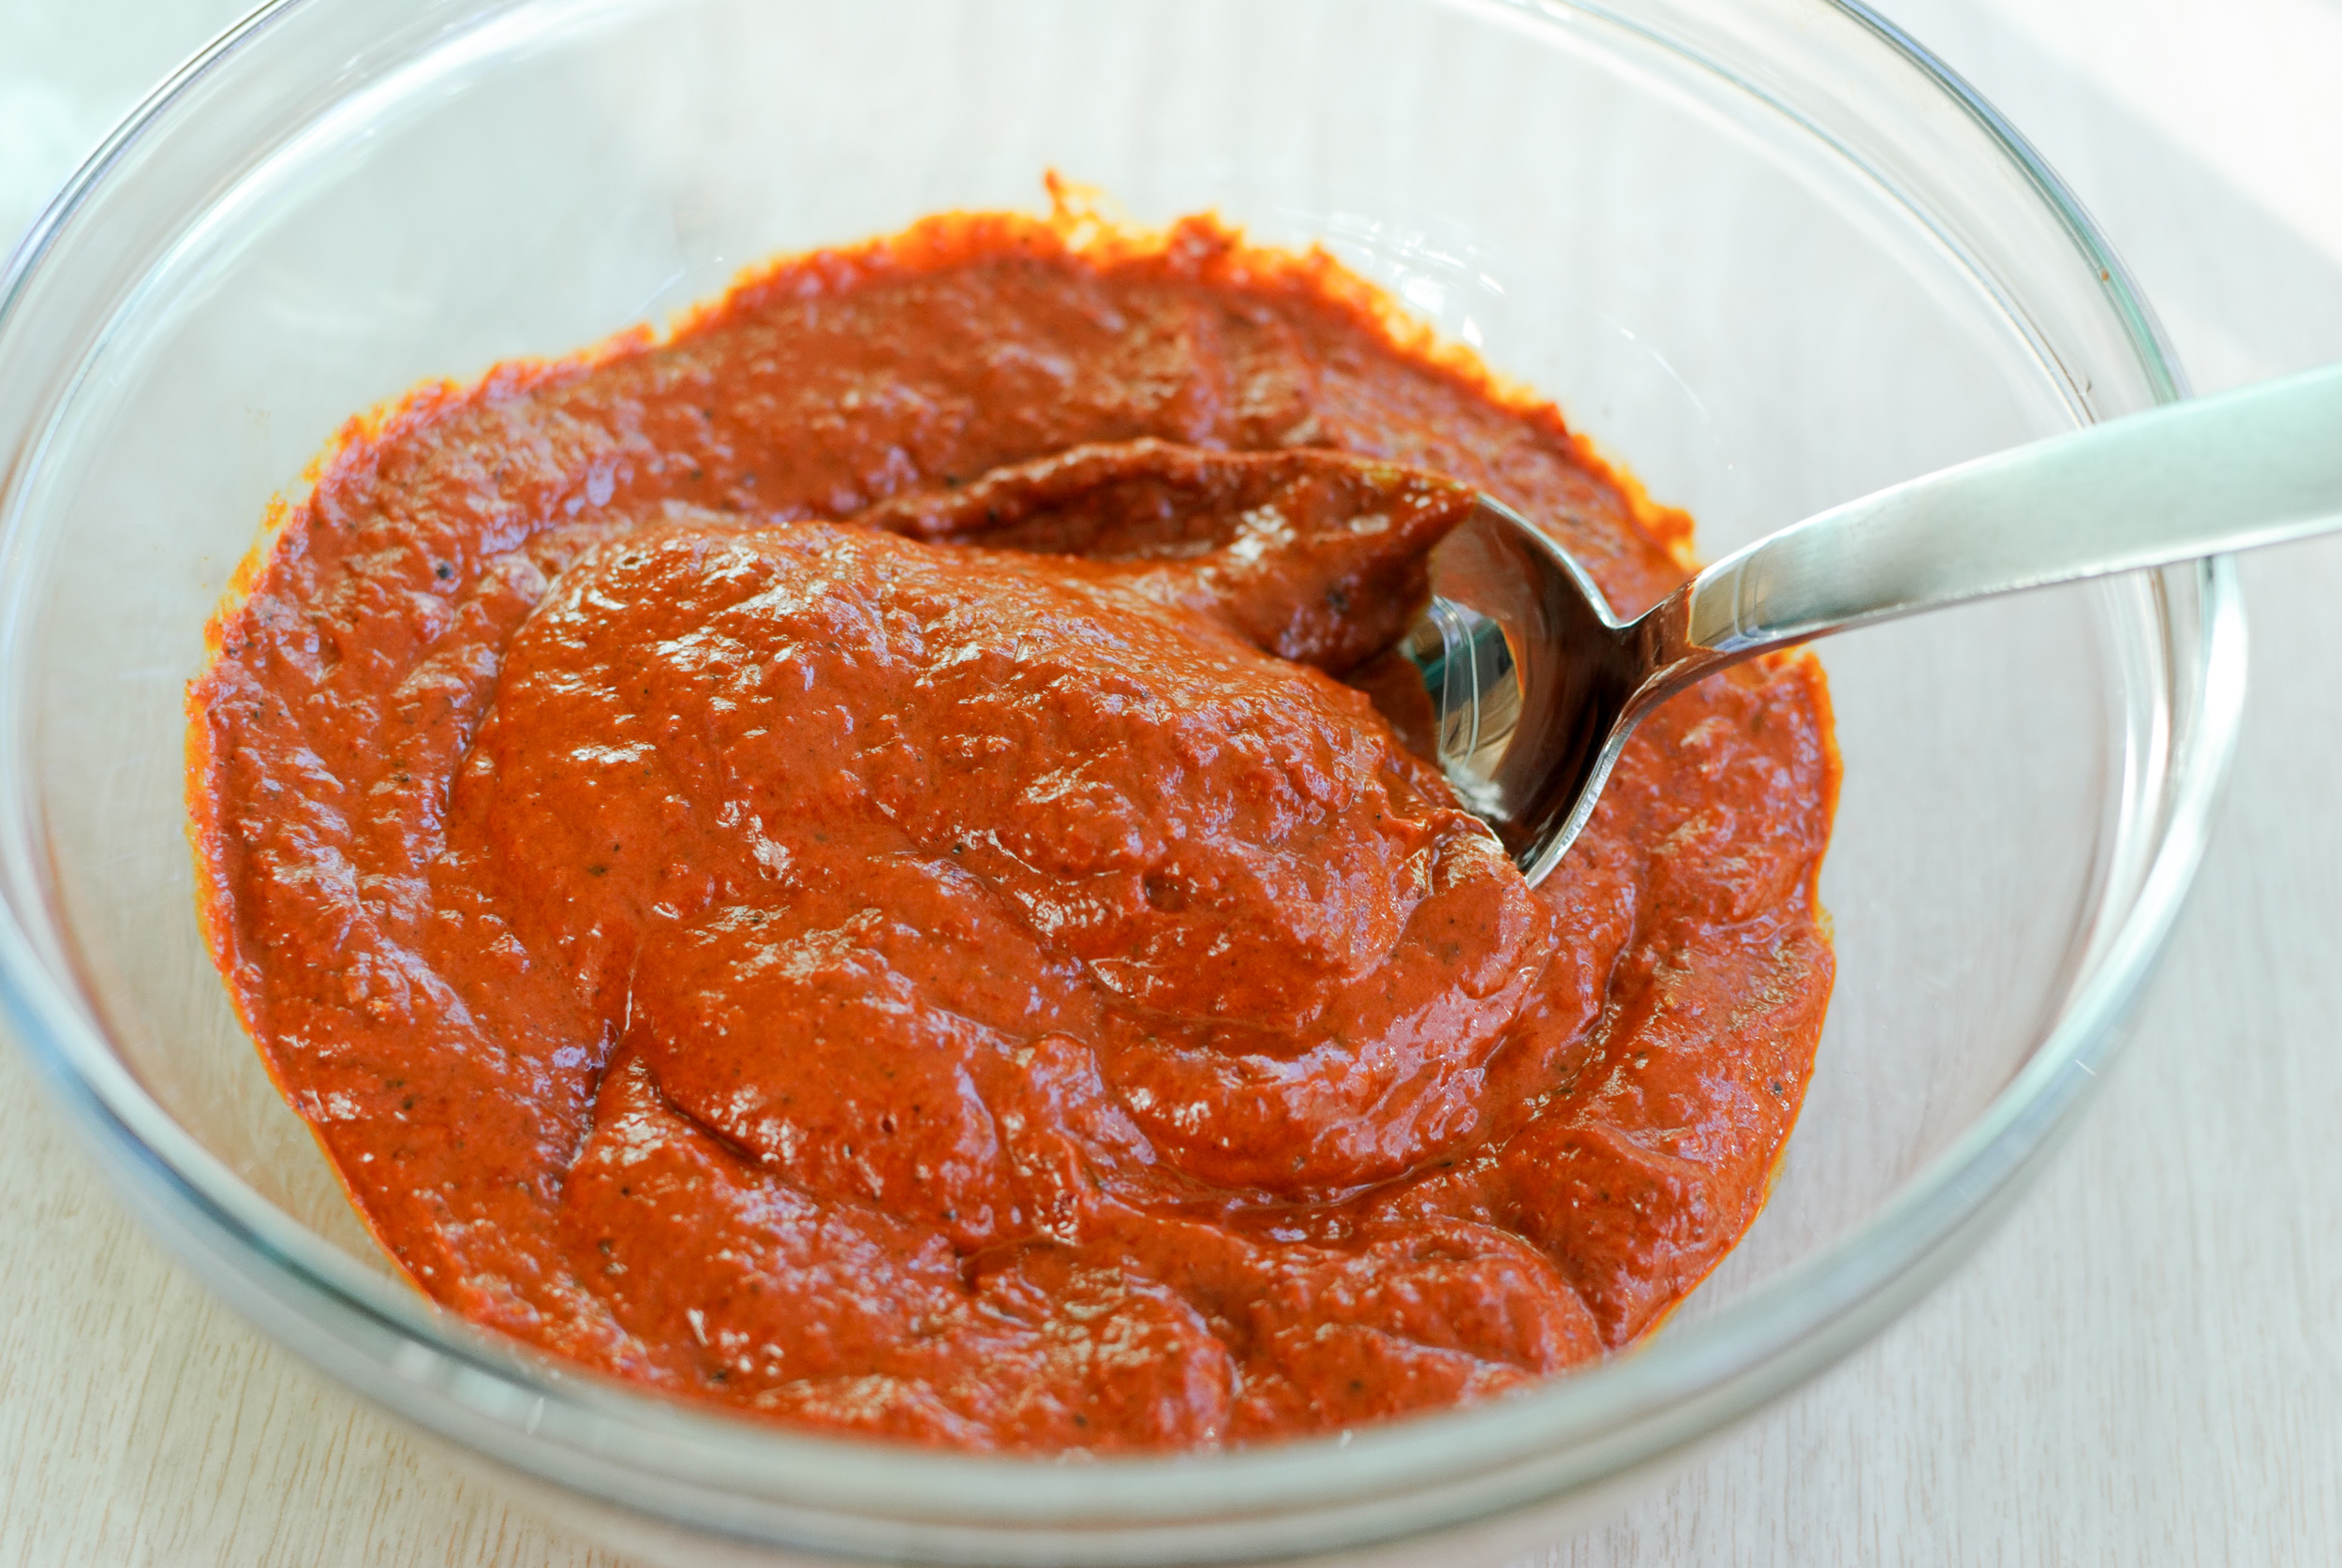
After the delivery of my first child, I was ravenous. I craved animal fat and meat that I could gnaw off of the bone. When the opportunity came to cook for a friend with a new baby, I recalled my postpartum craving and was drawn to the idea of grilled meat on the bone with a deeply savory marinade. After some brainstorming with my husband Michael, he suggested I make my own harissa for the pork loin chops I had in mind. Harissa is a North African pepper paste blended with fragrant spices like cumin, coriander, dried mint and caraway. There are numerous iterations of harissa depending on the neighborhood, country or ethnicity but the basic recipe is peppers, spices, garlic and olive oil. It's a widely available condiment in specialty food stores, but it was also surprisingly easy and very inexpensive to make at home from scratch. Harissa is often compared to ketchup or sriracha, but it's neither of those. It's deeply aromatic with very little sweetness, unlike ketchup; and it lacks the bite in acidity that sriracha brings to the palette.

Notes: Because I was cooking for a family that included a three year old, I deseeded the peppers in order to control and mute the amount of spiciness. Deseeding the peppers made the harissa warm but not spicy to my palette. Before I served it to our friends, my own similar-aged (and spicy-adverse) children tried it, and they didn't find it spicy at all. I wish I had doubled this recipe because the harissa keeps so well and is a perfect food gift to share. This recipe was generous enough to season the pork, and I had a 1/2 cup to give to Amy on the condition that she cook something delicious for us with it.


For the Harissa:
Time: 30 minutes
Makes 1 Cup

8 dried guajillo chiles, stemmed and seeded (about 2 oz.)
8 dried new mexico chiles, stemmed and seeded (about 1 1⁄2 oz.)
1⁄4 tsp. coriander seeds
1⁄4 tsp. cumin seeds
3 tbsp. extra-virgin olive oil, plus more as needed
1 1⁄2 tsp. kosher salt
5 cloves garlic
Juice of 1 lemon
Zest of 1 orange

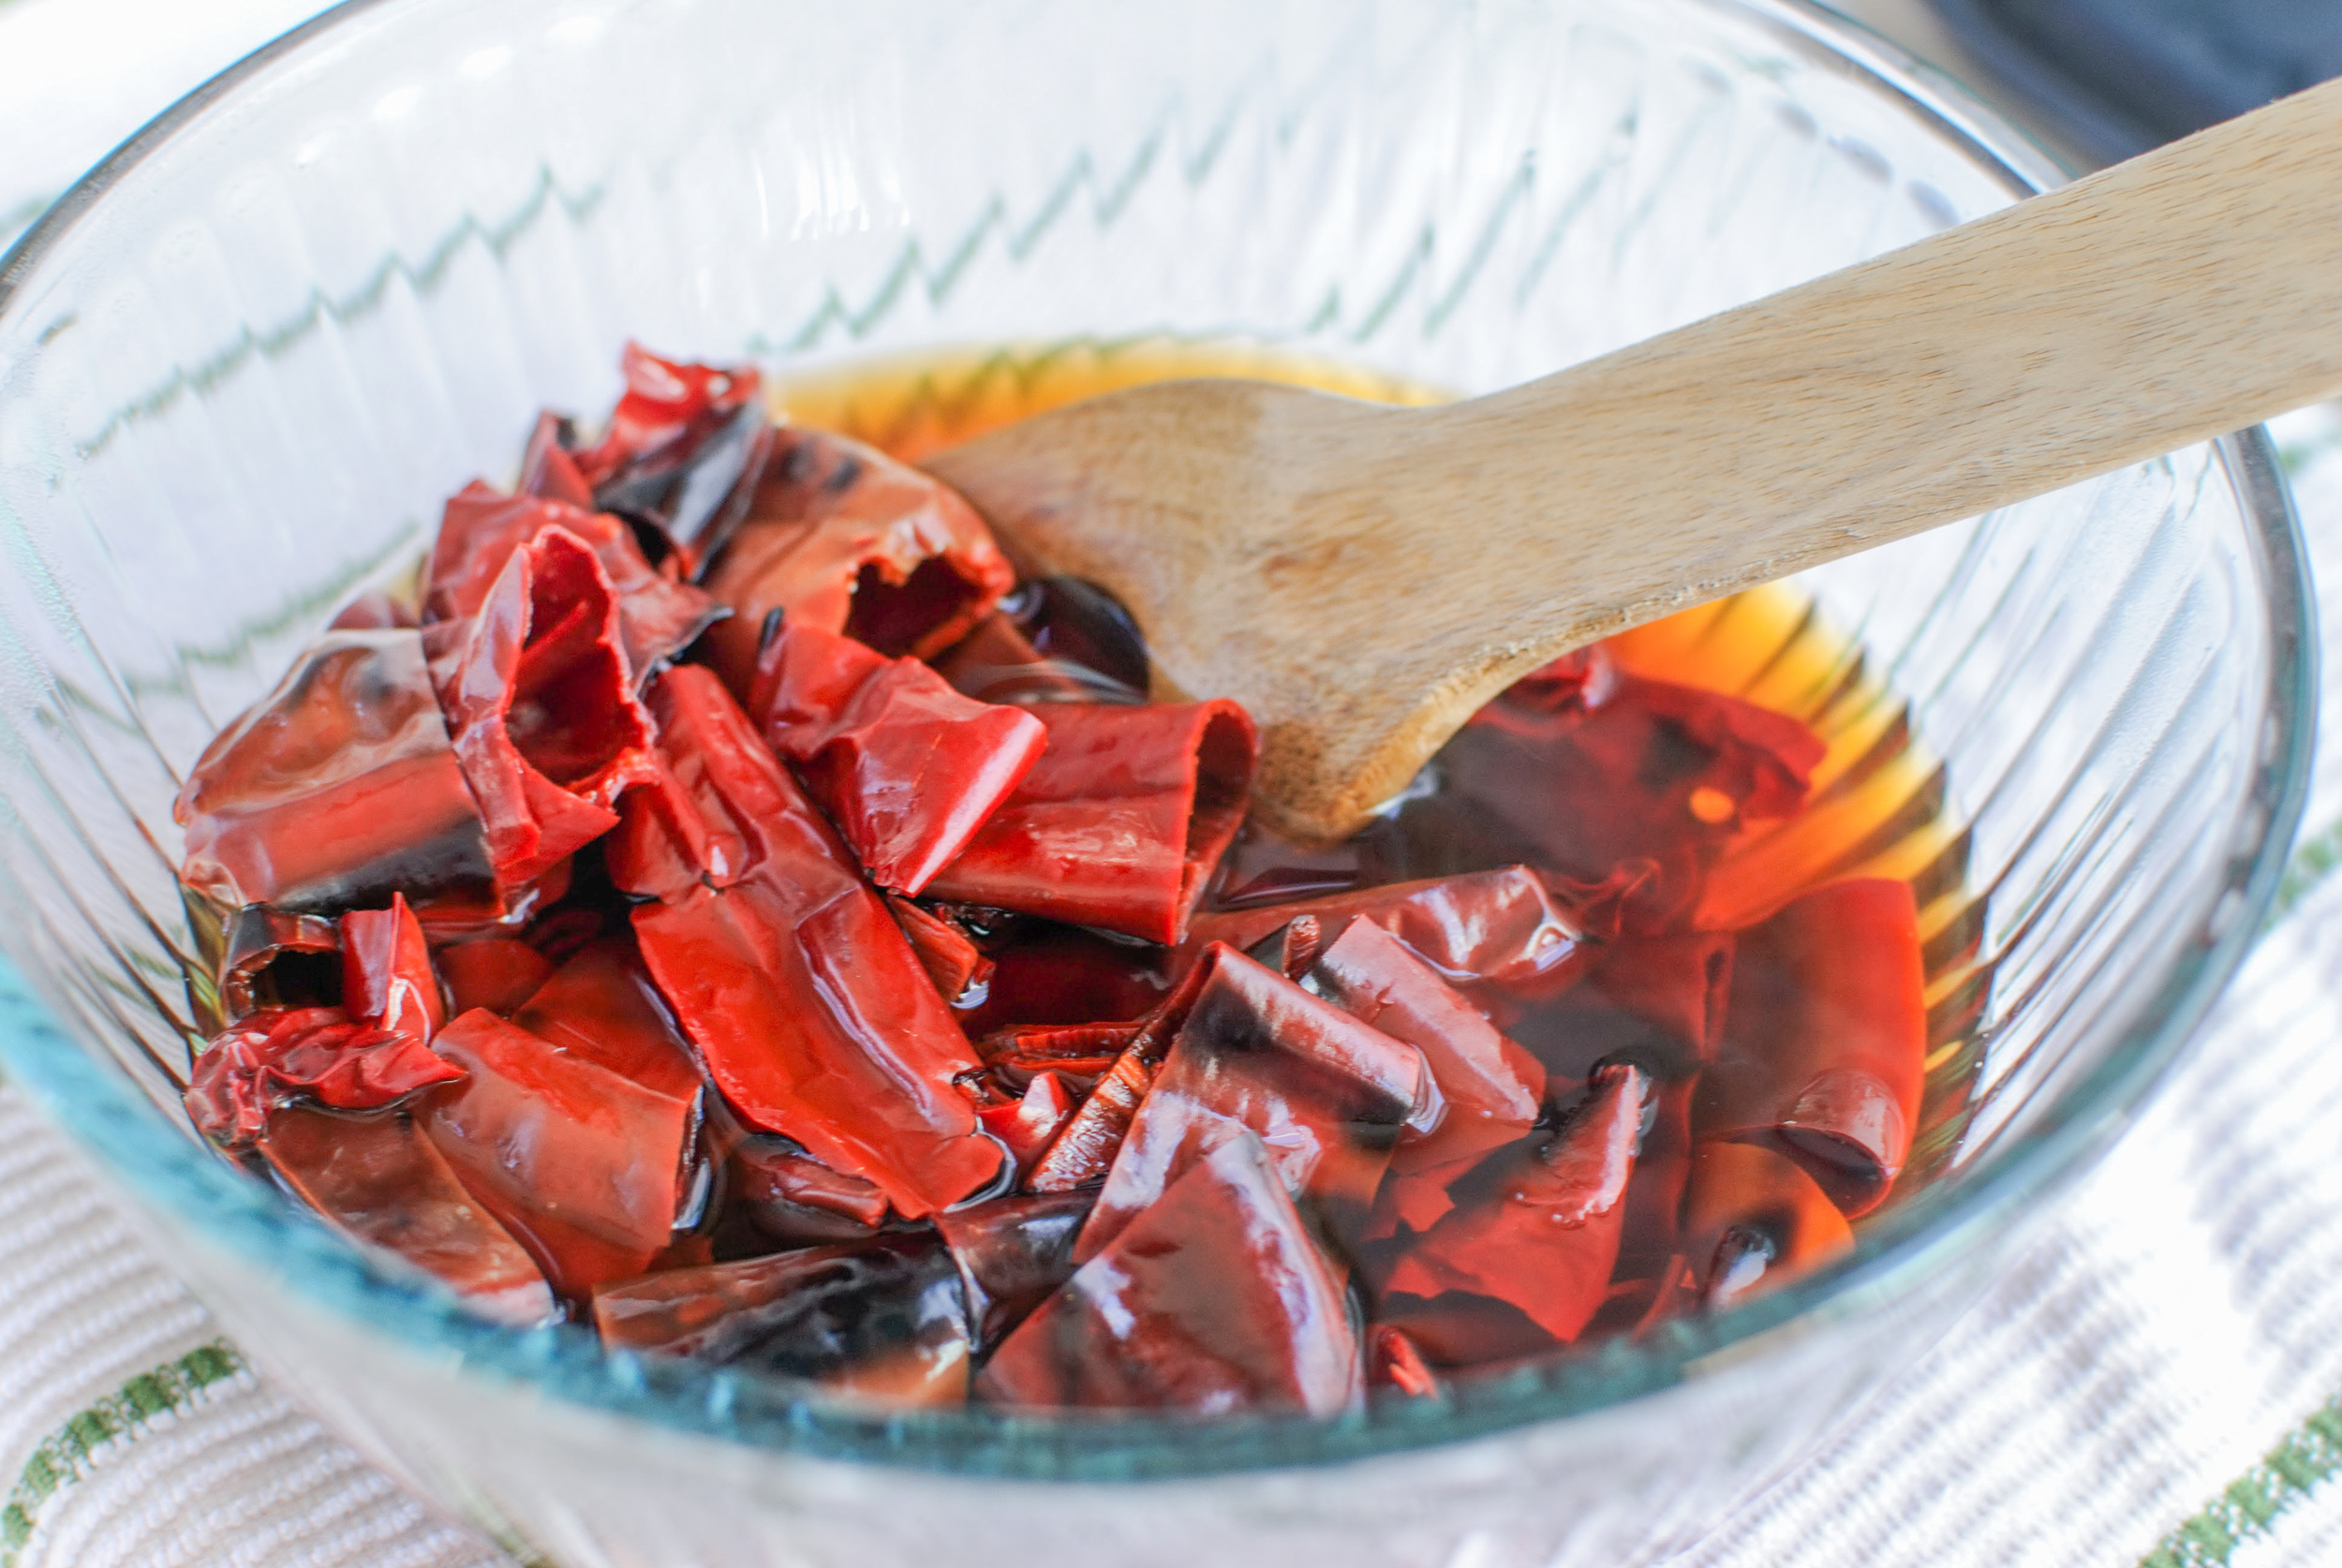
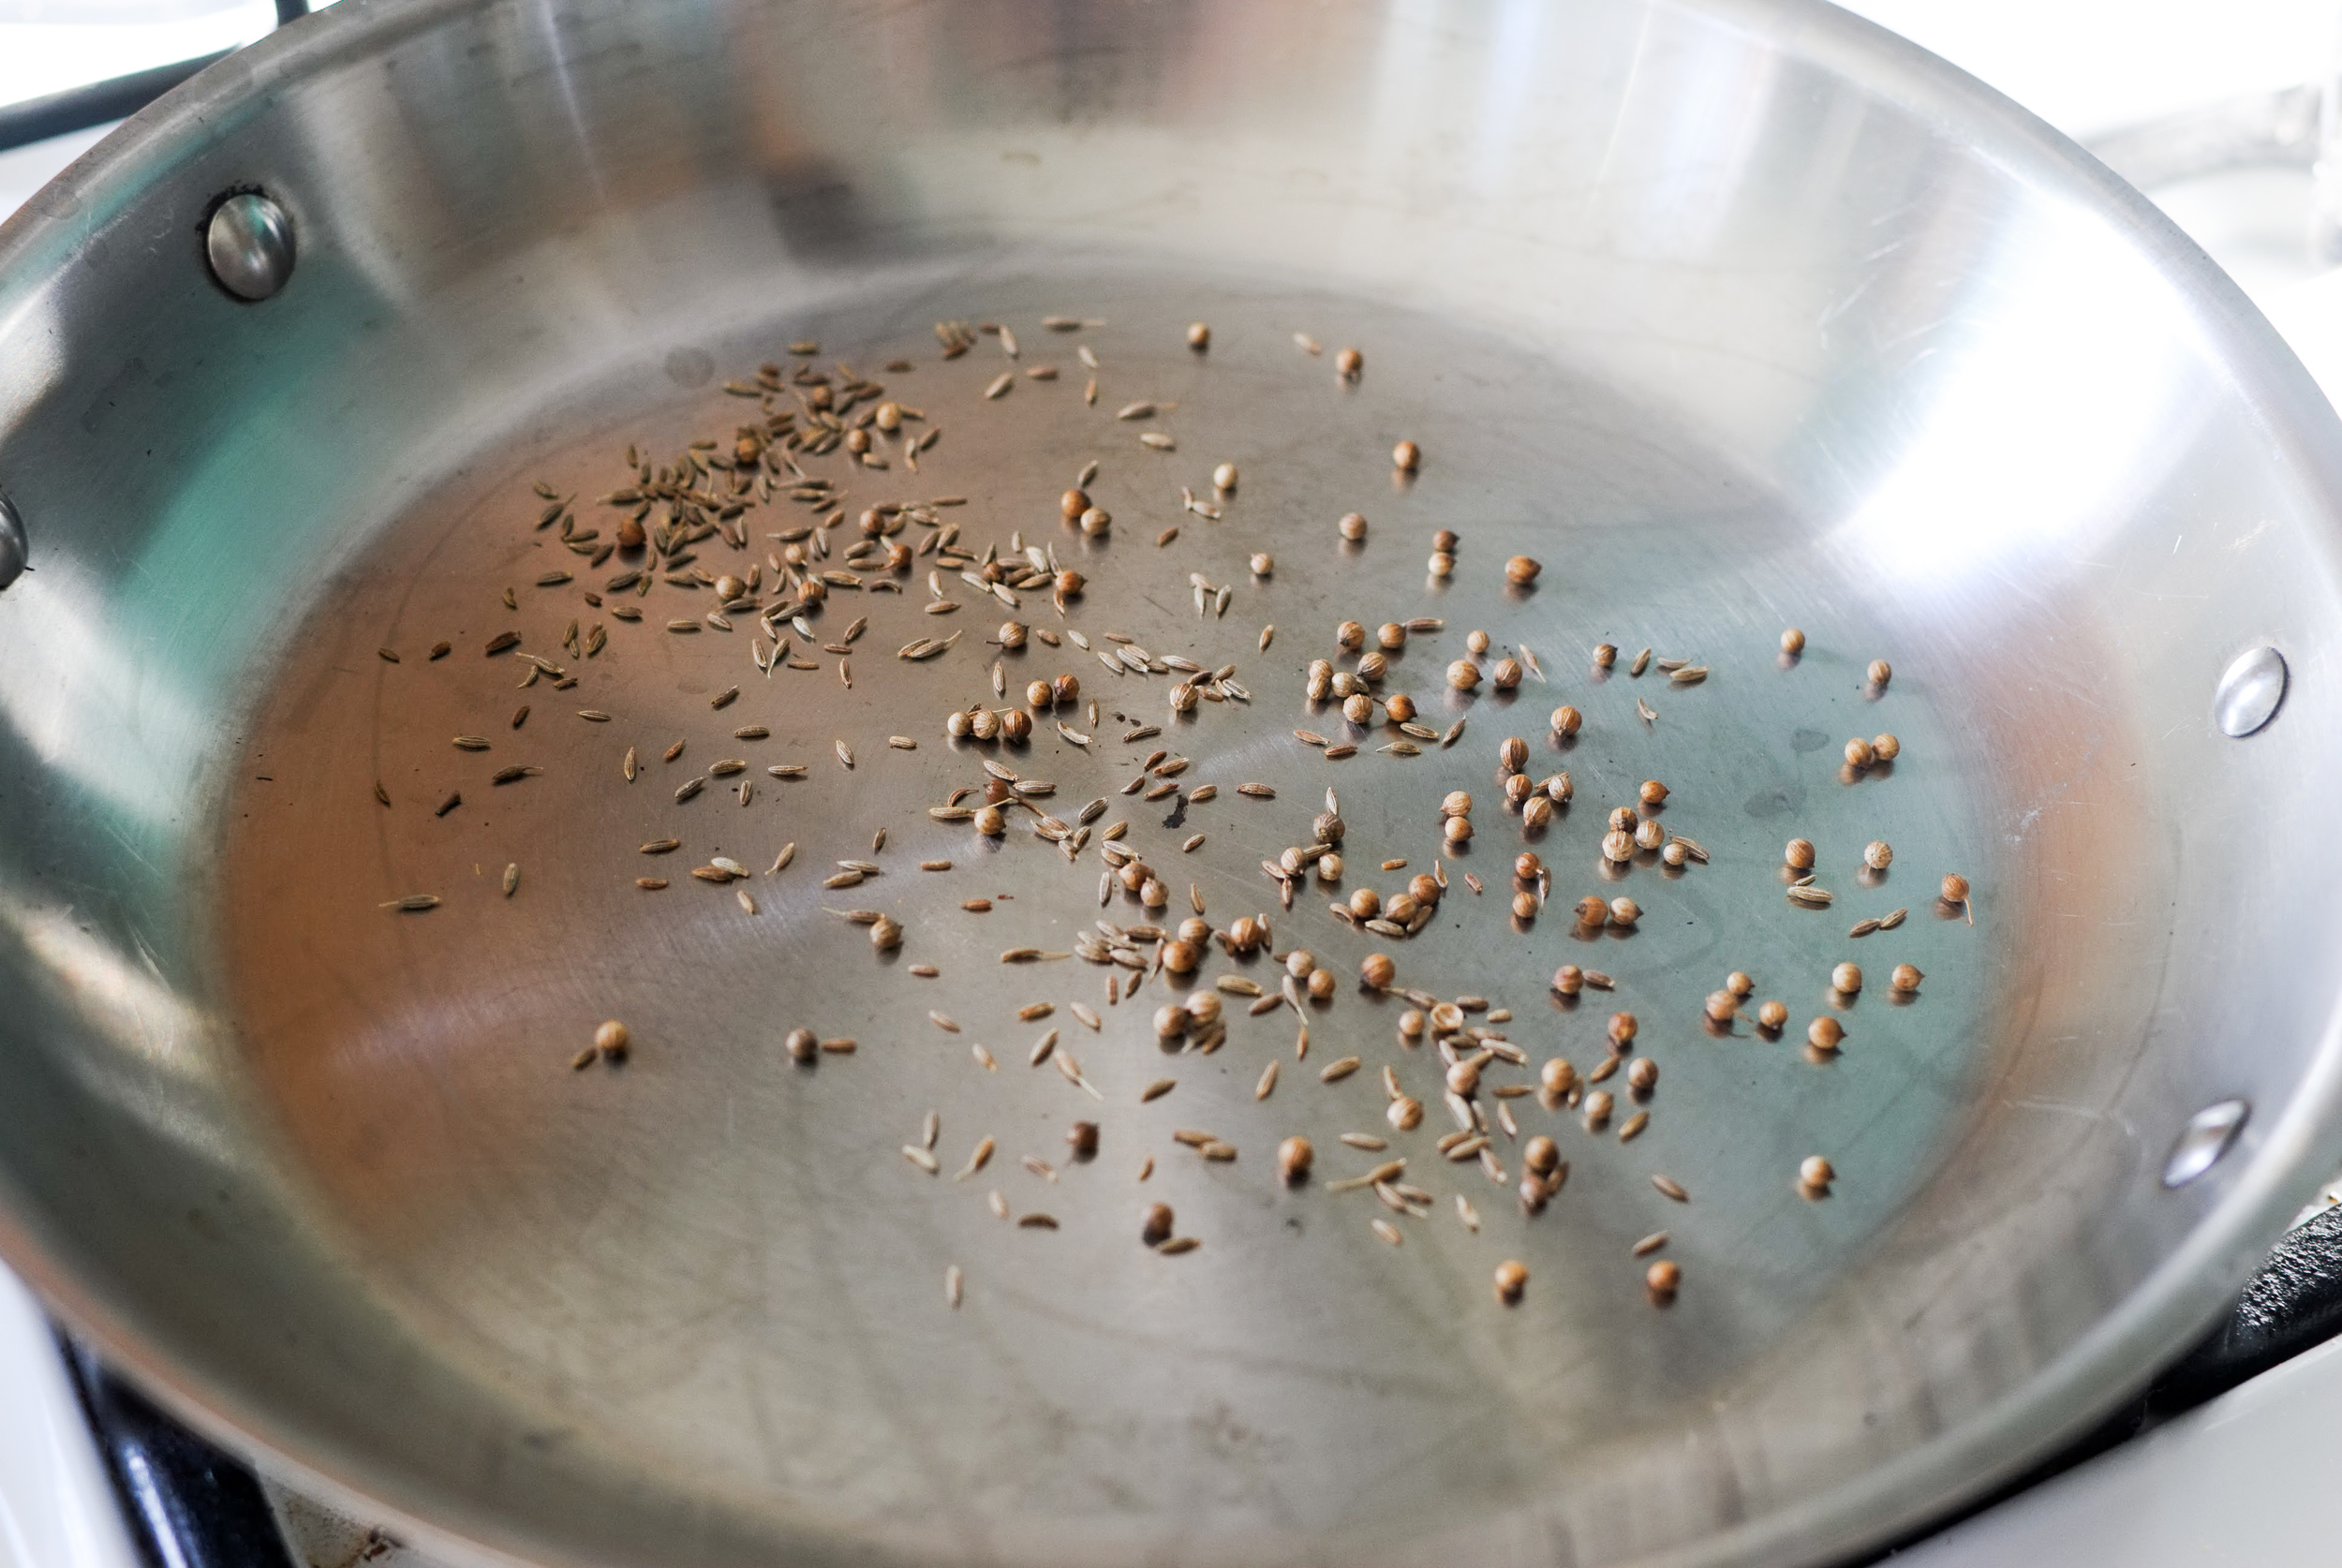
Deseed chiles, cut into 2 inch pieces with scissors and put into a skillet over medium heat. Toast chilies until fragrant, about 3 minutes. Place chiles into a medium bowl, cover with boiling water, and let sit until softened, 20-30 minutes. Heat caraway, coriander, and cumin in an 8" skillet over medium heat. Toast spices, swirling skillet constantly, until very fragrant, about 2 minutes. Transfer spices to a grinder and grind to a fine powder. Set aside.

Drain chiles and transfer to the bowl of a food processor or blender with the ground spices, olive oil, salt, garlic, lemon juice and orange zest. Purée, stopping occasionally to scrape down the sides of the bowl, until the paste is very smooth, about 2-4 minutes. Transfer to a sterilized 1-pint glass jar and fill with oil until ingredients are submerged by 1⁄2". Refrigerate, topping off with more oil after each use. Harissa paste will keep for up to 3 weeks.

Adapted from: Saveur Magazine

For the Pork Loin Chops:
Time: 60 minutes
Servings: 6

3/4 cup prepared Harissa
12, 1" thick pork loin chops (bone in)

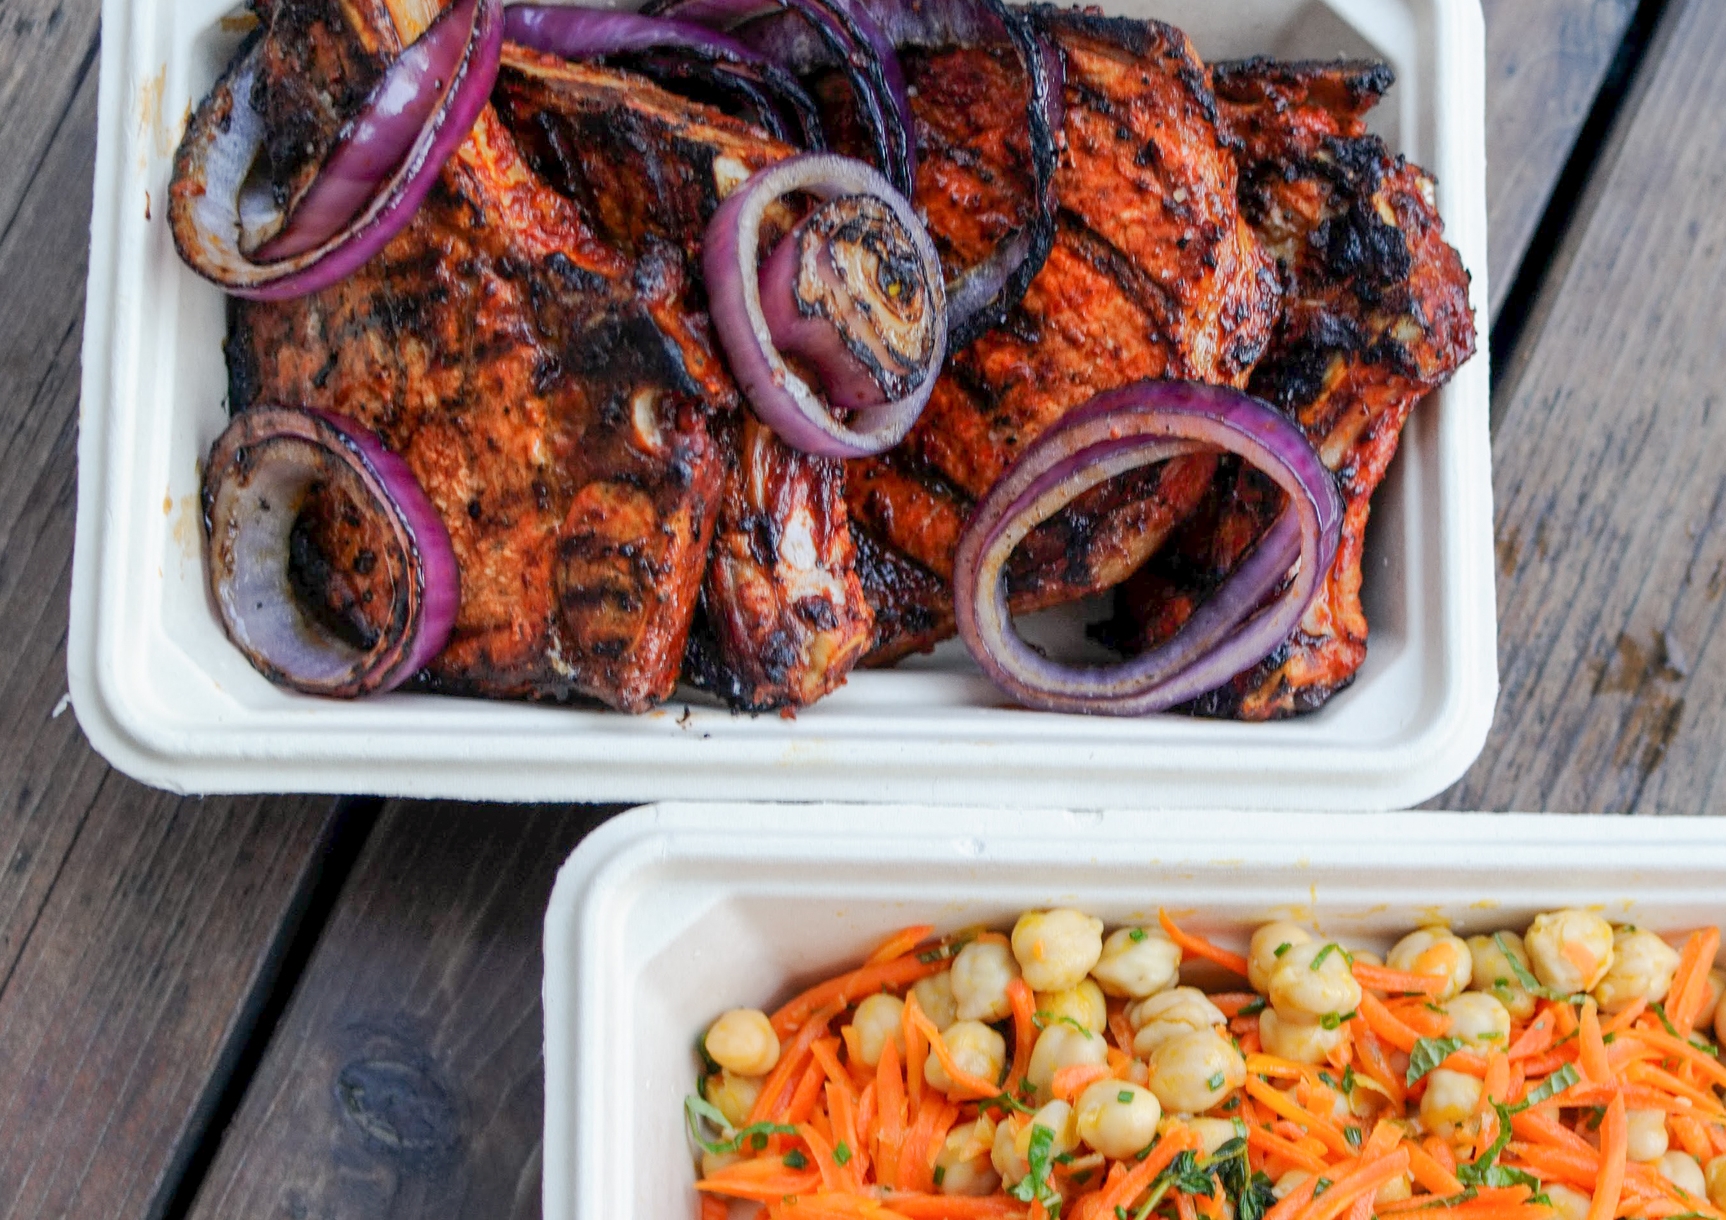
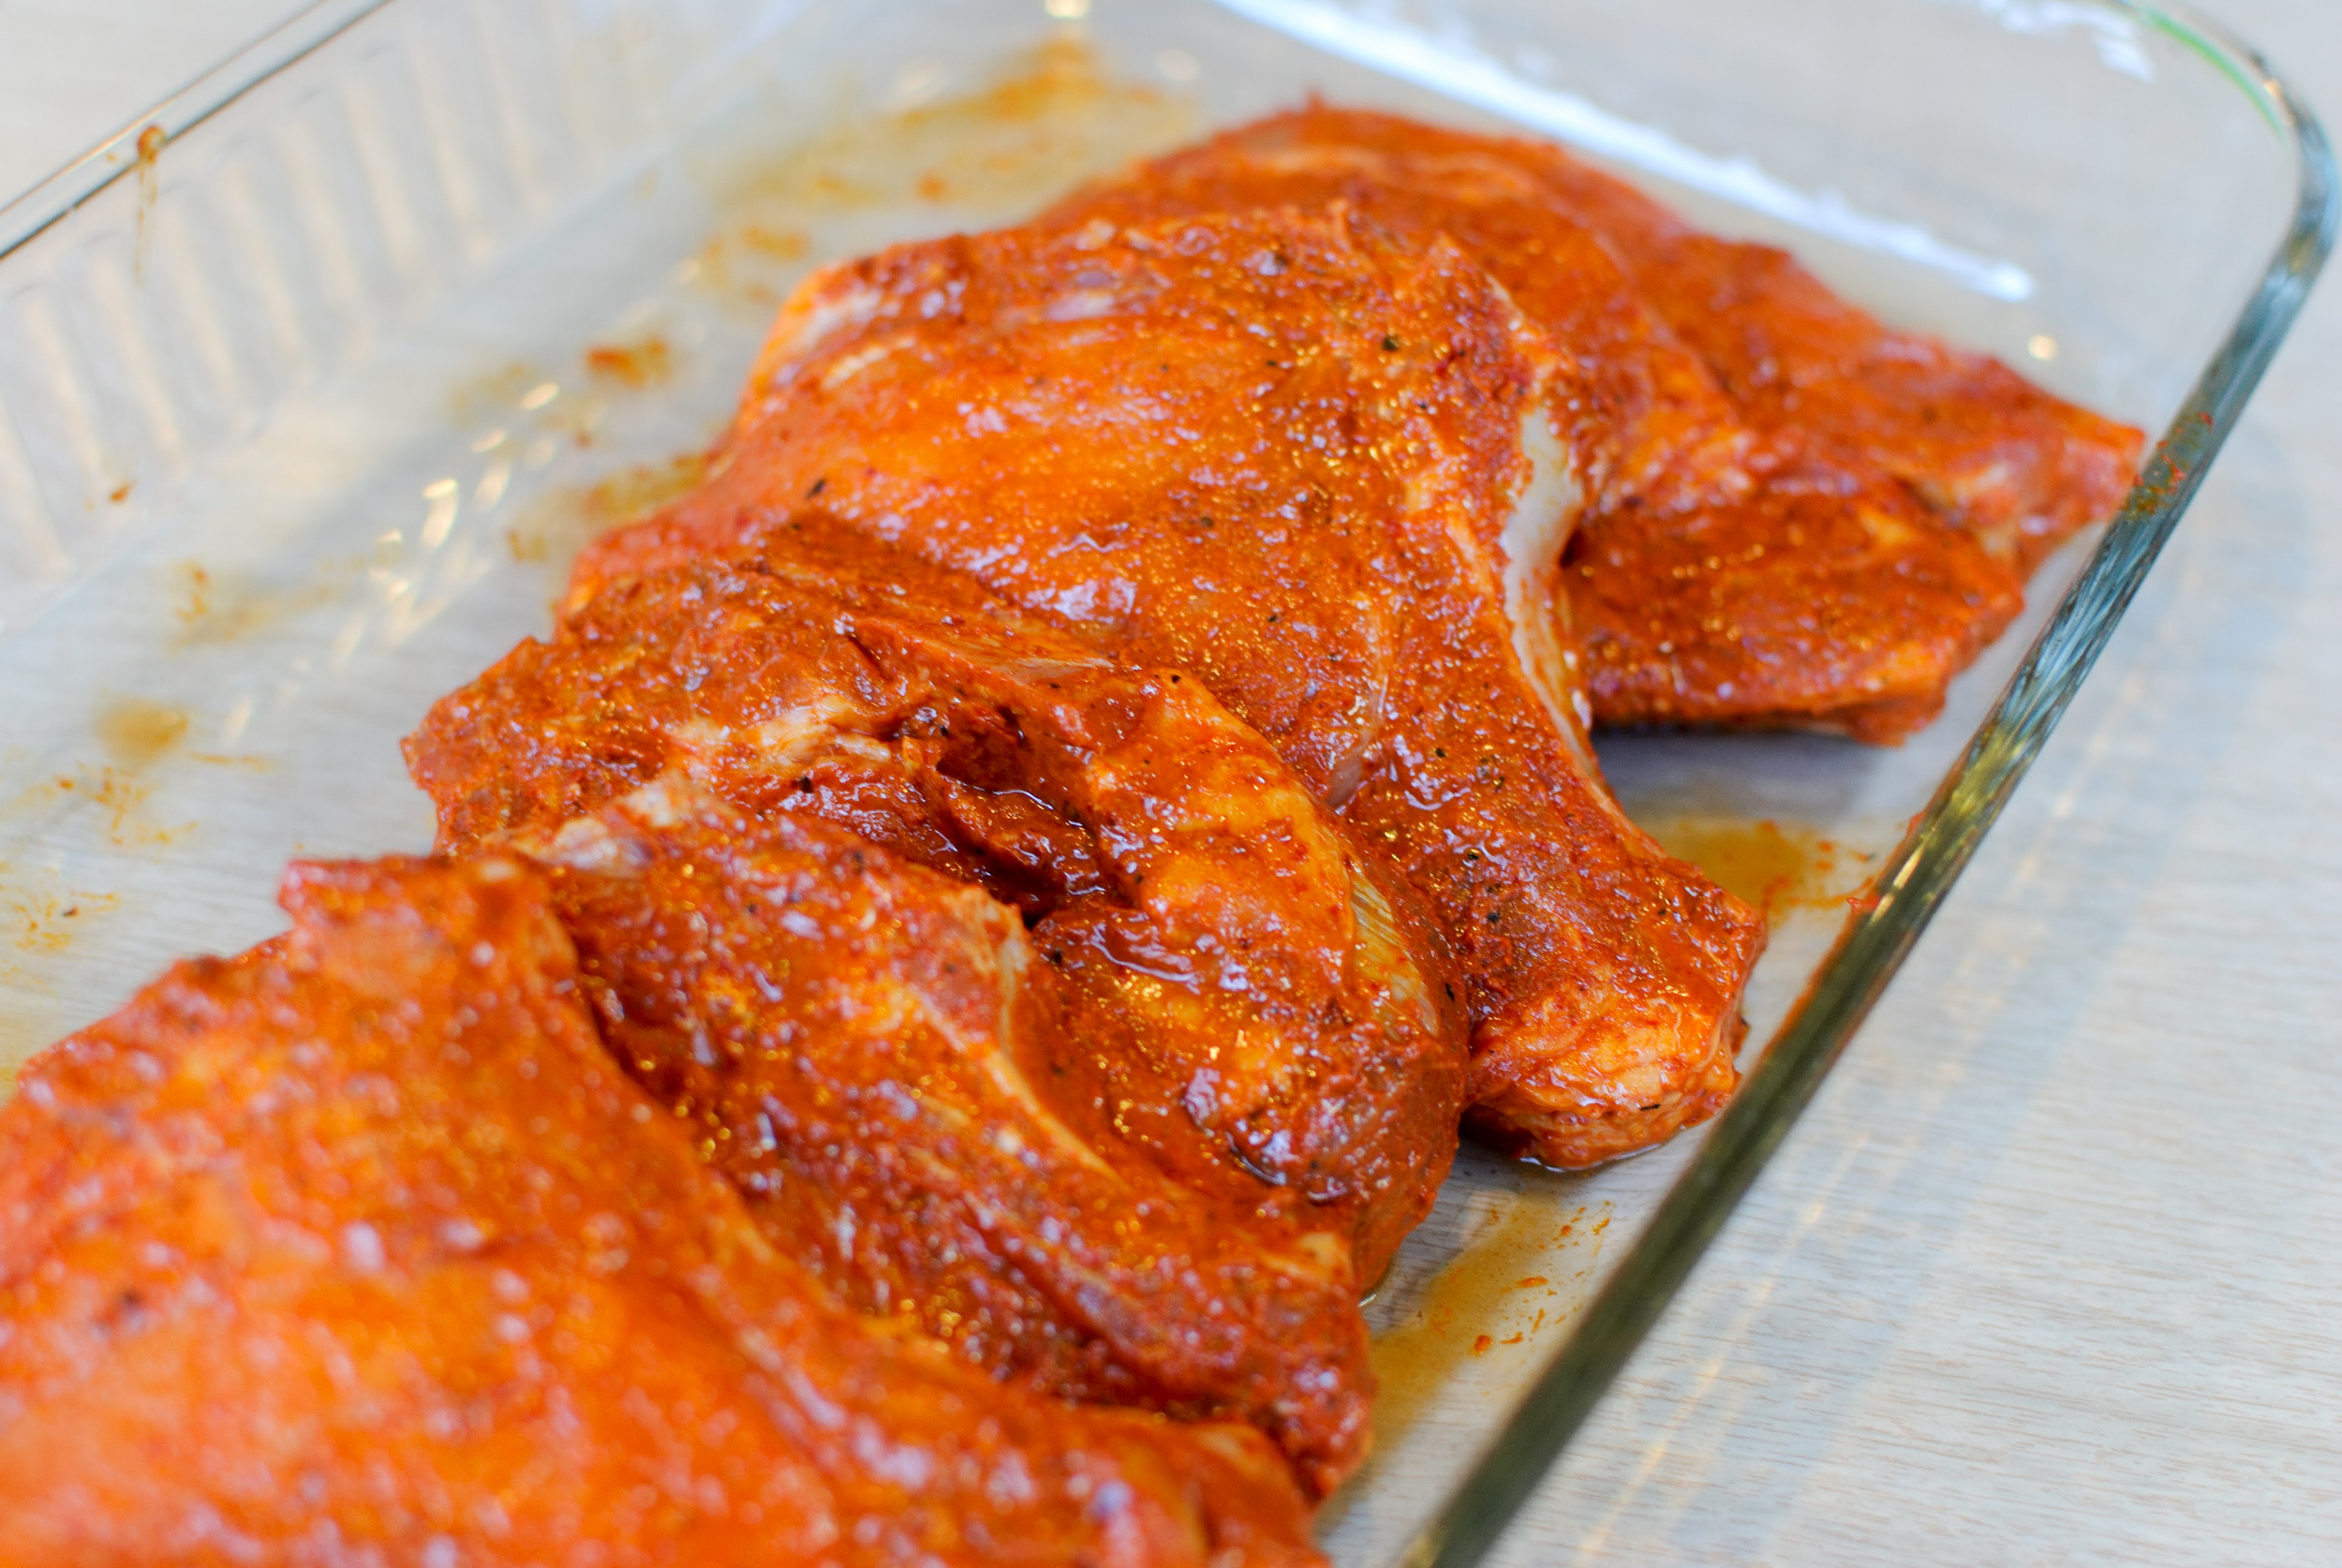
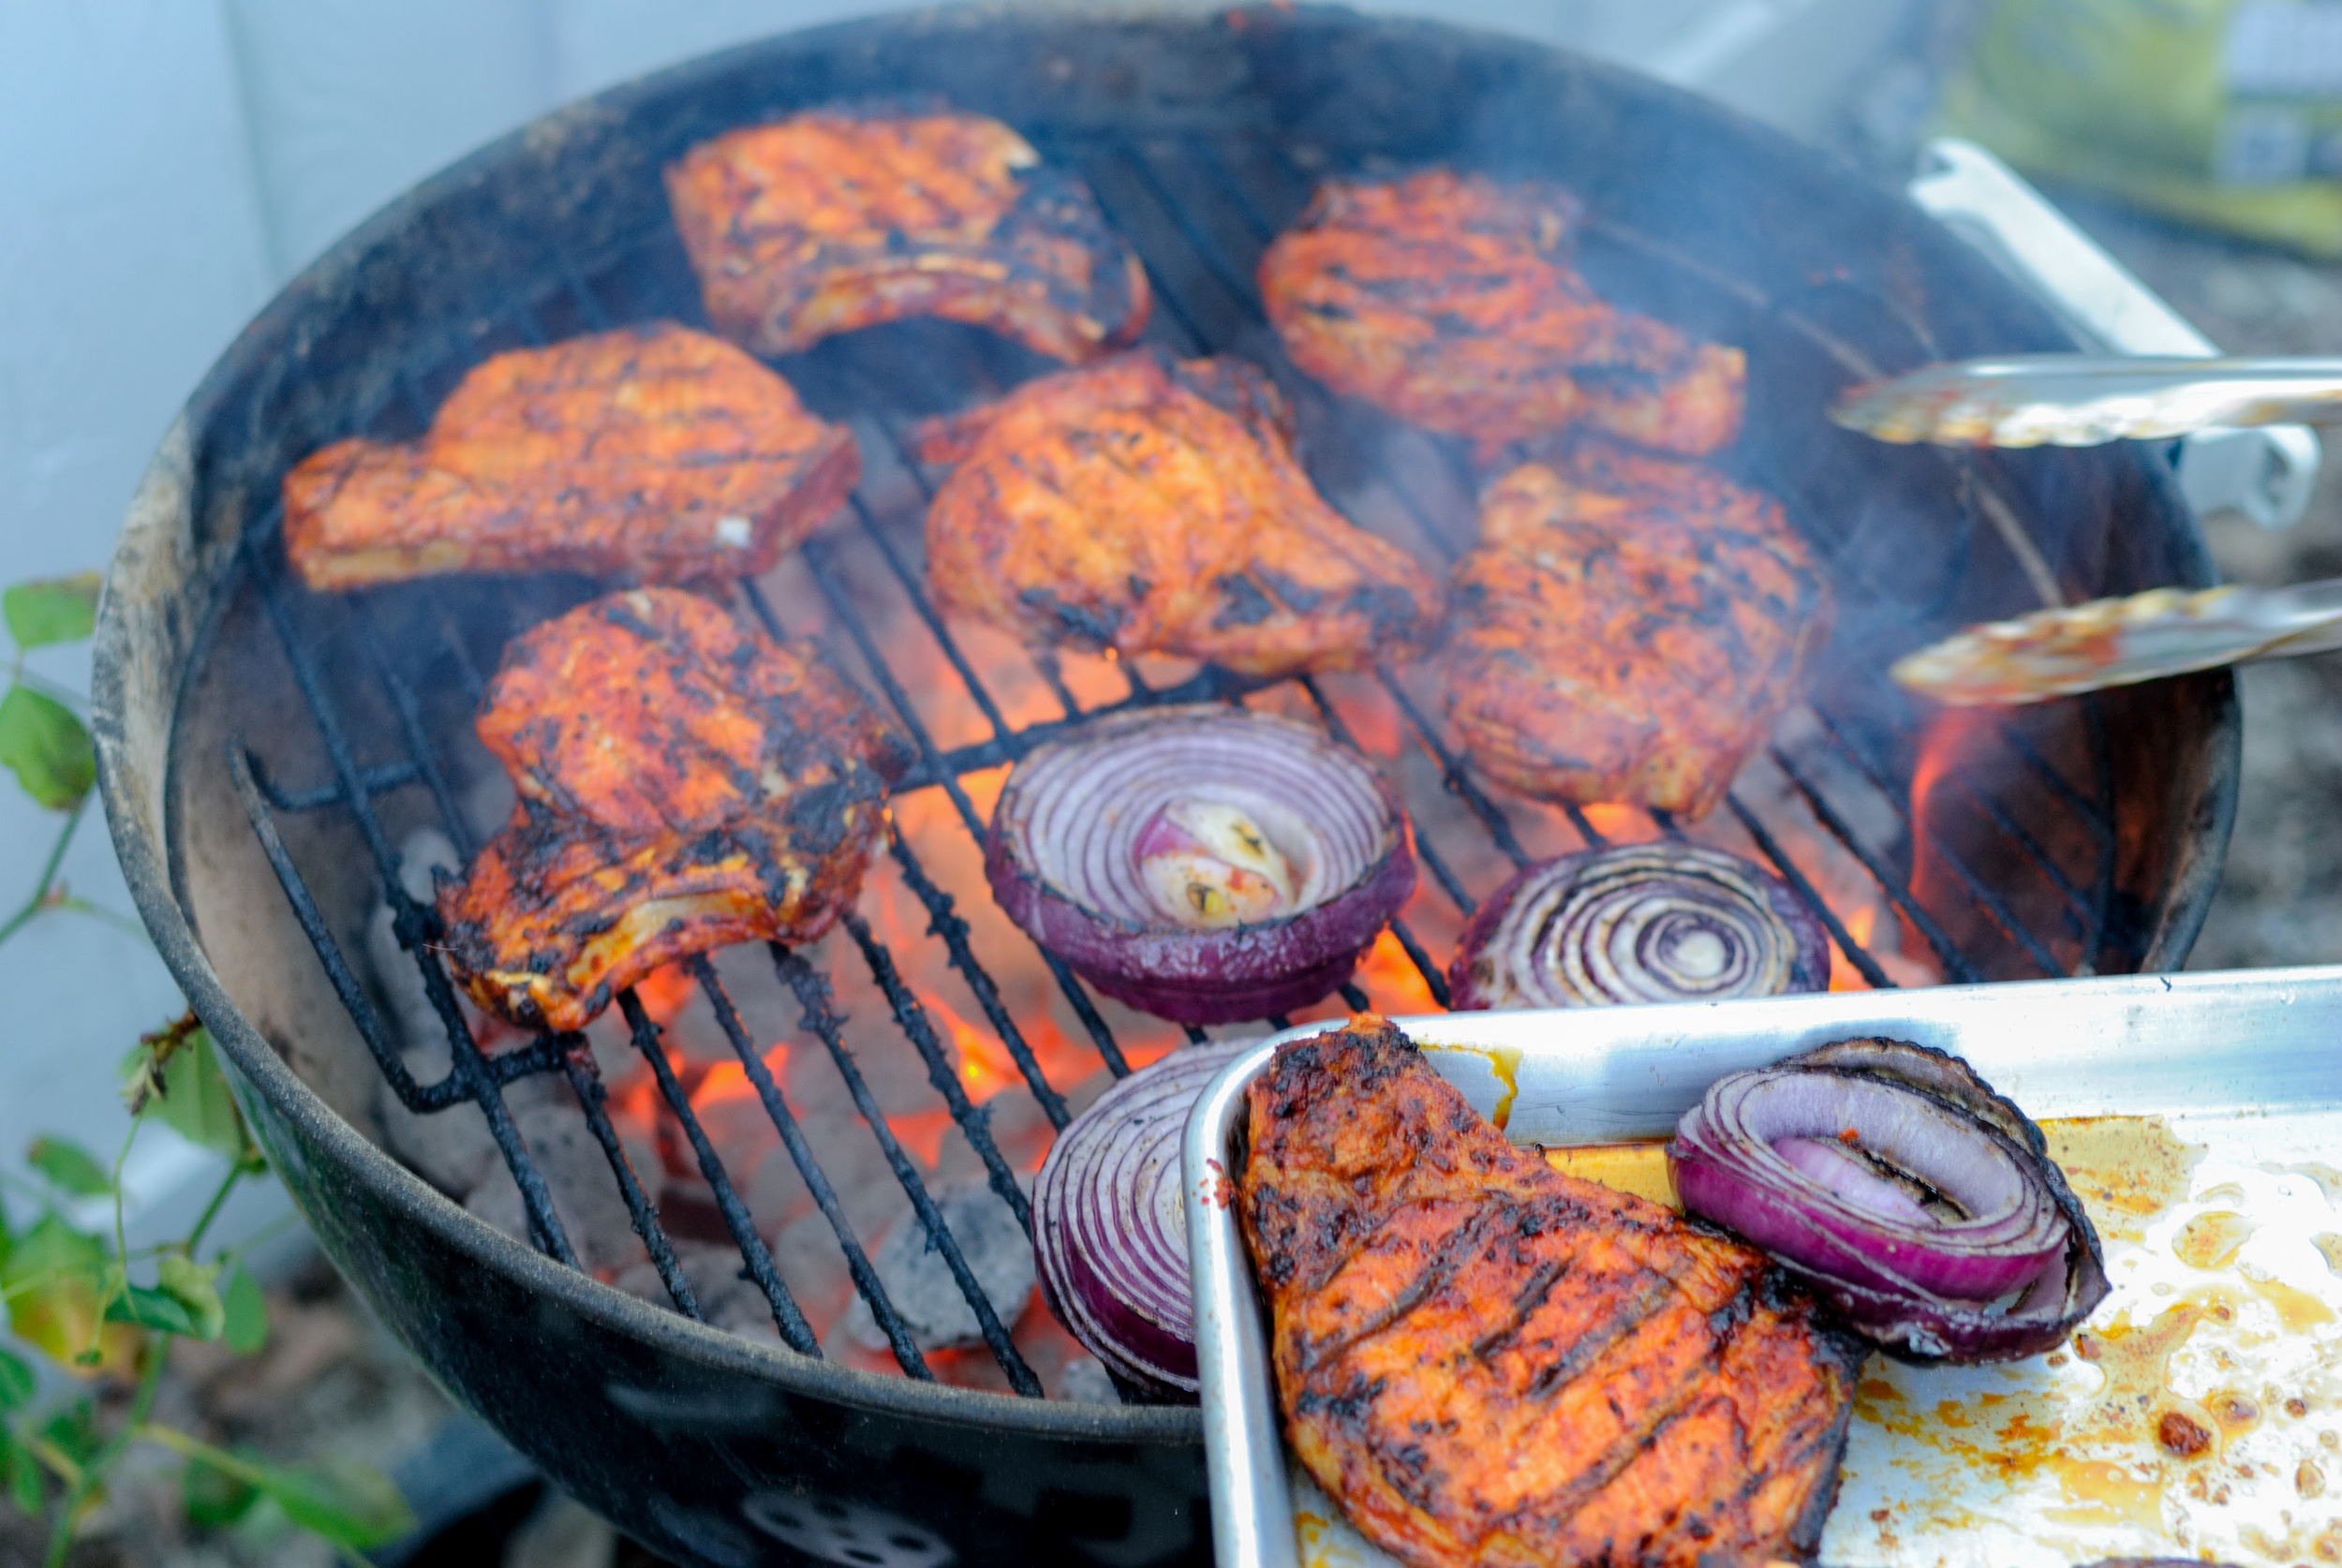
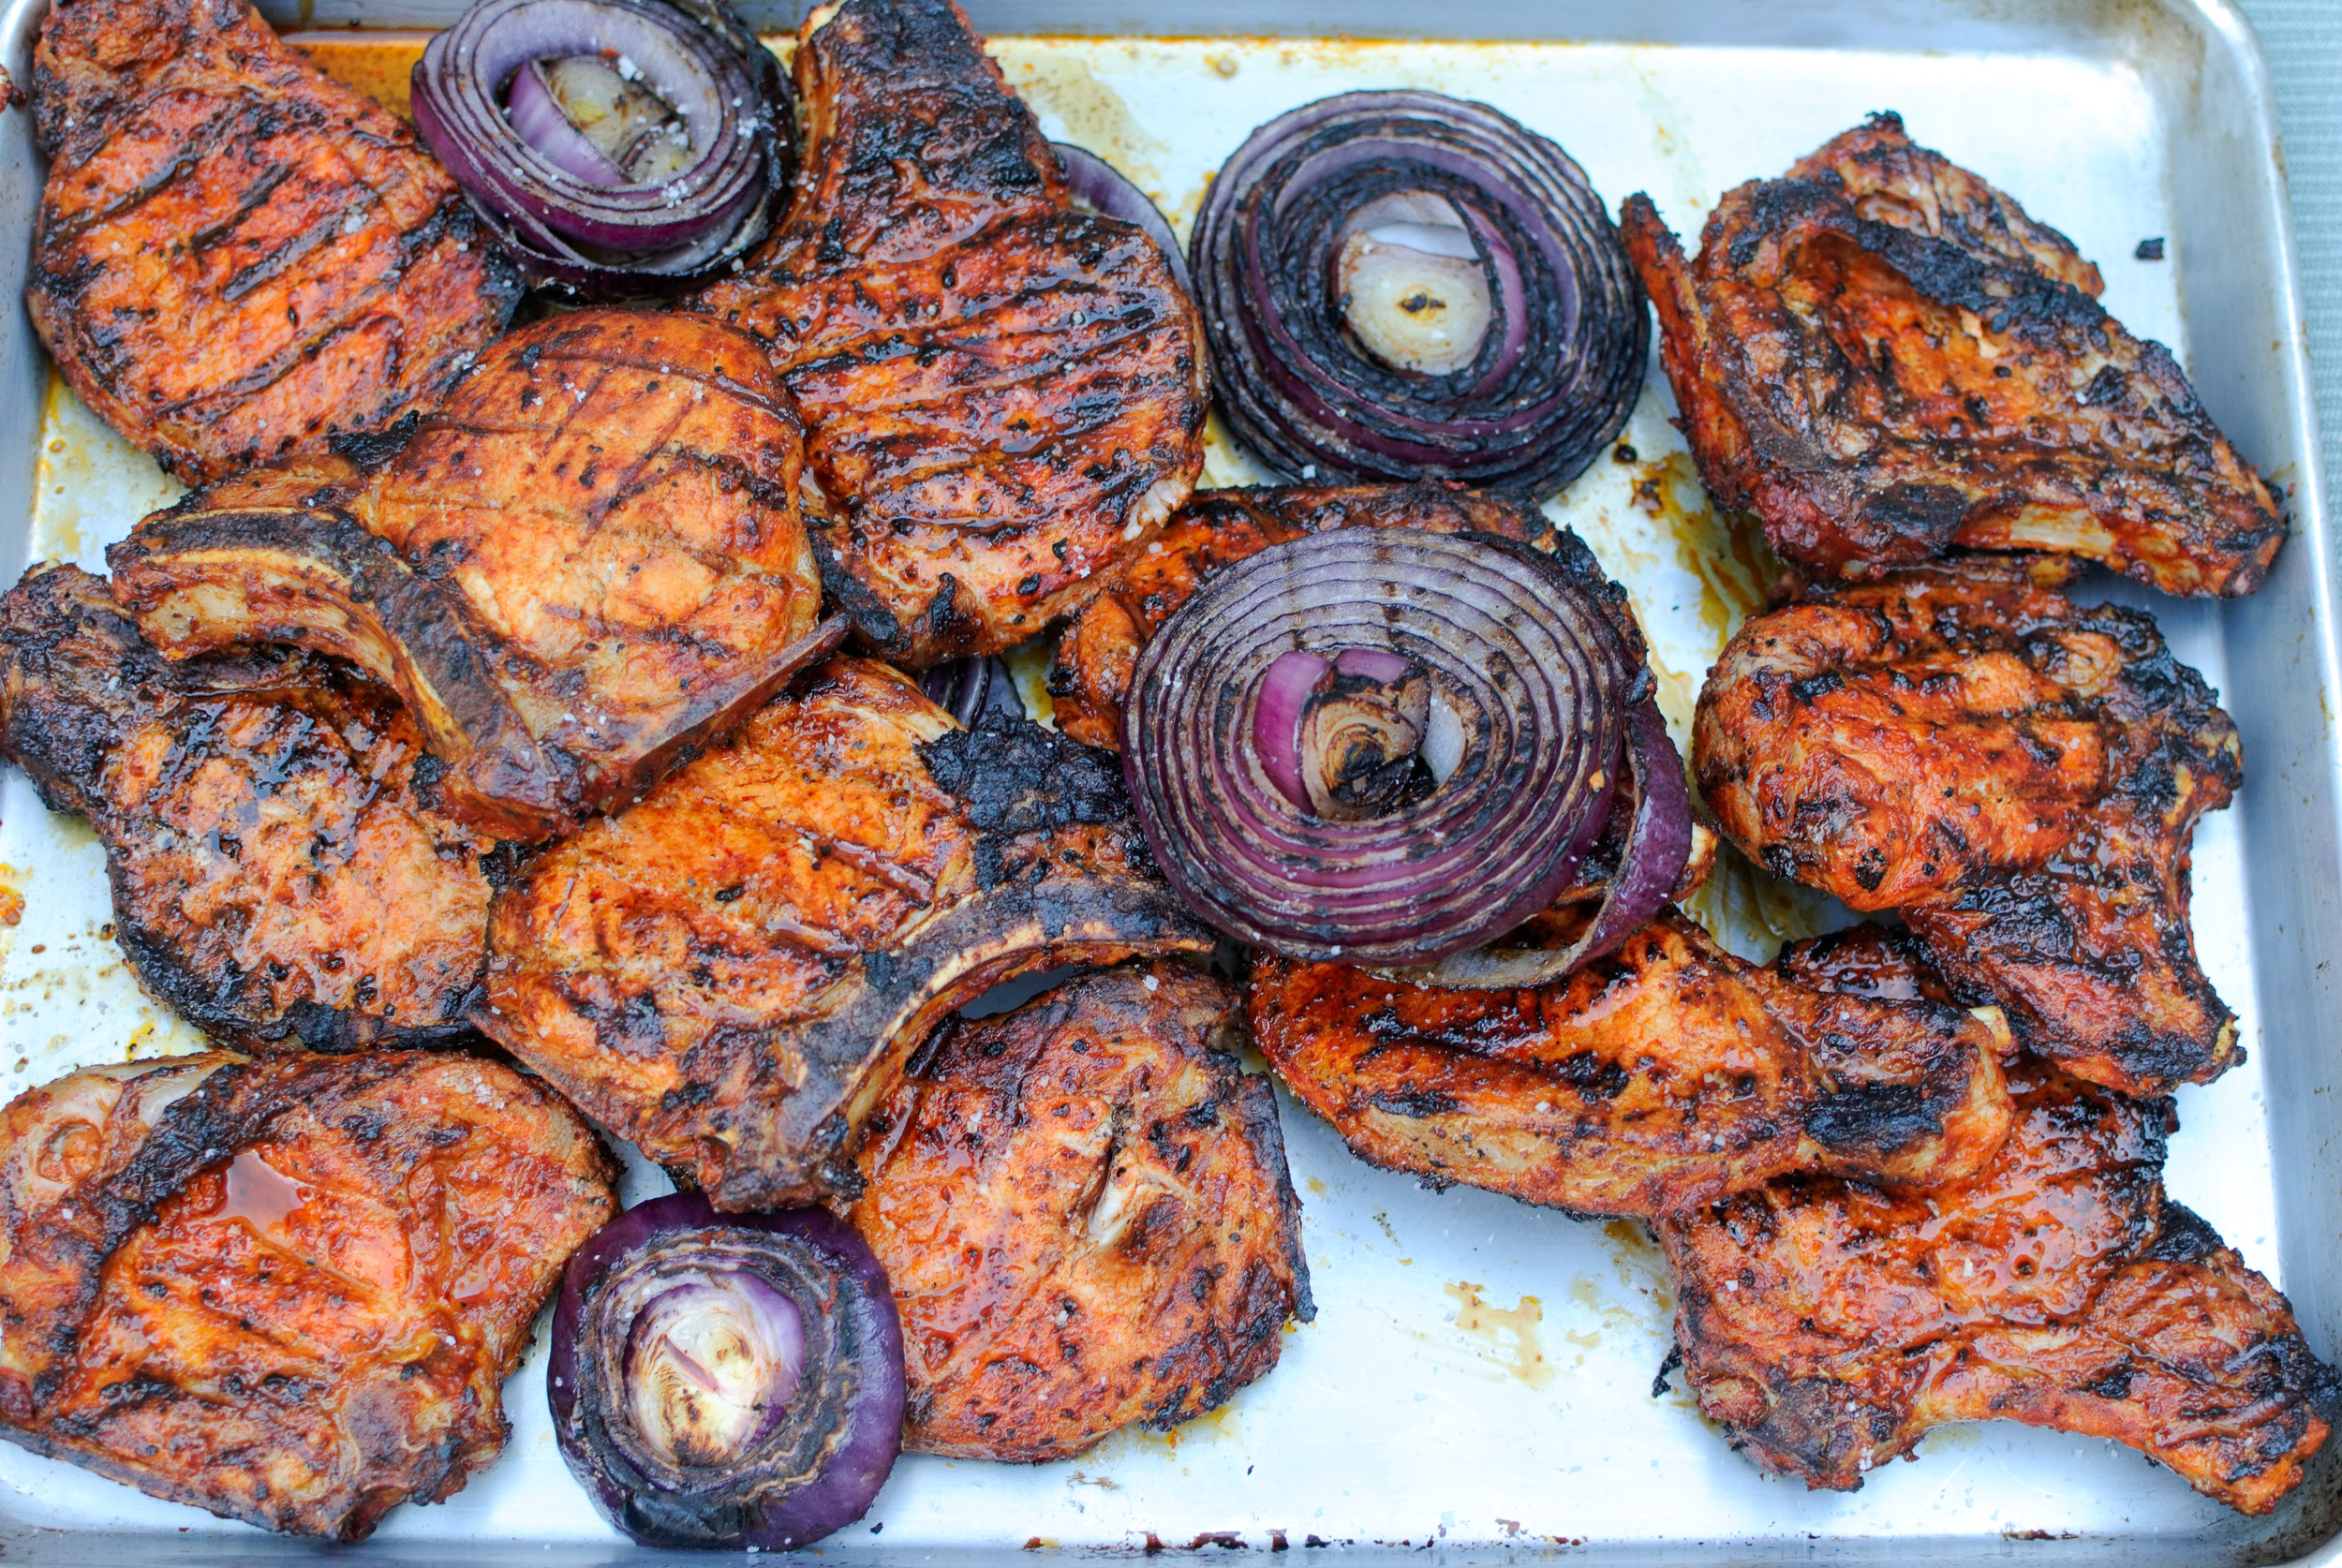
Prepare your grill. While your grill is heating up, dry pork chops throughly with a paper towel. On a large sheet pan, toss pork chops with Harissa paste and marinate for a minimum of 30 minutes (up to 6 hours). Once the pork is marinated and the grill is hot, place pork chops on the grill over indirect heat and cook 3-5 minutes per side. Cook until internal temperature reaches 145 degrees Fahrenheit.

Crispy Chicken Wings by Cynthia Raub

Print Friendly and PDF
crispychickenwings

Small chicken wings are 33% meat, 33% skin and 33% bone - the best part being the skin. When chicken skin is rendered down from it’s pale, dotted and limp original state, it transforms into a golden and crunchy treat from the heavens. If you are #blessed enough, the fat from the skin might pool at the bottom of your baking pan to produce schmaltz. (Have you ever dipped a bland and dry veggie sandwich in warm schmaltz to make it palatable? I have, and it was glorious.) Chicken wings are a crowd pleaser and can be enjoyed hot and cold, which is why I thought they’d be a wonderful accompaniment to the Soba Noodle Salad with Ginger Scallion Sauce. The lacquered and addictive sweet and salty glaze was especially popular with the kids who loved nibbling off of the chicken bone. 

Notes: The chicken wings I bought were smaller than what I normally encounter at the store. But because of my love of chicken skin (see above) this didn’t bother me. The size of your chicken wings will change the amount of time you bake them. The meat on my small chicken wings were a little dry but the skin was incredibly crisp and was not compromised and didn’t get soggy when dressed with the glaze. This was worthwhile to me, but your mileage may vary.


Yield: About 50 wings
Time: 1 hour, 10 minutes

Ginger-soy glaze:
1/4 cup water
1/4 cup honey
4 tablespoons soy sauce
3 large garlic cloves, crushed
1 2 x 1-inch piece of ginger, peeled, sliced
1 teaspoon kosher salt
1 teaspoon lime juice
Red pepper flakes (optional)

Wings:
5 pounds chicken wings (tips removed, drumettes and flats separated - sometimes you can find "party wings" where this has already been done for you)
2 tablespoons vegetable oil
1 tablespoon kosher salt
1/2 teaspoon freshly ground black pepper

For ginger-soy glaze:
Bring all ingredients to a boil in a small saucepan, stirring to dissolve honey. Reduce heat to low; simmer, stirring occasionally, until reduced to 1/4 cup, 7–8 minutes. Strain into a small bowl. Let sit for 15 minutes to thicken slightly. Add a pinch of red pepper flakes, if desired and squeeze 1 teaspoon of lime juice into sauce, mix and reserve.

For wings:
Preheat oven to 400°F. Set a wire rack inside each of 2 large rimmed baking sheets. Place all ingredients in a large bowl; toss to coat. Divide wings between prepared racks and spread out in a single layer. Bake wings until cooked through and skin is crispy, 45–50 minutes.

Line another rimmed baking sheet with foil; top with a wire rack. Add wings to ginger-soy glaze and toss to evenly coat. Place wings in a single layer on prepared rack and bake until glaze is glossy and lightly caramelized, 4–6 minutes. Garnish with scallions and sesame seeds if desired.

Adapted From: http://www.epicurious.com/recipes/food/views/crispy-baked-chicken-wings-388693

Bacon Jam and Cheddar Grilled Cheese Sandwich by Cynthia Raub

Print Friendly and PDF
bacon jam grilled cheese sandwich

There's something about the winter that makes me want to make bacon jam. Last year, I threw a grilled cheese and nighttime zoo excursion birthday party for my New Years baby. We had our family come over for dinner to enjoy gooey grilled cheese sandwiches and cupcakes before heading out to the zoo at 7 p.m. I wanted to serve a variety of grilled cheese sandwiches that would be satisfying and hearty enough to be a meal, so I made these sandwiches along with the Roasted Jalapeño Grilled Cheese Sandwich and served them with a tomato soup. When I volunteered to bring savory refreshments for a preschool board meeting, I wanted to bring something a little bit sinful for the parents who work so hard to maintain our cooperative preschool. The combination of the sweet, rich, and tart bacon jam with a sharp cheddar cheese on sliced sourdough is decadent and a novel twist on a grilled cheese. 

Notes: The bacon jam is an involved recipe that requires an hour, a watchful eye, and a considerable amount of chopping. It's a worthwhile commitment. You'll find a number of uses for the bacon jam - including giving it away to friends and neighbors. Make a batch and share it with your loved ones, or you'll find yourself putting it in your eggs, spreading it on bagels, or even eating it off of a spoon at midnight for weeks.


Time: 1 hour
Yield: 3 cups

For The Bacon Jam

1.5 lbs smoked bacon
3 cups of sweet onions, sliced
4 cloves of garlic, minced
1/3 cup packed dark brown sugar
1/3 cup cider vinegar
1 cup low-sodium chicken broth or stock
1 teaspoon kosher salt, plus more as needed
1 teaspoon freshly ground black pepper
1 teaspoon paprika
1 tablespoon unsalted butter

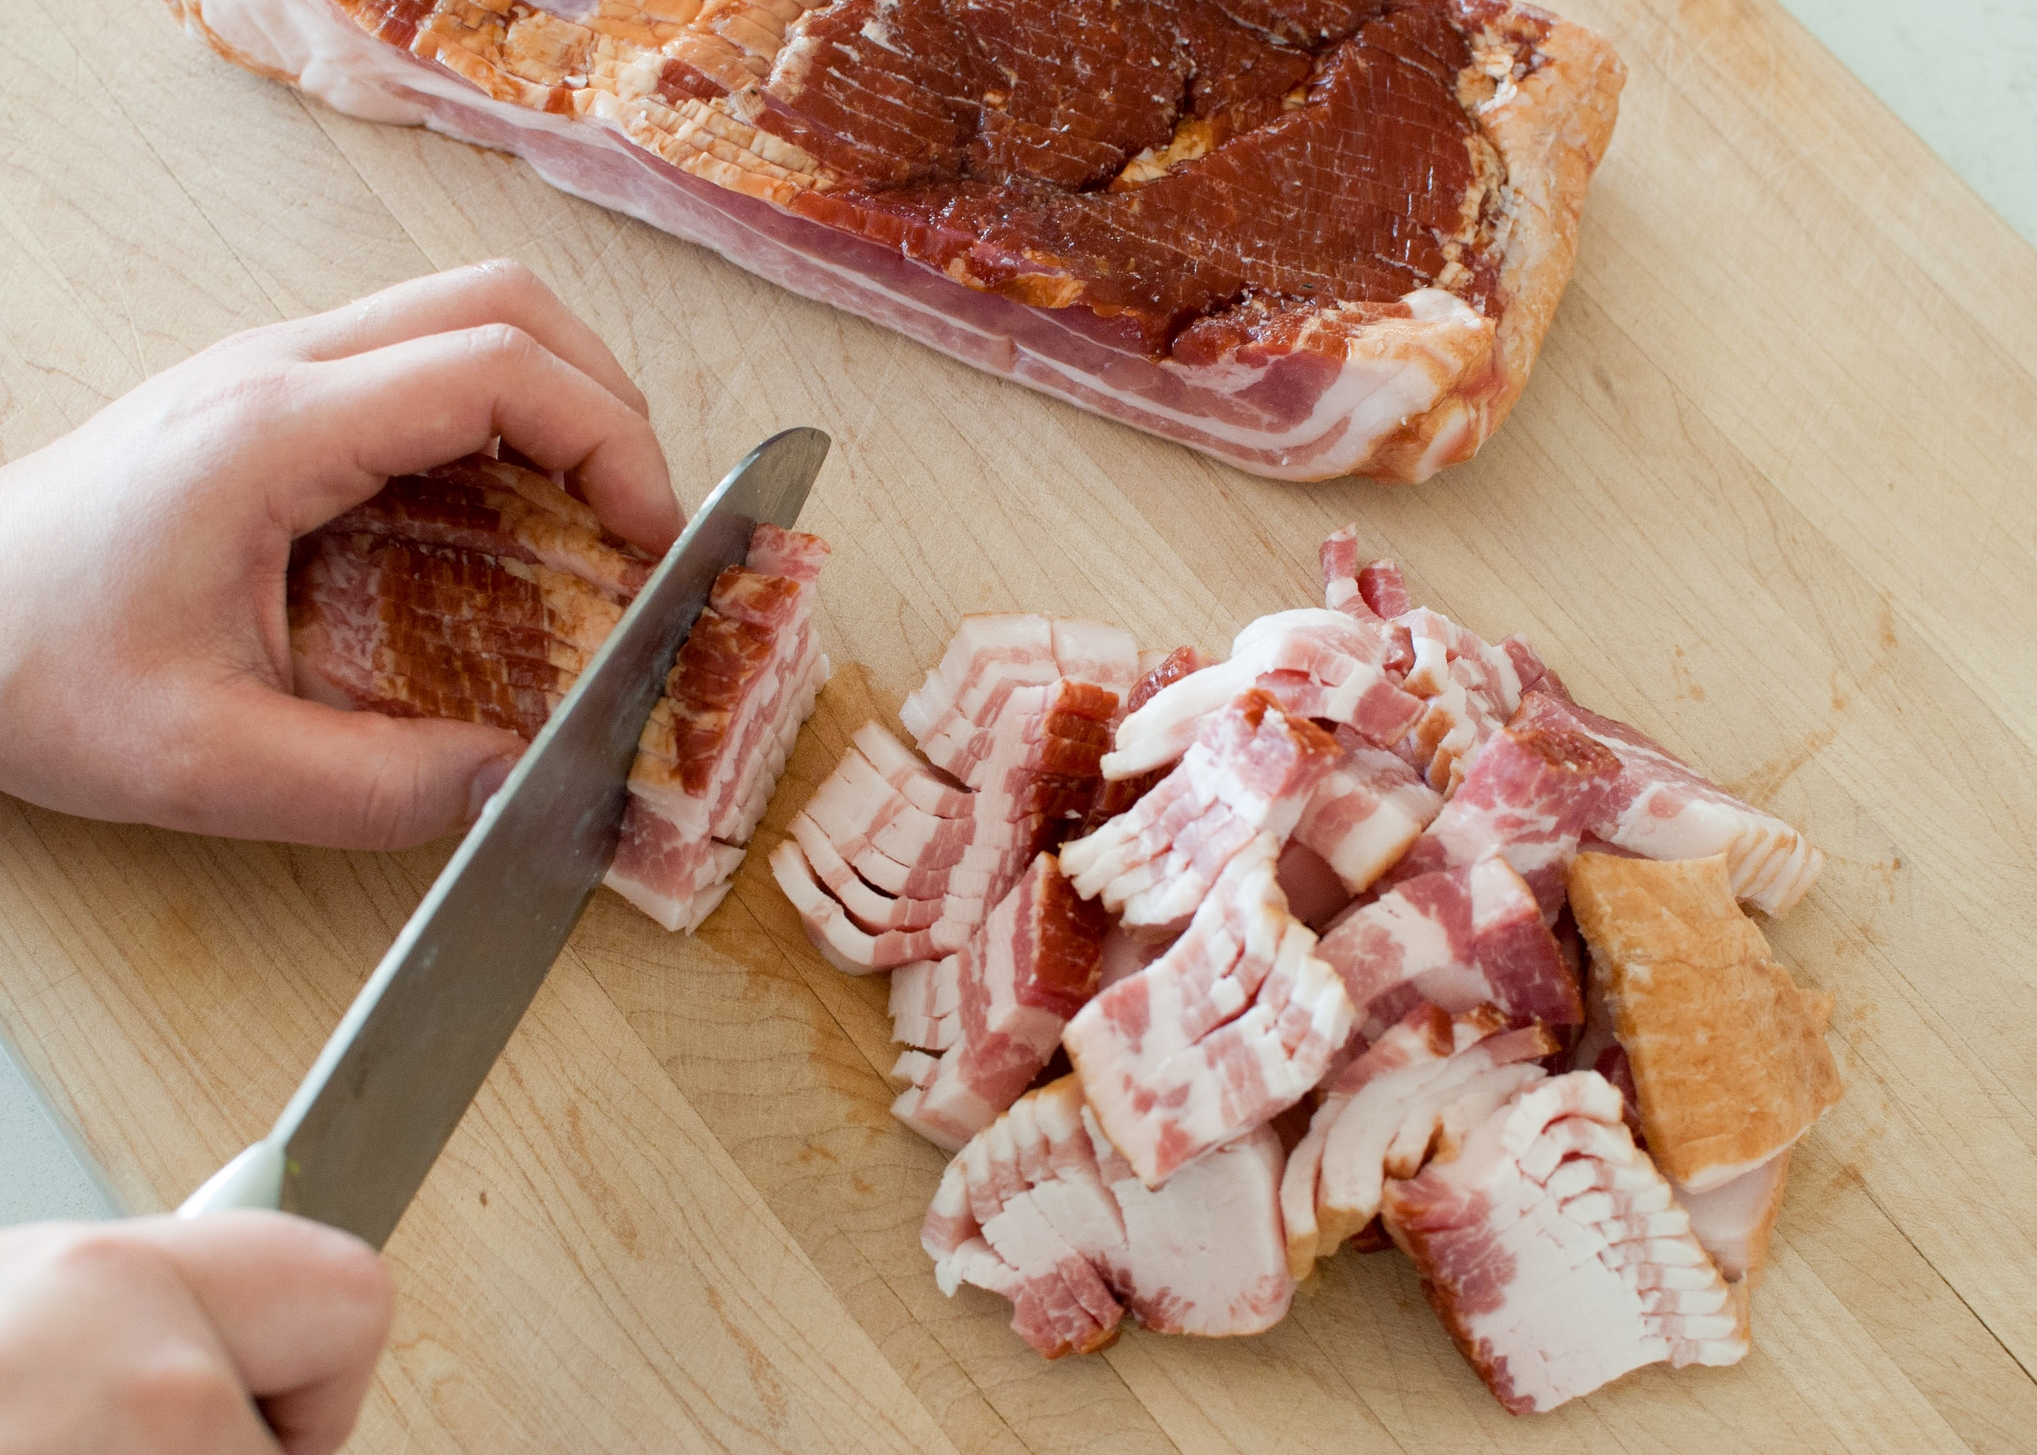
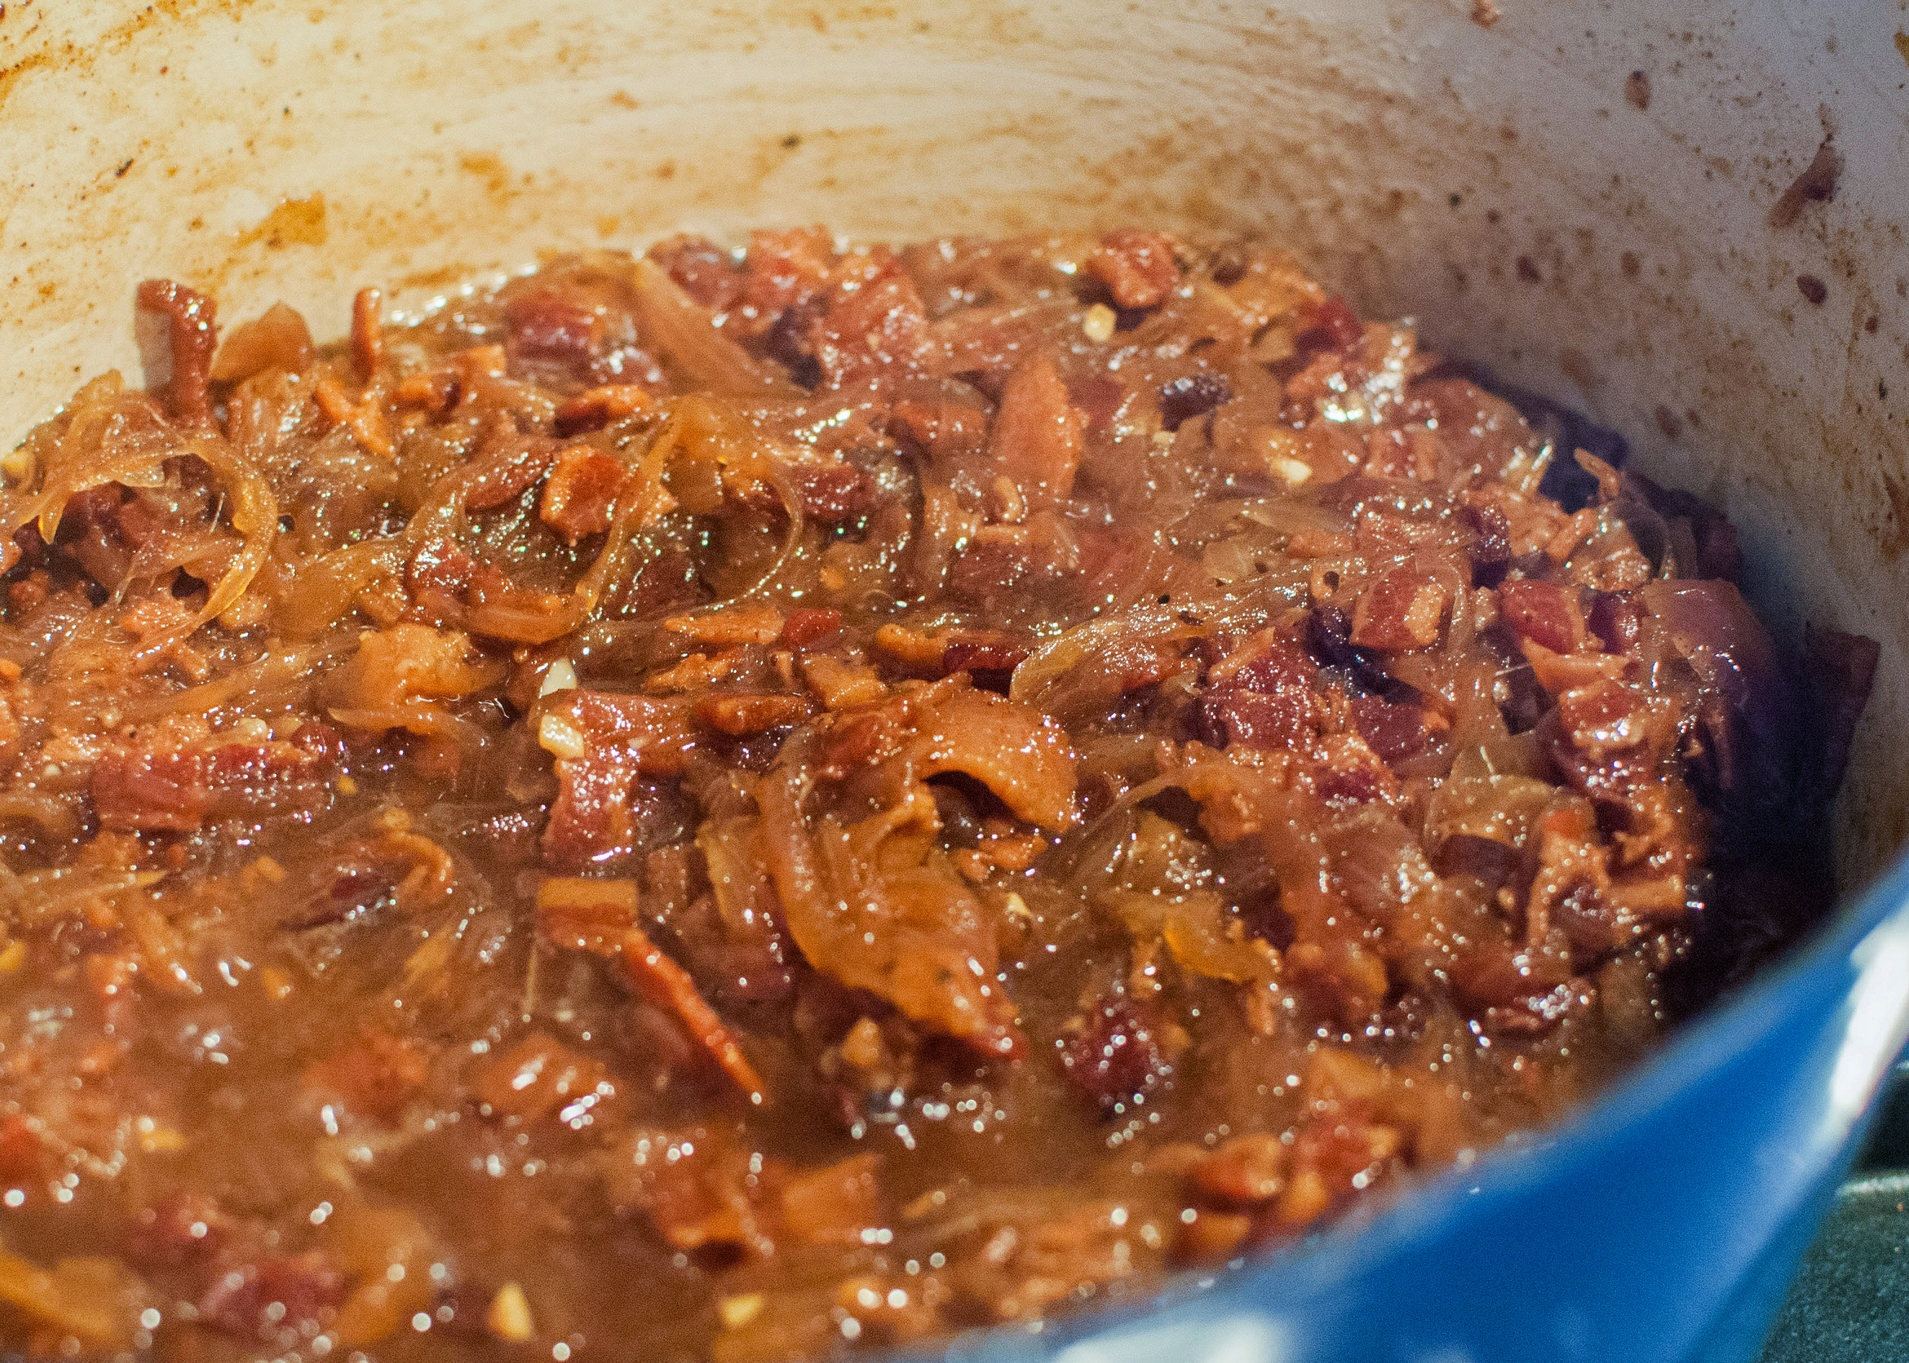
Place the bacon in a large heavy-bottomed pot or Dutch oven over medium heat and cook, stirring occasionally, until the fat has rendered and the bacon is starting to brown, about 10 to 20 minutes. Remove bacon with a slotted spoon onto a paper towel lined plate. Safely pour off bacon fat into a heatproof container, reserving browned bits and 2 tablespoons of bacon fat in the pot.

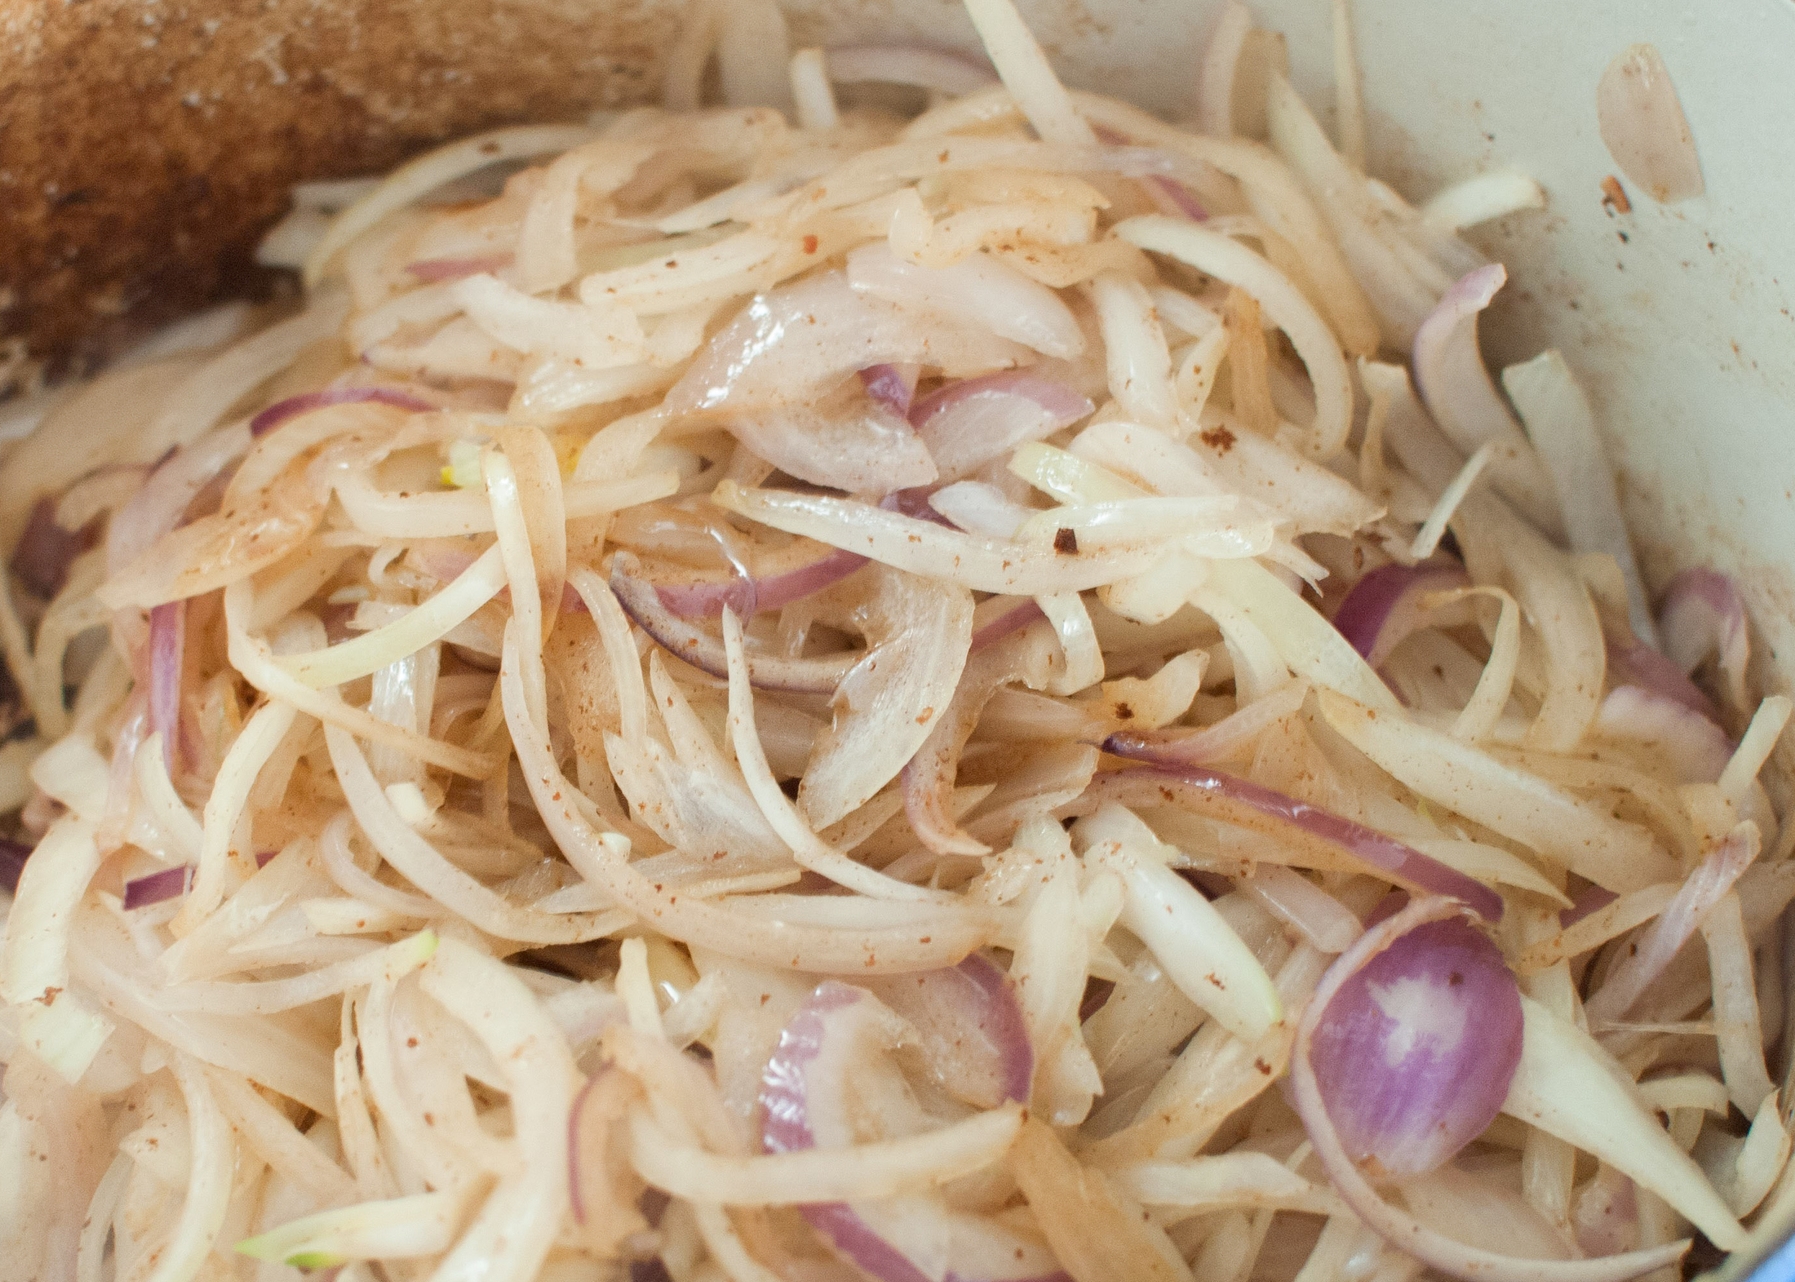
Bring the pot back to the stove, turn heat up to medium high - add the onion, season with salt, and cook, stirring occasionally, until the onion has browned, about 5-10 minutes. Add the sugar, garlic, and cider vinegar, stirring to combine.

Add 1/2 cup of the broth or stock and bring it to a simmer, scraping up the browned bits from the bottom of the pot. Continue to simmer, stirring occasionally, until the mixture has thickened and almost all of the liquid has evaporated, about 5-8 minutes.

Add 1/2 more cup of the broth or stock and simmer, stirring occasionally, until the mixture has thickened and almost all of the liquid has evaporated, about 5-8 minutes.

Season with kosher salt, black pepper and paprika and combine.

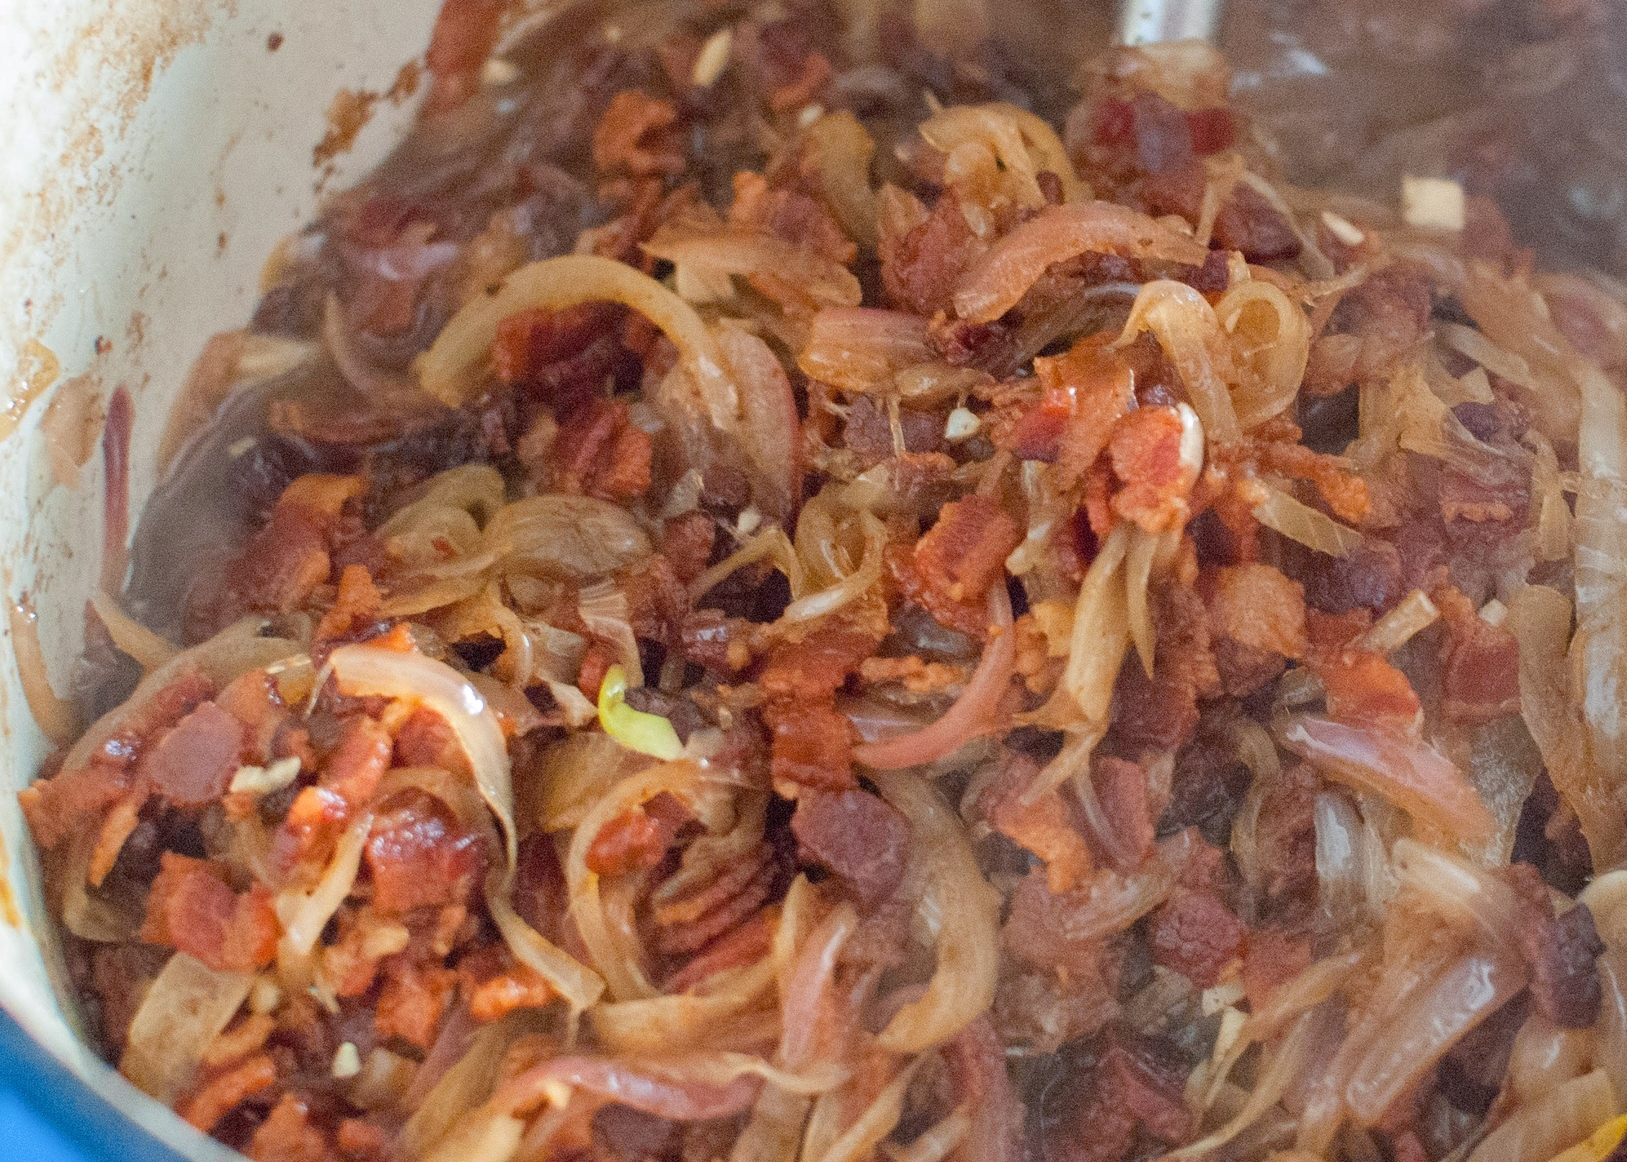
Transfer the mixture to a food processor and reserve the pot. Process until desired texture. (I like a little bit of texture, so I pulsed mine 20 times- which minced the bacon and onion, but did not make a smooth paste).

Return the mixture to the reserved pot, place it over medium heat, and rewarm, stirring occasionally. Remove from the heat and stir in the butter. (At this point, the bacon jam can be cooled to room temperature and refrigerated in an airtight container for up to 2 weeks. Rewarm before using.)

Adapted from "Fire in My Belly: Real Cooking" by Kevin Gillespie with David Joachim


For The Bacon Jam and Cheddar Grilled Cheese Sandwich

1 cup bacon jam
1 cup shredded sharp cheddar cheese (I used Tillamook)
12 slices sourdough bread
Unsalted butter, room temperature

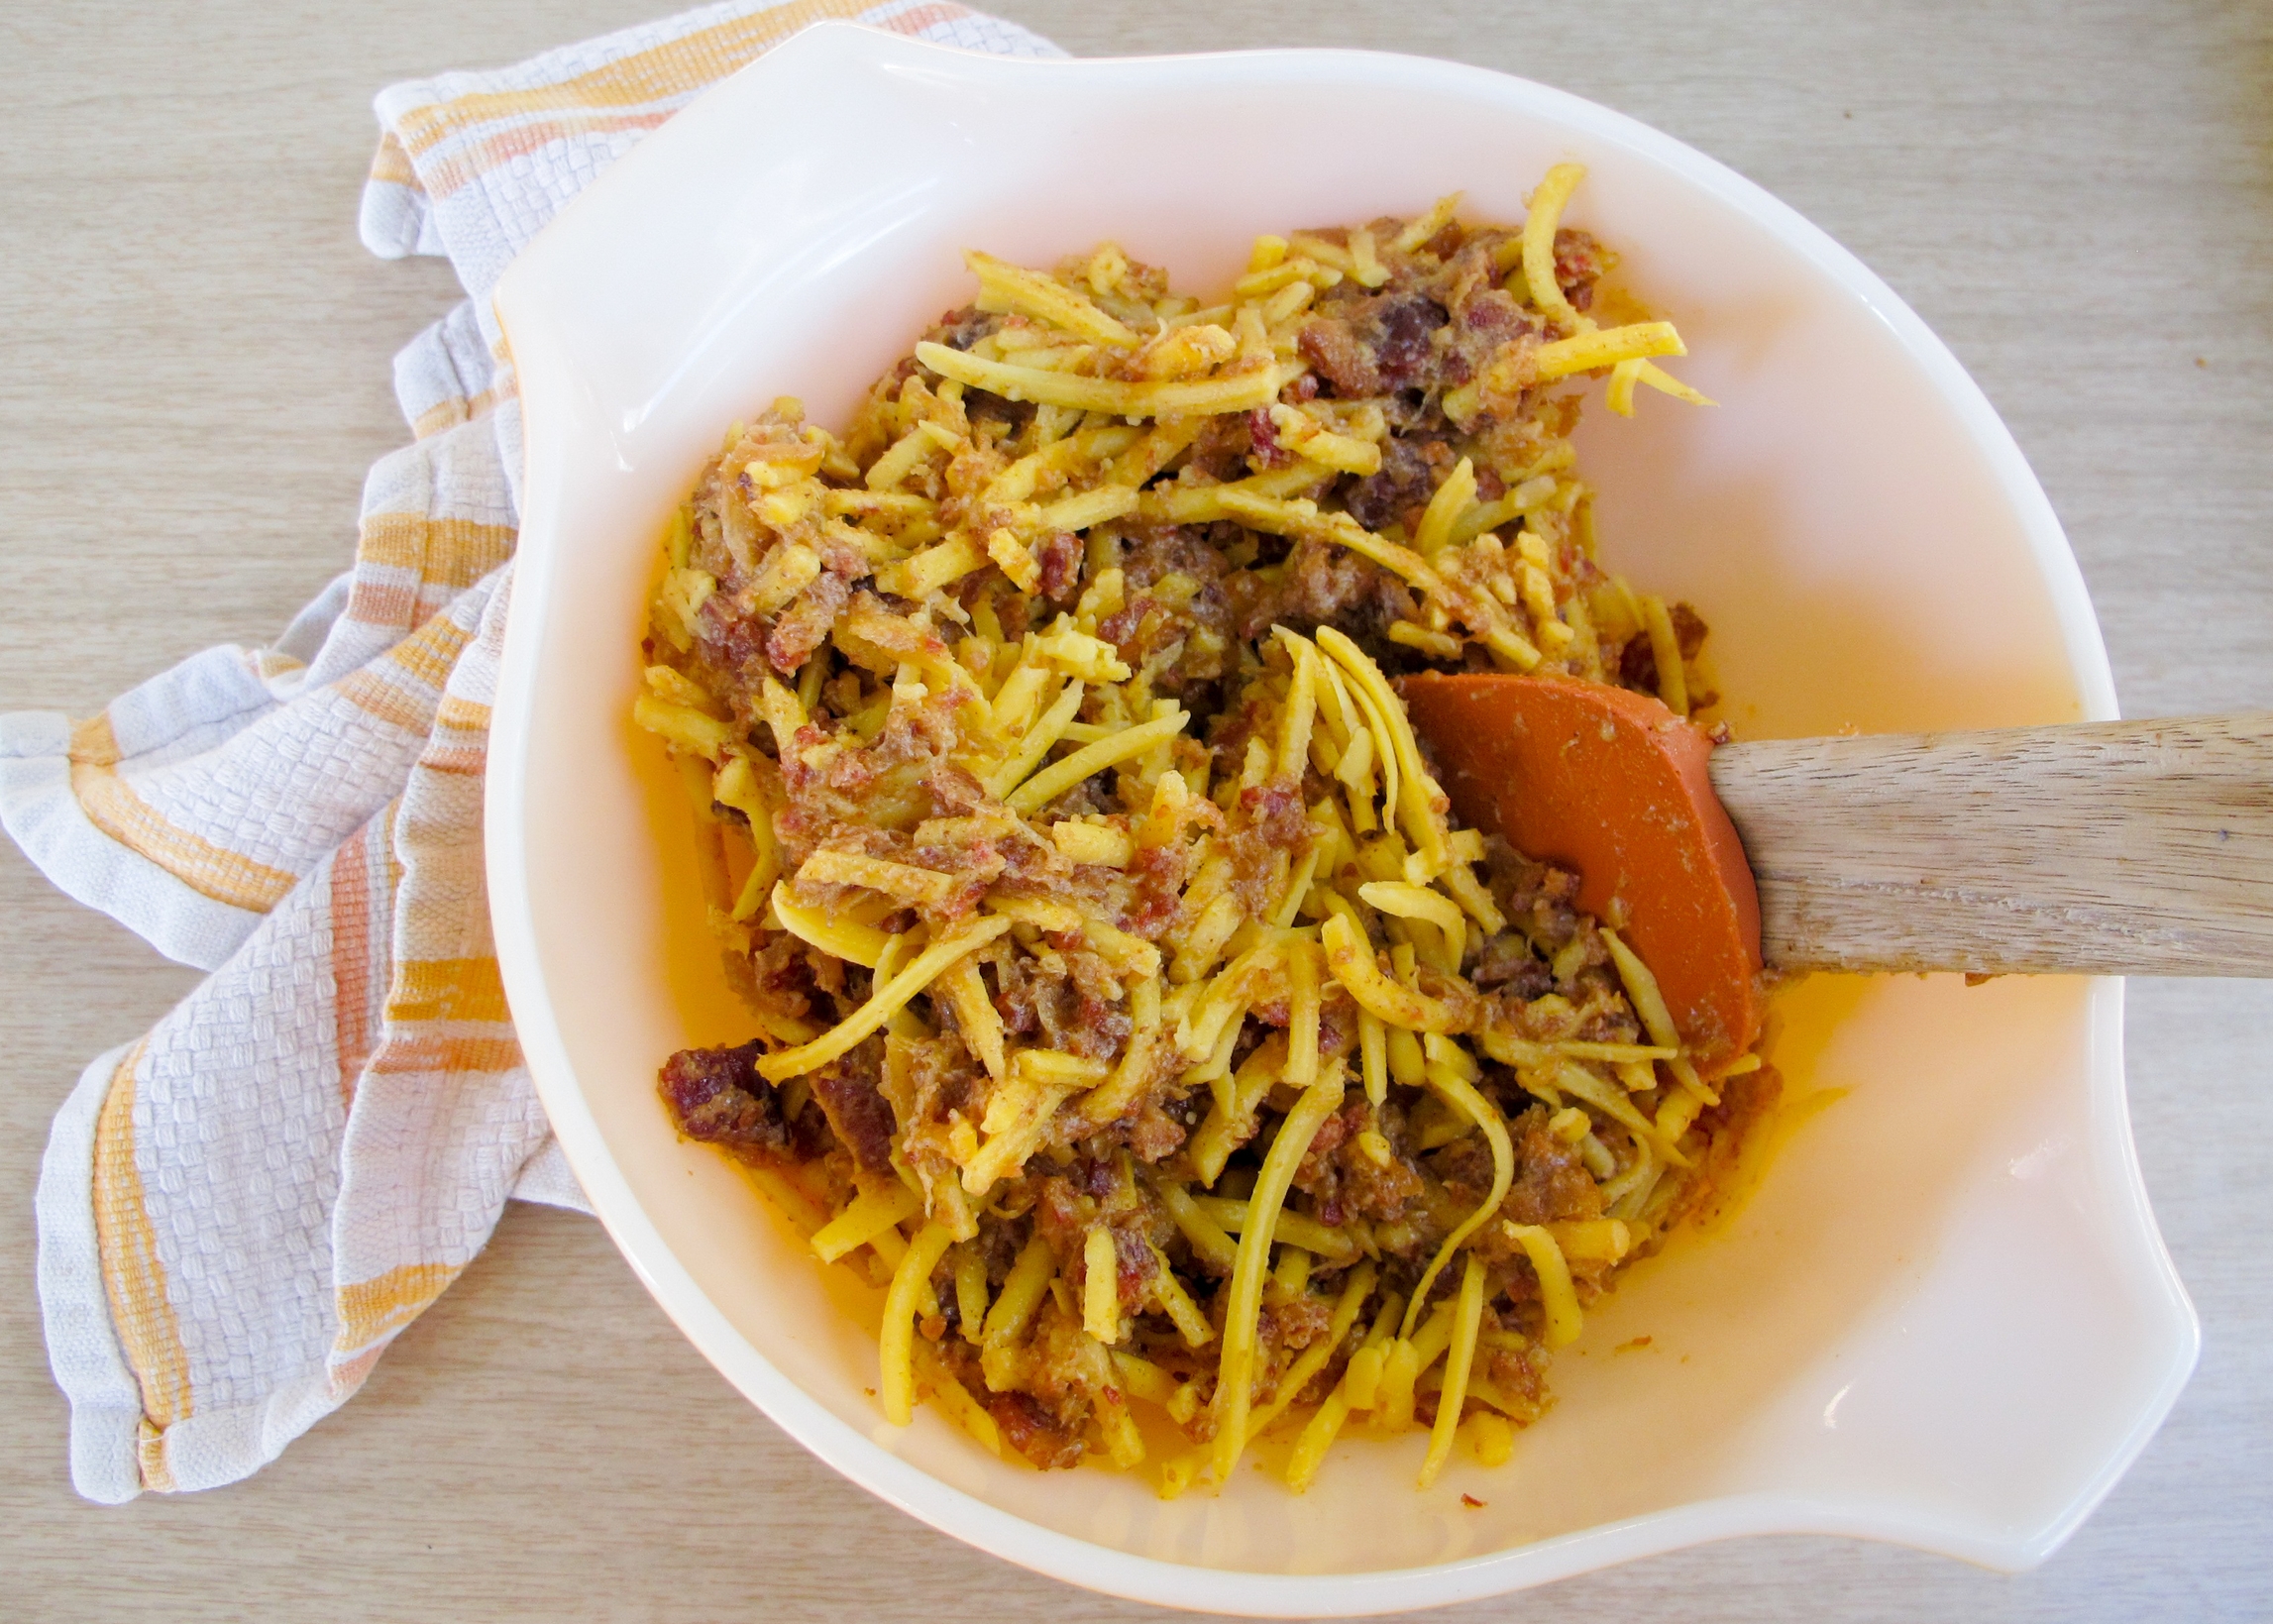
Preheat a non-stick griddle to medium-high heat. In a medium mixing bowl, mix to combine bacon jam and shredded cheese. Spread a generous layer of the bacon and cheese mixture on a slice of bread. Close the sandwich up with a second slice of bread, butter outsides of the sandwich generously. Slap the sandwich down on the preheated grilled and cook until the bread is golden and crusty, the cheese is melted and the bacon jam is hot- about 5-7 minutes per side.

Swedish Meatballs by Cynthia Raub

Print Friendly and PDF
swedish meatballs

My two daughters had preschool potlucks on consecutive days - one in the morning and one in the afternoon. What could I cook that would work for both mealtimes? I wanted to bring something that: I could cook in bulk, was not very costly, could be prepared in advance, and was easy for preschoolers and standing parents to eat. Swedish meatballs were perfect! They are bite-sized and dense, making them an easy to serve and eat finger food. Not to mention, they are a preschooler’s favorite color of food: brown (see: crackers, toast, peanut butter, chocolate…). To make things interesting, I decided to quadruple the recipe to have generous portions for the two preschool parties, enough to freeze for my family and a bag for Amy.

Notes: In this recipe, I decided to shallow fry the meatballs to keep their beautiful round shape intact. This method is not for everyone, or for every occasion, but I was happy with the results. Alternatively, you can bake the meatballs at 350 degrees for 18-24 minutes; either directly on a baking sheet/baking pan or on a wire rack, so the fat can drip down. There are pros and cons to shallow frying and baking, but a big pro of baking is that you can scrape the little fatty bits from the pan into the gravy to make it extra delicious!

Also, this recipe calls for sweated onions, but I decided to cook half of the onion and keep half of the onion raw. I liked how the cooked onion lent a small amount of sweetness in a bite, but I loved how the raw onion cut through the beef flavor. The allspice and nutmeg in this recipe were so subtle that I think these meatballs are highly adaptable to numerous uses and cuisines. The spices are traditional for Swedish meatballs, but the gravy is what made it so. One night, my husband threw a dozen frozen meatballs into a vegetable soup for dinner and the allspice and nutmeg were almost undetectable. Amy used them in a completely different way, too, in her Meatballs with Tomato Sauce and Polenta.


Time: 1 hour
Servings: 30 2 oz meatballs, around 6 portions
Adapted from: Alton Brown, Swedish Meatball Recipe

For the Meatballs
3 cups of cubed white bread, crusts removed
1/2 cup whole milk
2 tablespoons butter
1 cup finely chopped onion
1 tablespoon kosher salt (plus more to taste)
1.5 pounds ground beef (I used 92% lean and 8% fat)
1.5 pounds ground pork
3 large egg yolks
1 teaspoon black pepper
1/2 teaspoon ground allspice
1/2 teaspoon freshly grated nutmeg
8 oz canola oil

For the Gravy
3 tablespoons of unsalted butter
4 tablespoons all-purpose flour
2 cups chicken broth
Splash of Worcestershire or soy sauce
1/2 teaspoon lemon juice or apple cider vinegar
1/2 teaspoon white pepper
Parsley, finely chopped- optional for garnish
1/4 cup sour cream, optional, to finish the gravy

Place bread in a small bowl, pour milk over and mix, set aside.

Heat 2 tablespoons of butter in a pan over medium heat. Add half of the onion (1/2 cup) and sweat until the onions are translucent and soft. Remove onions from the pan and set aside to cool.

In a stand mixer bowl, combine the bread and milk mixture, ground beef, pork, egg yolks, 1 tablespoon of kosher salt, black pepper, allspice, nutmeg, raw onions, and cooked onions. Mix until very well combined and the meat has become sticky and homogenous. Using a 2-ounce cookie scoop, portion, and then roll each meatball with your hands and place on a sheet pan.

In a 12" straight edge saute pan, heat oil to 250 degrees. Add the meatballs in small batches and fry until golden brown on all sides, about 7 to 10 minutes. Remove the meatballs to cooling rack with a slotted spoon or tongs.

In a medium saucepan, melt remaining 3 tablespoons butter over medium-high heat until foamy. Whisk in flour and cook until raw flour smell is gone and the mixture is lightly browned, about 3 minutes. Slowly whisk in chicken stock and bring it to a boil. Once at a boil, lower the heat to a simmer and cook until thickened, about 3 minutes. Whisk in a splash of soy sauce (or Worcestershire) and acid. Season with salt and white pepper. If you are feeling sassy, stir in 1/4 cup of sour cream to give the gravy a beautiful creamy look and tangy flavor.

Add meatballs to gravy and stir to coat. Simmer until meatballs are heated through. Garnish with chopped parsley!
 

Meatballs with Tomato Sauce and Polenta by Amy Cantu

Print Friendly and PDF
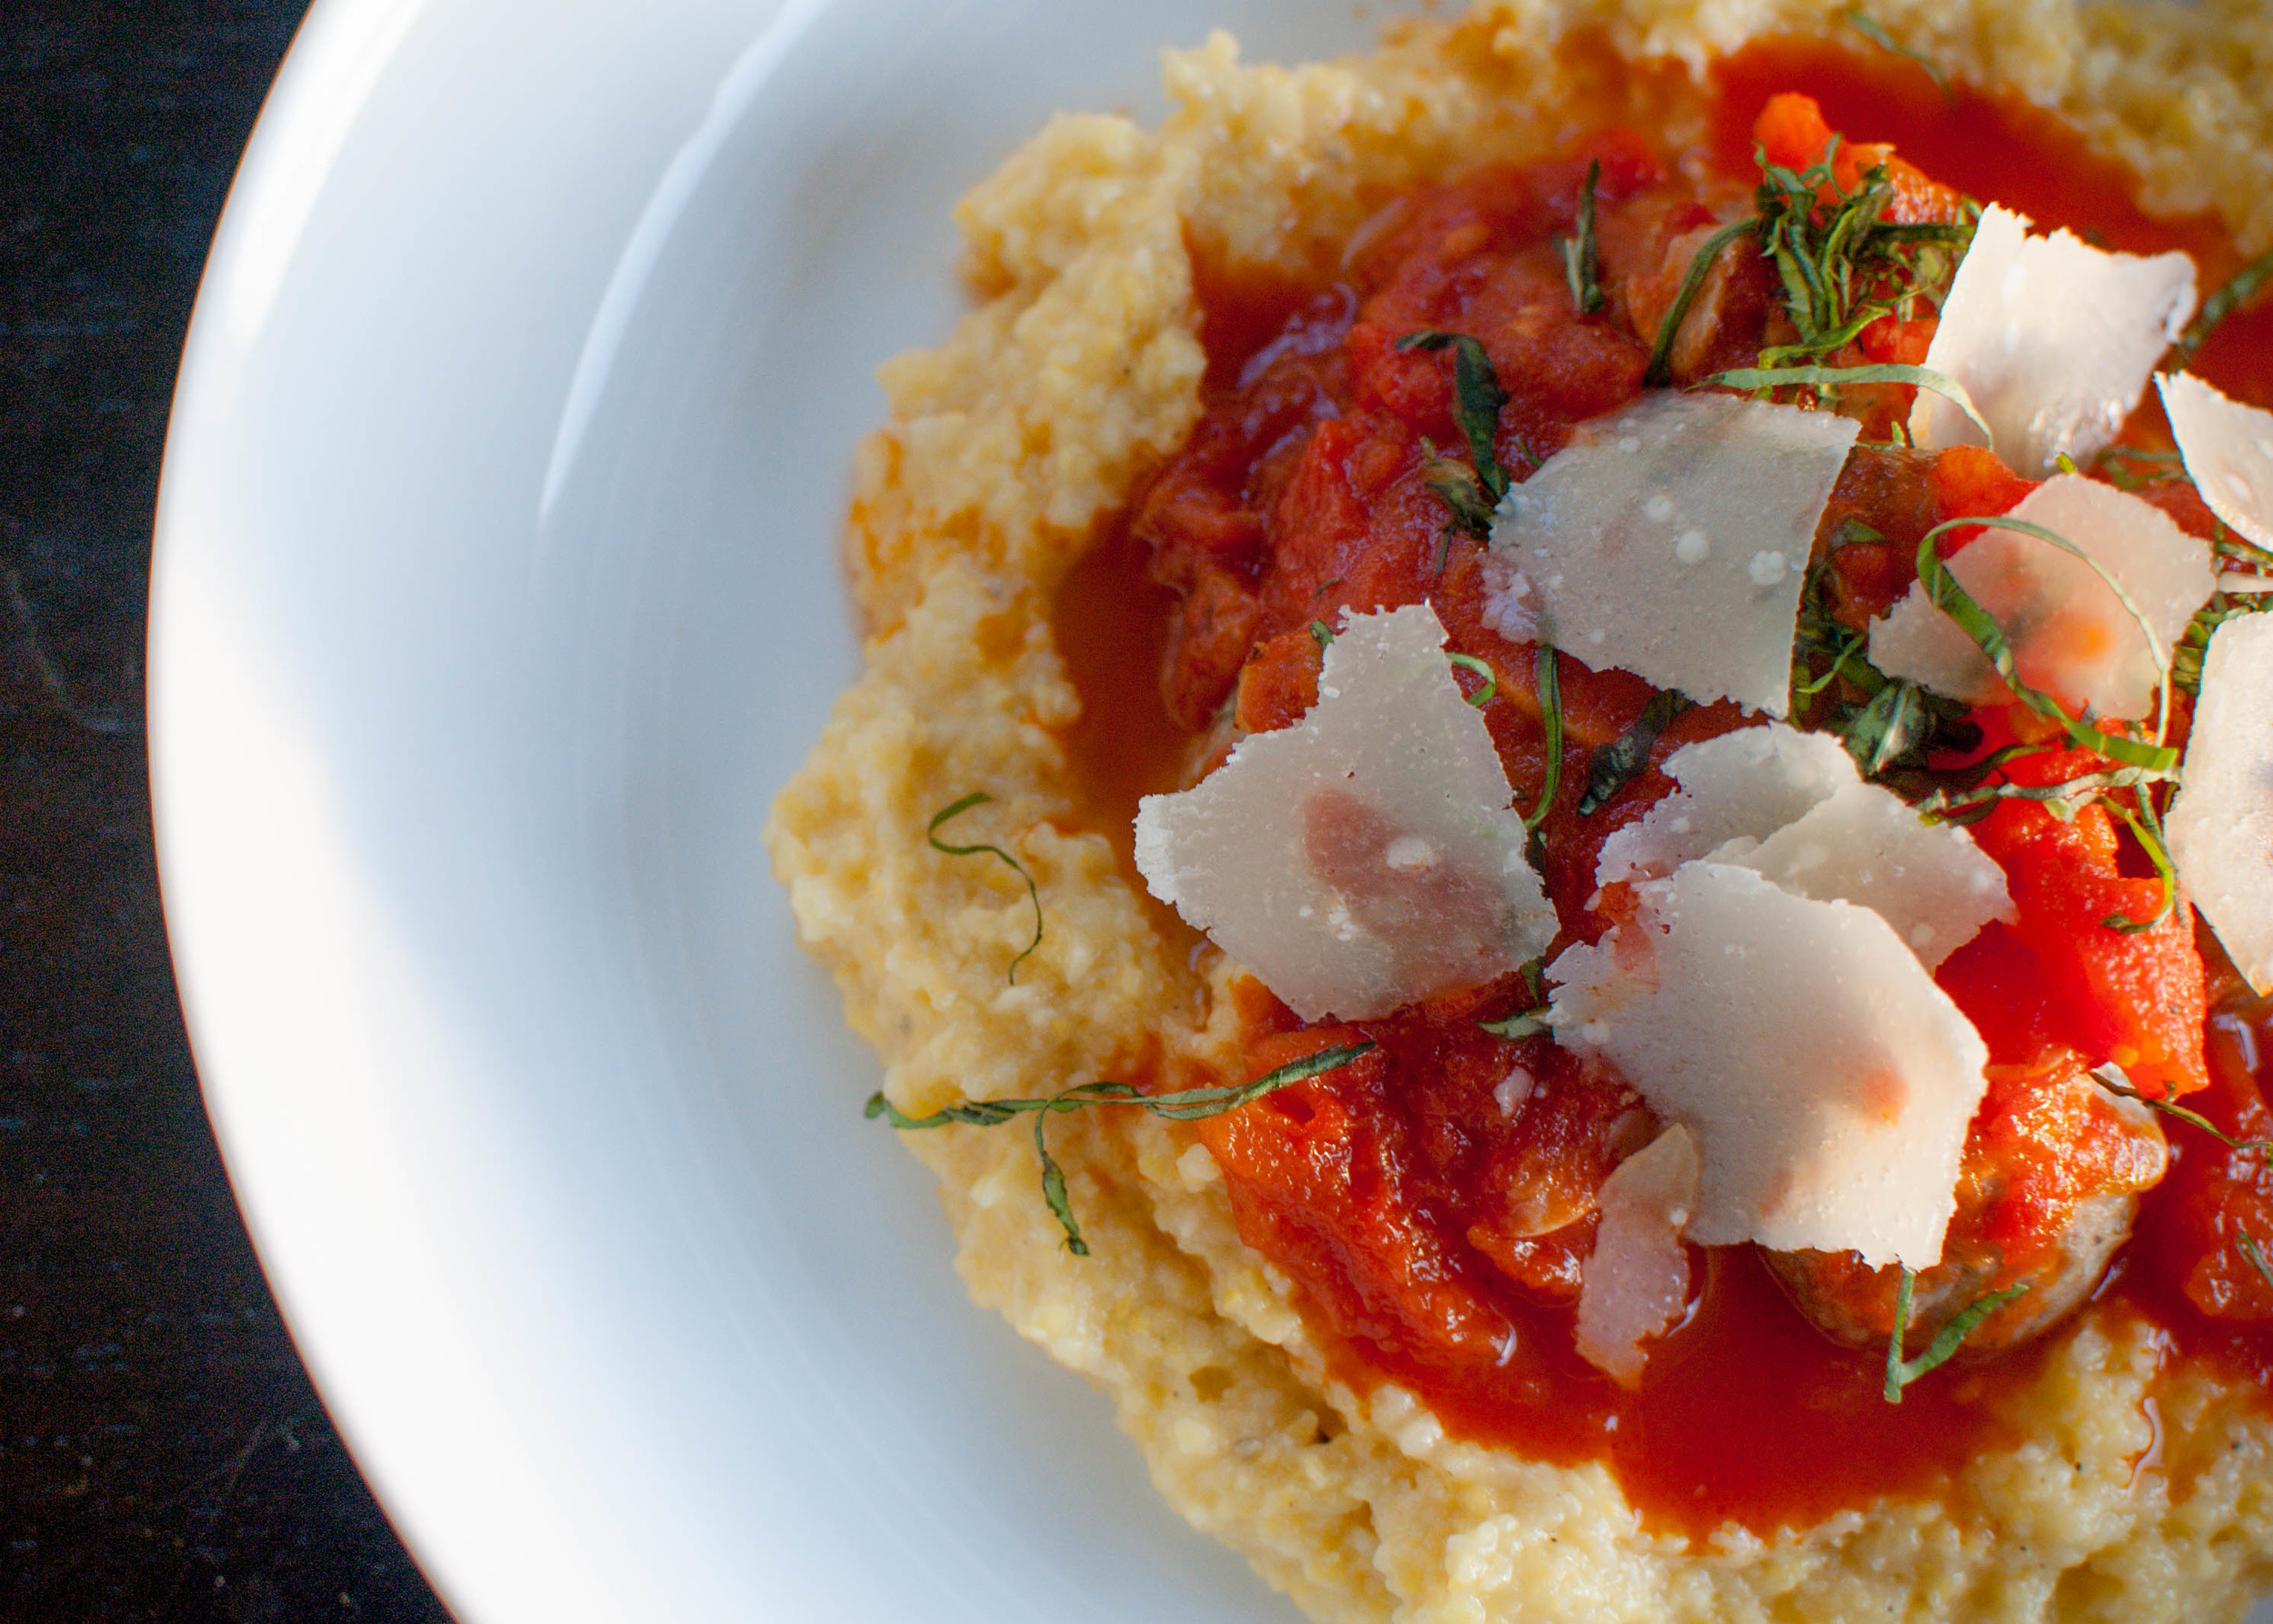
Meatballs with Tomato Sauce and Polenta

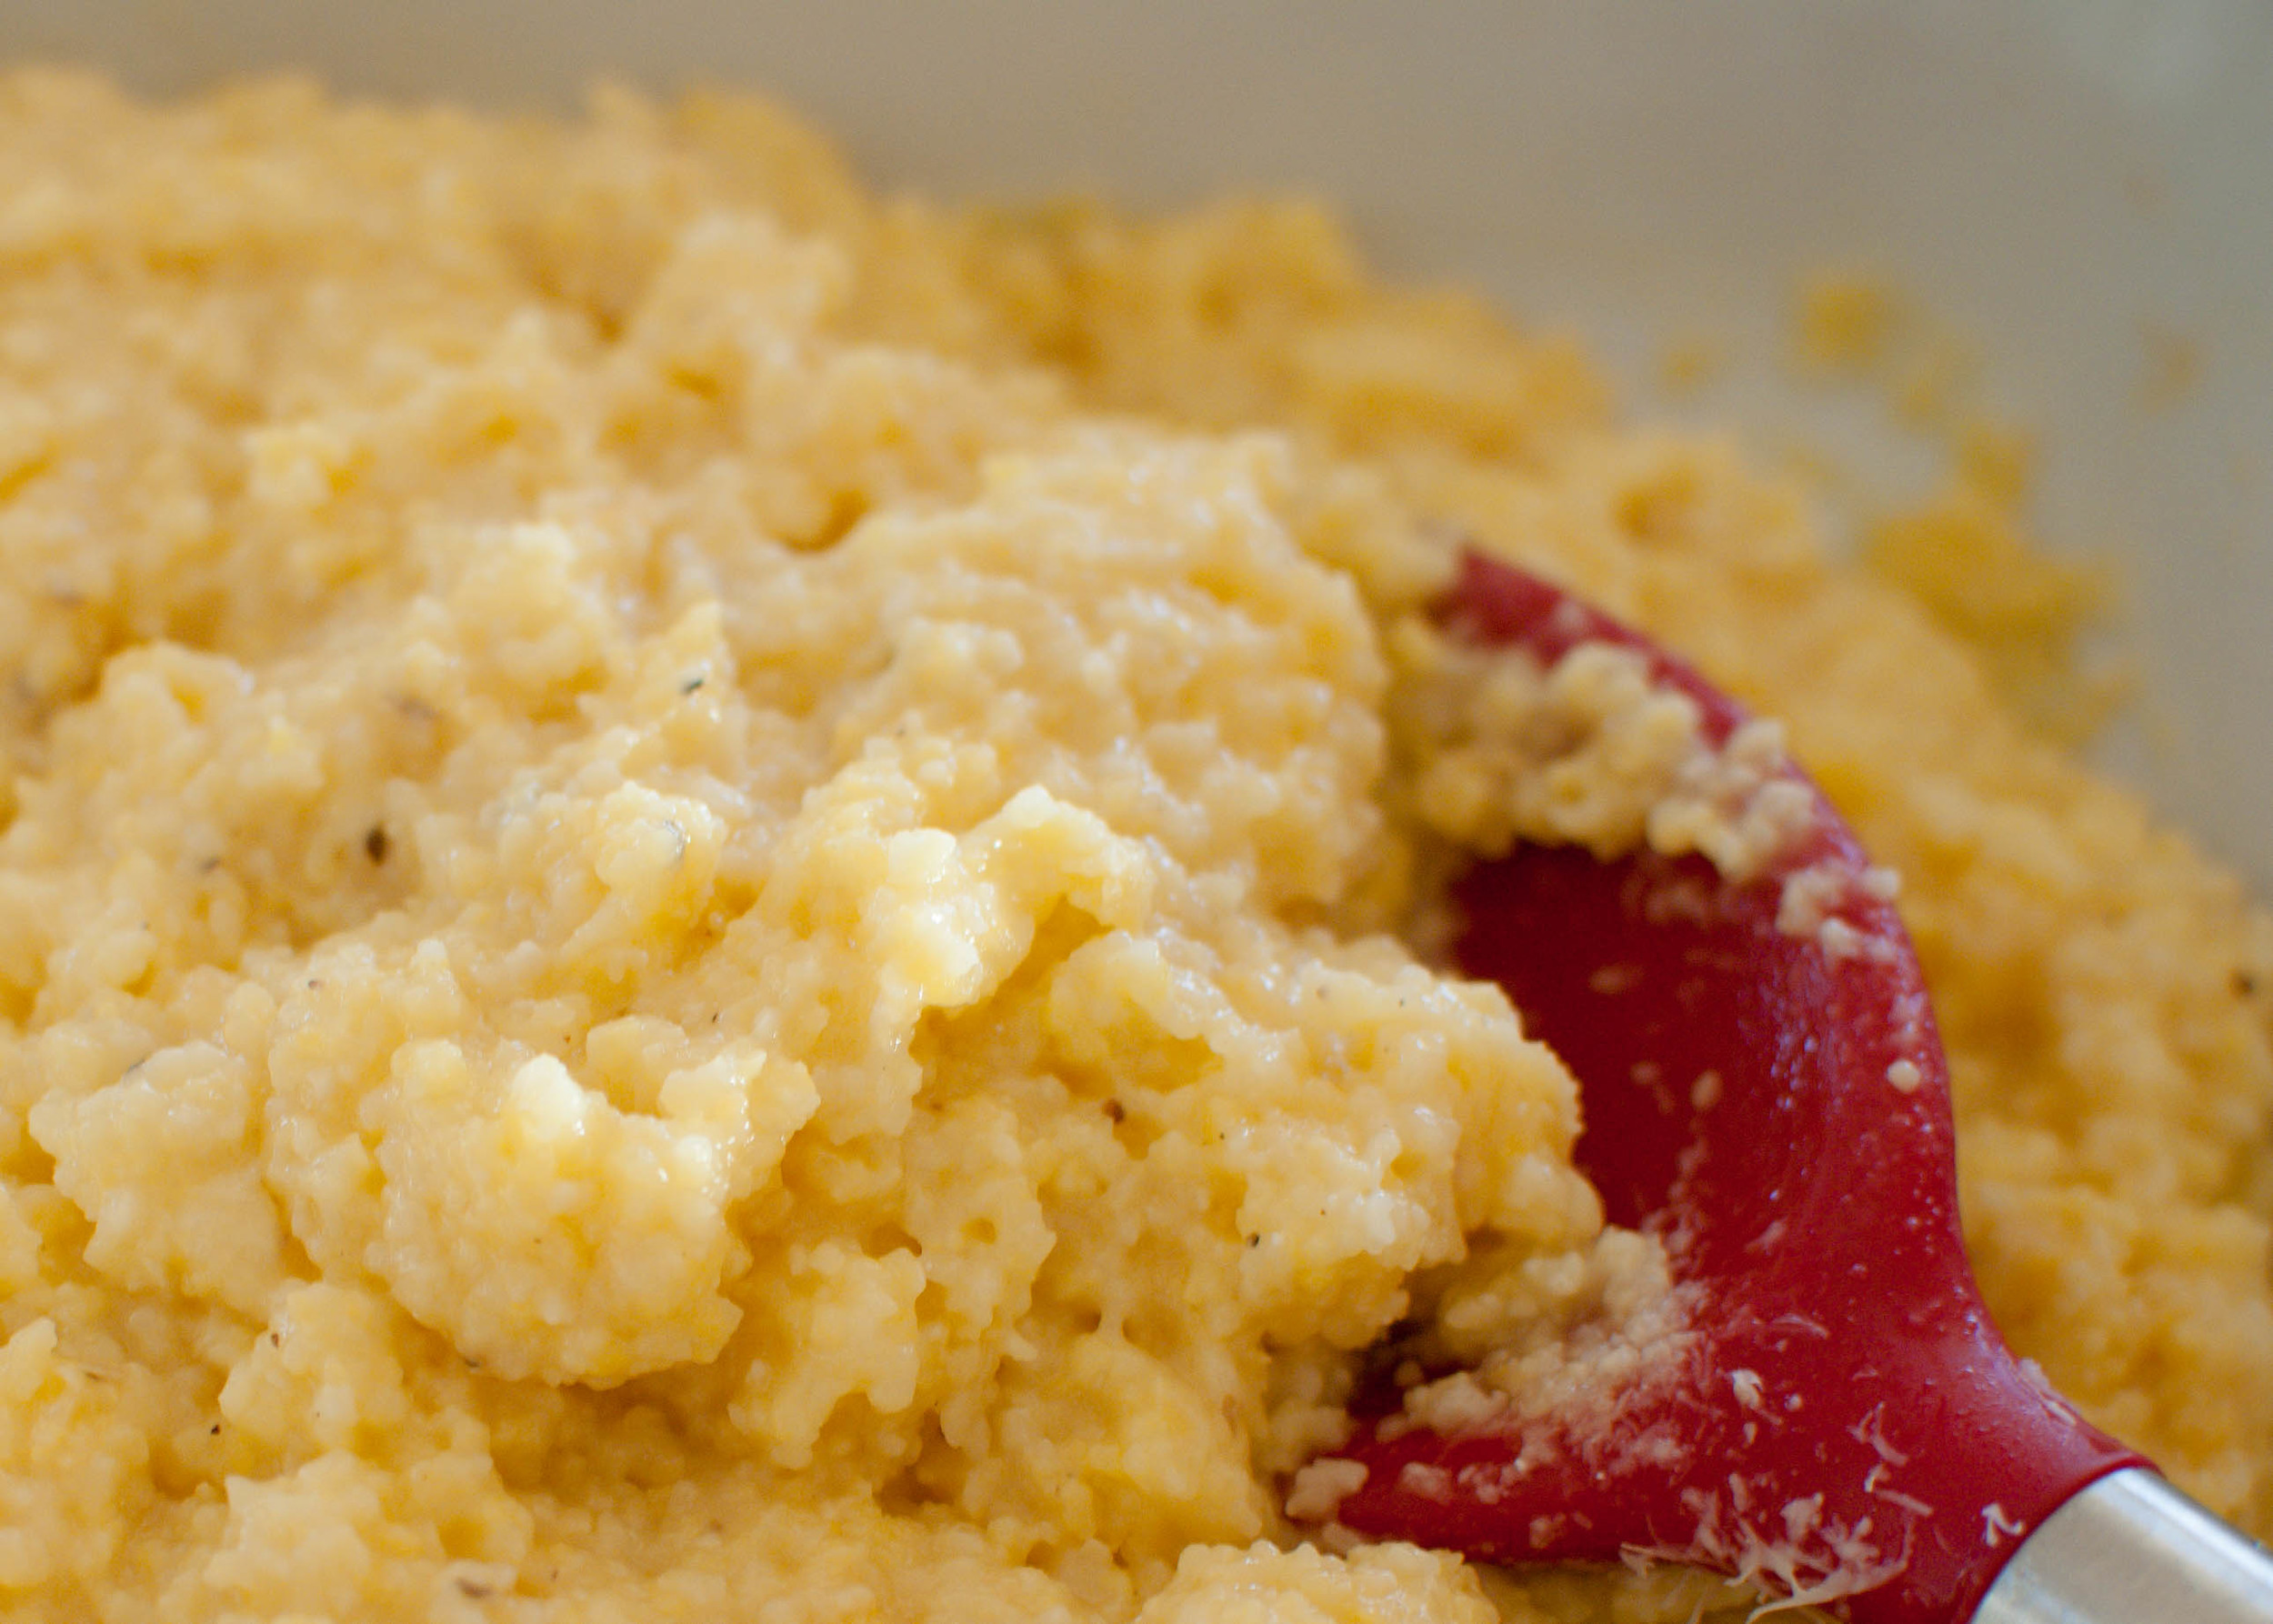
We were out of town for two weeks over the holidays, visiting family and friends. So when we returned home an hour before dinnertime, I stared into the cavernous empty fridge and let out a loud groan. Ugggghhh. What are we going to eat?! I started freezer diving, and when I came up for air, I bestowed upon my family the bag of frozen meatballs from Cynthia! (Cue angels singing and bright spotlight on the frozen meatballs.) I fished out a bag of polenta and a can of tomatoes from the pantry, and dinner was on its way. While the meatballs and polenta baked in the oven, I stirred together a simple tomato sauce on the stove. Within an hour, we enjoyed creamy, parmesan polenta, crowned with savory meatballs bathed in a simple tomato sauce. I gave myself a pat on the back, and whispered a silent thank you to Cynthia. Voila! Dinner is served!

Notes: Cynthia's recipe for Swedish Meatballs are spiced mildly enough that when combined with the tomato sauce and polenta, the dish tastes decidedly more Italian than Swedish. If you are starting from scratch and using Cynthia's recipe, you can substitute 1 teaspoon dried oregano for the allspice and nutmeg. Or, feel free to use your own meatball recipe here.  To make this an easy vegetarian meal, serve the polenta topped with a runny, fried egg and the tomato sauce - yum!


Time: 50 minutes

Serves: 4

20 small meatballs, Cynthia's or your own recipe
1 recipe Simple Tomato Sauce (recipe below)
1 recipe Baked Polenta (recipe below)
Parmesan cheese, grated (optional garnish)
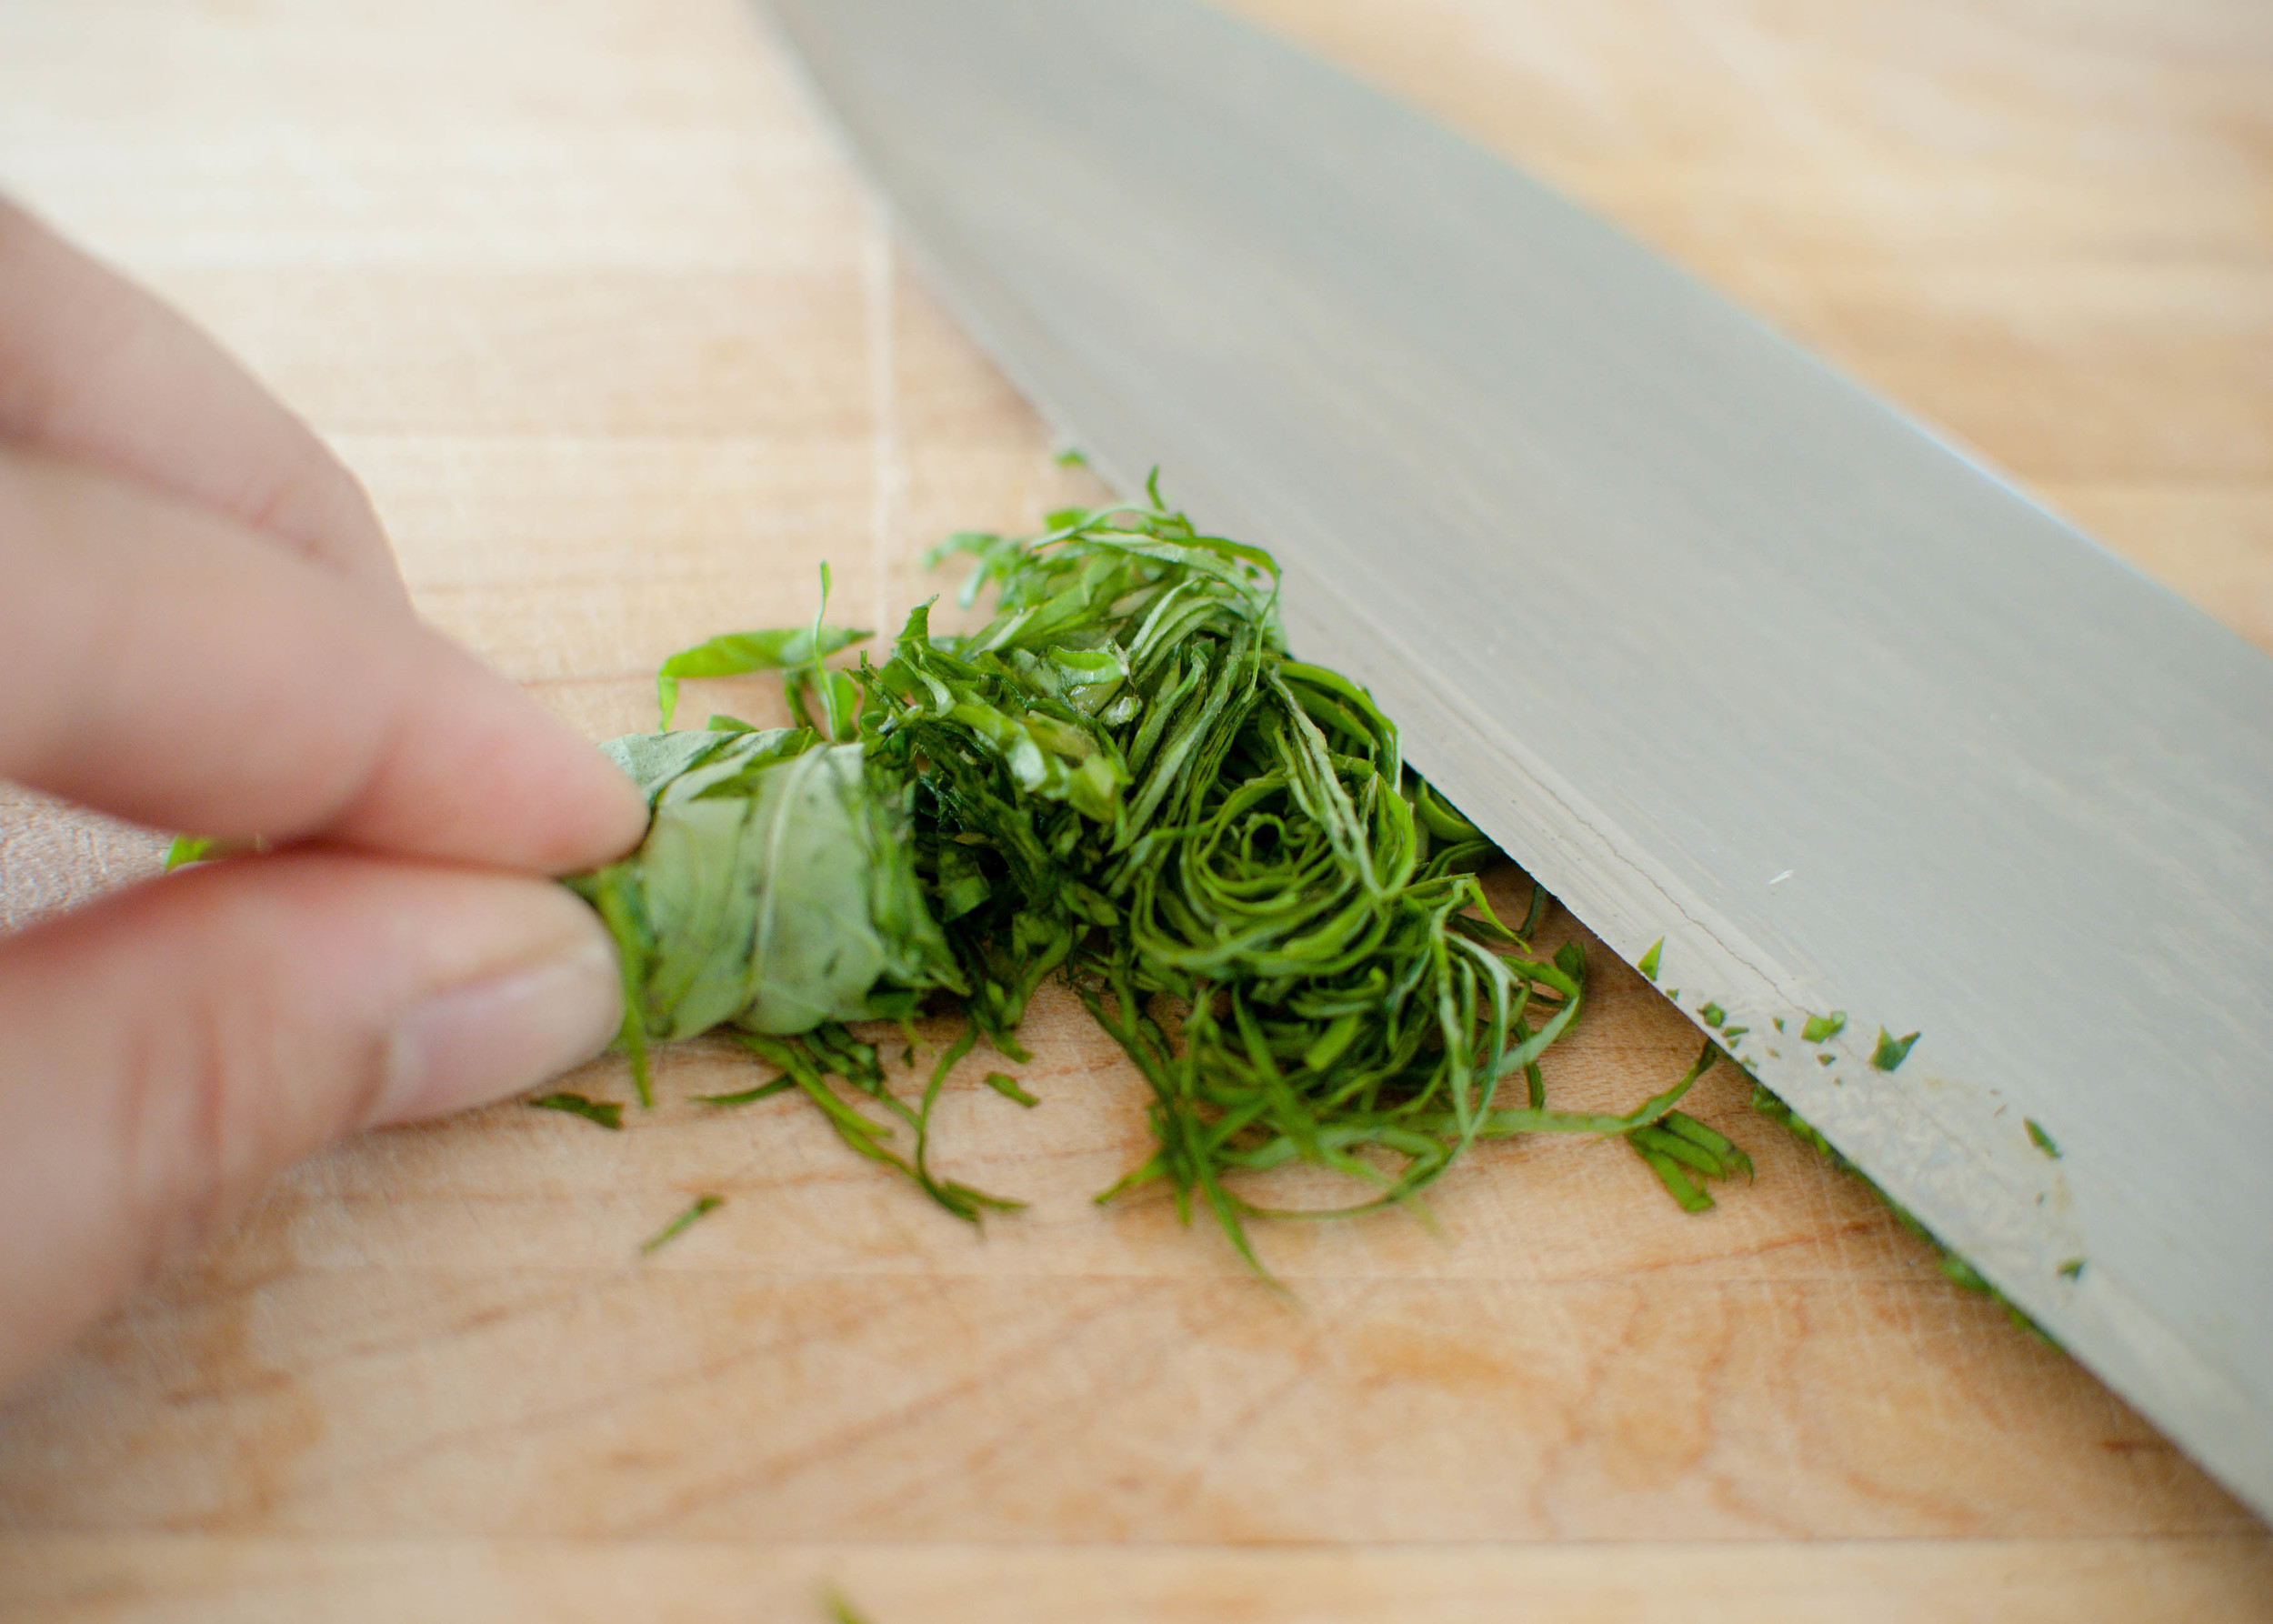
Fresh basil, chiffonade/thinly sliced into ribbons (optional garnish - see photo below)

Preheat oven to 350 degrees. I baked Cynthia’s frozen raw meatballs on a sheet pan, alongside the polenta for the last 35 minutes of cooking. The meatballs were shaped on the smaller side, so make sure to test that your meatballs are cooked through by splitting one open. You could also simmer the meatballs in the tomato sauce, while the polenta is baking in the oven.

Spoon polenta into four shallow bowls. Top polenta with meatballs and tomato sauce. Sprinkle with grated parmesan and basil, if using.

Simple Tomato Sauce

Developed from here and here.

Notes: This is a simple sauce that can be made on the fly with items from your pantry. I like the sweet, subtle anise flavor of fresh basil in this sauce, but if you don’t have any in the house, substitute dried oregano, which will give it a more Italian-American flavor. Dried basil tends to have a flat, dusty flavor, so I prefer dried oregano.

Taking an extra minute to hand-crush canned whole tomatoes (as opposed to already crushed or diced tomatoes), will give your sauce better flavor. The best tomatoes go into cans of whole tomatoes, while the inferior tomatoes get diced up or crushed.

The onion in this recipe is used for flavor and then removed once the sauce is cooked. This leaves you with a rich tomato sauce infused with onion flavor and a nice texture. You can save the onions for something else (they would be delicious alongside pan-seared chicken or roasted meat), or serve them on the side.

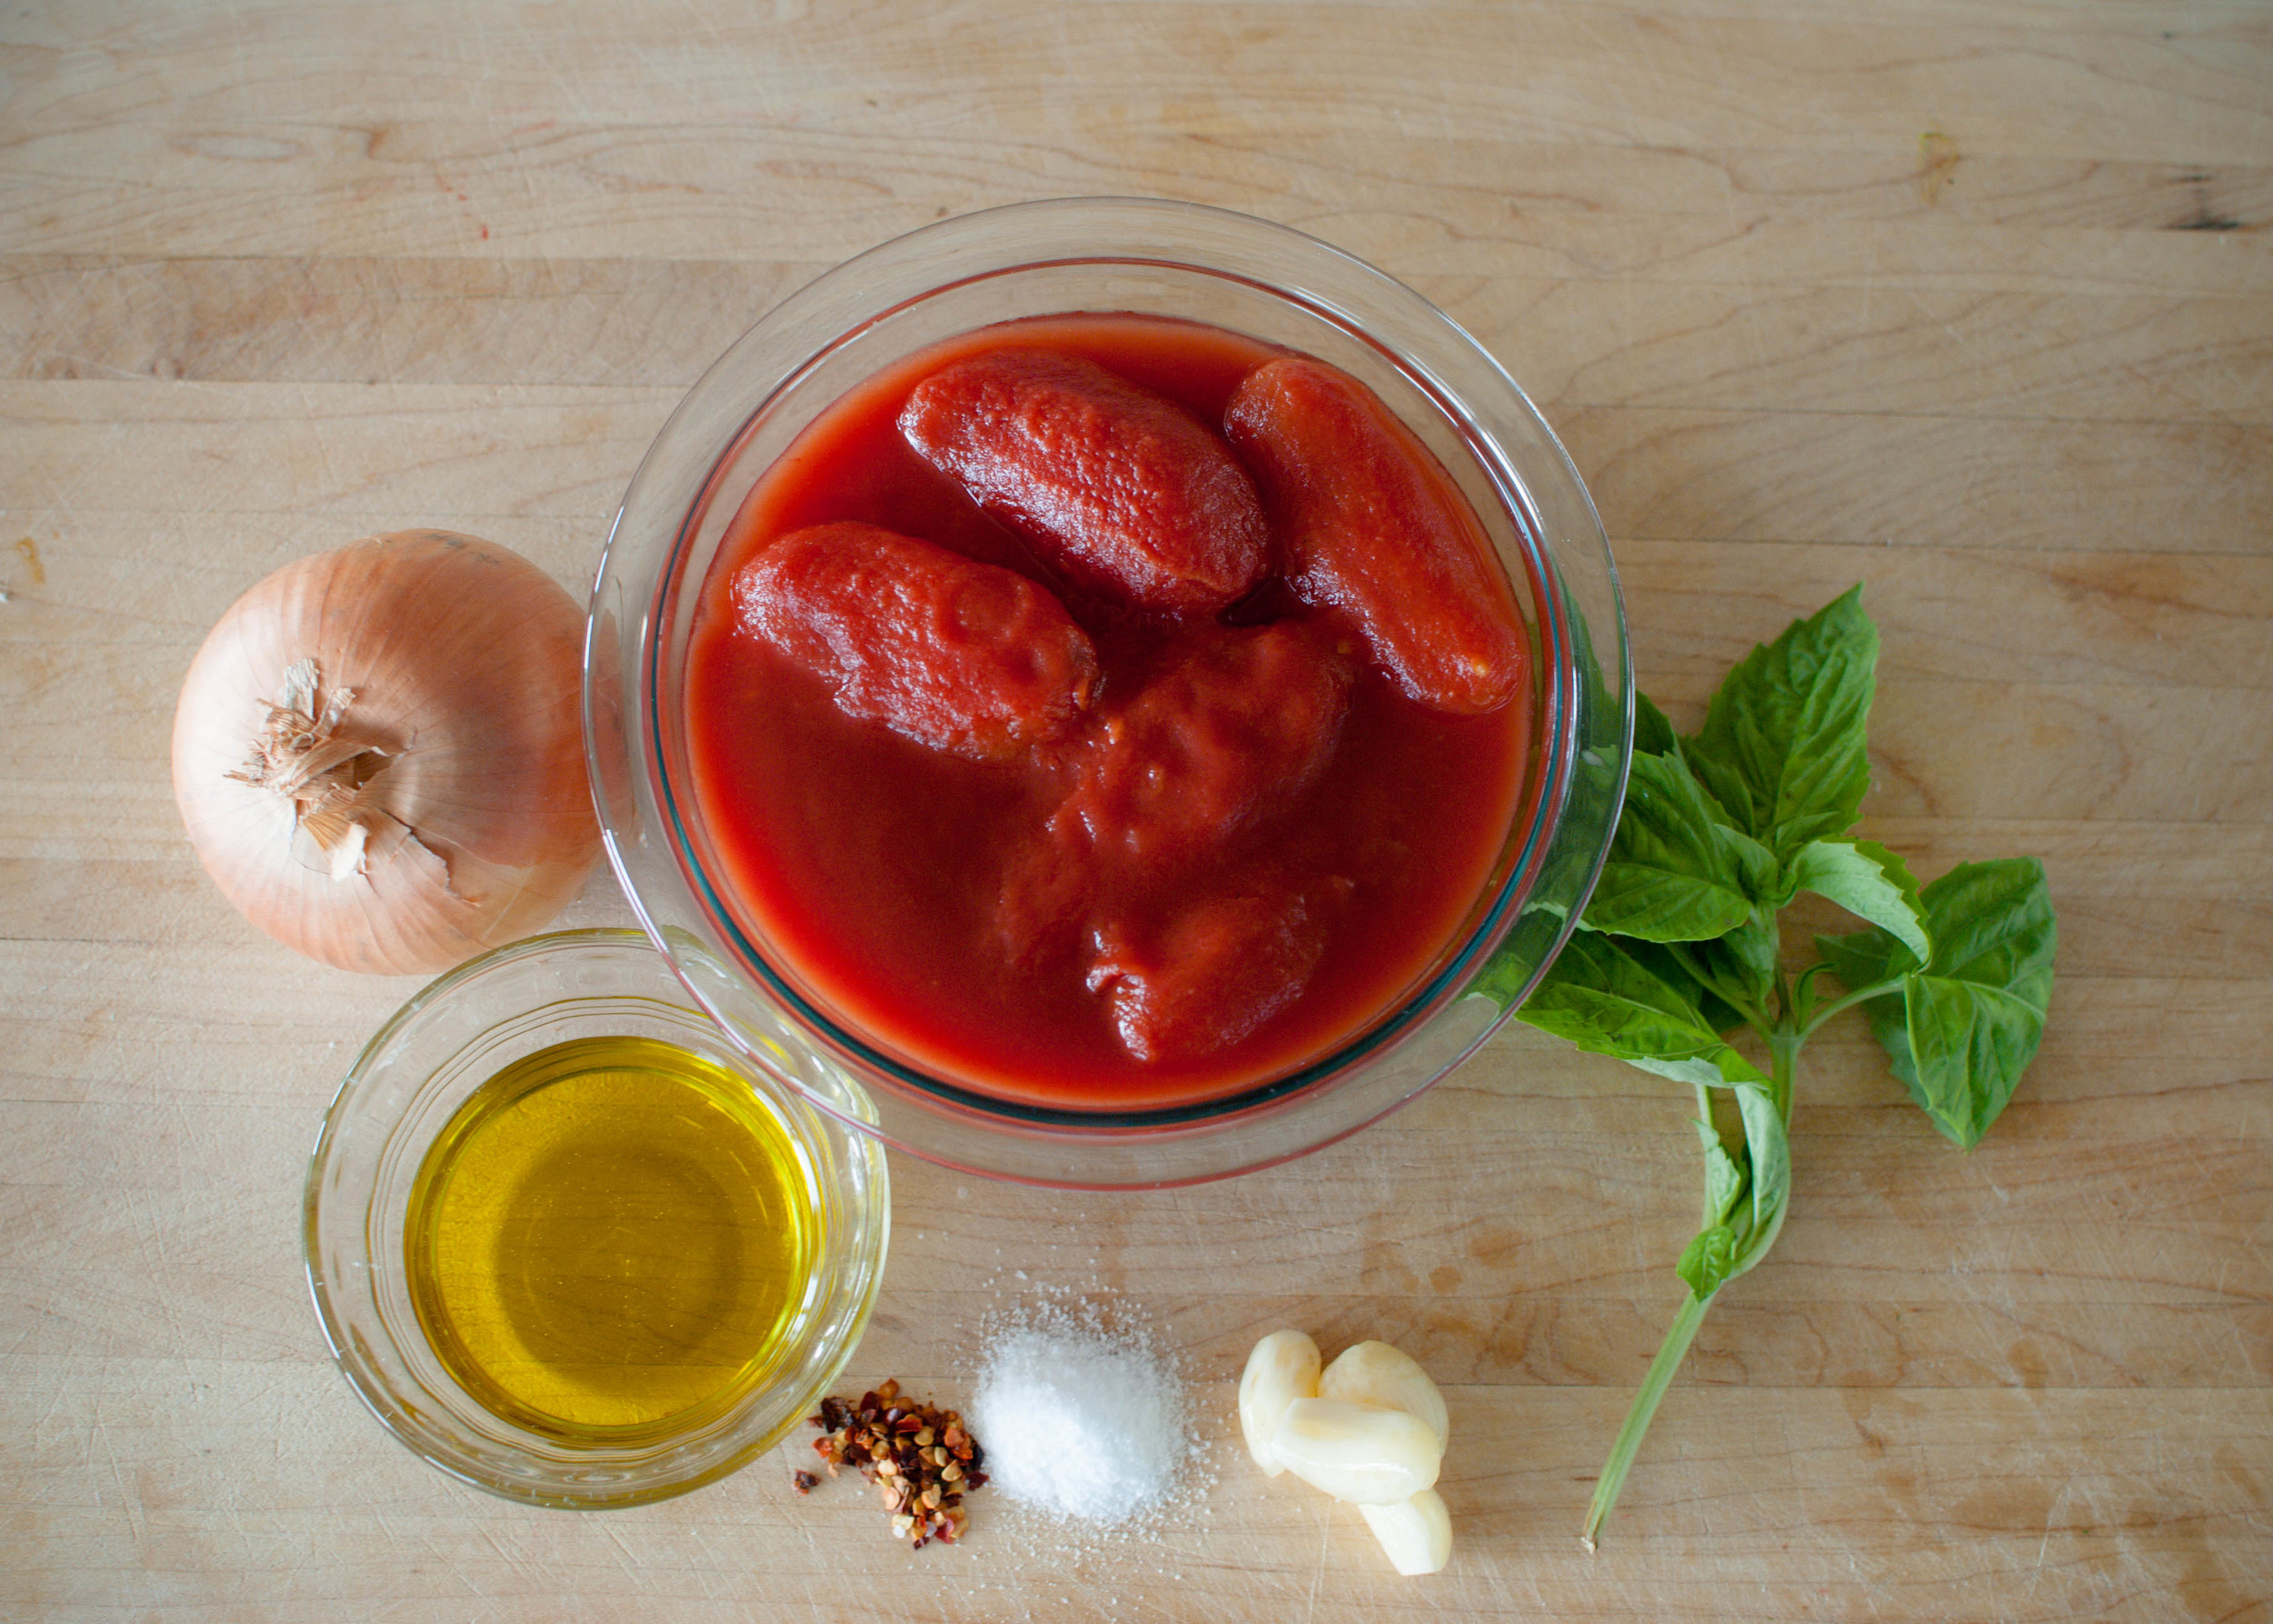
1 28-ounce can whole San Marzano tomatoes
¼ cup extra-virgin olive oil or butter
4 garlic cloves, peeled and slivered
Pinch of crushed red pepper flakes (optional)
1 teaspoon kosher salt
1 medium onion, peeled and halved
1 large fresh basil sprig, or 1/4 teaspoon dried oregano, more to taste

Pour tomatoes into a large bowl and crush with your hands, and reserve.

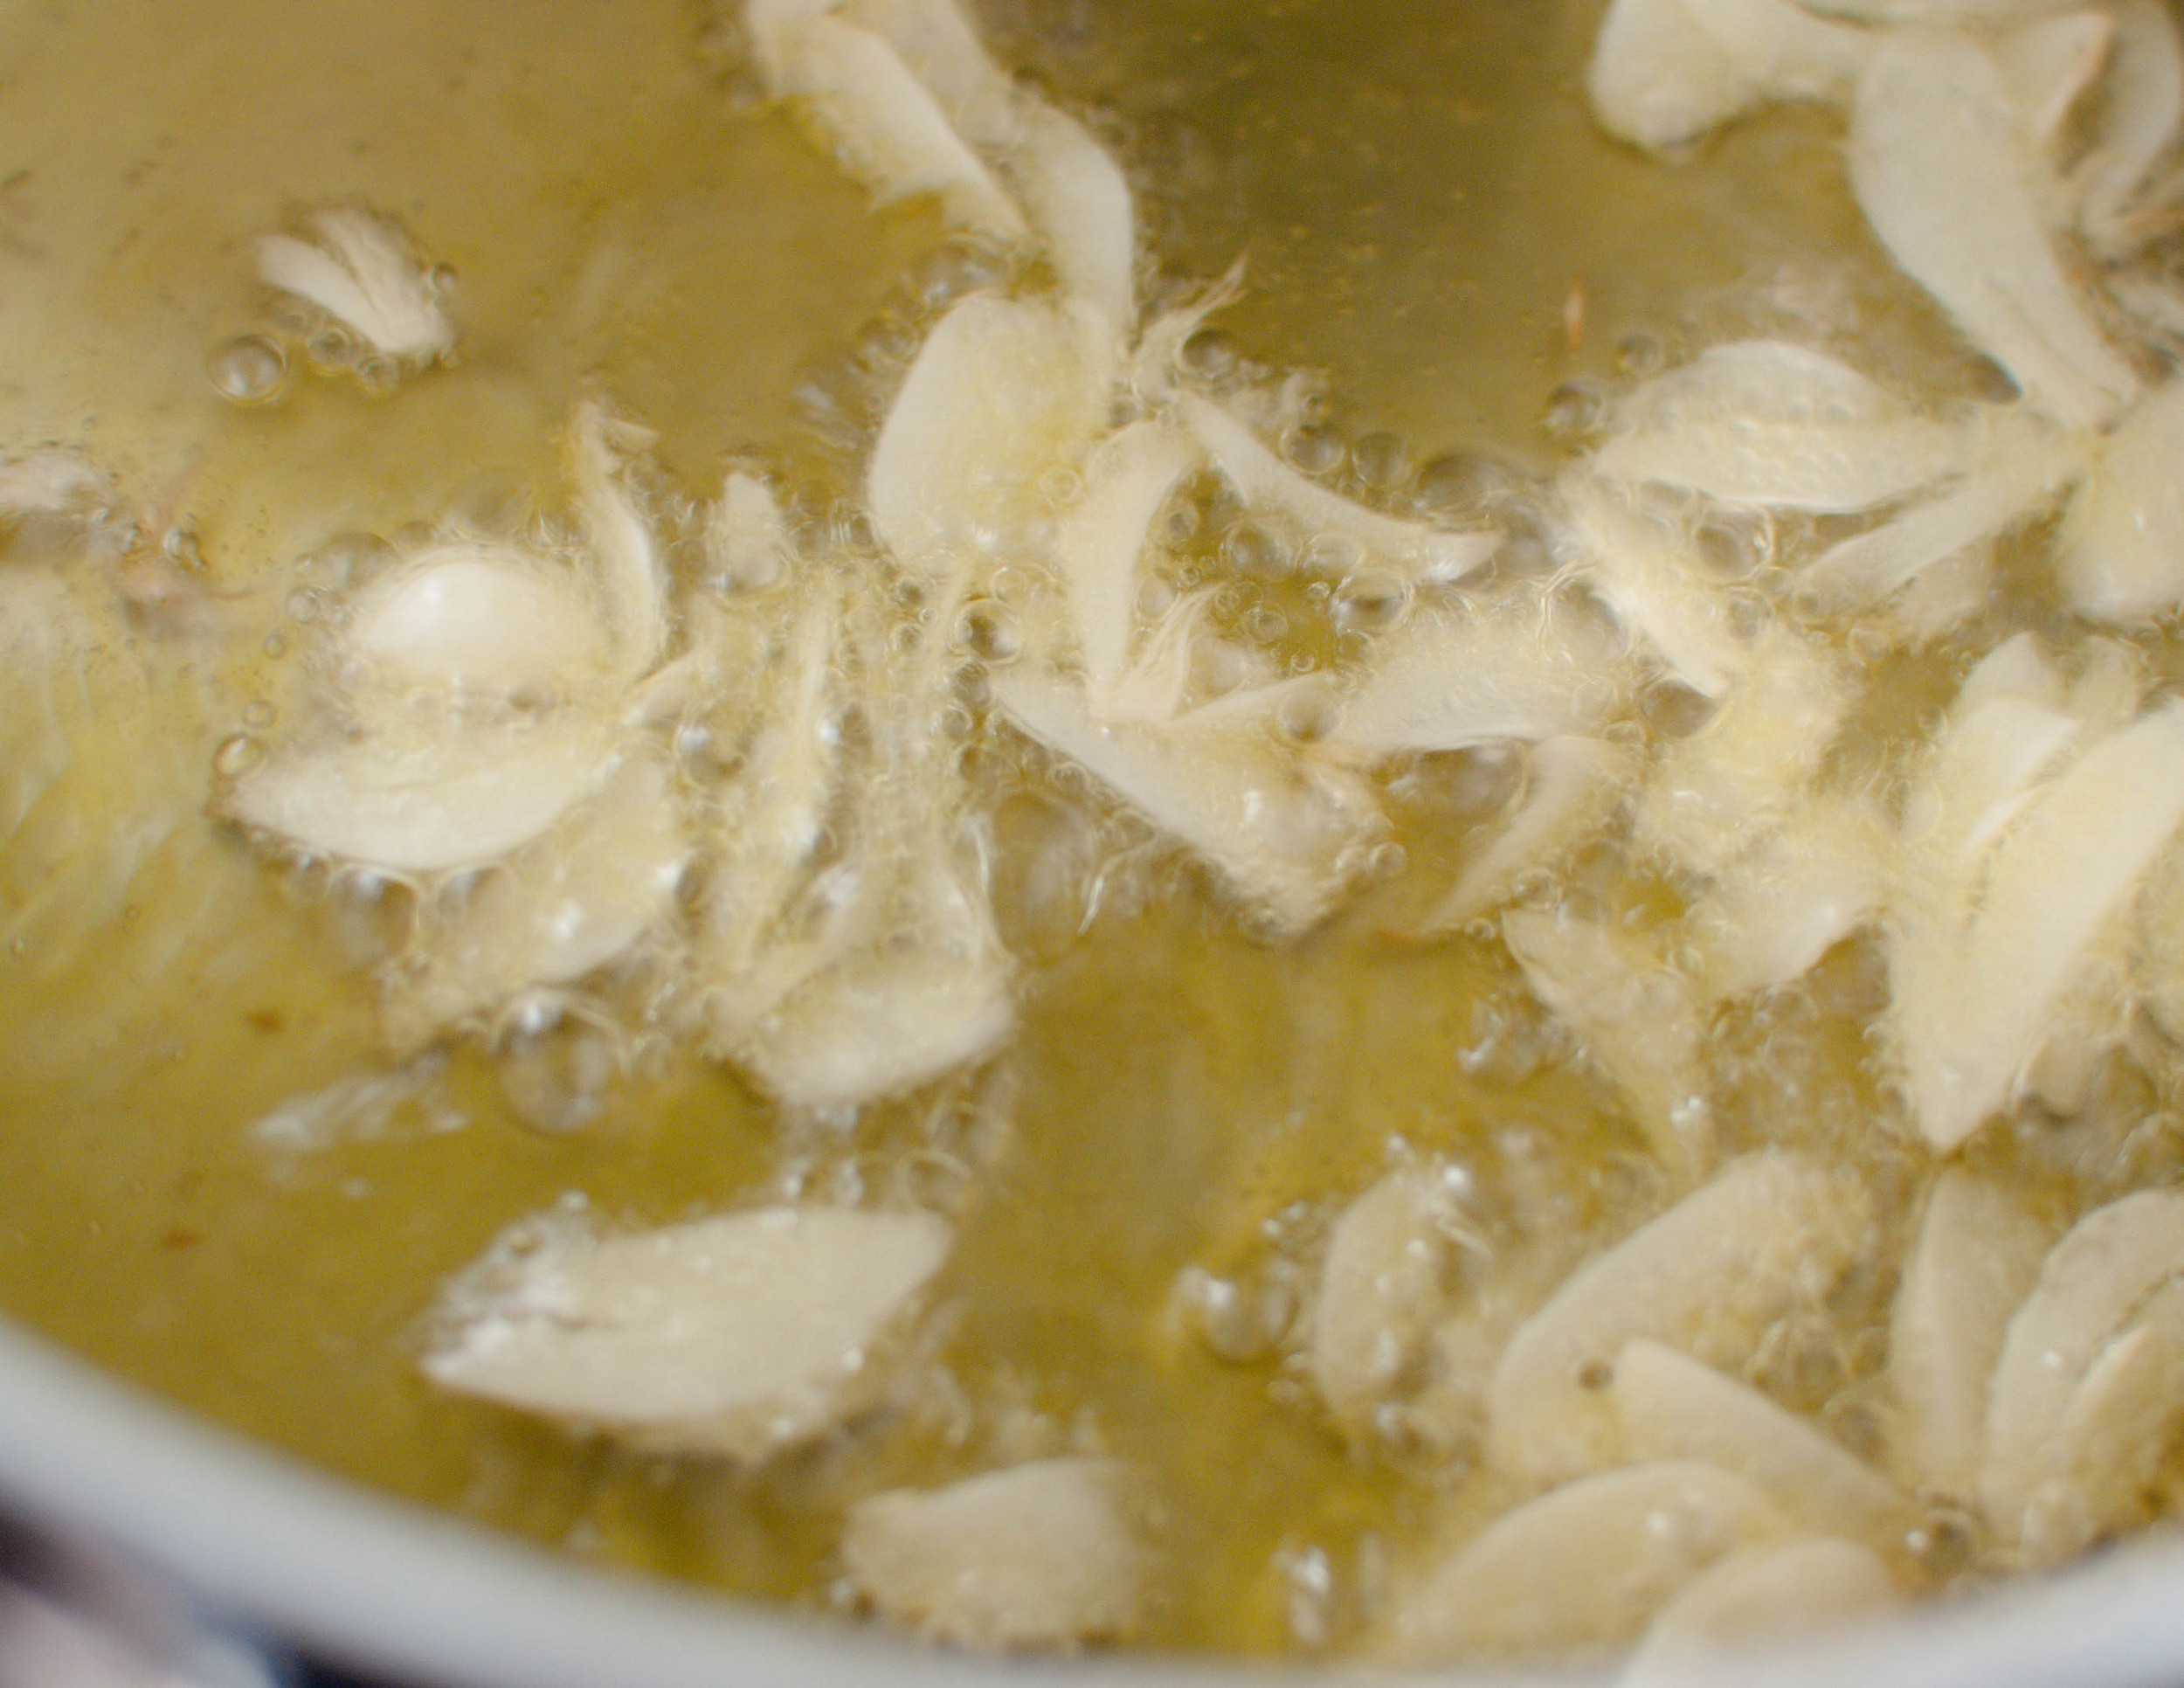
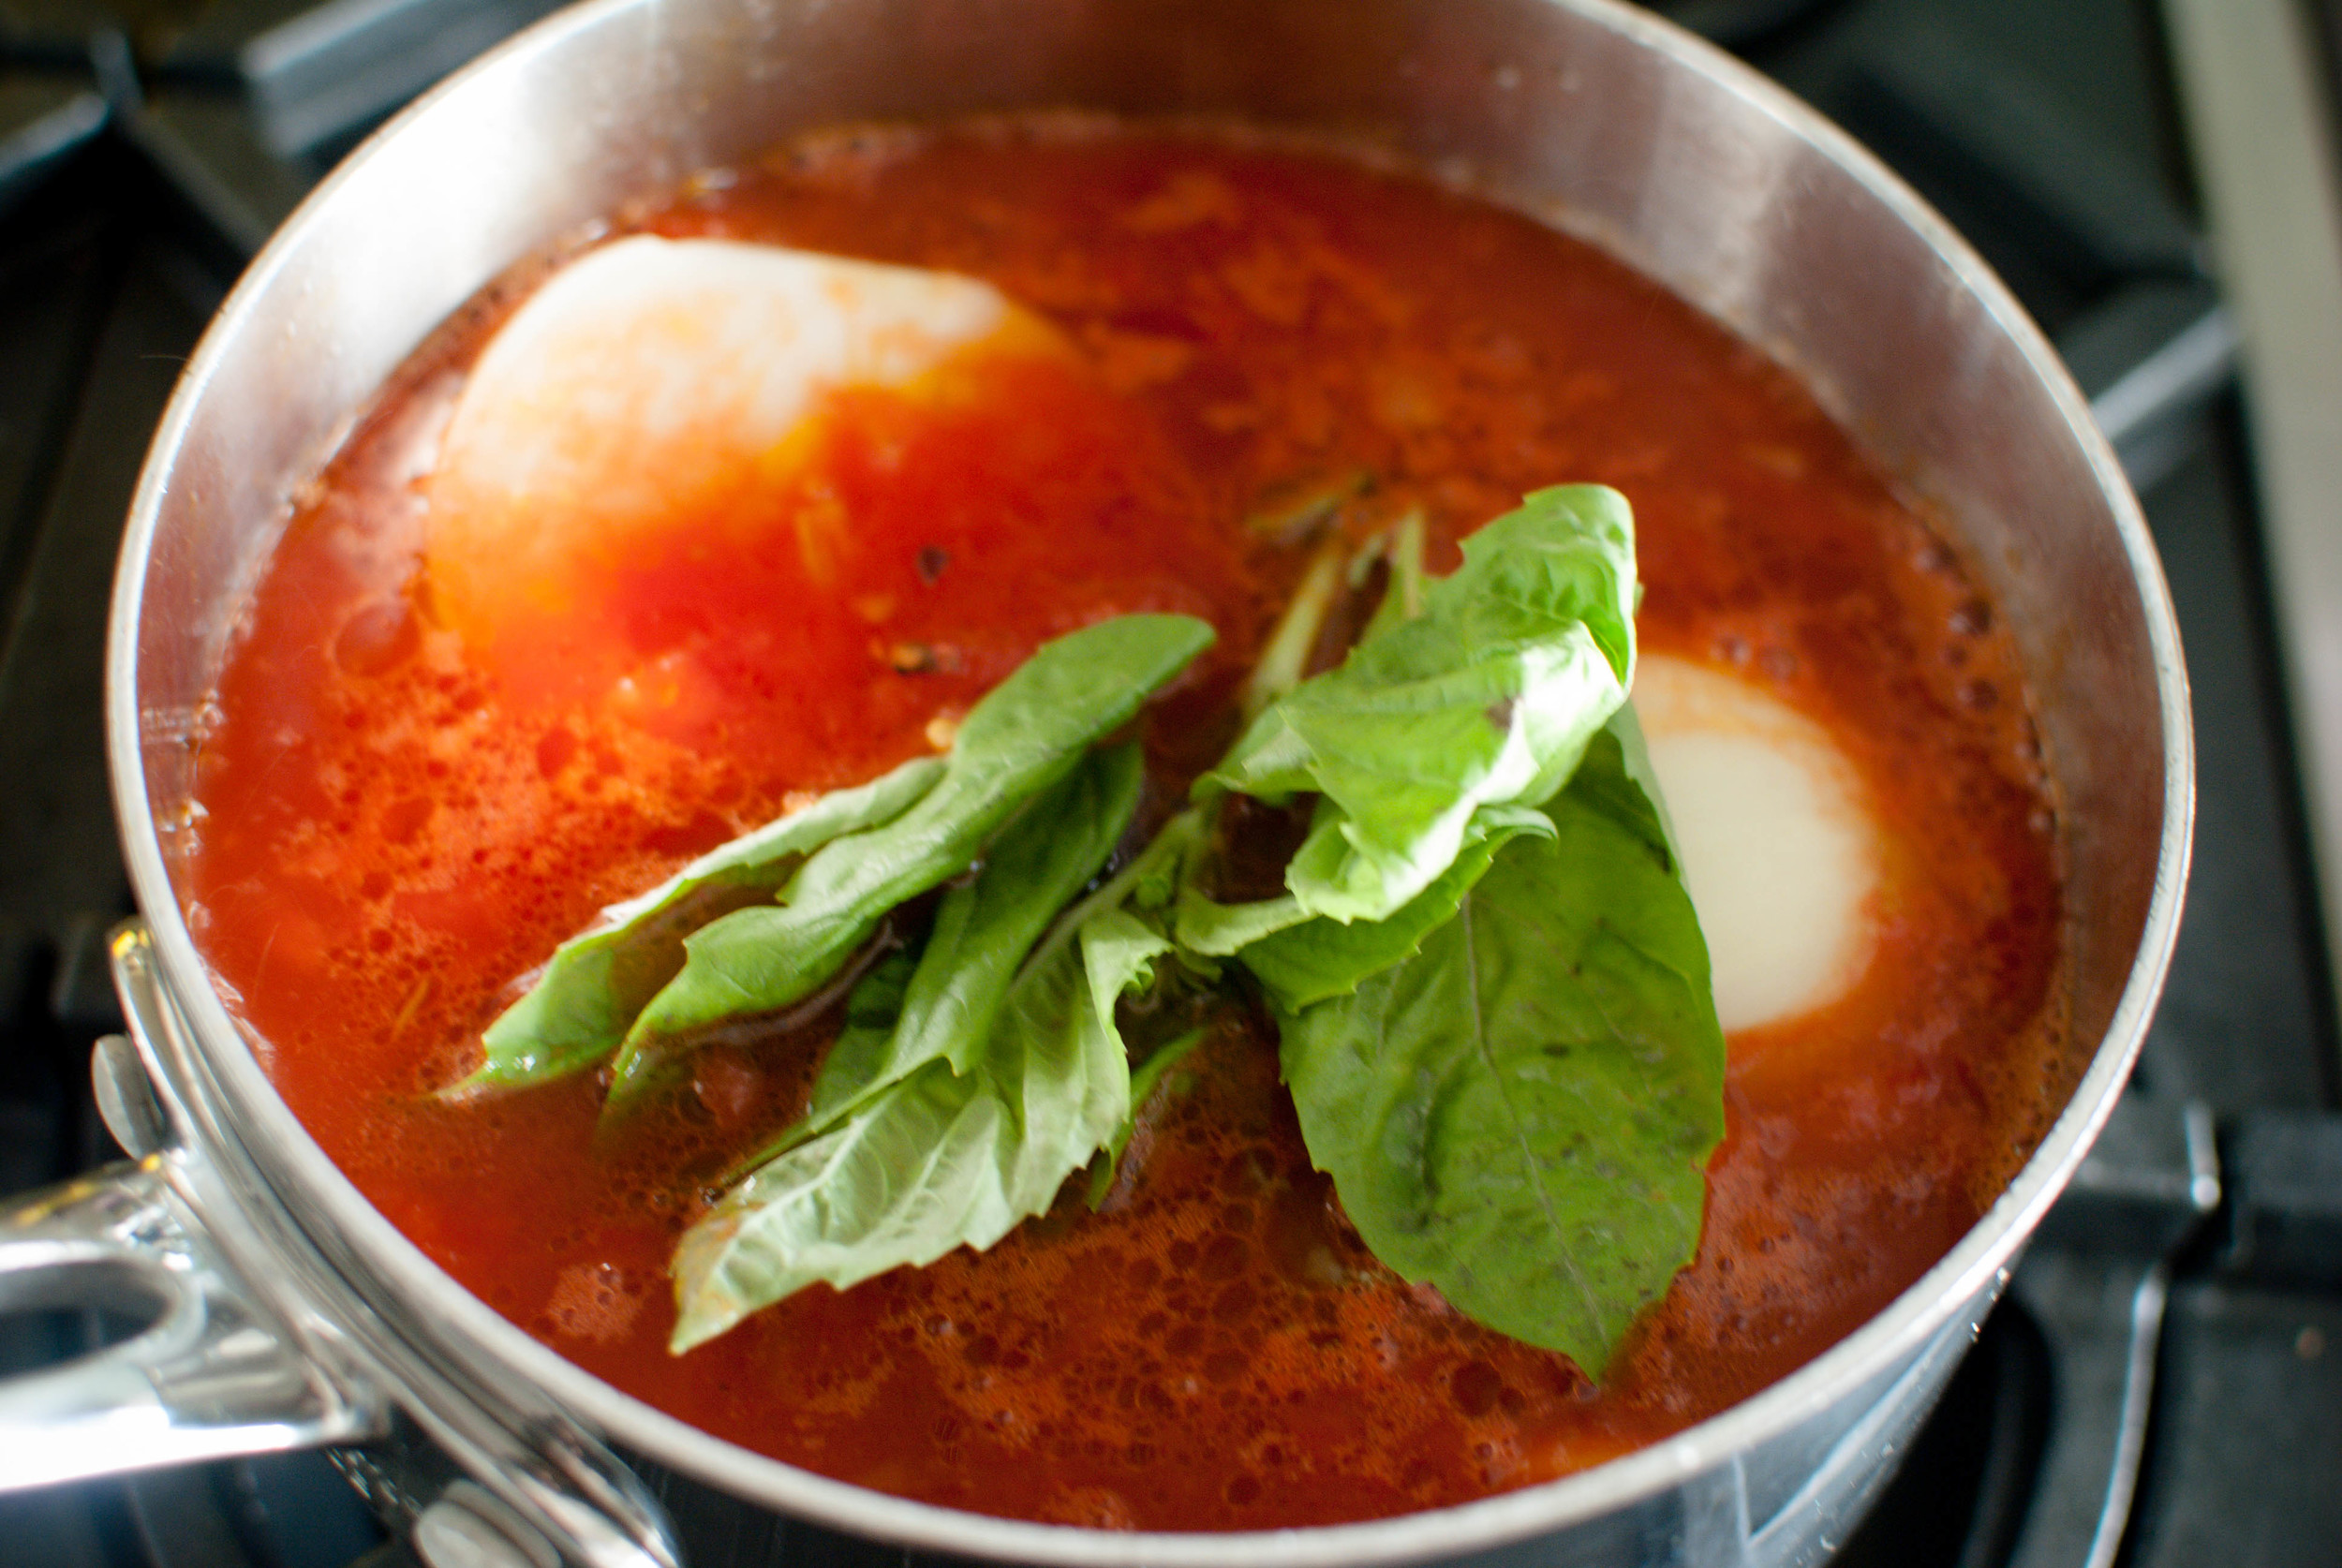
Heat olive oil in a saucepan over medium heat. When it is hot, add garlic. Sauté until the garlic sizzles, but is not brown (see photo above - about 1 minute). Add the crushed tomatoes to the pan, along with the red pepper (if using), salt, onion, and large basil sprig.

Cook uncovered at a slow, but steady simmer for about 45 minutes. Stir occasionally, when you feel moved to do so.

Remove the onion and basil. Taste and correct for salt. Serve.

Baked Polenta

Notes: Baked Polenta takes more time than polenta made on a stove-top, but there is very little active time. Polenta made over the stove requires constant stirring for at least half an hour, while baked polenta cooks in the oven, freeing me up to fix a salad or wrangle with the kids (more likely). The results leave you with a piping hot bowl of creamy corn goodness.

This polenta would also be great topped with any saucy protein (like a meat stew), a fried egg and a side of sauteed greens, or some roasted vegetables.

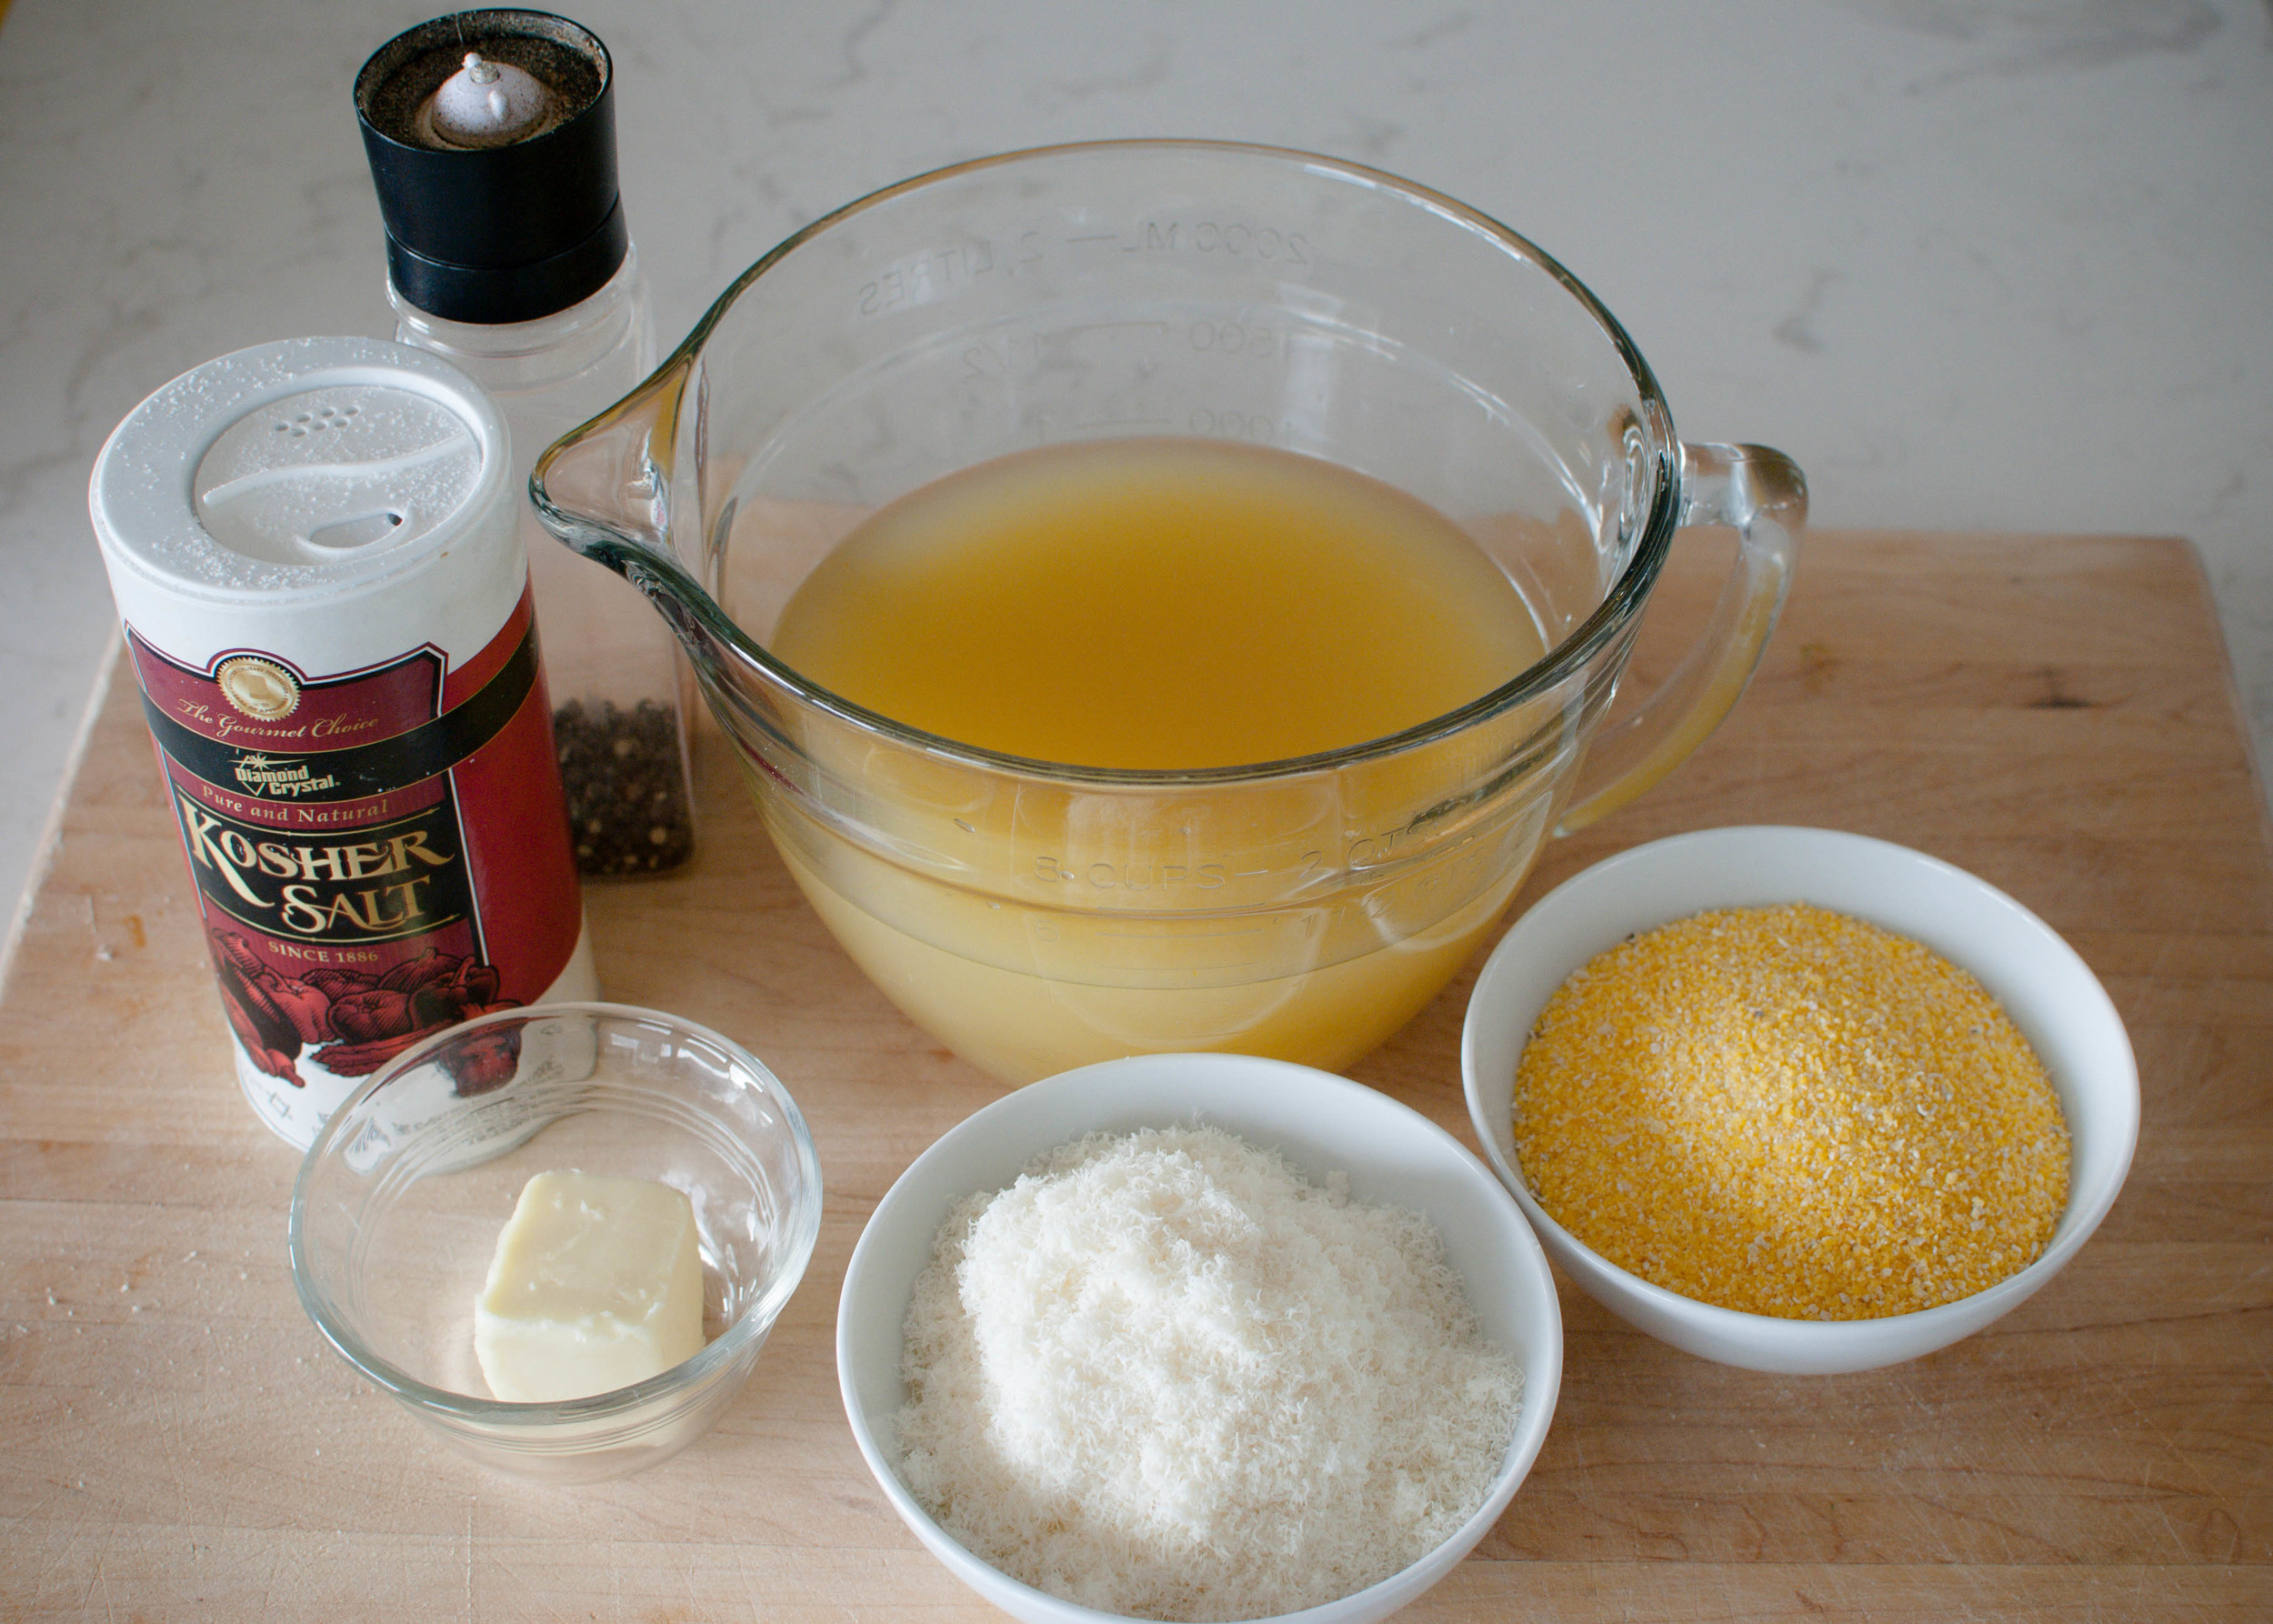
4 cups (1 quart) low-sodium broth (any kind) or water
1 cup polenta, coarse ground cornmeal, or corn grits (not quick-cooking)
1 teaspoon kosher salt (if using unsalted broth or water)
1/4 teaspoon freshly ground black pepper
3 tablespoons butter
2 ounces Parmesan, grated (optional)

Preheat oven to 350 degrees F.

Butter an oven-safe 2 quart dish. (An 8"x8" pan works well too.)

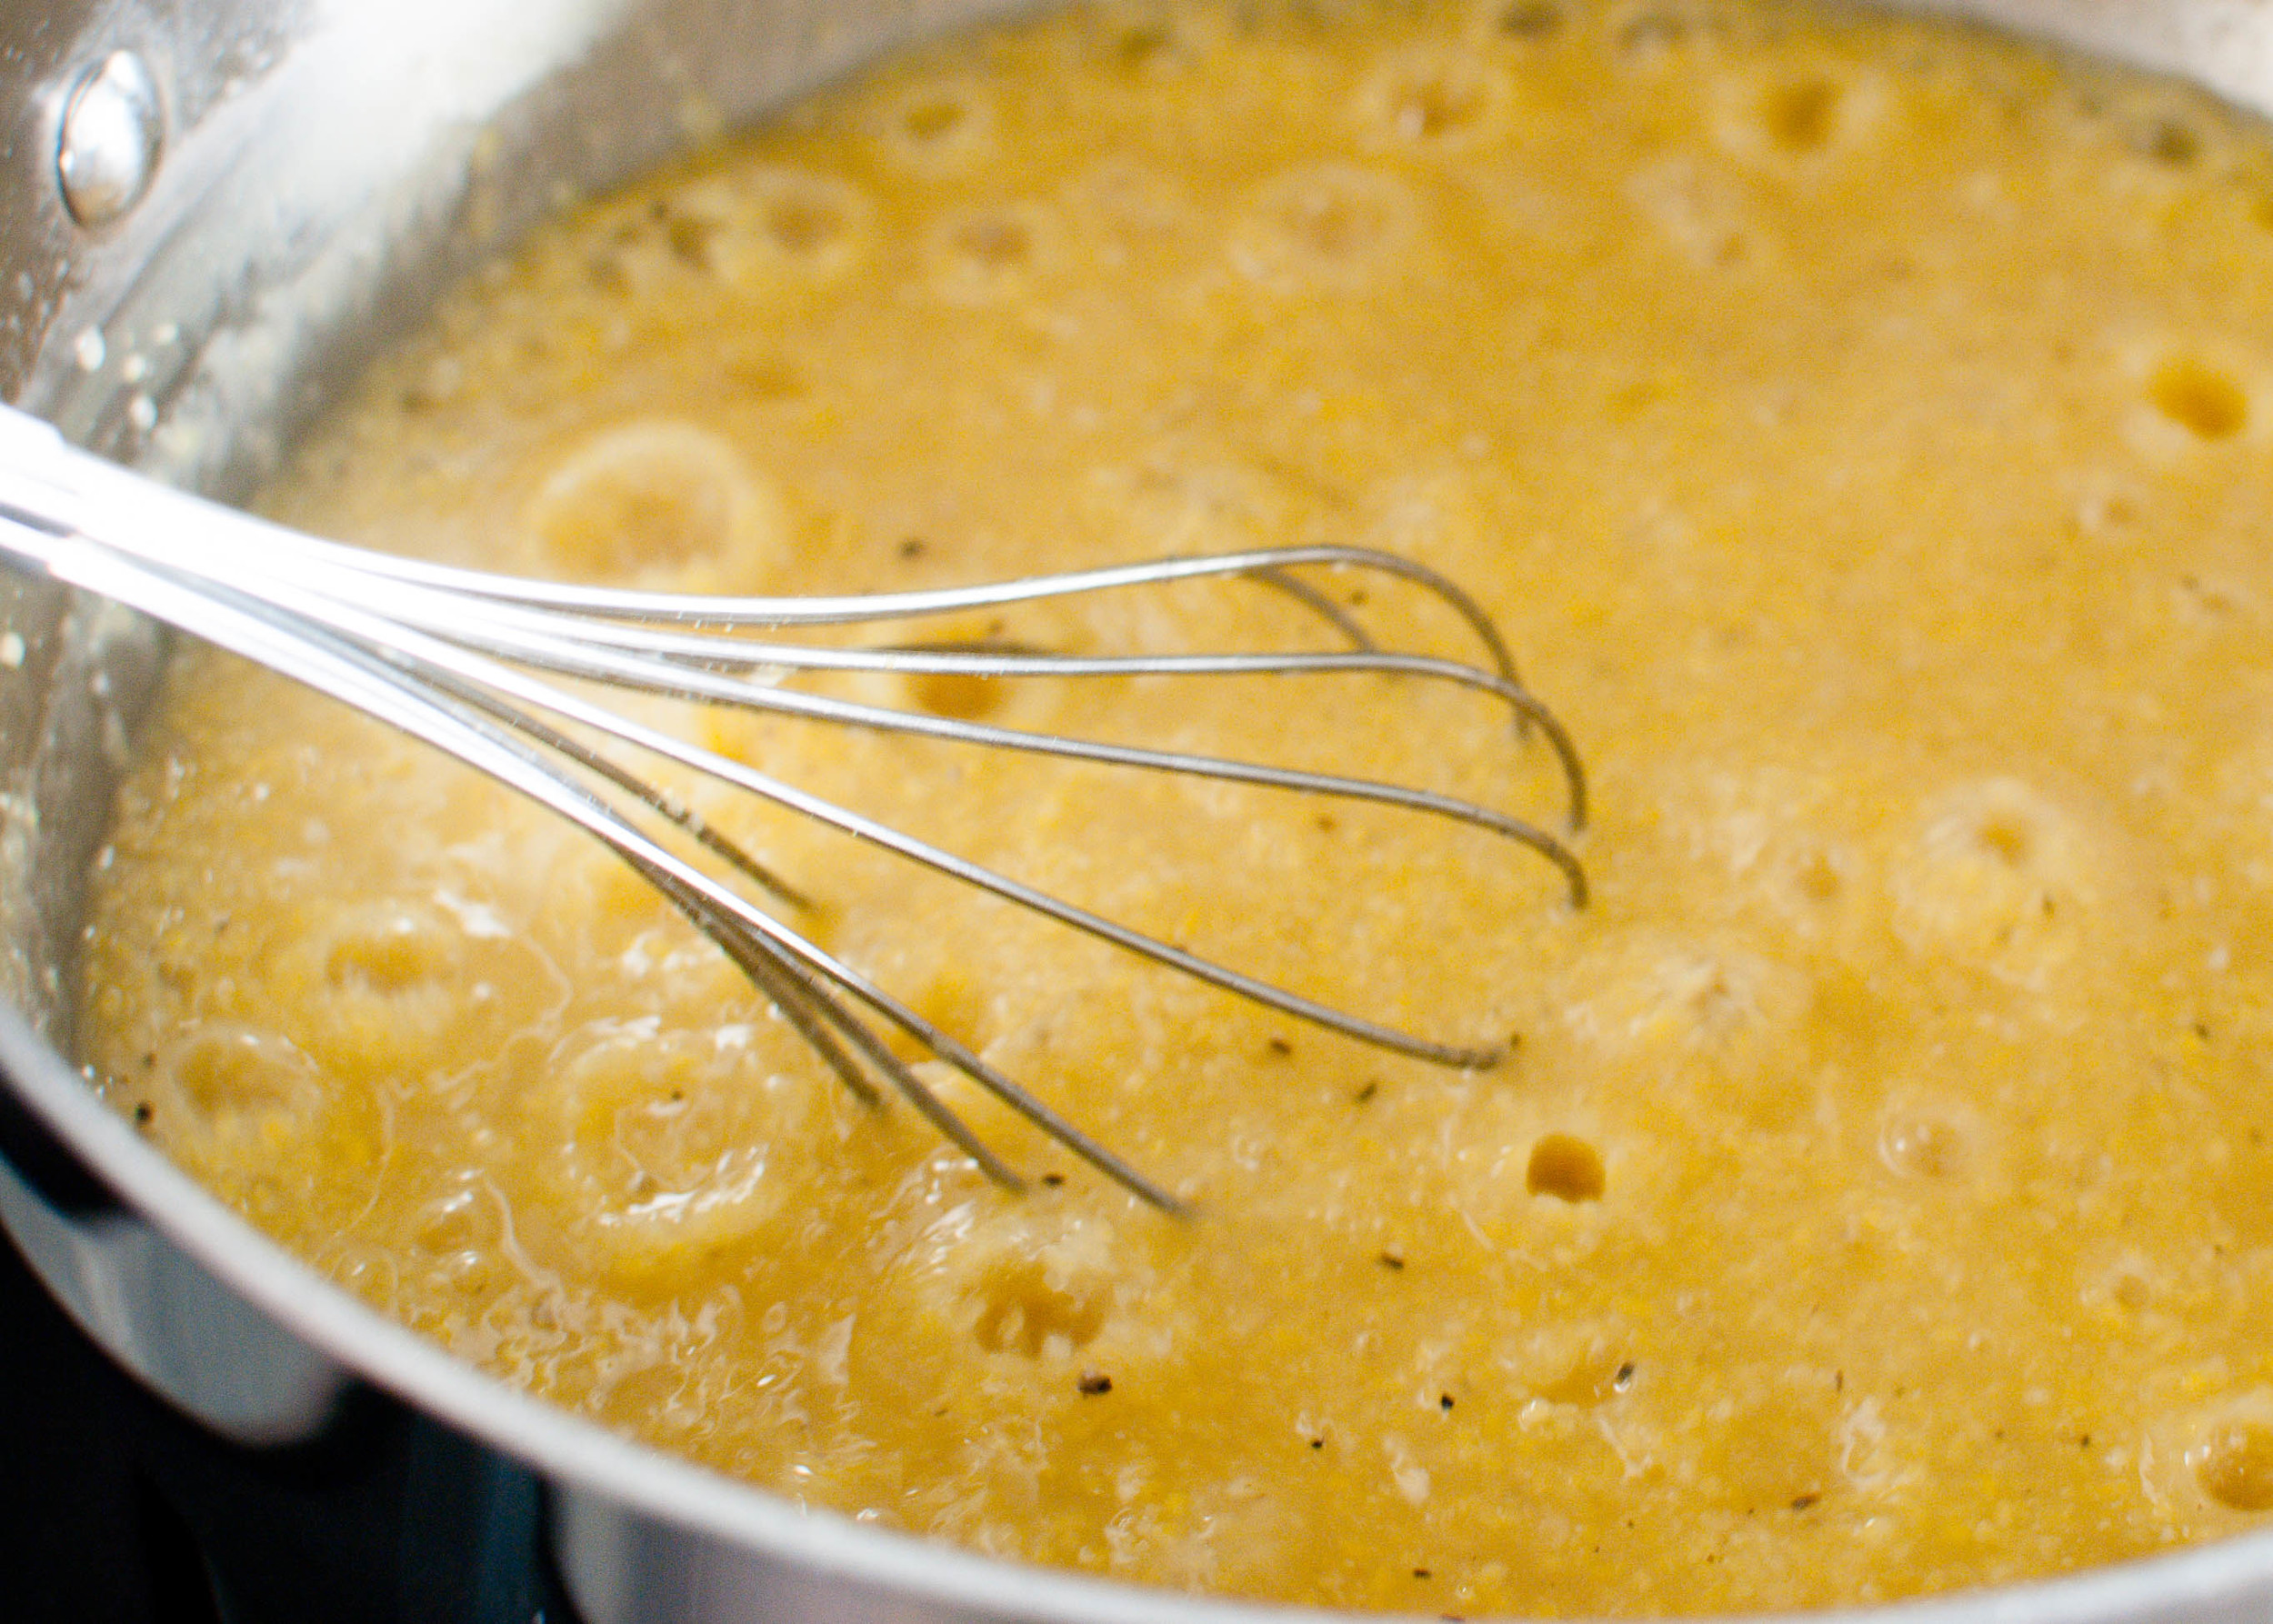
Combine broth (or water and salt), polenta, and pepper in the buttered dish and stir. Bake uncovered for about 1 hour, stirring once or twice. Polenta is done when it is thick and creamy.

Remove from oven, and stir in the grated parmesan and butter. Serve.